# Wally Tango superyacht RC at 1:25 scale – full scratch build log!

> Scratch build of a 1:25 Wally 100 Tango RC sailboat (LOA 1219 mm) over 13 months: OpenSCAD design, composite hull, keel bulb, deck planking, sails and launch.

- URL: https://guillaumeplayground.net/125-wally-tango-build-log/
- Author: Guillaume (https://guillaumeplayground.net/about/)
- Published: 2020-04-26
- Updated: 2022-06-17
- Section: RC & builds
- Topics: rc, sailboat, wally
- Source: Guillaume playground

This project aims to create a 1:25 Wally 100 Tango model: LOA=1219mm, beam=288mm

After 13 months, the result:

![Wally Tango superyacht RC at 1:25 scale – photo 1](https://guillaumeplayground.net/wp-content/uploads/2021/05/image026.jpg)

-   [Design](#design)
-   [Shaping](#shaping)
-   [Hull](#hull)
-   [Hull border](#hullborder)
-   [Rudder and fin](#RUDDER-AND-FIN)
-   [Servo plate](#SERVO-PLATE)
-   [Mast and boom](#MAST-BOOM)
-   [Pulley and belt](#PULLEY-BELT)
-   [Deck fitting](#DECK-FITTING)
-   [Bulb](#bulb)
-   [Hull paint](#paint)
-   [Deck planking](#deck-planking)
-   [Sails](#sails)
-   [Launching](#launching)

![Huge thanks to Patrick (from the CNL ) for the pictures. If you happen to be in Paris a Sunday morning, come say Hello at the Jardin du Luxembourg ‘s pond.](http://clubnautiqueduluco.free.fr/)
*Huge thanks to Patrick (from the CNL) for the pictures.If you happen to be in Paris a Sunday morning, come say Hello at the Jardin du Luxembourg ‘s pond.*

## **DESIGN**

Covid crisis and minimal ressources: a 28″ screen, openSCAD, some paper, two block of styrofoam, 3mm plywood… and a lot of “week-end” time.

Choices made:

-   composite hull because we are in the 21th century … and to keep the weight low
-   fiberglass Vs carbon to be more easily repairable
-   one hull is needed, I go for the lost (not really) mold method – The plug is used to build the final part directly. It is lower cost, faster and avoid me to store the mold after… the time saved on sanding/finetuning the plug will be use on the final part

![full scale sail plan](https://guillaumeplayground.net/wp-content/uploads/2020/04/tango-sail-plan-a2-17-02-2018--1024x638.jpg)
*full scale sail plan*

![2020, April 4-12 : my openscad design: Hull / waterlines](https://guillaumeplayground.net/wp-content/uploads/2020/04/scrot-2020-04-26_1872x845-1024x462.png)
*2020, April 4-12: my openscad design: Hull / waterlines*

![24-Deg angle: waterlines look correct. Single rudder ok, still immersed, everything seems ok. Nice](https://guillaumeplayground.net/wp-content/uploads/2020/04/toto-1024x337.jpg)
*24-Deg angle: waterlines look correct. Single rudder ok, still immersed, everything seems ok.Nice*

![45-Deg angle: waterlines look. hum… I have a doubt about the single rudder here. We will see;-) I am planning to make it larger than a real scaled one.](https://guillaumeplayground.net/wp-content/uploads/2020/04/scrot-2020-04-28_1239x405-1024x335.png)
*45-Deg angle: waterlines look. hum… I have a doubt about the single rudder here.We will see;-) I am planning to make it larger than a real scaled one.*

![And heeled now, buttock lines.](https://guillaumeplayground.net/wp-content/uploads/2020/04/toto2-1024x226.jpg)
*And heeled now, buttock lines.*

![Wally Tango superyacht RC at 1:25 scale – Design](https://guillaumeplayground.net/wp-content/uploads/2020/04/scrot-2020-04-26_1275x646-1024x519.png)

![Wally Tango superyacht RC at 1:25 scale – Design](https://guillaumeplayground.net/wp-content/uploads/2020/04/scrot-2020-04-26_976x479.png)

📎 [wally-tango.zip containing wally-tango.scad](https://guillaumeplayground.net/wp-content/uploads/2020/10/wally-tango.zip)

Run with openscad.

The first parameter allows to choose the display mode.

i.e: processing=4 is generating one bulkhead, identified by the other parameter BH\_id (range 0 .. 11). The bulkheads are separated by n\*XPS\_thickness (n is defined in BH\_xpsnb array). This is the mechanism which allowed me to copy the bulkheads and prepare the styrofoam sandwich.

You can also generate the STL files, print them, lasercut them, ..

## SHAPING

![2020, April 18-19 : Covid-19 == no 3d printer here. Old school but efficient method. Calibrate the screen size and copy over each bulkhead with paper. Mirror the imprint on the plywood and cut with a manual scroll saw.](https://guillaumeplayground.net/wp-content/uploads/2020/04/img1-1024x576.jpg)
*2020, April 18-19: Covid-19 == no 3d printer here. Old school but efficient method.Calibrate the screen size and copy over each bulkhead with paper.Mirror the imprint on the plywood and cut with a manual scroll saw.*

![Wally Tango superyacht RC at 1:25 scale – Shaping](https://guillaumeplayground.net/wp-content/uploads/2020/04/img2-1024x576.jpg)

![2020, April 25-26: 40mm styrofoam cuts to reach the 120mm spacing stated between bulkheads. 3 blocks of styrofoam and one bulkhead glued together and fixed on the support. (The bow has a lower number of styrofoam layers (two and one on the last bulkhead)](https://guillaumeplayground.net/wp-content/uploads/2020/04/img3-1024x576.jpg)
*2020, April 25-26:40mm styrofoam cuts to reach the 120mm spacing stated between bulkheads.3 blocks of styrofoam and one bulkhead glued together and fixed on the support.(The bow has a lower number of styrofoam layers (two and one on the last bulkhead)*

![reduced result before heavy hand sanding](https://guillaumeplayground.net/wp-content/uploads/2020/04/img4-1024x576.jpg)
*reduced result before heavy hand sanding*

![After sanding](https://guillaumeplayground.net/wp-content/uploads/2020/04/img5-1024x576.jpg)
*After sanding*

## HULL

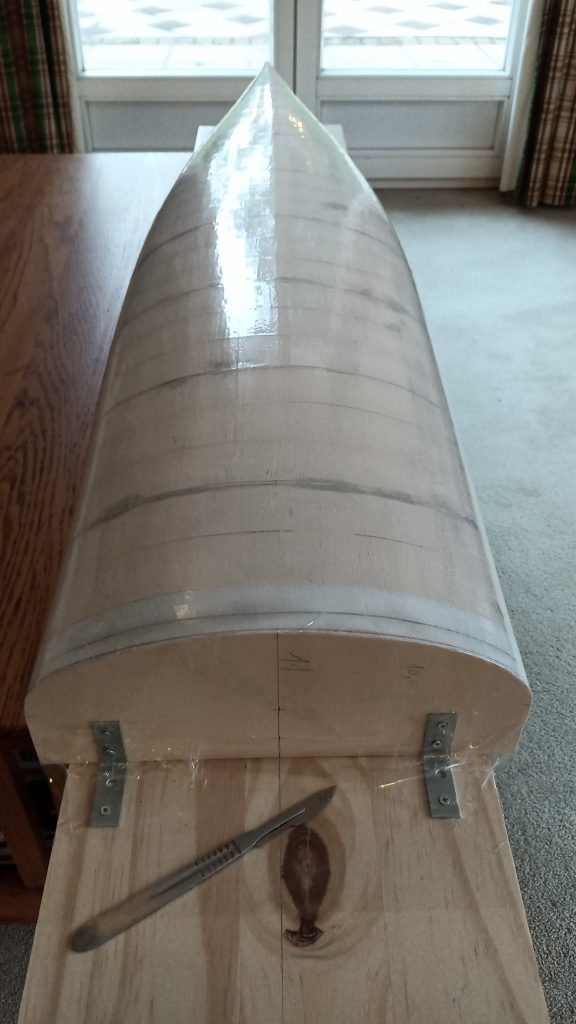
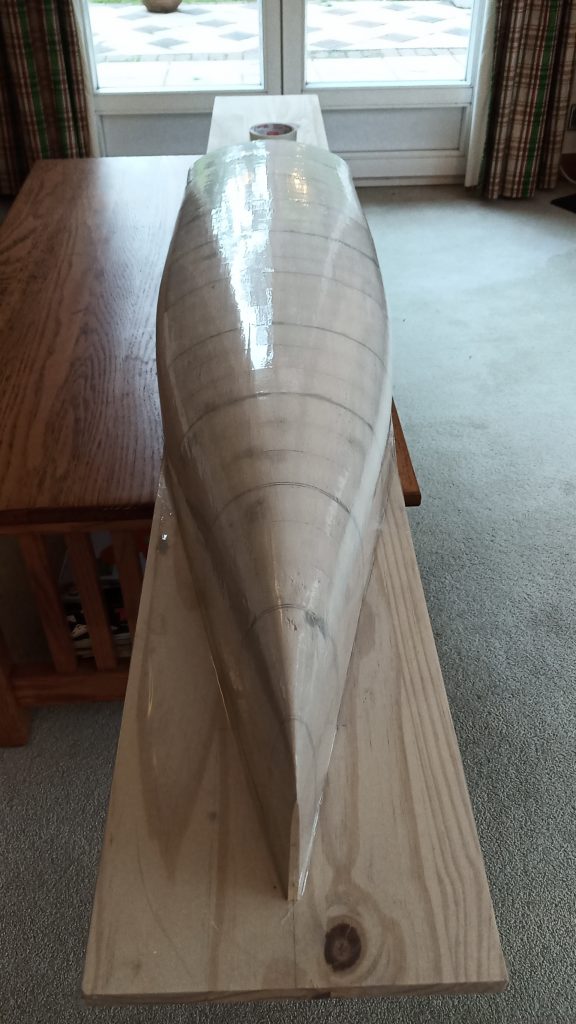
**2020, May 2-3:  
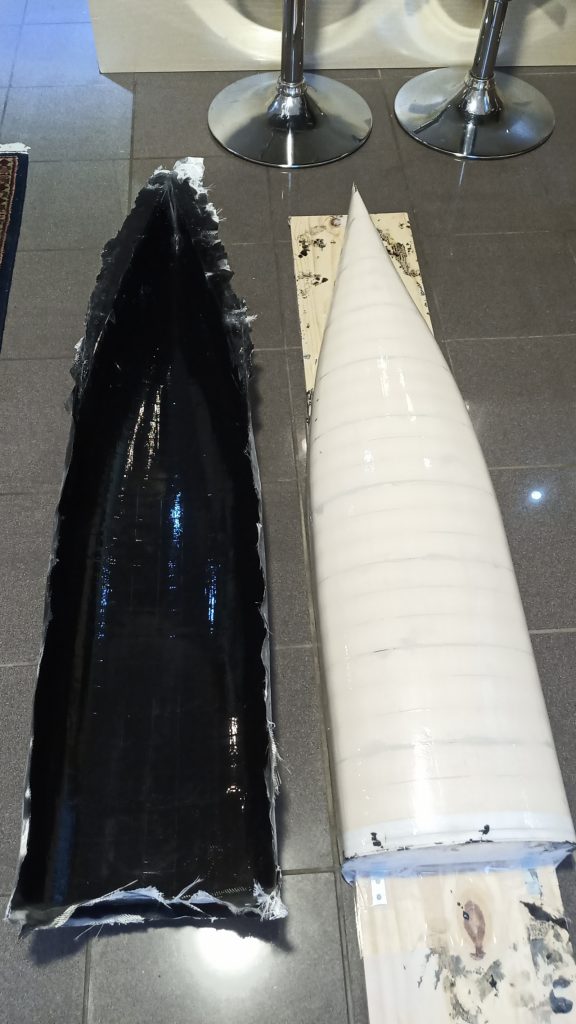
**Nothing much to do, still waiting for the delivery of fiberglass cloth. packing tape and mold release wax applied.

<table><tbody><tr><td>![Wally Tango superyacht RC at 1:25 scale – Hull](https://guillaumeplayground.net/wp-content/uploads/2020/05/toto3-576x1024.jpg)</td><td>![Wally Tango superyacht RC at 1:25 scale – Hull](https://guillaumeplayground.net/wp-content/uploads/2020/05/toto4-1-576x1024.jpg)</td></tr></tbody></table>

**2020, May 6:  
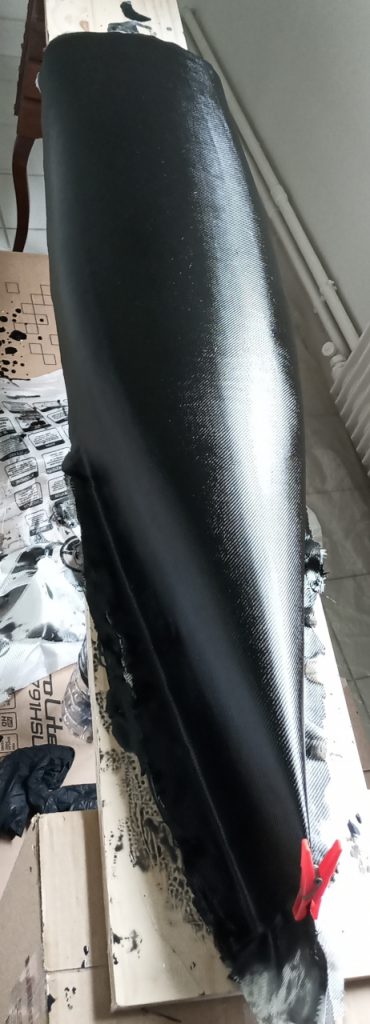
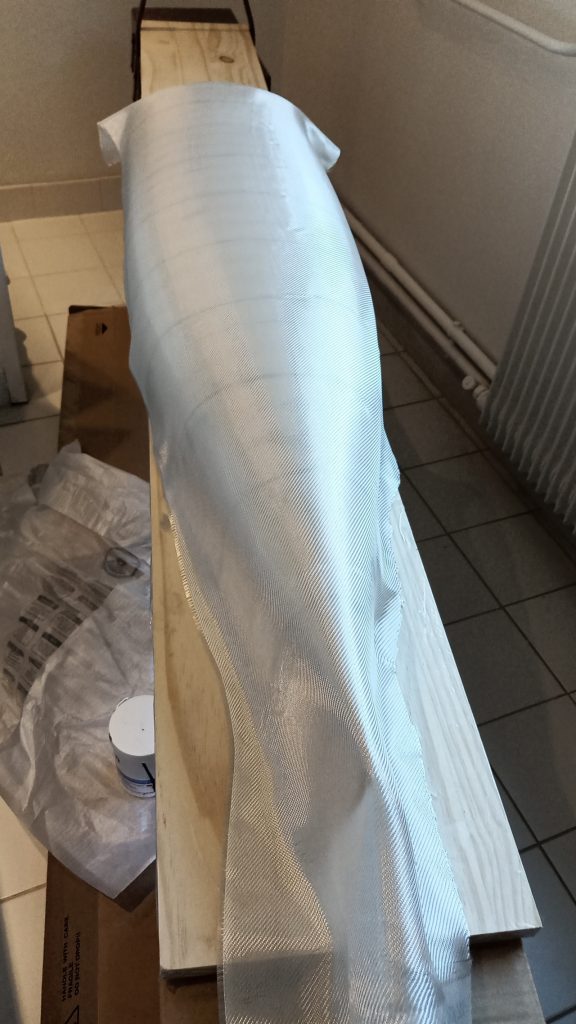
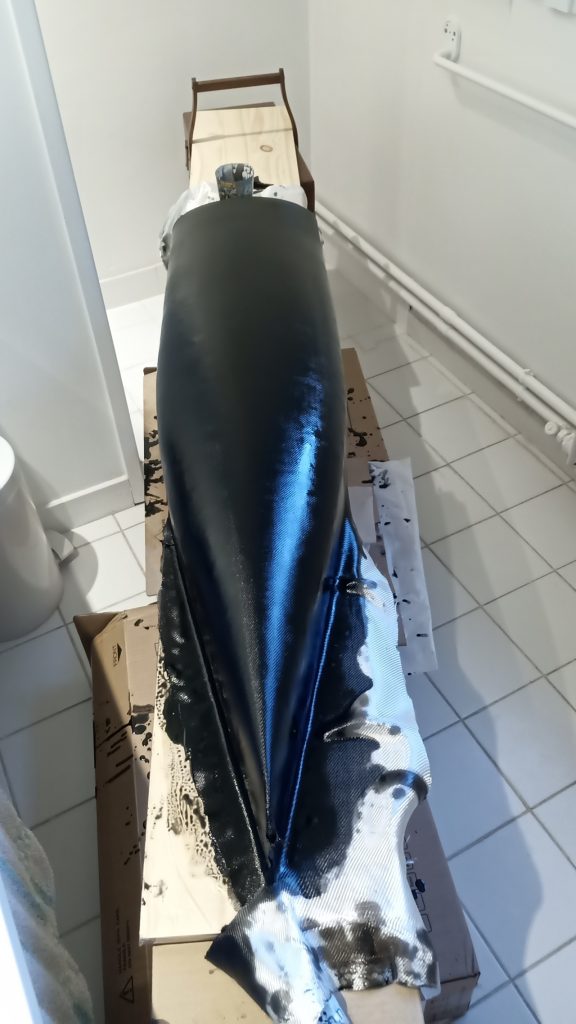
**Hull lost mold fiberglassing.

-   2 layers of 160gr/m2 sergé fiberglass cloth
-   Slow epoxy resin
-   Epoxy black RAL 9005 pigments

The second layer of fiberglass is set at a 45 degrees angle from the first.  
The color is useful during fiberglass impregnation, it helps to make it even. It creates also a base for the hull final color, perhaps allowing less paint job.

<table><tbody><tr><td>![Wally Tango superyacht RC at 1:25 scale – Hull](https://guillaumeplayground.net/wp-content/uploads/2020/05/titi1-1-576x1024.jpg)</td><td>![Wally Tango superyacht RC at 1:25 scale – Hull](https://guillaumeplayground.net/wp-content/uploads/2020/05/titi3-576x1024.jpg)</td></tr></tbody></table>

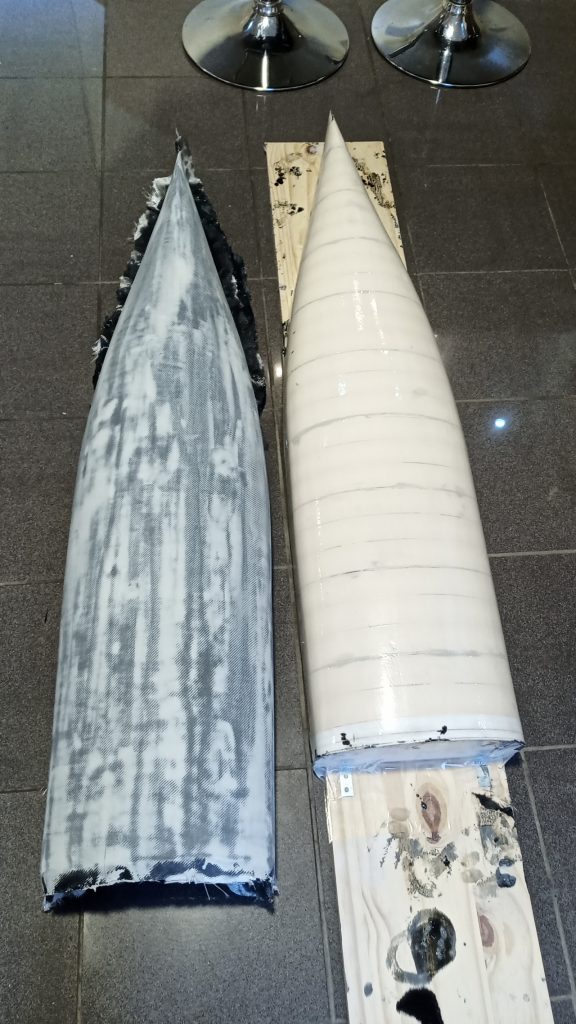
**2020, May 9:  
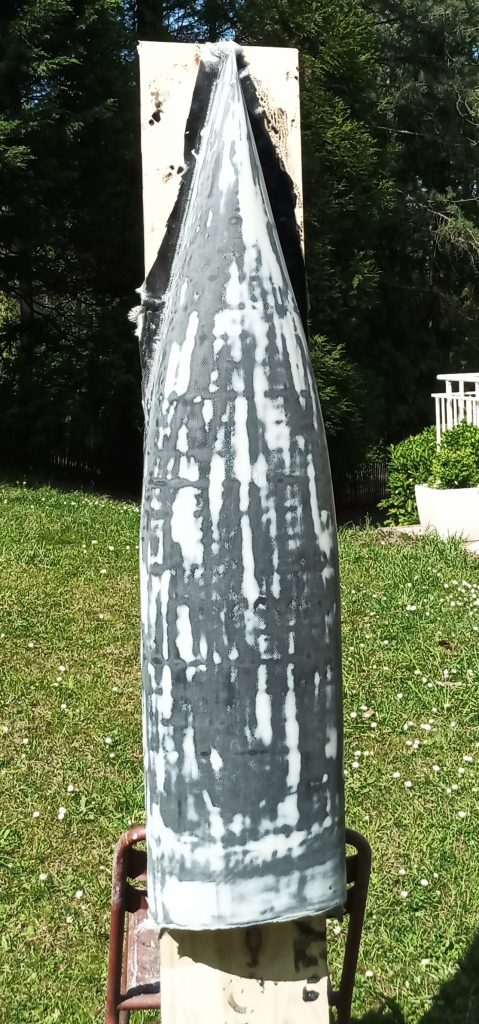
**lot of sanding (reducing a bit the previous fiberglass layers), epoxy putty to level properly the surface, sanding, the structural finishing double 160gr/m2 fiberglass layers, ultra light sanding, epoxy putty and final sanding!

<table><tbody><tr><td>![Wally Tango superyacht RC at 1:25 scale – Hull](https://guillaumeplayground.net/wp-content/uploads/2020/05/titi-1-479x1024.jpg)</td><td>![Wally Tango superyacht RC at 1:25 scale – Hull](https://guillaumeplayground.net/wp-content/uploads/2020/05/IMG_20200509_192352_3-370x1024.jpg)</td></tr></tbody></table>

**2020, May 10:  
**Here’s come my 1200mm wally tango hull ! 😎  
Resin/Pigment/Putty/fiberglass total cost: ~50 Euros.  
Weight of the untrimmed hull: 720gr.  
I still have to trim a big part to the deck limit. I will probably land around ~600/650gr which is not bad at all considering it is a 1200m stiff hull with at least 2 layers of 160gr fiberglass. It should be able to take some rough hits.

<table><tbody><tr><td>![Wally Tango superyacht RC at 1:25 scale – Hull](https://guillaumeplayground.net/wp-content/uploads/2020/05/IMG_20200510_193806_4-576x1024.jpg)</td><td>![Wally Tango superyacht RC at 1:25 scale – Hull](https://guillaumeplayground.net/wp-content/uploads/2020/05/IMG_20200510_193743_3-576x1024.jpg)</td></tr></tbody></table>

![Wally Tango superyacht RC at 1:25 scale – Hull](https://guillaumeplayground.net/wp-content/uploads/2020/05/IMG_20200510_195444_0-1024x576.jpg)

📎 [tango-map](https://guillaumeplayground.net/wp-content/uploads/2020/05/tango-map.png)

Trimmed! 610gr

📎 [Download](https://guillaumeplayground.net/wp-content/uploads/2020/05/tango-cut-scaled.jpg)

## HULL BORDER

Borders: Light bulkheads with 3mm plywood and border are shaped with 3mm balsa. It aims to provide a light structure easy to finetune. I will see if an added G4 primer will provide enough strength or I will simply fiberglass the wood…

![Wally Tango superyacht RC at 1:25 scale – Hull border](https://guillaumeplayground.net/wp-content/uploads/2020/05/IMG_20200515_114627_3-scaled.jpg)

3mm Balsa custom insertion

![Wally Tango superyacht RC at 1:25 scale – Hull border](https://guillaumeplayground.net/wp-content/uploads/2020/05/IMG_20200515_215704_1.jpg)

![Wally Tango superyacht RC at 1:25 scale – Hull border](https://guillaumeplayground.net/wp-content/uploads/2020/05/IMG_20200515_215729_6.jpg)

Trimming and sanding

Second layer of 3mm balsa on top and bevel

![Wally Tango superyacht RC at 1:25 scale – Hull border](https://guillaumeplayground.net/wp-content/uploads/2020/05/IMG_20200516_114730_9.jpg)

## RUDDER AND FIN

![Wally Tango superyacht RC at 1:25 scale – Rudder and fin](https://guillaumeplayground.net/wp-content/uploads/2020/06/IMG_20200527_212714_8-scaled.jpg)

The rudder is 4 layers of 160gr/m2 fiberglass encapsulated between plywood and shaped. The middle fiberglass is for stiffness and leading/trailing edge hardness. 19cm, 30gr

![Wally Tango superyacht RC at 1:25 scale – Rudder and fin](https://guillaumeplayground.net/wp-content/uploads/2020/06/IMG_20200527_212726_2-scaled.jpg)

The fin is from center: 4 layers of 160gr/m2 fiberglass, balsa 3mm, 2 layers of 160gr/m2 fiberglass covering and fixing the middle shaped carbon tube of 8mm. The middle fiberglass is a bit for stiffness and mainly for leading/trailing edge hardness. The carbon tube has two purposes: stiffness and holding top/down brass knurl nuts.  
40cm, 7.5mm thickness, 87gr, bending 17mm with 1600gr bulb.

![Wally Tango superyacht RC at 1:25 scale – Rudder and fin](https://guillaumeplayground.net/wp-content/uploads/2020/06/IMG_20200527_212739_3-scaled.jpg)

Keel box is built on the fin: unidirectional carbon 200gr and multiple layers of fiberglass.

![Wally Tango superyacht RC at 1:25 scale – Rudder and fin](https://guillaumeplayground.net/wp-content/uploads/2020/06/IMG_20200530_214153_0-scaled.jpg)

Keel box settled in the hull, rock solid and light weight: epoxy glue against the hull, high strength unidirectional carbon 200gr stratified web over the box head and bulkheads, one layer of fiberglass 160gr over the seal (box / hull). I used black pigment in my resin to ensure visual control of the epoxy resin covering, it looks a bit messy but still very useful.

The front is prepared and reinforced to hold the jib stay and possibly a classic headsail like the real 1:1 tango… but I will probably finish with a classic RC jib boom.

![Wally Tango superyacht RC at 1:25 scale – Rudder and fin](https://guillaumeplayground.net/wp-content/uploads/2020/06/IMG_20200611_082233_3-scaled.jpg)

![Wally Tango superyacht RC at 1:25 scale – Rudder and fin](https://guillaumeplayground.net/wp-content/uploads/2020/06/IMG_20200611_082247_5-scaled.jpg)

![Wally Tango superyacht RC at 1:25 scale – Rudder and fin](https://guillaumeplayground.net/wp-content/uploads/2020/06/IMG_20200620_213326_4-scaled.jpg)

![Wally Tango superyacht RC at 1:25 scale – Rudder and fin](https://guillaumeplayground.net/wp-content/uploads/2020/06/IMG_20200620_213336_1-scaled.jpg)

![Magnetic rudder holder](https://guillaumeplayground.net/wp-content/uploads/2020/06/IMG_20200627_103142_8-scaled.jpg)
*Magnetic rudder holder*

![Rudder holder final assembly](https://guillaumeplayground.net/wp-content/uploads/2020/06/IMG_20200627_104907_9-scaled.jpg)
*Rudder holder final assembly*

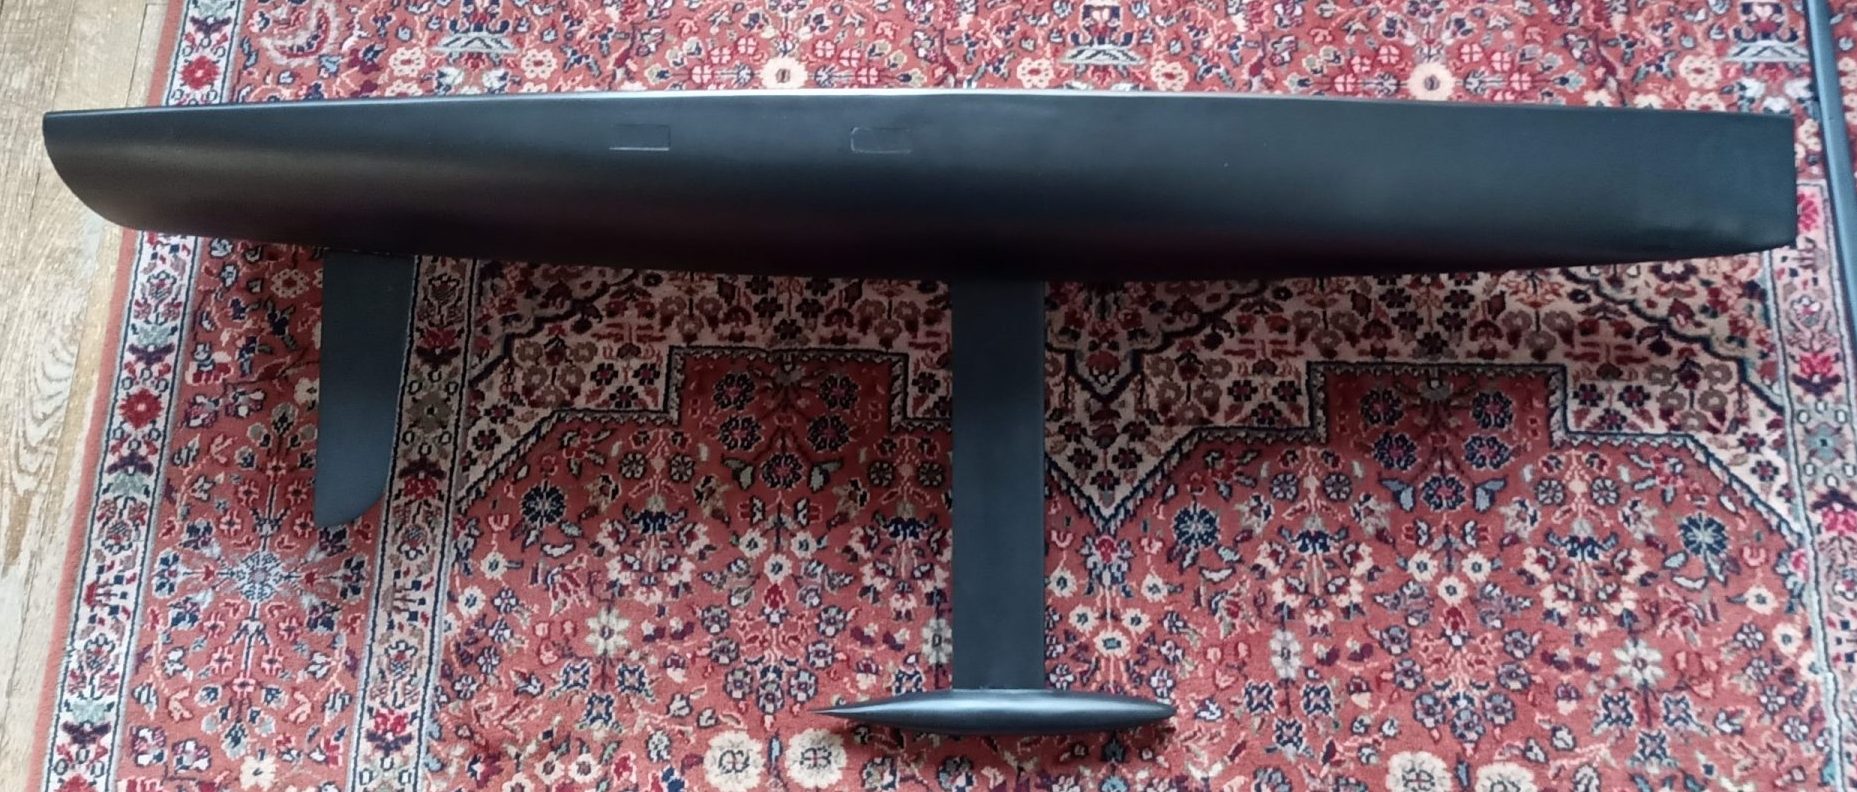
![Tango hull profile](https://guillaumeplayground.net/wp-content/uploads/2020/06/IMG_20200627_181816_0-scaled.jpg)
*Tango hull profile*

![Rudder support with unilateral carbon fiber](https://guillaumeplayground.net/wp-content/uploads/2020/06/IMG_20200627_184847_9-scaled.jpg)
*Rudder support with unilateral carbon fiber*

## SERVO PLATE

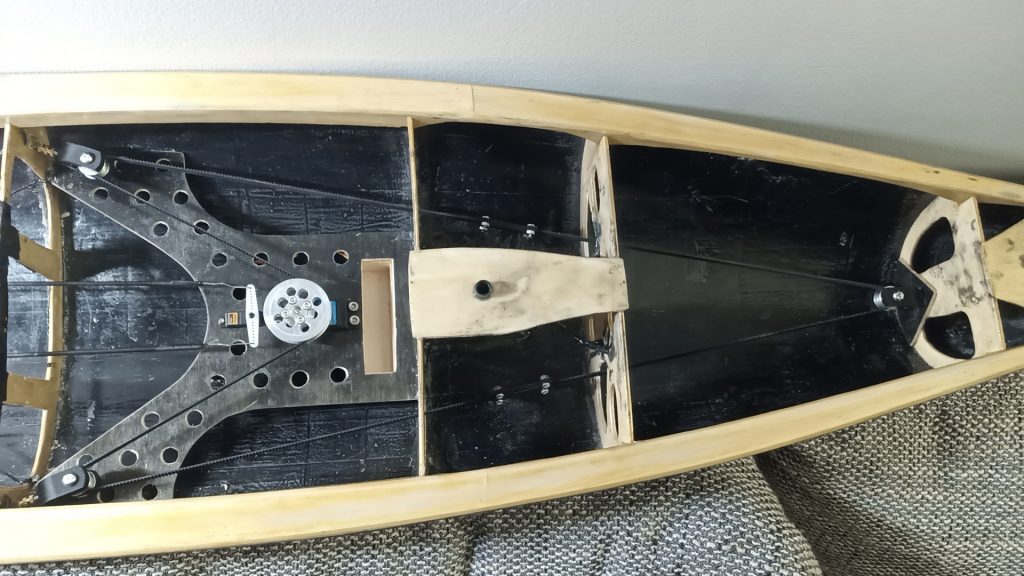
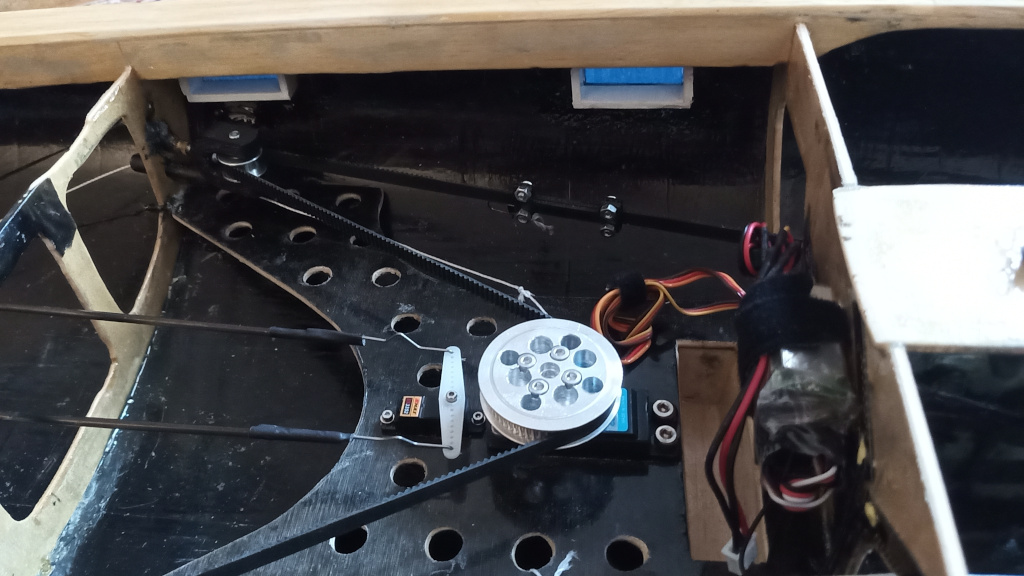
Servo plate prepared with a sandwich fiberglass160+plywood+fiberglass160, good stiffness, acceptable weight: ~30gr. I added a protected hatch for the battery. Everything is “low-level” as possible: the more weight under the waterline, the better.  
I use a 2.8kg/cm servo in my IOM without any issue, Emax ES3552, the same I use in some gliders aileron. It weights 12gr, metal geared and is far enough for the job (quid of the >10Kg/cm servos for rudders? we hardly use 6kg/cm servos in f3f wings)  
For the winch, I took a W6114-6T. I am still waiting to receive some GT2 pulley to finish. Like my IOM, I am going to use a linear closed GT2 track to pull the sails. Try it!

-   working great without any glitch risk with stuck cable
-   no direct traction on the servo axis: best durability, can be use with smaller winch
-   added weight is really small ~20g compared to the pros

![Wally Tango superyacht RC at 1:25 scale – Servo plate](https://guillaumeplayground.net/wp-content/uploads/2020/12/IMG_20201129_201542_4-scaled.jpg)

![servo plate - plywood fiberglass sandwich](https://guillaumeplayground.net/wp-content/uploads/2020/12/IMG_20201129_201502_8-scaled.jpg)
*servo plate – plywood fiberglass sandwich*

![Final servo plate with inserted bolts](https://guillaumeplayground.net/wp-content/uploads/2020/12/IMG_20201212_125430_8.jpg)
*Final servo plate with inserted bolts*

## MAST / BOOM

Mast and boom vang. More work than expected…  
I wanted a seamless gooseneck, the rotation is integrated in the mast (12mm diameter carbon tube) on ball bearings around a 3mm stainless steel rod (length: 125mm). I am planning to trim the tack plate at the end… just to be sure if I need to upper or lower the boom.  
The boom vang is also full carbon with stainless steel inserts/hooks/screws to look like the real one.

![boom](https://guillaumeplayground.net/wp-content/uploads/2020/06/IMG_20200627_184837_2-scaled.jpg)
*boom – balsa core stripped between fiberglass*

![carbon boom vang](https://guillaumeplayground.net/wp-content/uploads/2020/12/IMG_20201206_185125_2-scaled.jpg)
*carbon boom vang – trying to look like the real one*

![Mast rotational part with carbon tube and ball bearings](https://guillaumeplayground.net/wp-content/uploads/2020/12/IMG_20201206_185205_2-scaled.jpg)
*Mast rotational part with carbon tube and ball bearings*

![Final mast assembly](https://guillaumeplayground.net/wp-content/uploads/2020/12/IMG_20201206_185606_8-scaled.jpg)
*Final mast assembly*

![Crosstrees](https://guillaumeplayground.net/wp-content/uploads/2021/03/IMG_20210326_204721_2-scaled-e1616788368480.jpg)
*Crosstrees – 3×2 carbon tube + abs 3d printed cover*

📎 [OpenSCAD crosstrees + belt](https://guillaumeplayground.net/wp-content/uploads/2021/03/crosstrees.zip)

![Carbon rod](https://guillaumeplayground.net/wp-content/uploads/2021/05/IMG_20210429_205915_8-scaled-e1619993209499.jpg)
*Carbon rod*

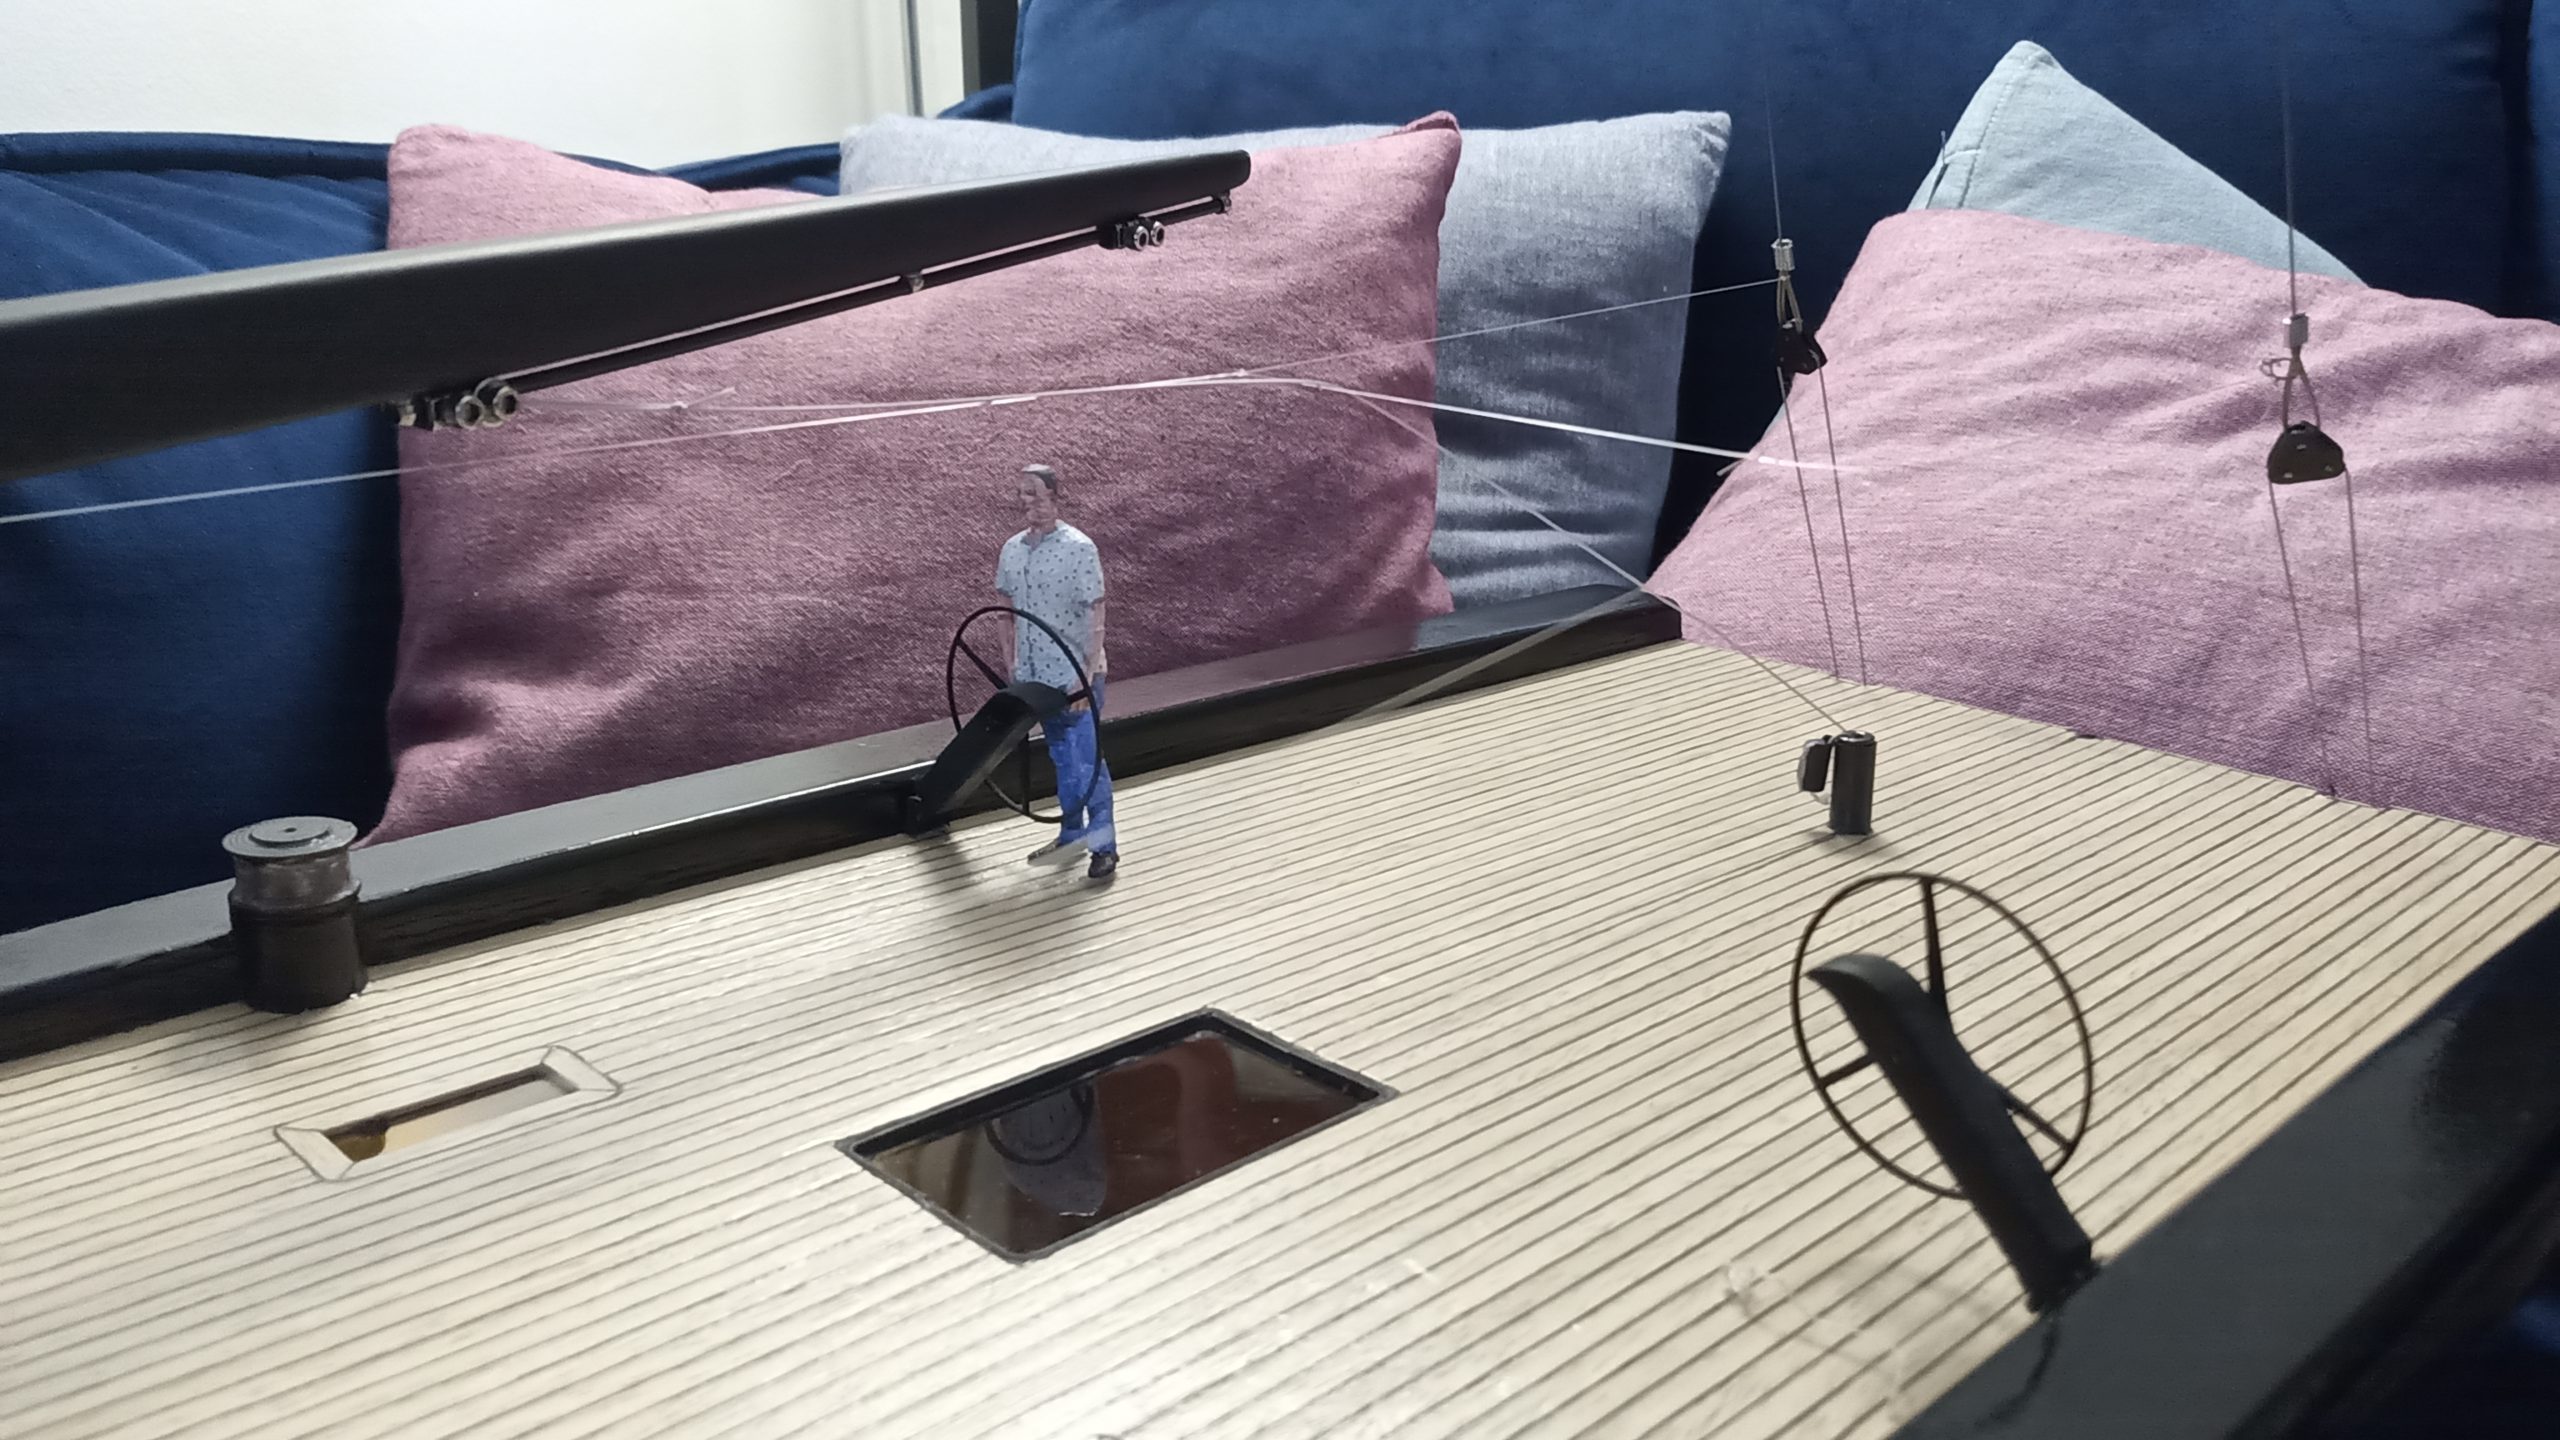
![Mainsheet](https://guillaumeplayground.net/wp-content/uploads/2021/05/IMG_20210429_205825_6-scaled-e1619993242866.jpg)
*Mainsheet*

## PULLEY BELT

I bought for 10 Euros some GT2 pulleys (a 60Teeth and some 20T w/o teeths) and a rubber/figerglass 5 meters belt.

GT2 pulley 60T refactored and trimmed, added a ball bearing upper which will help to balance pulley force outside the servo chassis.

![GT2 pulley 60T refactored and trimmed](https://guillaumeplayground.net/wp-content/uploads/2020/12/IMG_20201209_103401_7-scaled.jpg)
*GT2 pulley 60T refactored and trimmed*

![GT2 Pulley on sail winch servo](https://guillaumeplayground.net/wp-content/uploads/2020/12/IMG_20201209_105047_2-scaled.jpg)
*GT2 Pulley on sail winch servo*

Pulley holder designed for my use: [https://www.thingiverse.com/thing:4684485](https://www.thingiverse.com/thing:4684485)

![Pulley holder](https://guillaumeplayground.net/wp-content/uploads/2020/12/img.jpg)

<img src="/wp-content/uploads/2020/12/IMG_20201213_215949_1-1024x576.jpg" alt="Belt track" class="wp-image-1121" width="512" height="288" loading="lazy" decoding="async">
*Belt track*

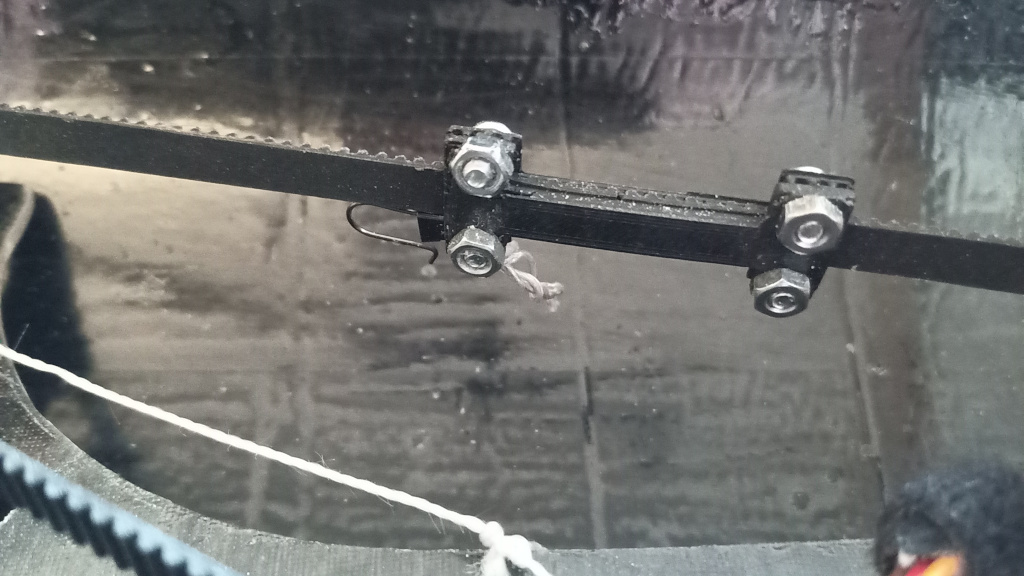
![Belt hook](https://guillaumeplayground.net/wp-content/uploads/2021/01/IMG_20210123_151503_1.jpg)

## DECK FITTING

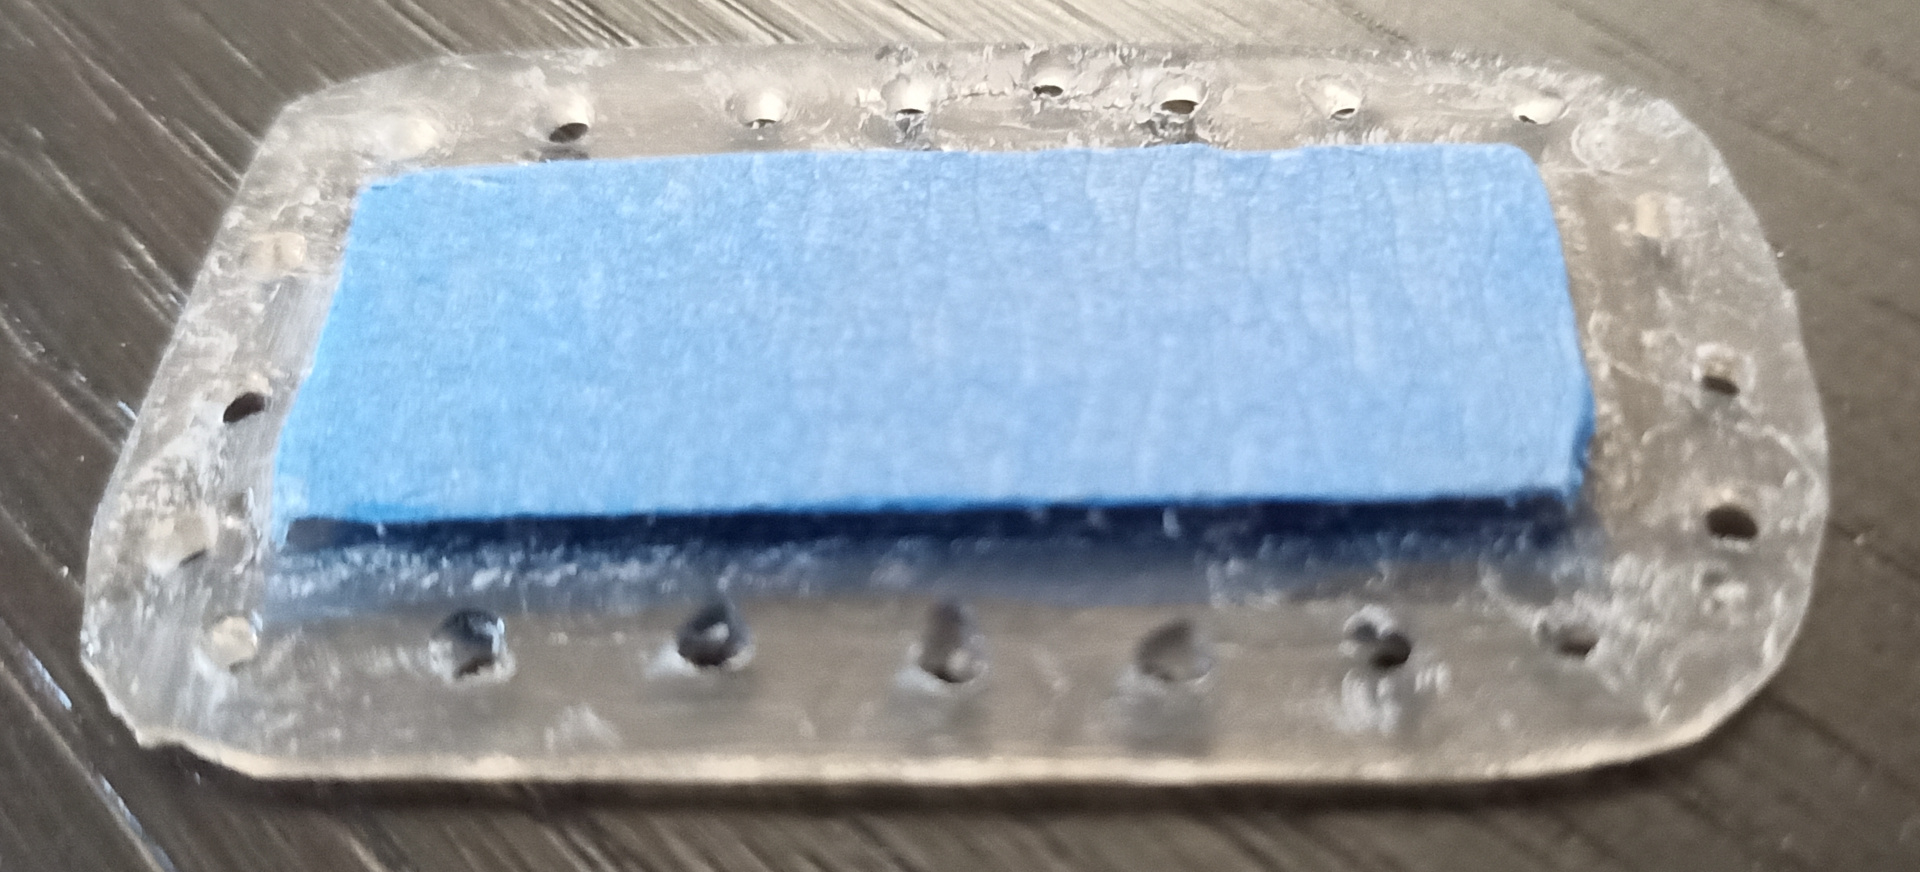
![Window - machined 3mm tainted Acrylic glass to fit opening in a single piece](https://guillaumeplayground.net/wp-content/uploads/2021/01/IMG_20210106_104732_3.jpg)
*Window – machined 3mm tainted Acrylic glass to fit opening in a single piece*
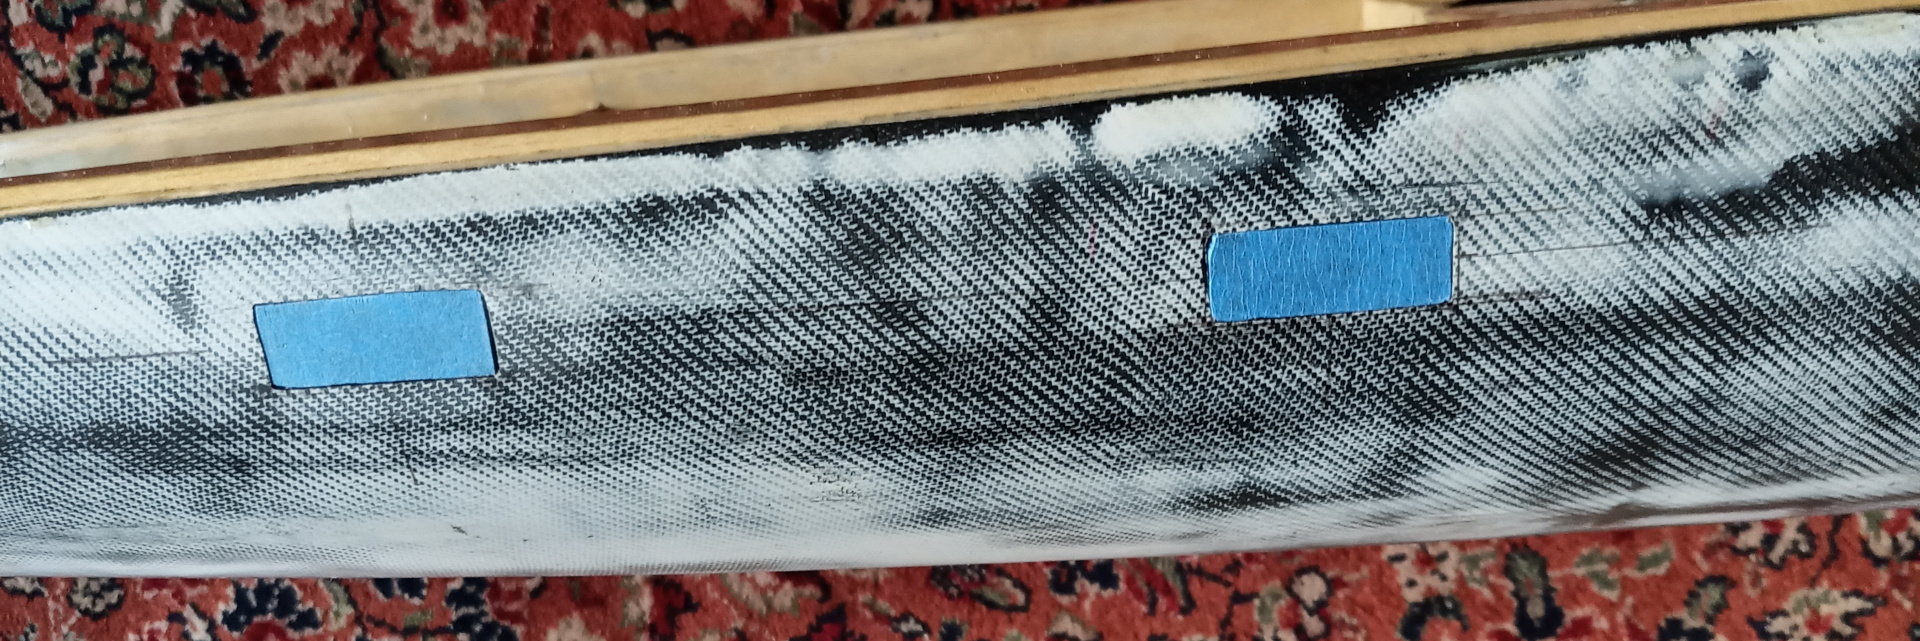
![windows fixed (epoxy)](https://guillaumeplayground.net/wp-content/uploads/2021/01/IMG_20210110_104204_1.jpg)
*windows fixed (epoxy)*

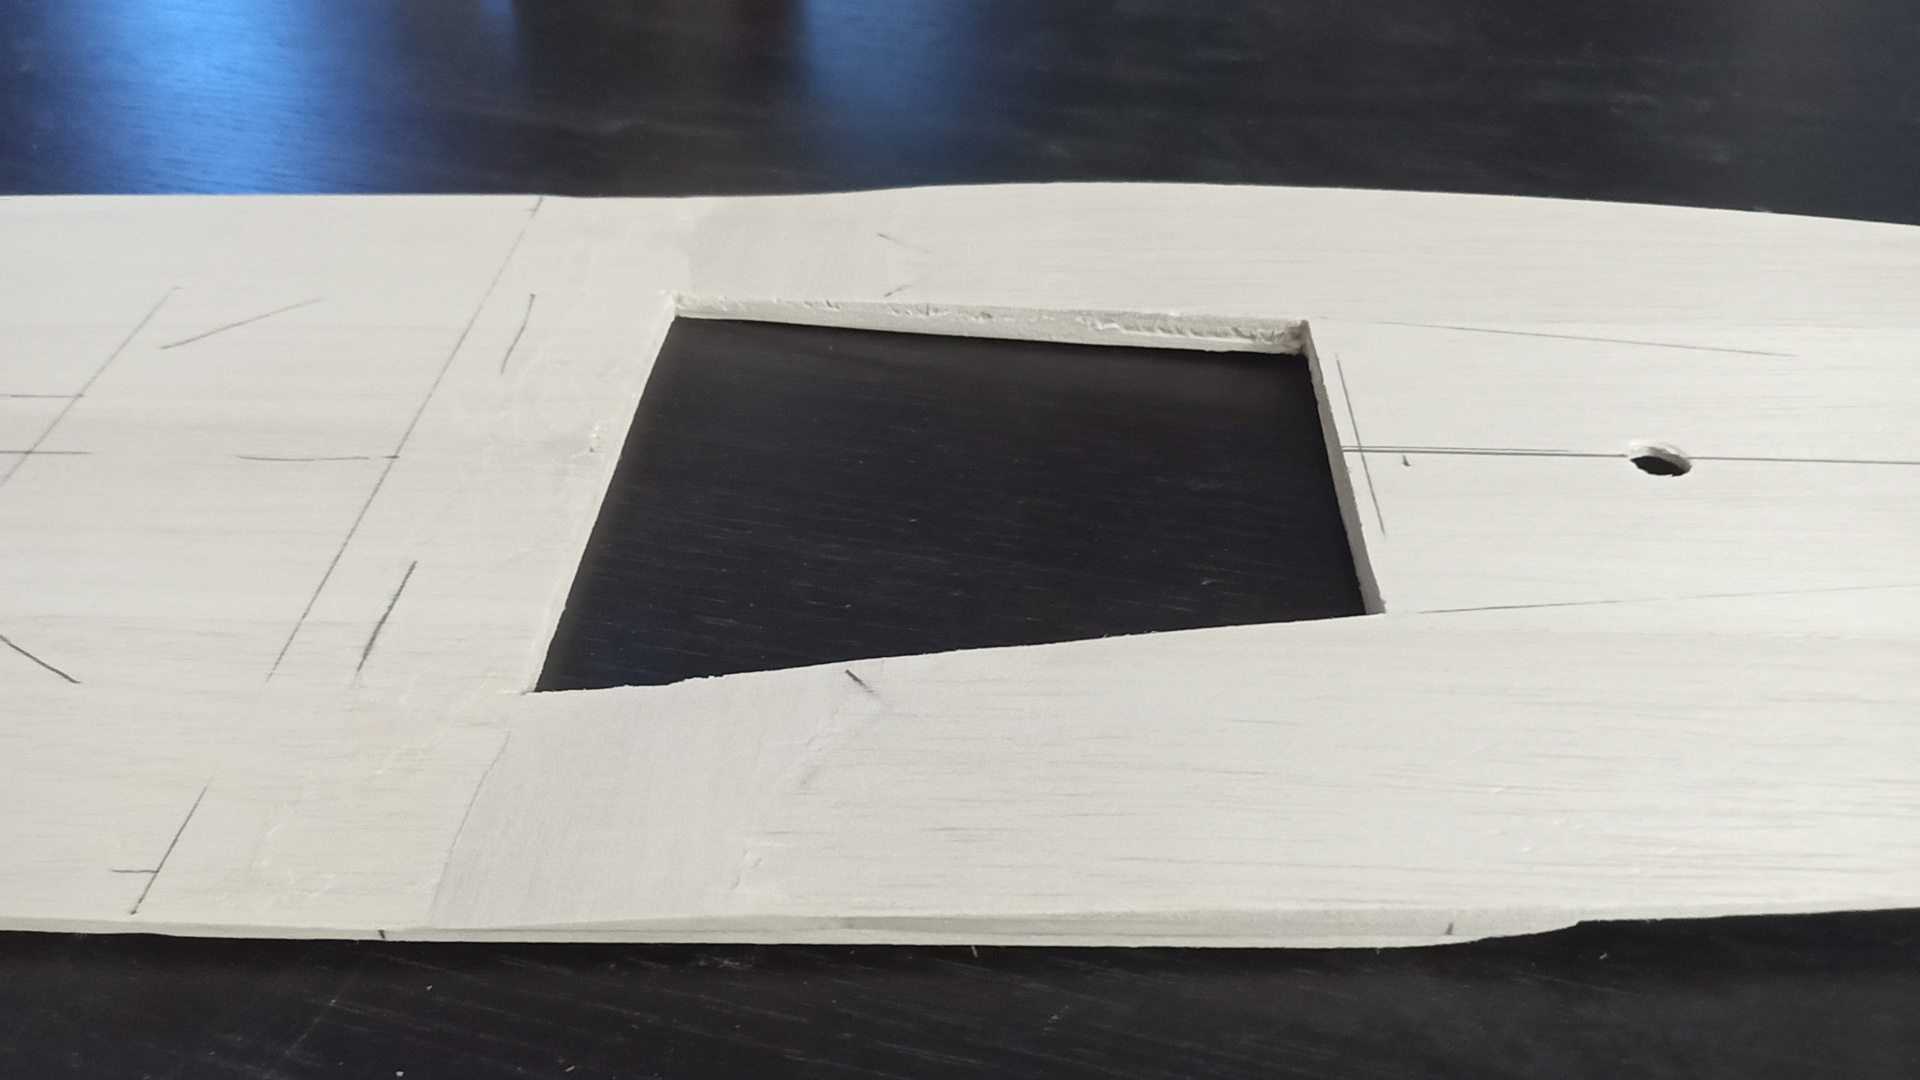
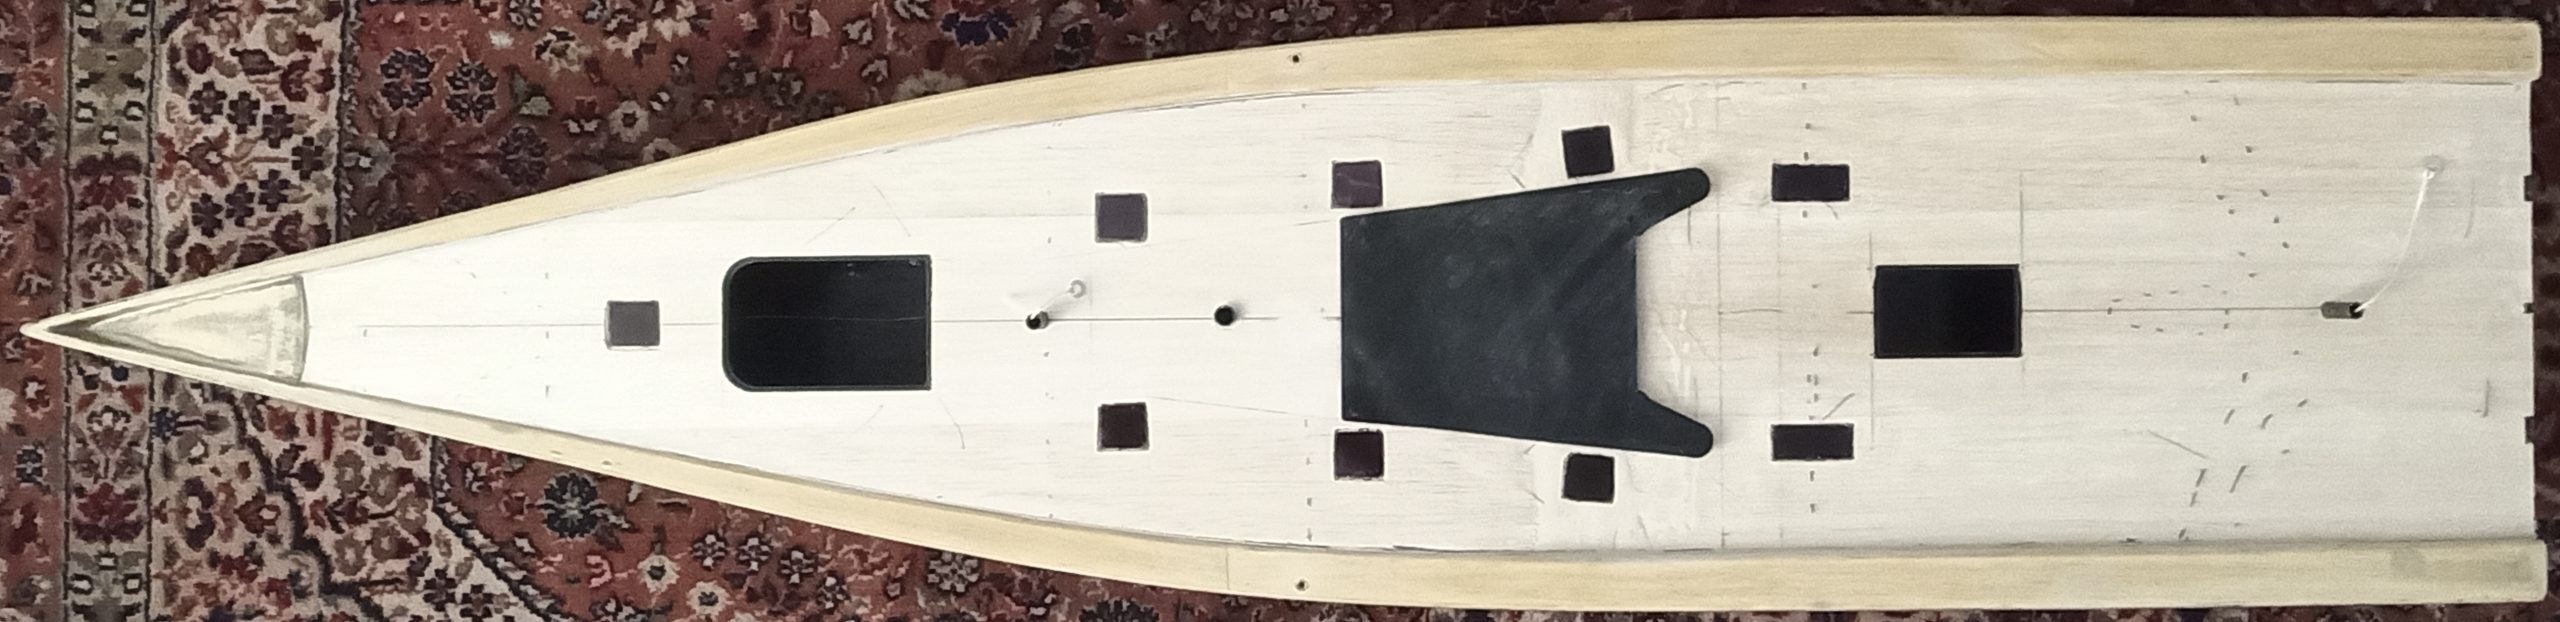
![Tango deck prepared](https://guillaumeplayground.net/wp-content/uploads/2021/01/IMG_20210110_104134_4.jpg)
*Tango deck prepared – 3mm balsa sheet assembled*
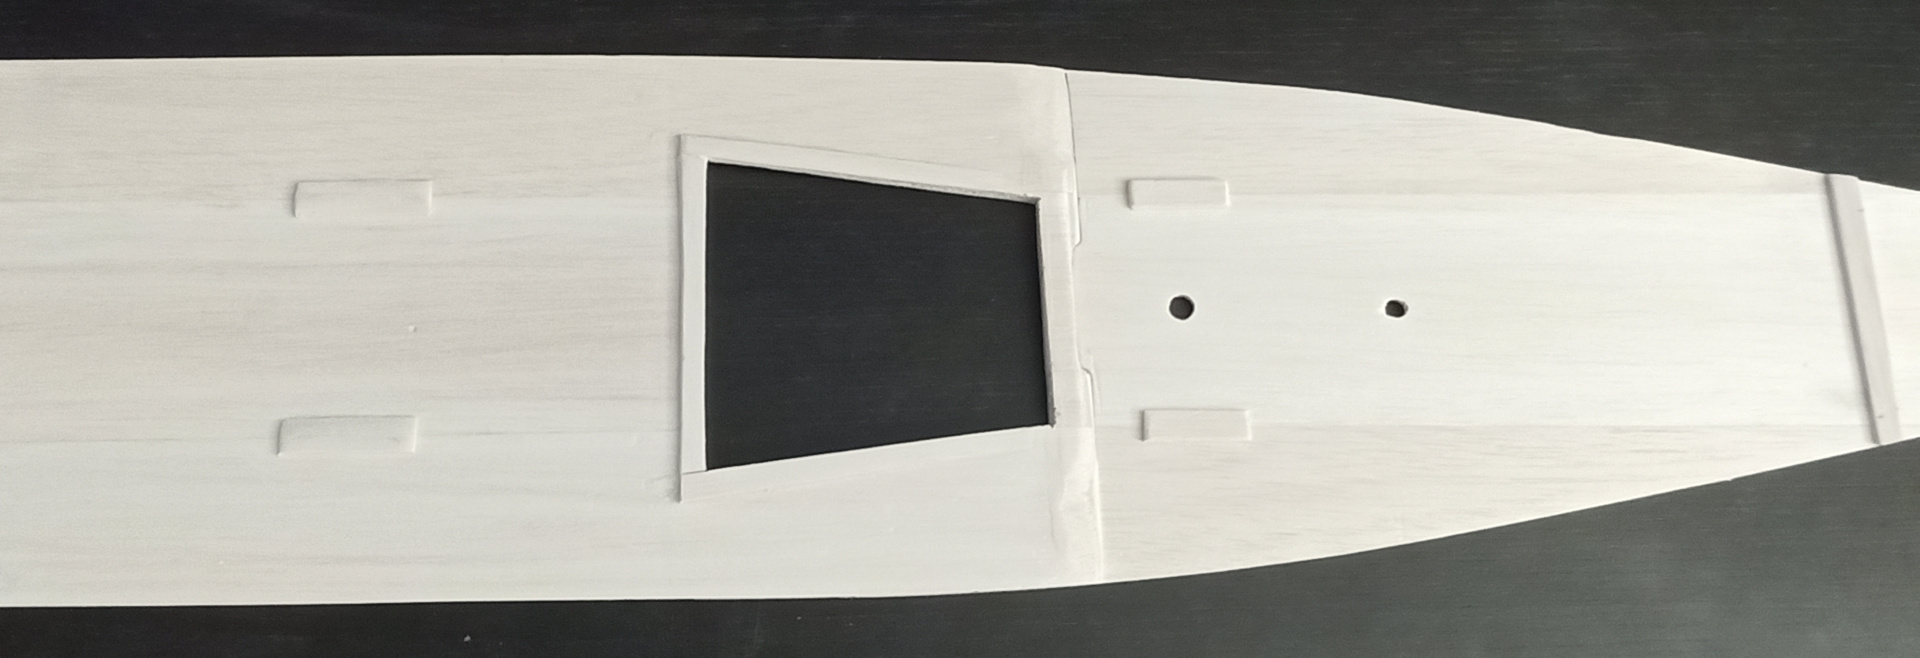
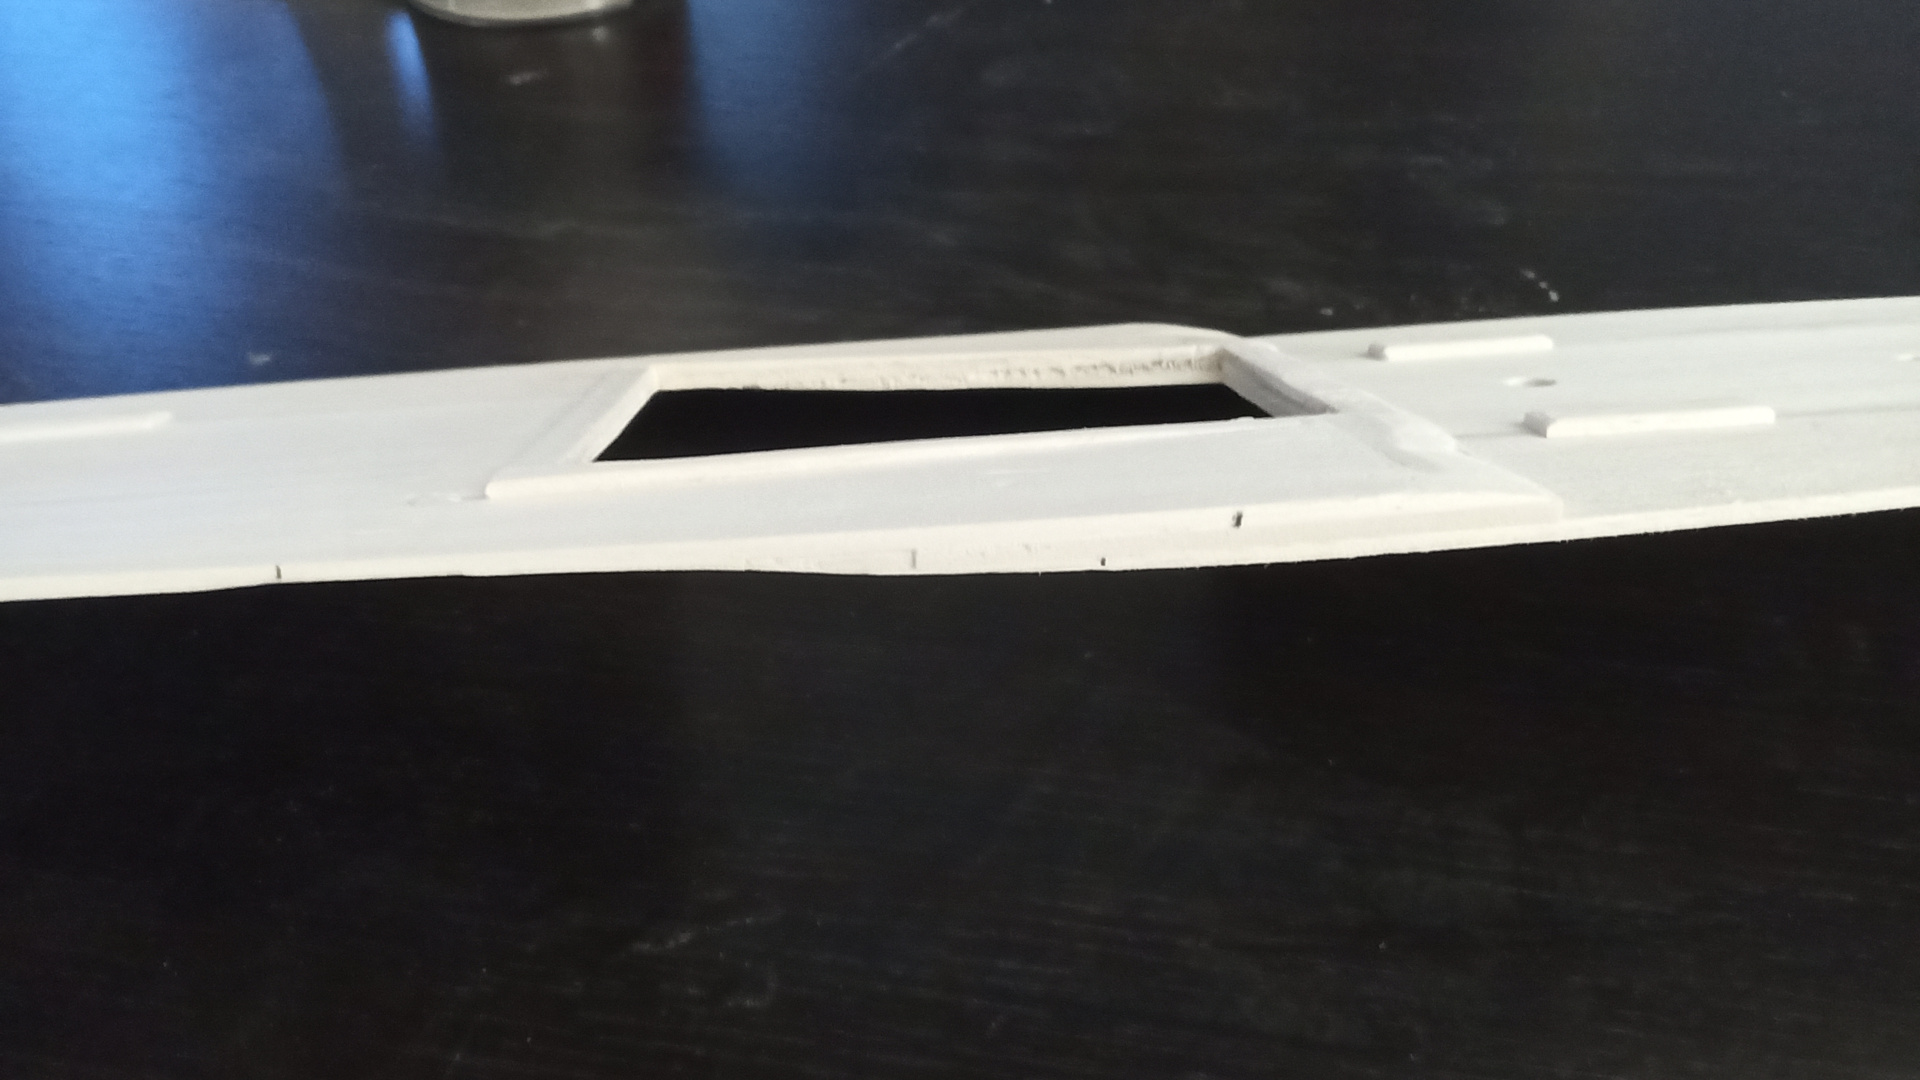
![Deck step with hatch](https://guillaumeplayground.net/wp-content/uploads/2021/01/IMG_20210116_170625_3.jpg)
*Deck step with hatch*

![Deck curve](https://guillaumeplayground.net/wp-content/uploads/2021/01/IMG_20210116_170637_3.jpg)
*Deck curve*

![Wally Tango superyacht RC at 1:25 scale – Deck fitting](https://guillaumeplayground.net/wp-content/uploads/2021/01/IMG_20210116_170643_9.jpg)

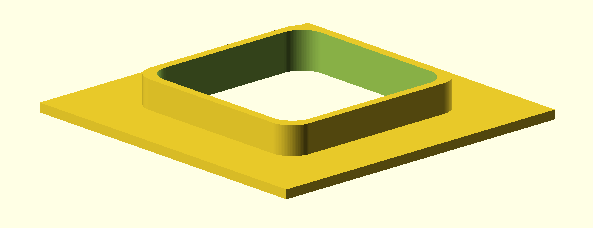
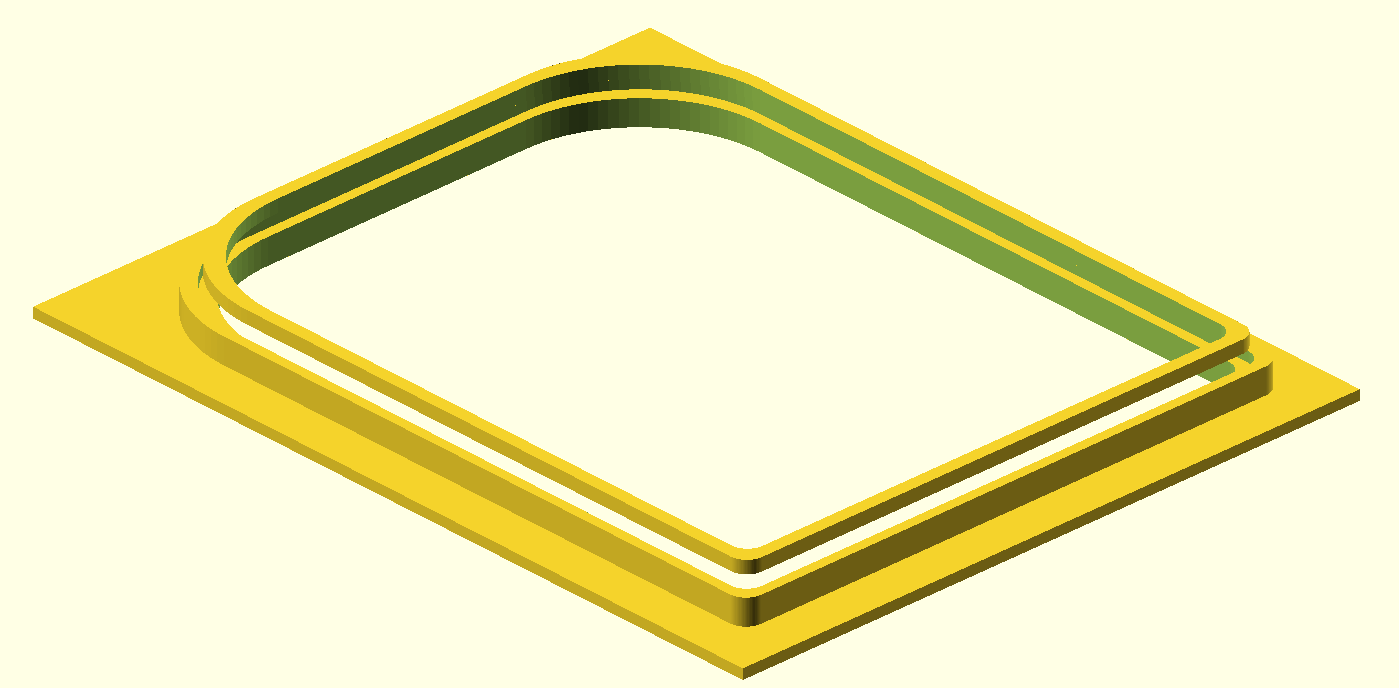
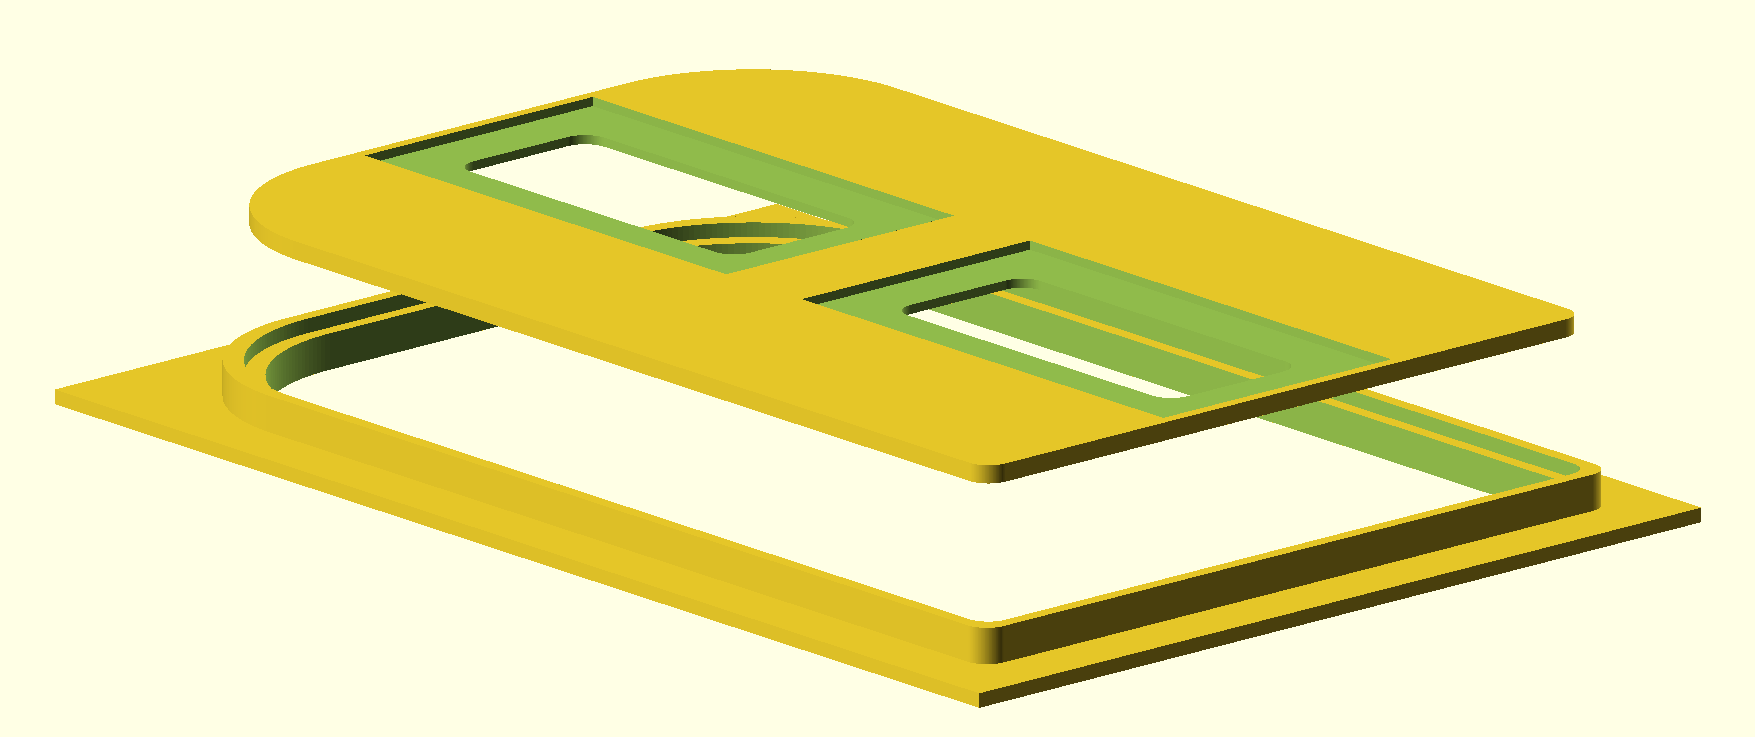
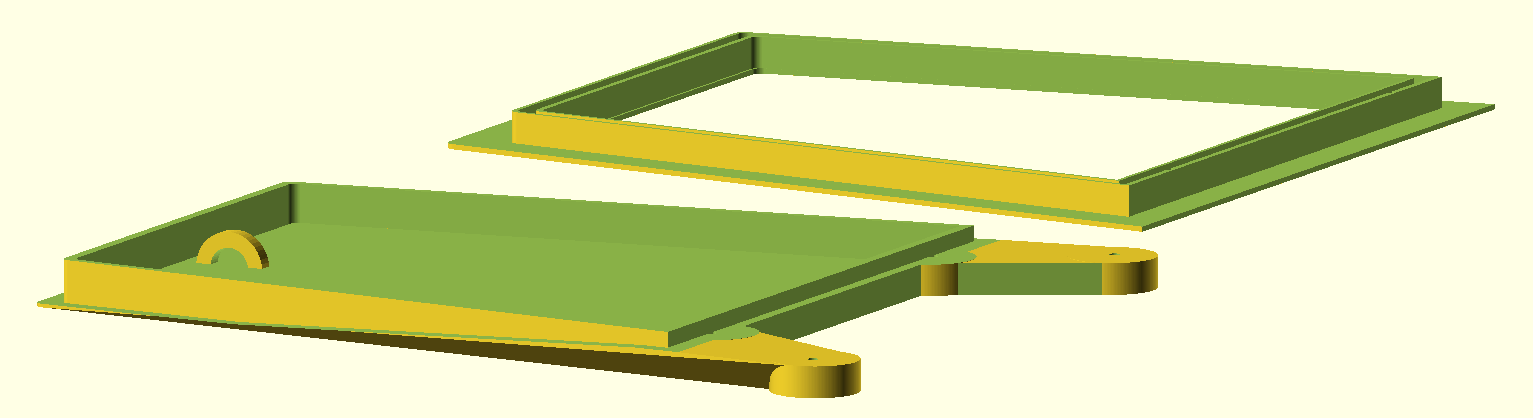
Openscad designed hatch

📎 [hatch](https://guillaumeplayground.net/wp-content/uploads/2021/01/hatch.zip)
![Wally Tango superyacht RC at 1:25 scale – Deck fitting](https://guillaumeplayground.net/wp-content/uploads/2021/01/scrot-2021-01-24_1533x418.png)

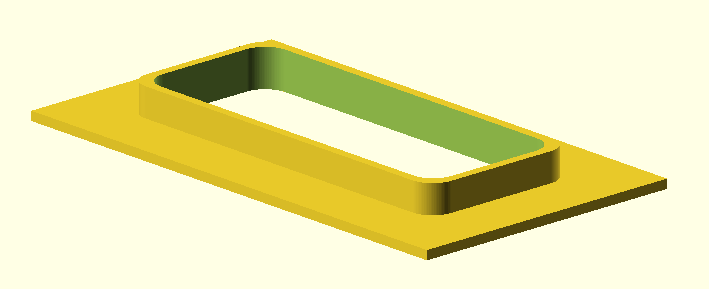
📎 [openings](https://guillaumeplayground.net/wp-content/uploads/2021/01/openings.zip)
![Wally Tango superyacht RC at 1:25 scale – Deck fitting](https://guillaumeplayground.net/wp-content/uploads/2021/01/scrot-2021-01-27_709x289.png)

![Wally Tango superyacht RC at 1:25 scale – Deck fitting](https://guillaumeplayground.net/wp-content/uploads/2021/01/scrot-2021-01-27_593x228.png)

![Wally Tango superyacht RC at 1:25 scale – Deck fitting](https://guillaumeplayground.net/wp-content/uploads/2021/01/scrot-2021-01-27_1399x688.png)

![Wally Tango superyacht RC at 1:25 scale – Deck fitting](https://guillaumeplayground.net/wp-content/uploads/2021/01/scrot-2021-01-27_1755x737.png)

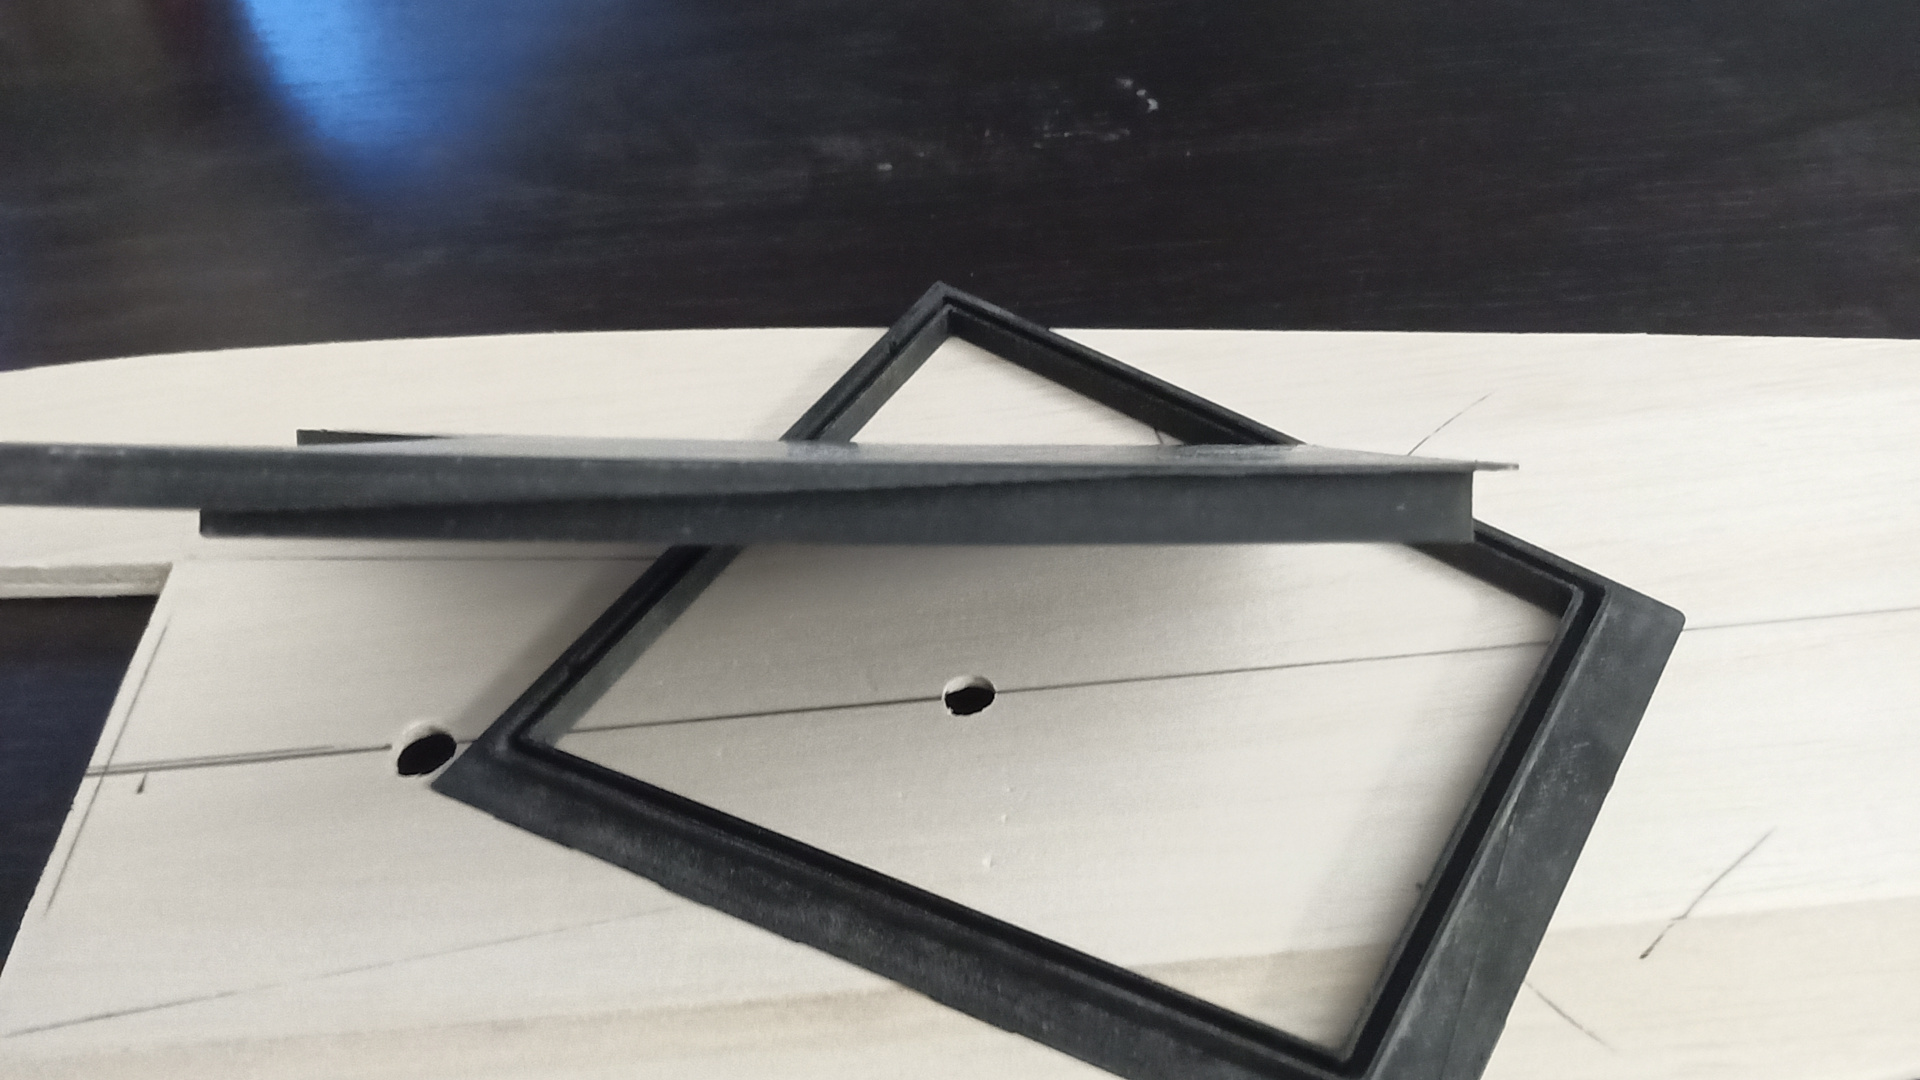
![3d printed hatch - curved](https://guillaumeplayground.net/wp-content/uploads/2021/01/IMG_20210116_170708_0.jpg)
*3d printed hatch – curved*

![Prepared for closing](https://guillaumeplayground.net/wp-content/uploads/2021/01/IMG_20210123_151447_0.jpg)
*Prepared – with placeholder strings.I added a white window frame in hope to enhance the light effect through the tainted acrylic.*
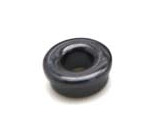
![Strings are guided by carbon tube sections ended with fishing ceramic ring](https://guillaumeplayground.net/wp-content/uploads/2021/01/H14dc5b40d0584cf6821f8e3cf1bf9642i.jpg)
*Strings are guided by carbon tube sections ended with fishing ceramic ring*

One more G4 primer everywhere to seal wood – light sanding…

![Final opened Tango.](https://guillaumeplayground.net/wp-content/uploads/2021/01/IMG_20210123_151403_6.jpg)
*Final opened Tango… ready for deck gluing*

Finally it is clear the hatch position is a bit backward… it was mandatory to access the electronic properly… and let enough space for the keel box. I kept the proportion somewhat correct.  
The windows are going to look normal (smaller) with the planking covering.

![Wally Tango superyacht RC at 1:25 scale – Deck fitting](https://guillaumeplayground.net/wp-content/uploads/2021/01/tango_deck.jpg)

![Tango deck fixed – slow epoxy with microballoon and waterproofed with epoxy putty](https://guillaumeplayground.net/wp-content/uploads/2021/01/IMG_20210129_005441_1-scaled.jpg)
*Tango deck fixed – slow epoxy with microballoon and waterproofed with epoxy putty*

## BULB

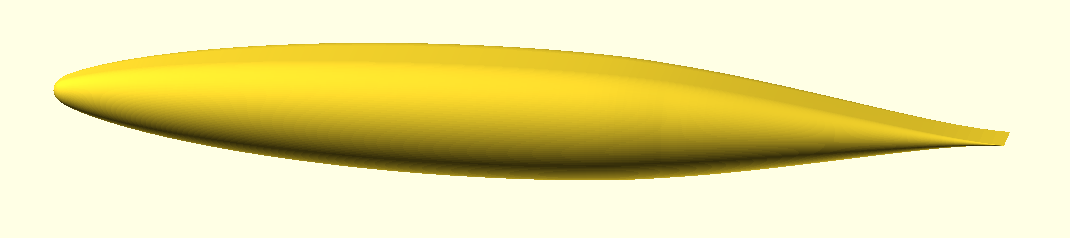
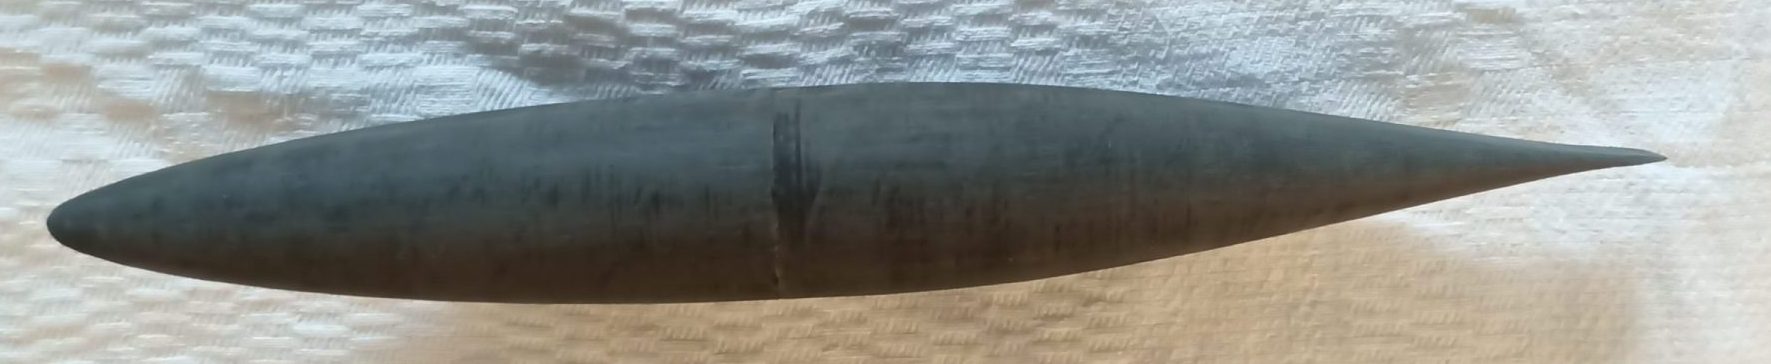
I prepared a new generic openSCAD module to generate bulb based on a naca (or any) profile.  
Code is available here: full code package [Github](https://github.com/guillaumef/naca-parametric-bulb) and presentation on [Thingiverse](https://www.thingiverse.com/thing:4747204).  
And more airfoils on my [Github airfoil database](https://github.com/guillaumef/openscad-airfoil).

Based on different pictures and profiles informations, I selected the profile naca 66-012 and applied a flatten ellipse section.  
Naca 66-012 provides a low drag in straight and level movement.  
My STL files: [P1](https://github.com/guillaumef/naca-parametric-bulb/blob/main/examples/bulb-naca-66-012-fellipse-beaver-p1.stl) , [P2](https://github.com/guillaumef/naca-parametric-bulb/blob/main/examples/bulb-naca-66-012-fellipse-beaver-p2.stl)  
It happened to look a lot like the original.
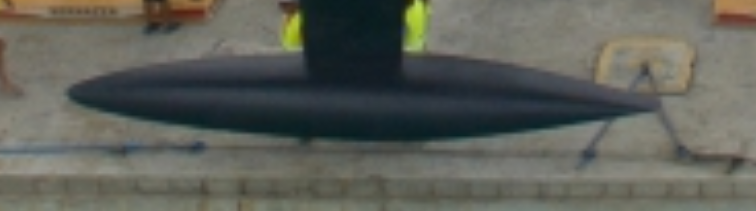
![Real bulb](https://guillaumeplayground.net/wp-content/uploads/2021/02/scrot-2021-02-03_756x211.png)

![Bulb with the beaver tail](https://guillaumeplayground.net/wp-content/uploads/2021/02/scrot-2021-02-03_1070x238.png)
*Bulb with the beaver tail*

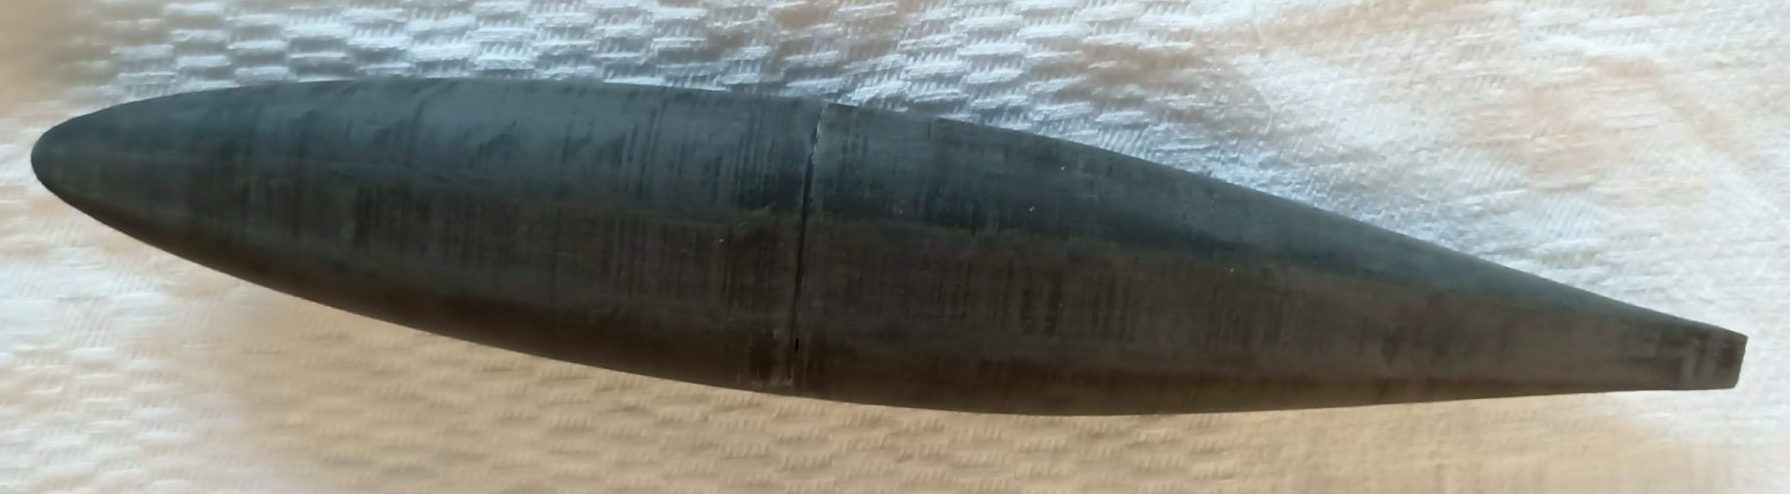
![bulb naca 066-018 scaled](https://guillaumeplayground.net/wp-content/uploads/2021/02/IMG_20210205_111523_4-scaled-e1612520549297.jpg)
*3d printed and sanded*

![bulb naca 066-018 scaled](https://guillaumeplayground.net/wp-content/uploads/2021/02/IMG_20210205_111515_2-scaled-e1612520514631.jpg)
*3d printed and sanded*

![Lead bulb](https://guillaumeplayground.net/wp-content/uploads/2021/02/IMG_20210209_211717_0-scaled-e1612953460678.jpg)
*Lead bulb*

![bulb keel](https://guillaumeplayground.net/wp-content/uploads/2021/02/IMG_20210210_113236_1-scaled-e1612953397803.jpg)
*keel & bulb (landing at 2Kg for the bulb)*

## HULL PAINT

Always a long, time consuming and painful process to get a good result.  
One wet sanding 600, one paint layer to check surface, one sanding 400 + one wet 800… and two paint layers.
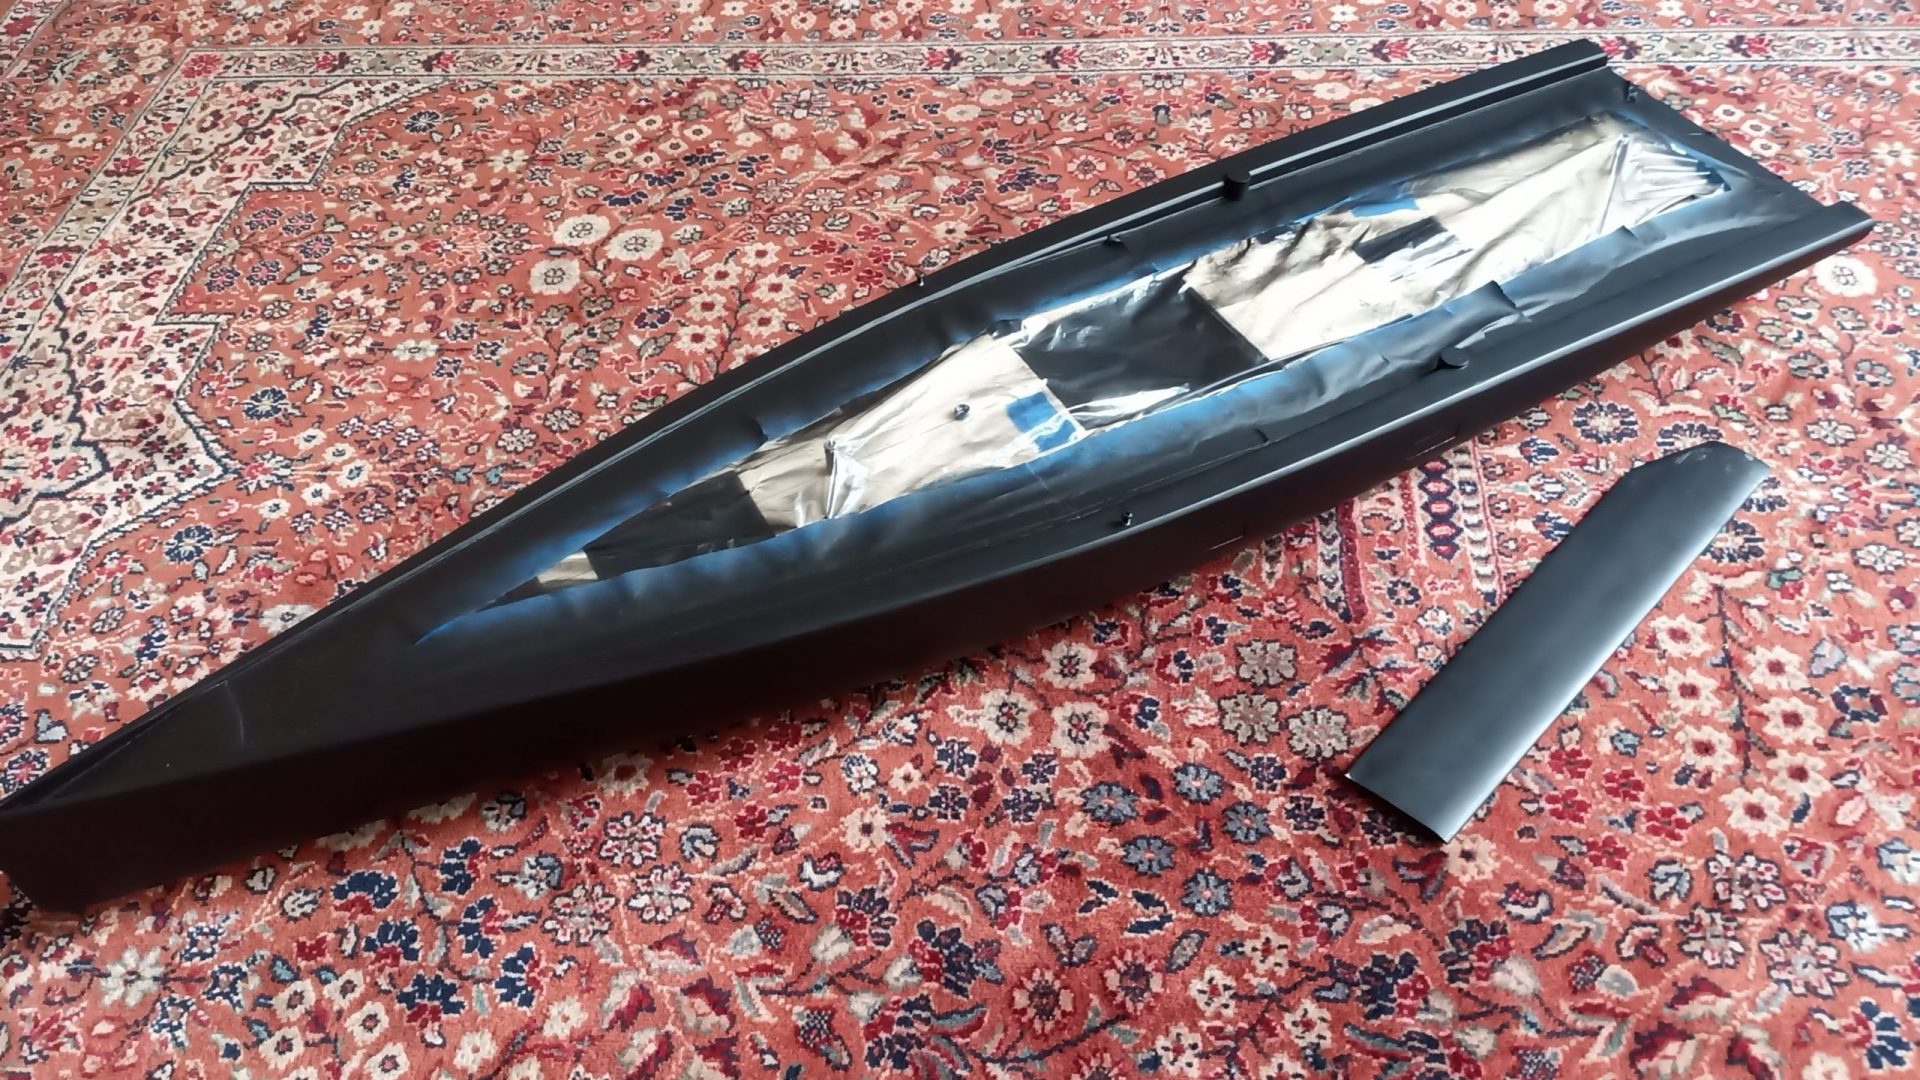
![carbon black spraypaint](https://guillaumeplayground.net/wp-content/uploads/2021/02/IMG_20210205_111404_5-scaled-e1612520273453.jpg)
*pur mat carbon black first – after first layer*
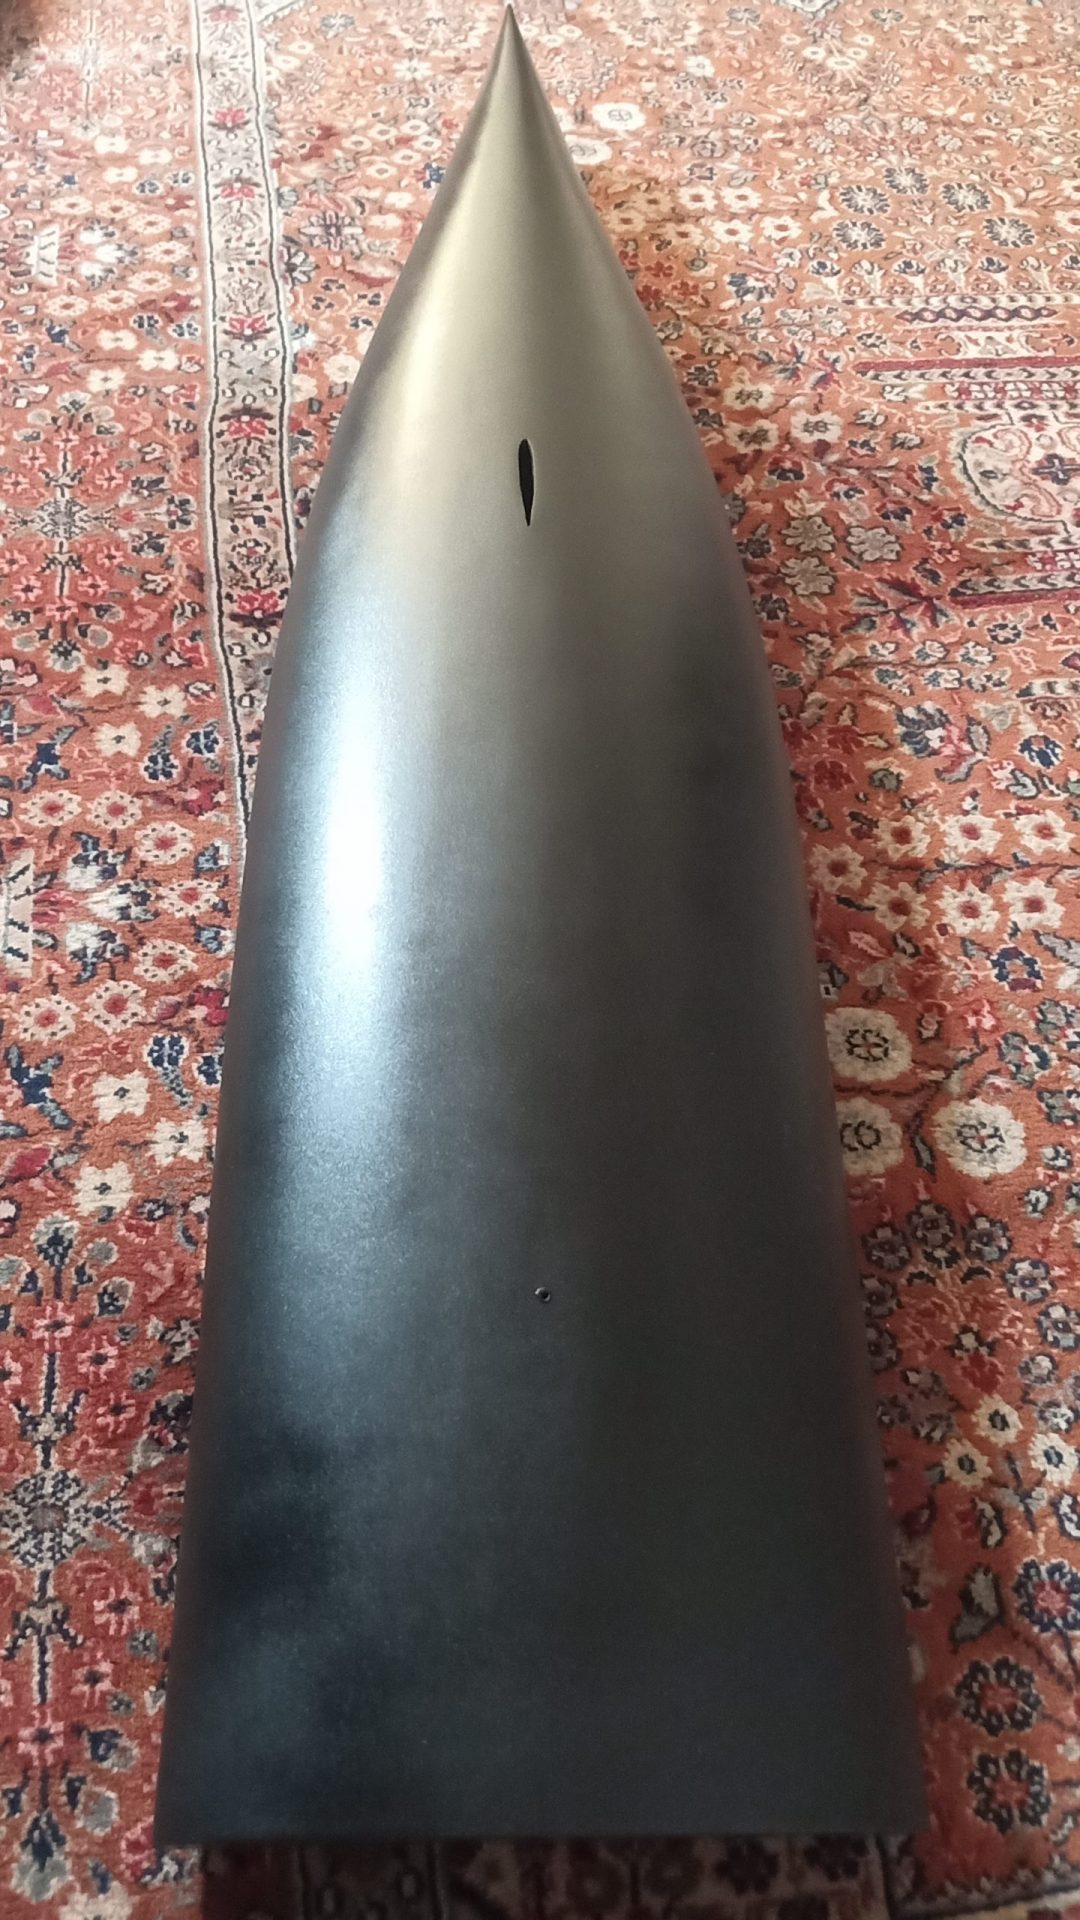
![First varnish layer](https://guillaumeplayground.net/wp-content/uploads/2021/02/IMG_20210208_025838_3-scaled-e1612749861702.jpg)
*First varnish layer*

![Like the original: Hull: gloss finish (need polishing) rudder, keel, bulb, mast/boom: mat finish](https://guillaumeplayground.net/wp-content/uploads/2021/02/IMG_20210210_162244_1-1-scaled-e1612970761509.jpg)
*Like the original:Hull: gloss finish (need polishing)rudder, keel, bulb, mast/boom: mat finish*

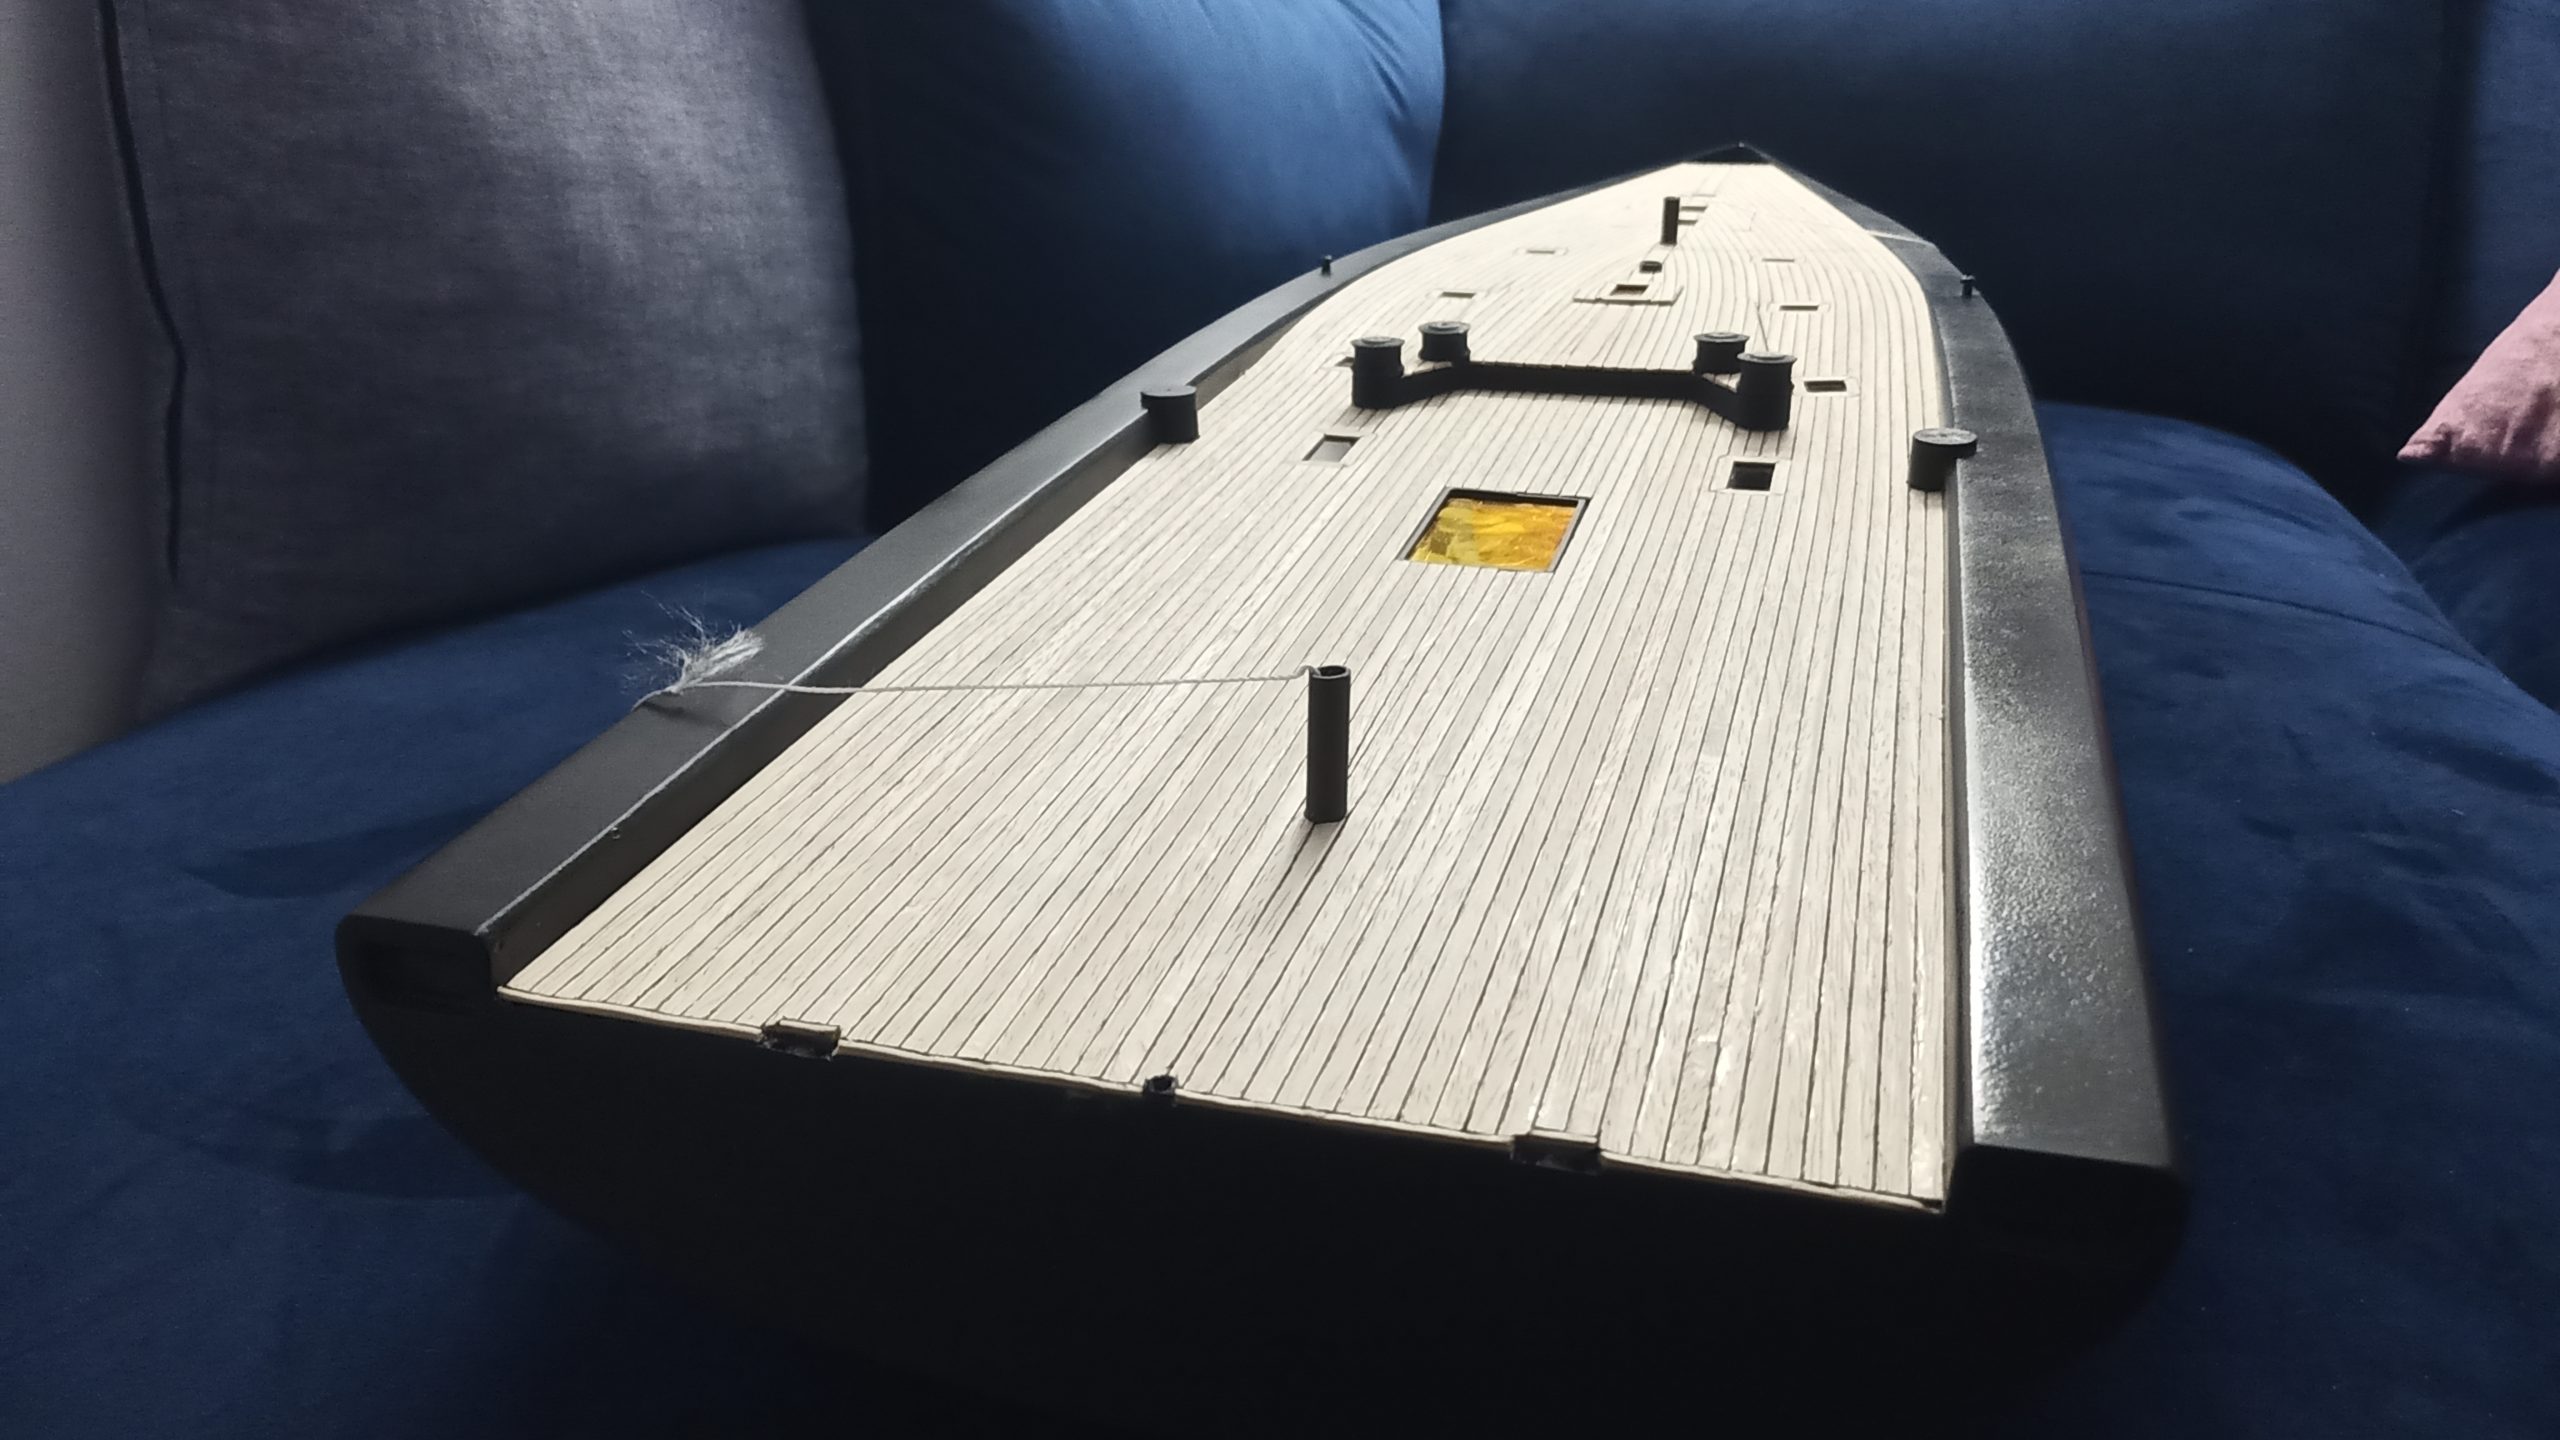
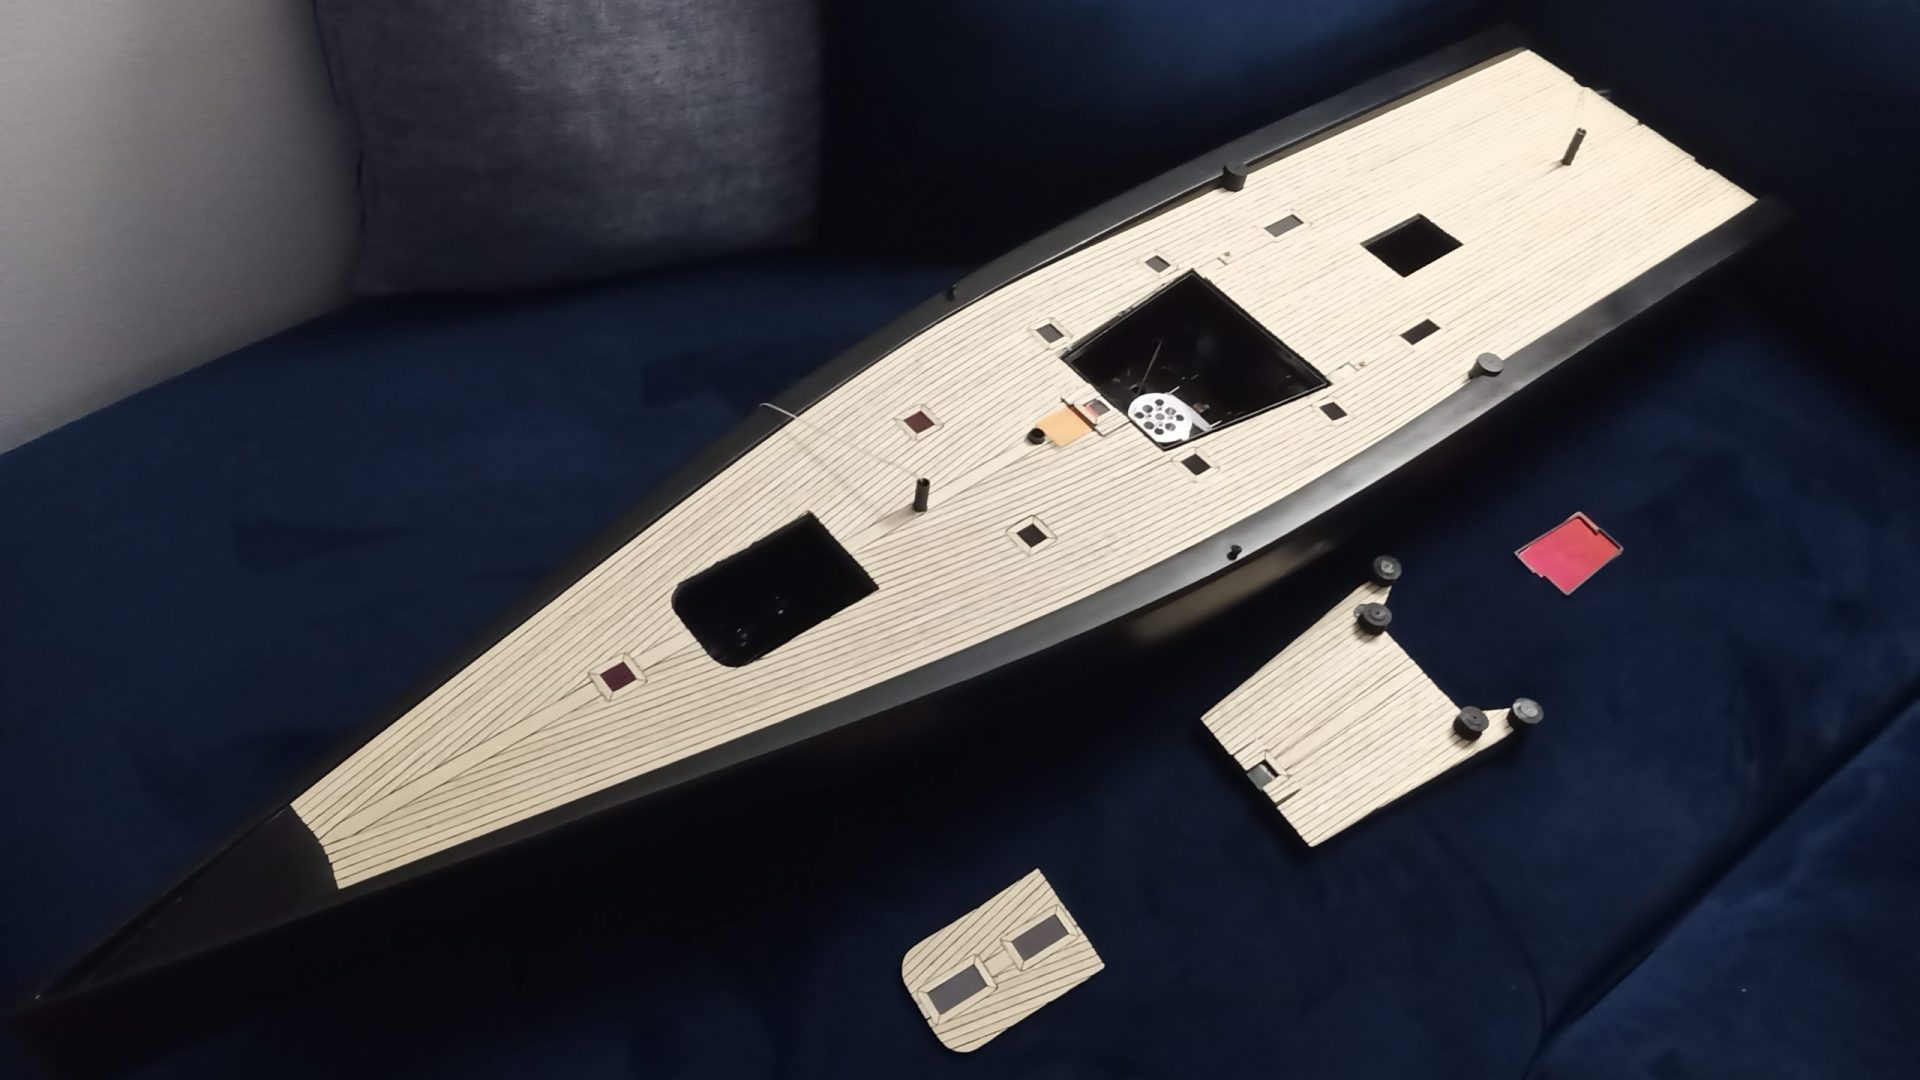
## DECK PLANKING
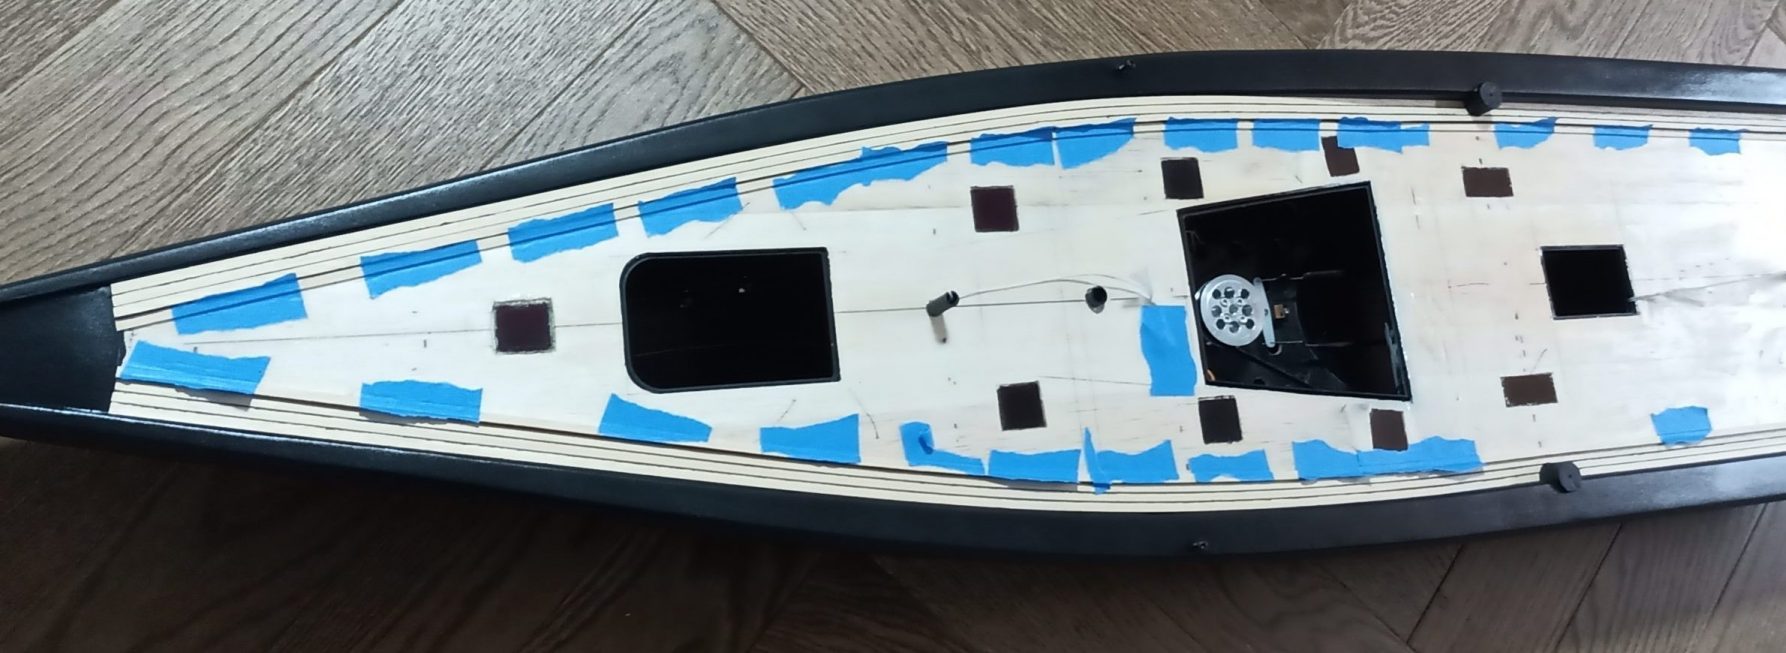
![4th row...](https://guillaumeplayground.net/wp-content/uploads/2021/02/IMG_20210217_192602_8-scaled-e1613587441651.jpg)
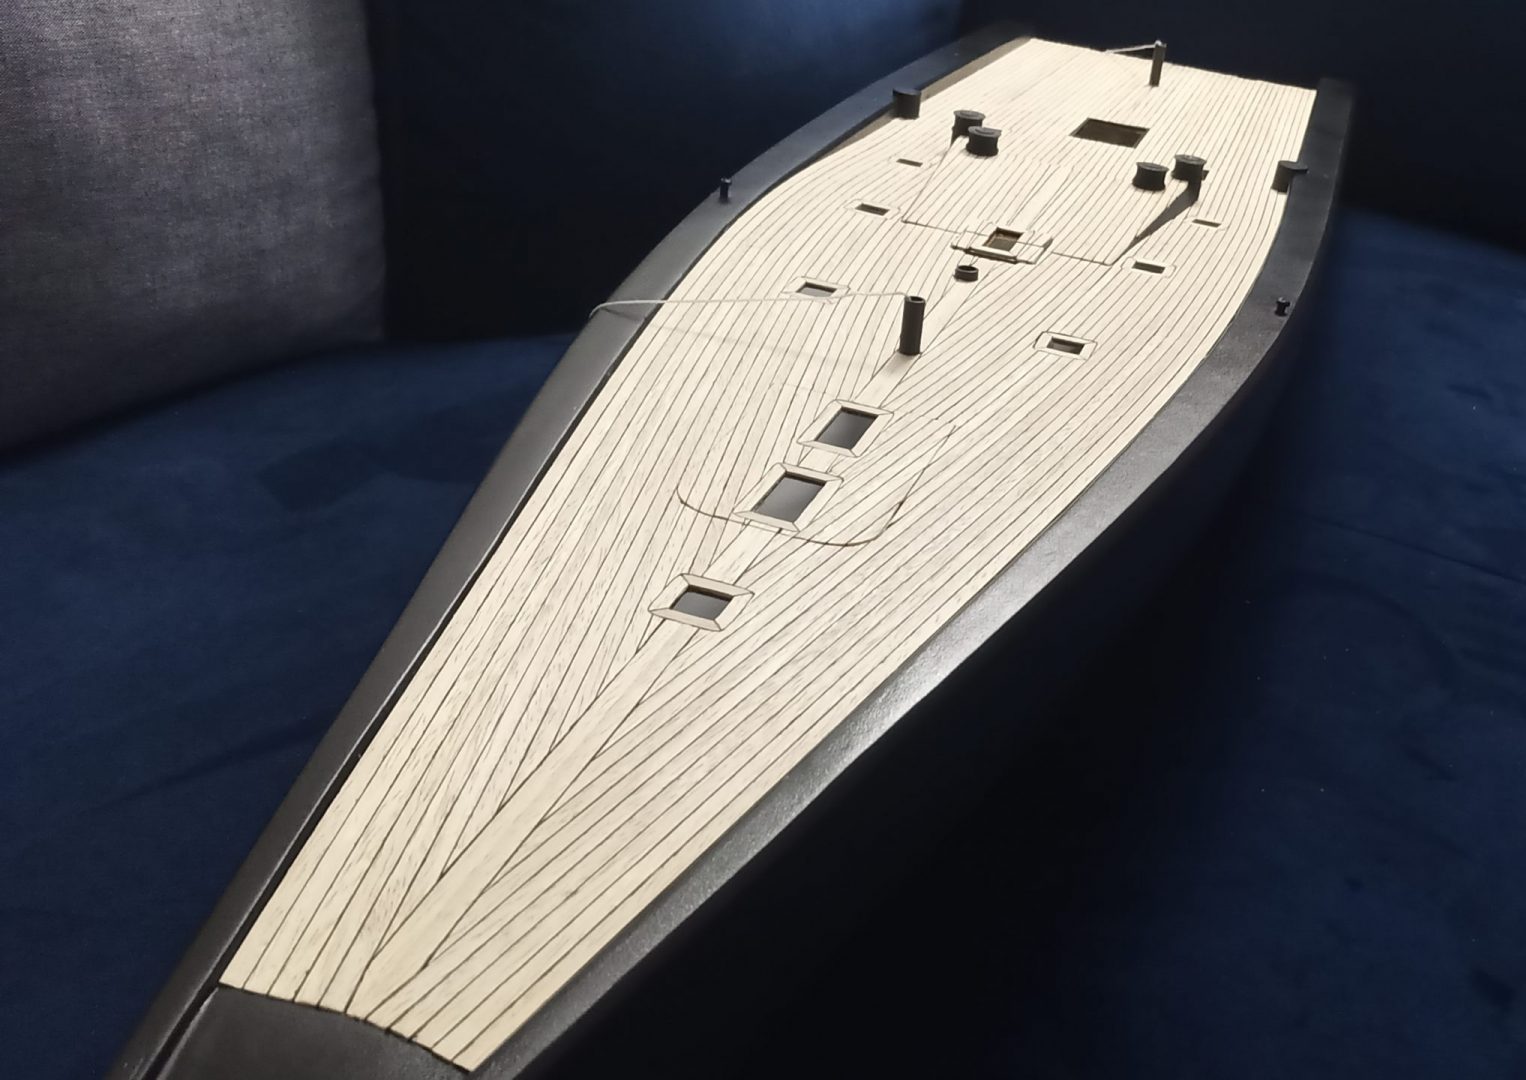
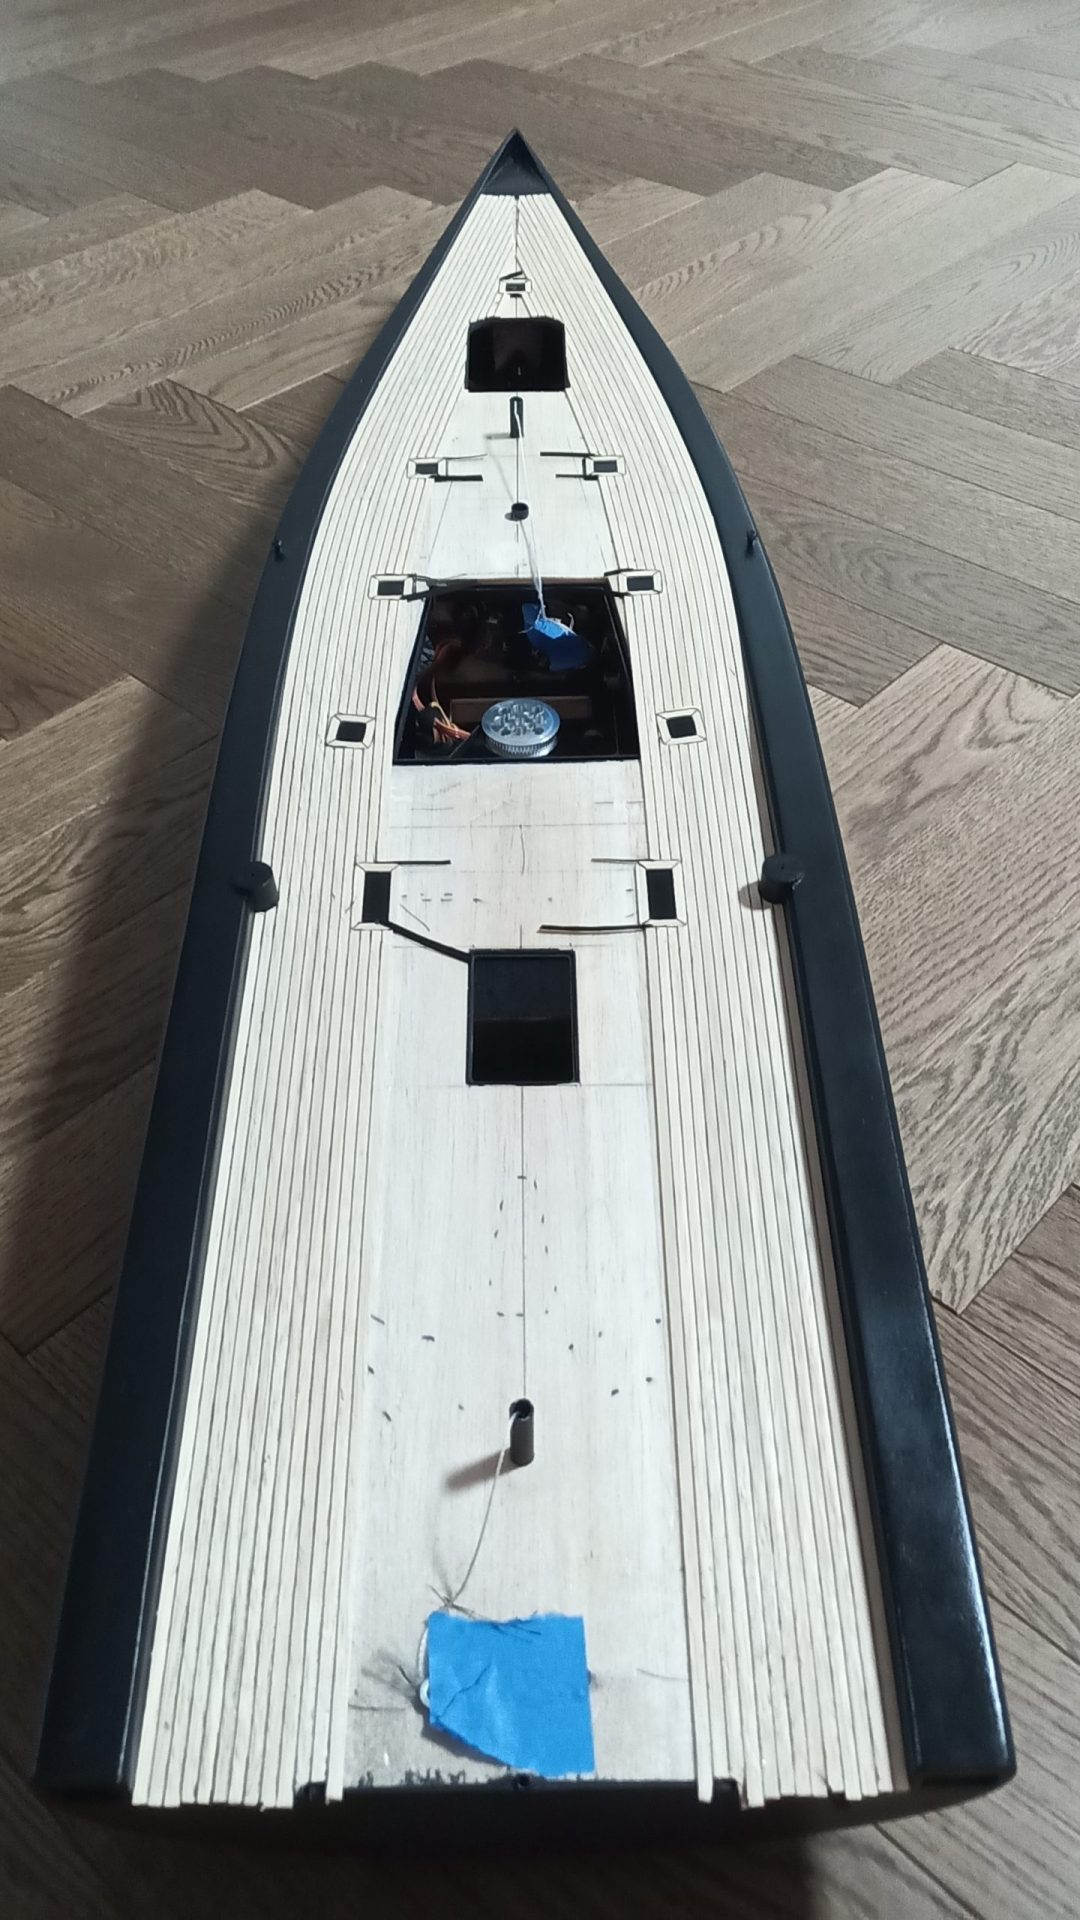
*4x1mm tilia wood, separated by 150g/m2 black paper.The paper was previously fixed with a single pass G4 and cut in 2mm strips.The glue is transparent high strength polyurethane.*
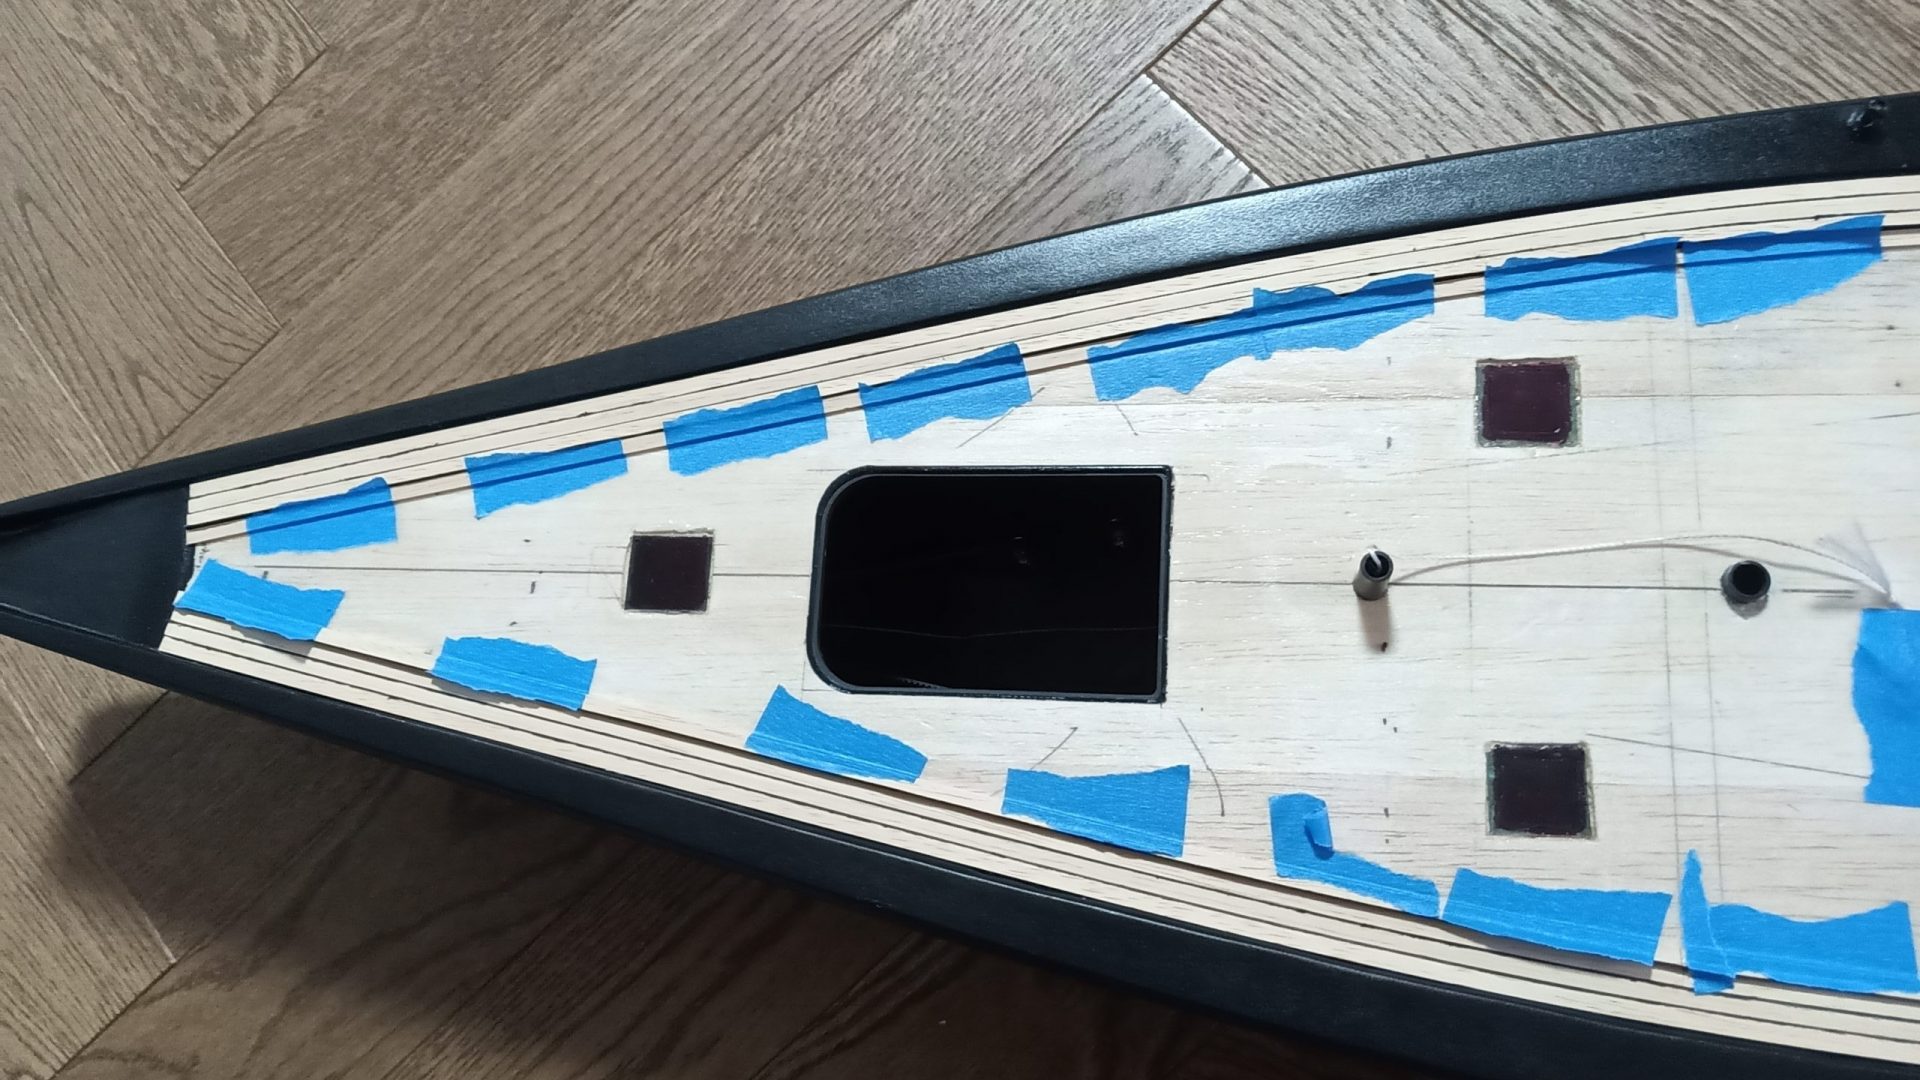
![150g black paper](https://guillaumeplayground.net/wp-content/uploads/2021/02/IMG_20210217_192621_6-scaled-e1613586554317.jpg)
*To get a hole-free fixation, pressure is maintained with blue tape.The paper excess is cut after for a glimpse of result…*
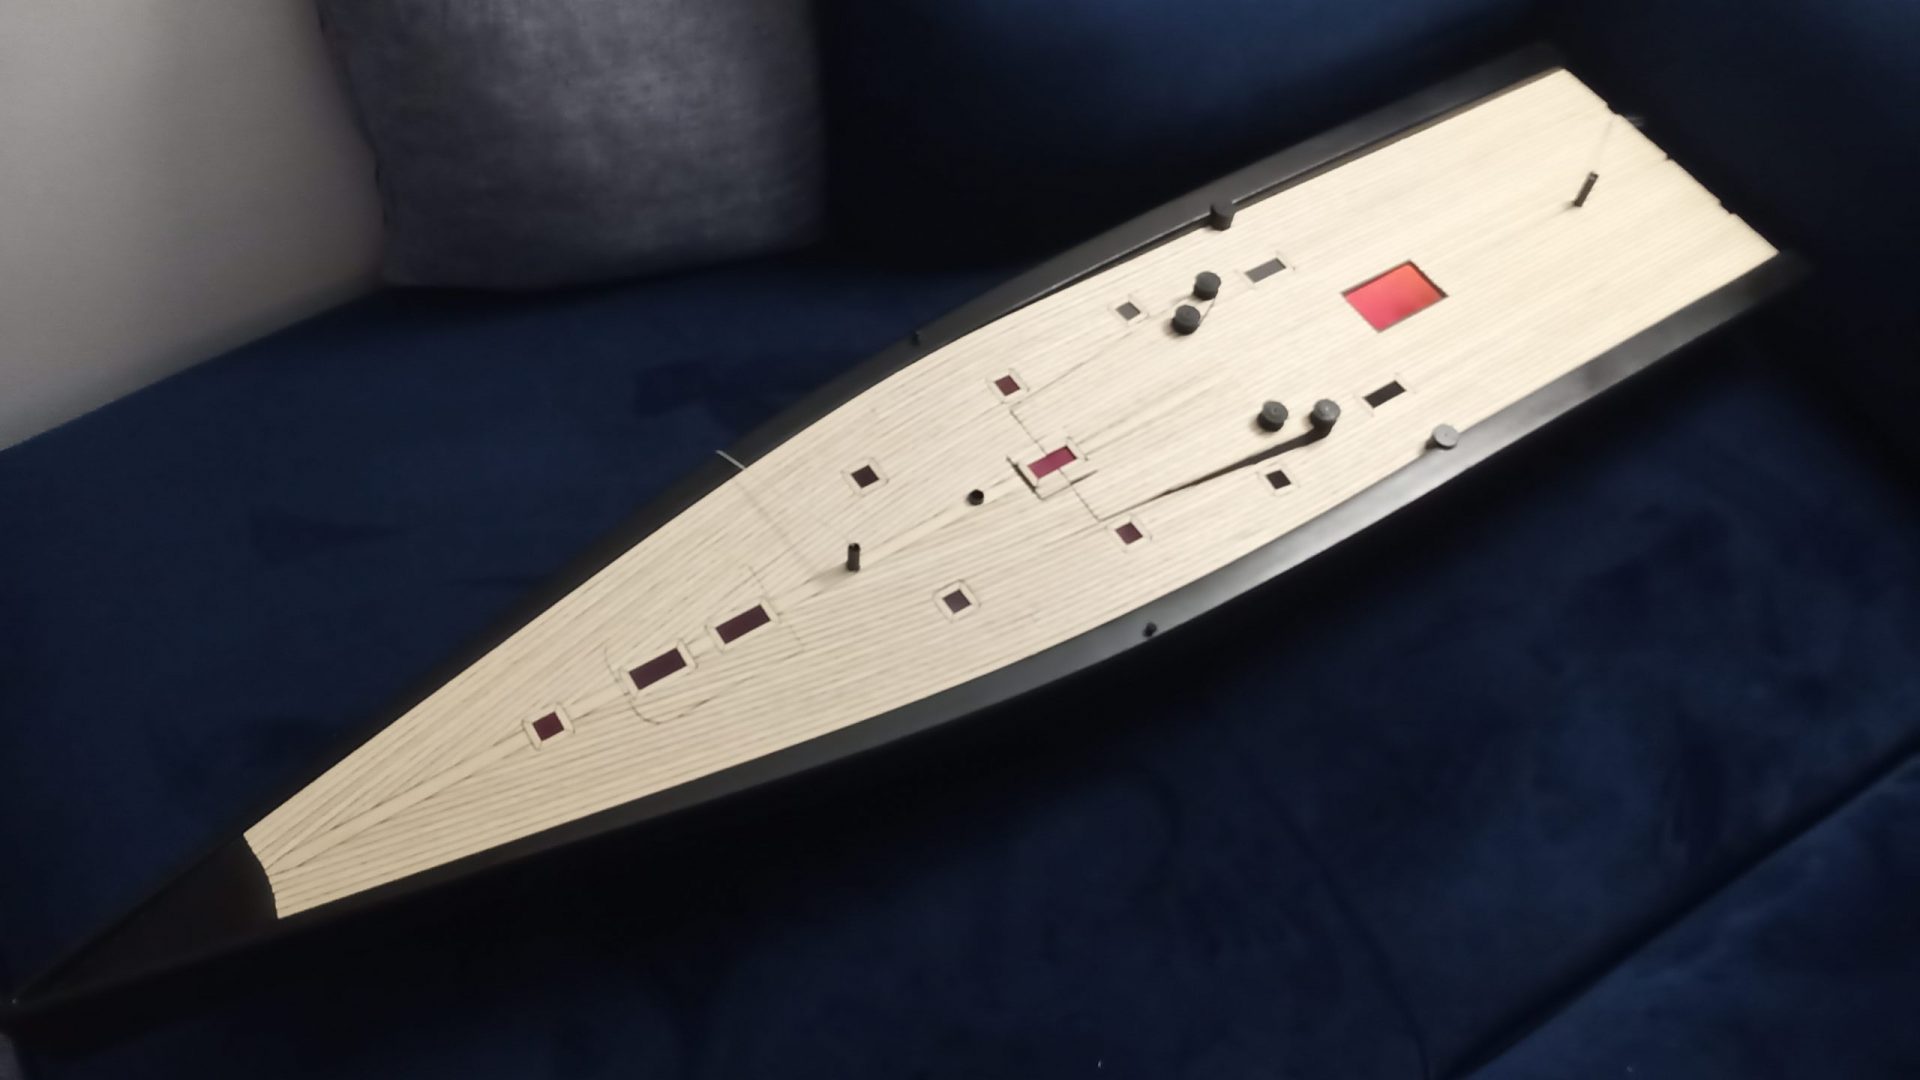
![Wally Tango superyacht RC at 1:25 scale – Deck planking](https://guillaumeplayground.net/wp-content/uploads/2021/02/IMG_20210224_205631_2-scaled-e1614197195837.jpg)

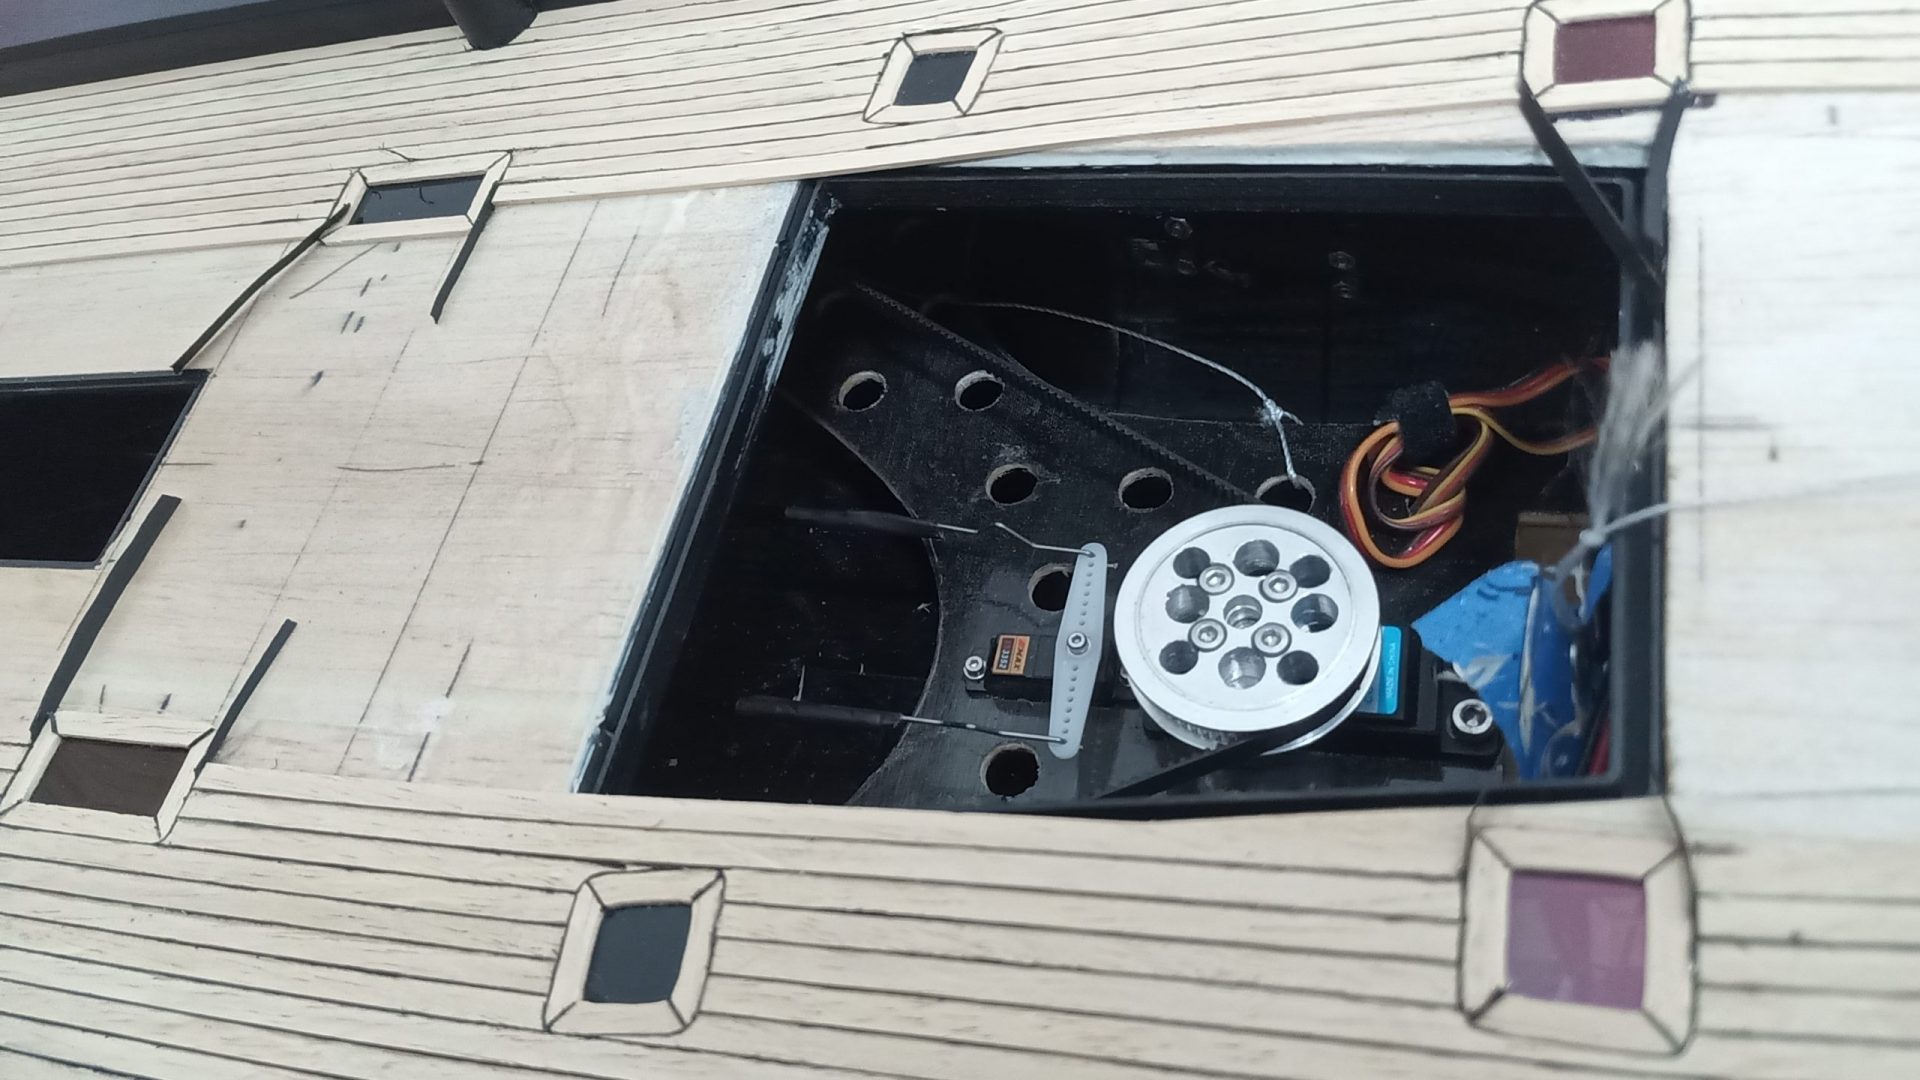
![Some details, black paper trimmed a bit. Unfinished](https://guillaumeplayground.net/wp-content/uploads/2021/02/IMG_20210224_211947_6-scaled-e1614198068196.jpg)
*Some details, black paper trimmed a bit. Unfinished*
![Hatch open](https://guillaumeplayground.net/wp-content/uploads/2021/03/IMG_20210313_190915_0-scaled-e1615659279196.jpg)

![Hatch close](https://guillaumeplayground.net/wp-content/uploads/2021/03/IMG_20210313_191048_9-scaled-e1615659330638.jpg)

![front](https://guillaumeplayground.net/wp-content/uploads/2021/03/IMG_20210313_191124_2-scaled-e1615659305996.jpg)

![Wally Tango superyacht RC at 1:25 scale – Deck planking](https://guillaumeplayground.net/wp-content/uploads/2021/03/IMG_20210313_192142_1-scaled.jpg)

## SAILS

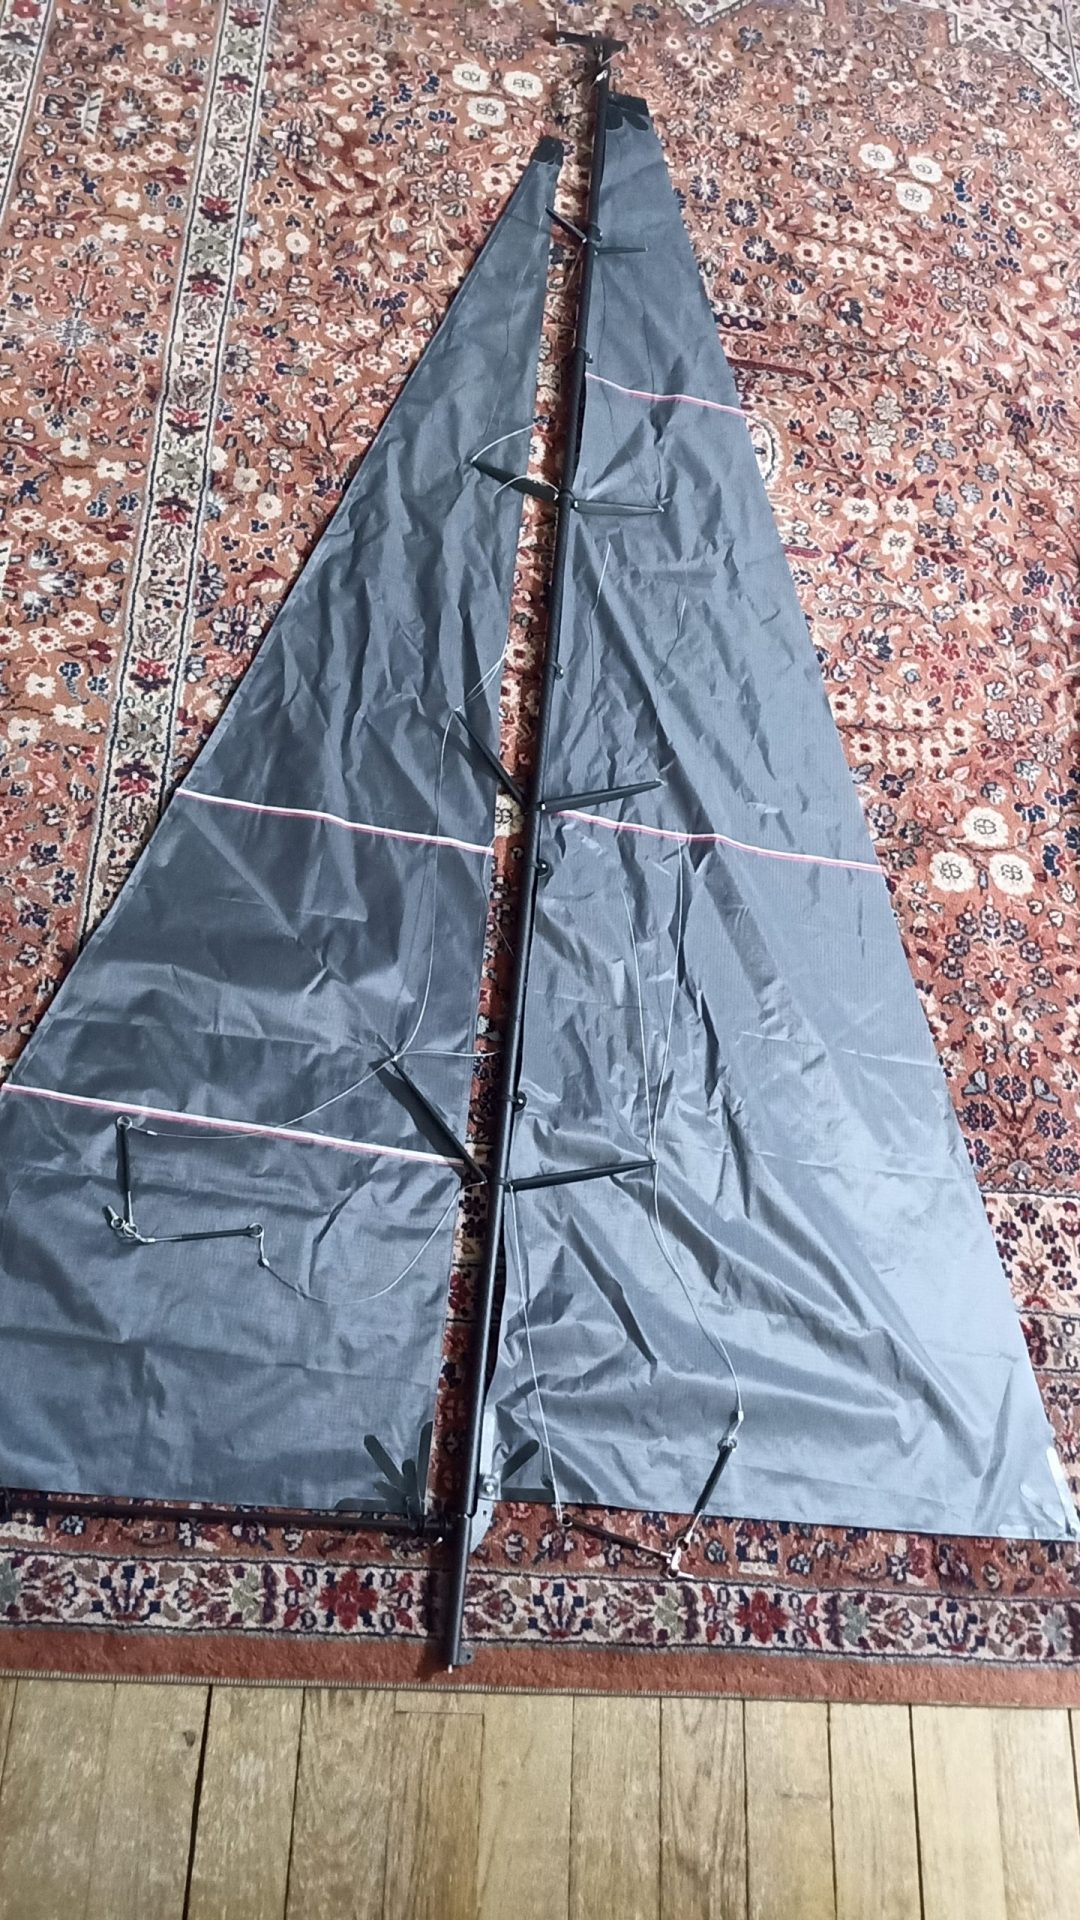
Sail making with Claudio gadget.  
Icarex / Ripstop 48gr/m2.  
8% chord.
![Sails](https://guillaumeplayground.net/wp-content/uploads/2021/05/IMG_20210502_235130_2-scaled-e1619993312493.jpg)

![Wally Tango superyacht RC at 1:25 scale – Sails](https://guillaumeplayground.net/wp-content/uploads/2021/05/IMG_20210502_235028_2-scaled-e1619993324936.jpg)

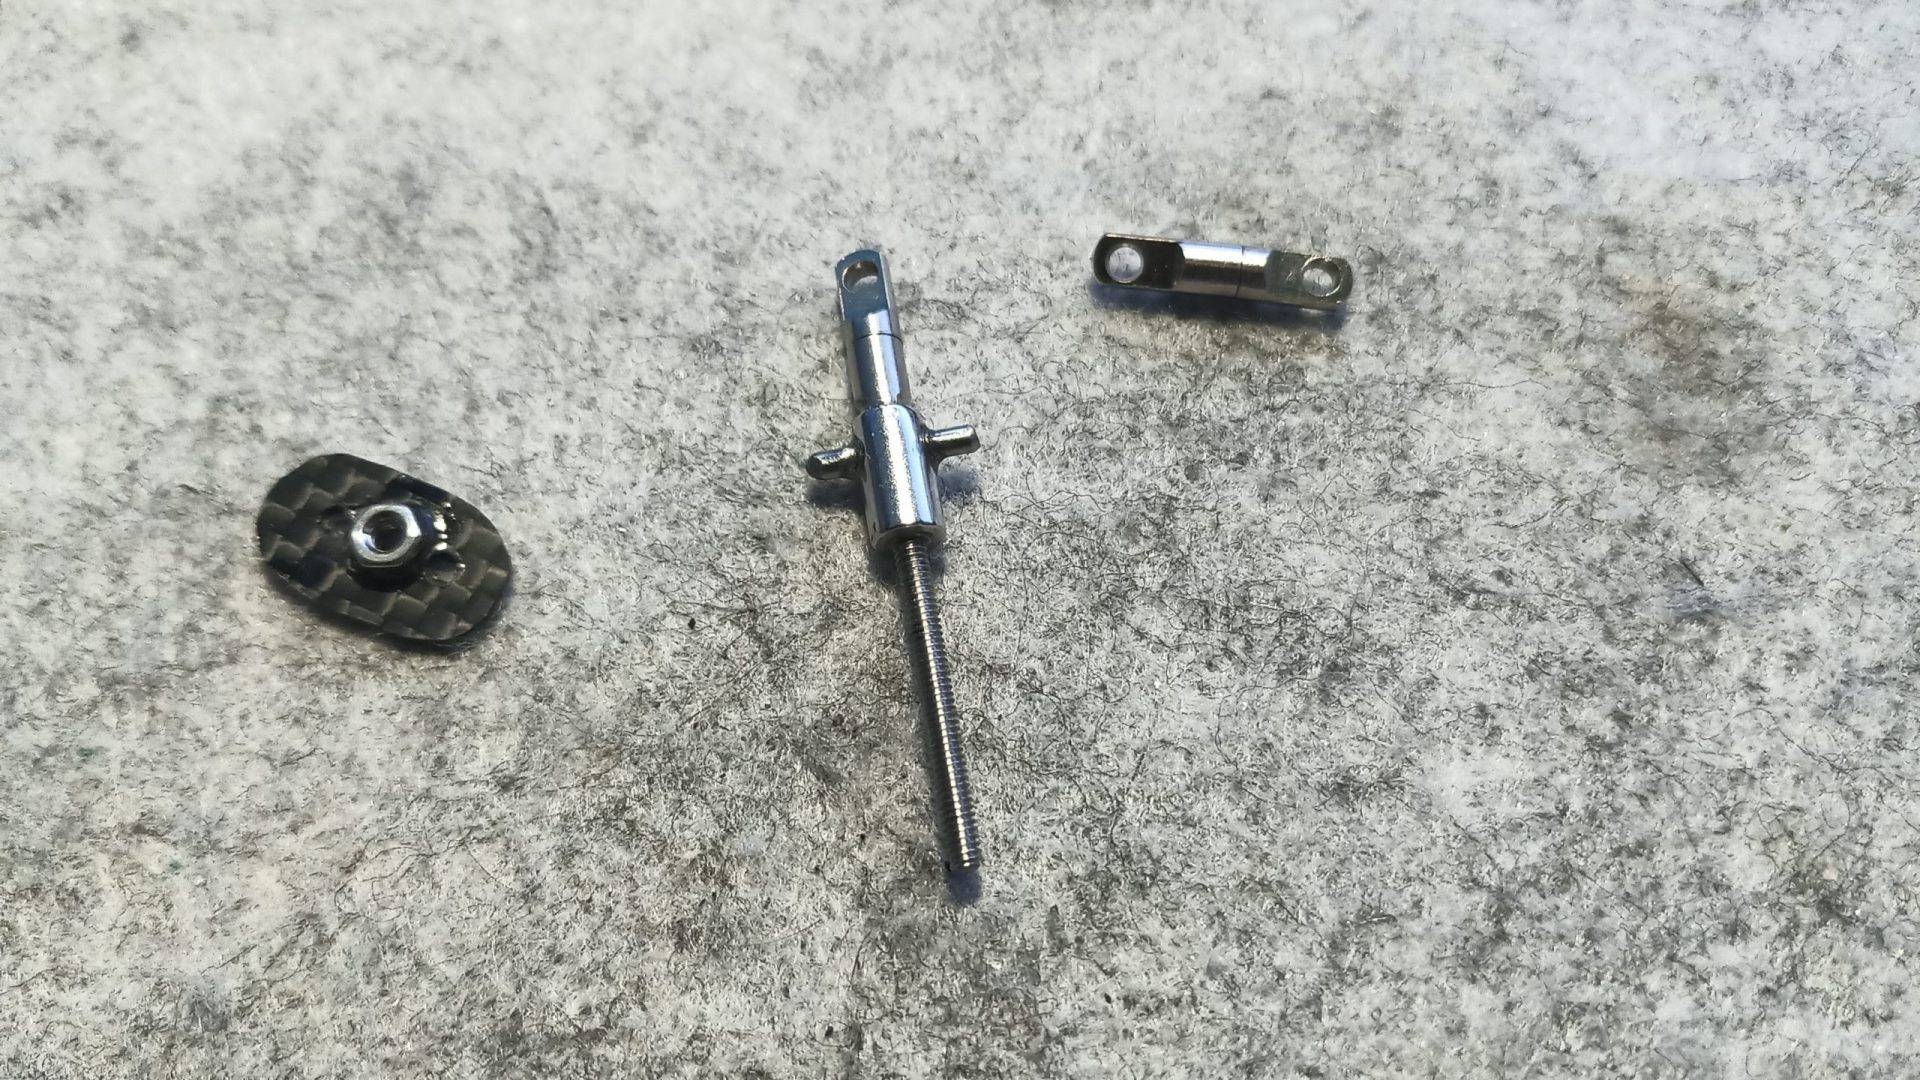
![Turnbuckle for sail vertical tension](https://guillaumeplayground.net/wp-content/uploads/2021/05/IMG_20210427_183601_1-scaled-e1619993265870.jpg)
*Turnbuckle for sail vertical tension*

![Some quick 3d design/print – rings holding the sail to the mast](https://guillaumeplayground.net/wp-content/uploads/2021/05/IMG_20210425_182434_5-scaled-e1619993289733.jpg)
*Some quick 3d design/print – rings holding the sail to the mast*

📎 [attach.scad file](https://guillaumeplayground.net/wp-content/uploads/2021/05/attach.zip)

## SHIP LAUNCHING

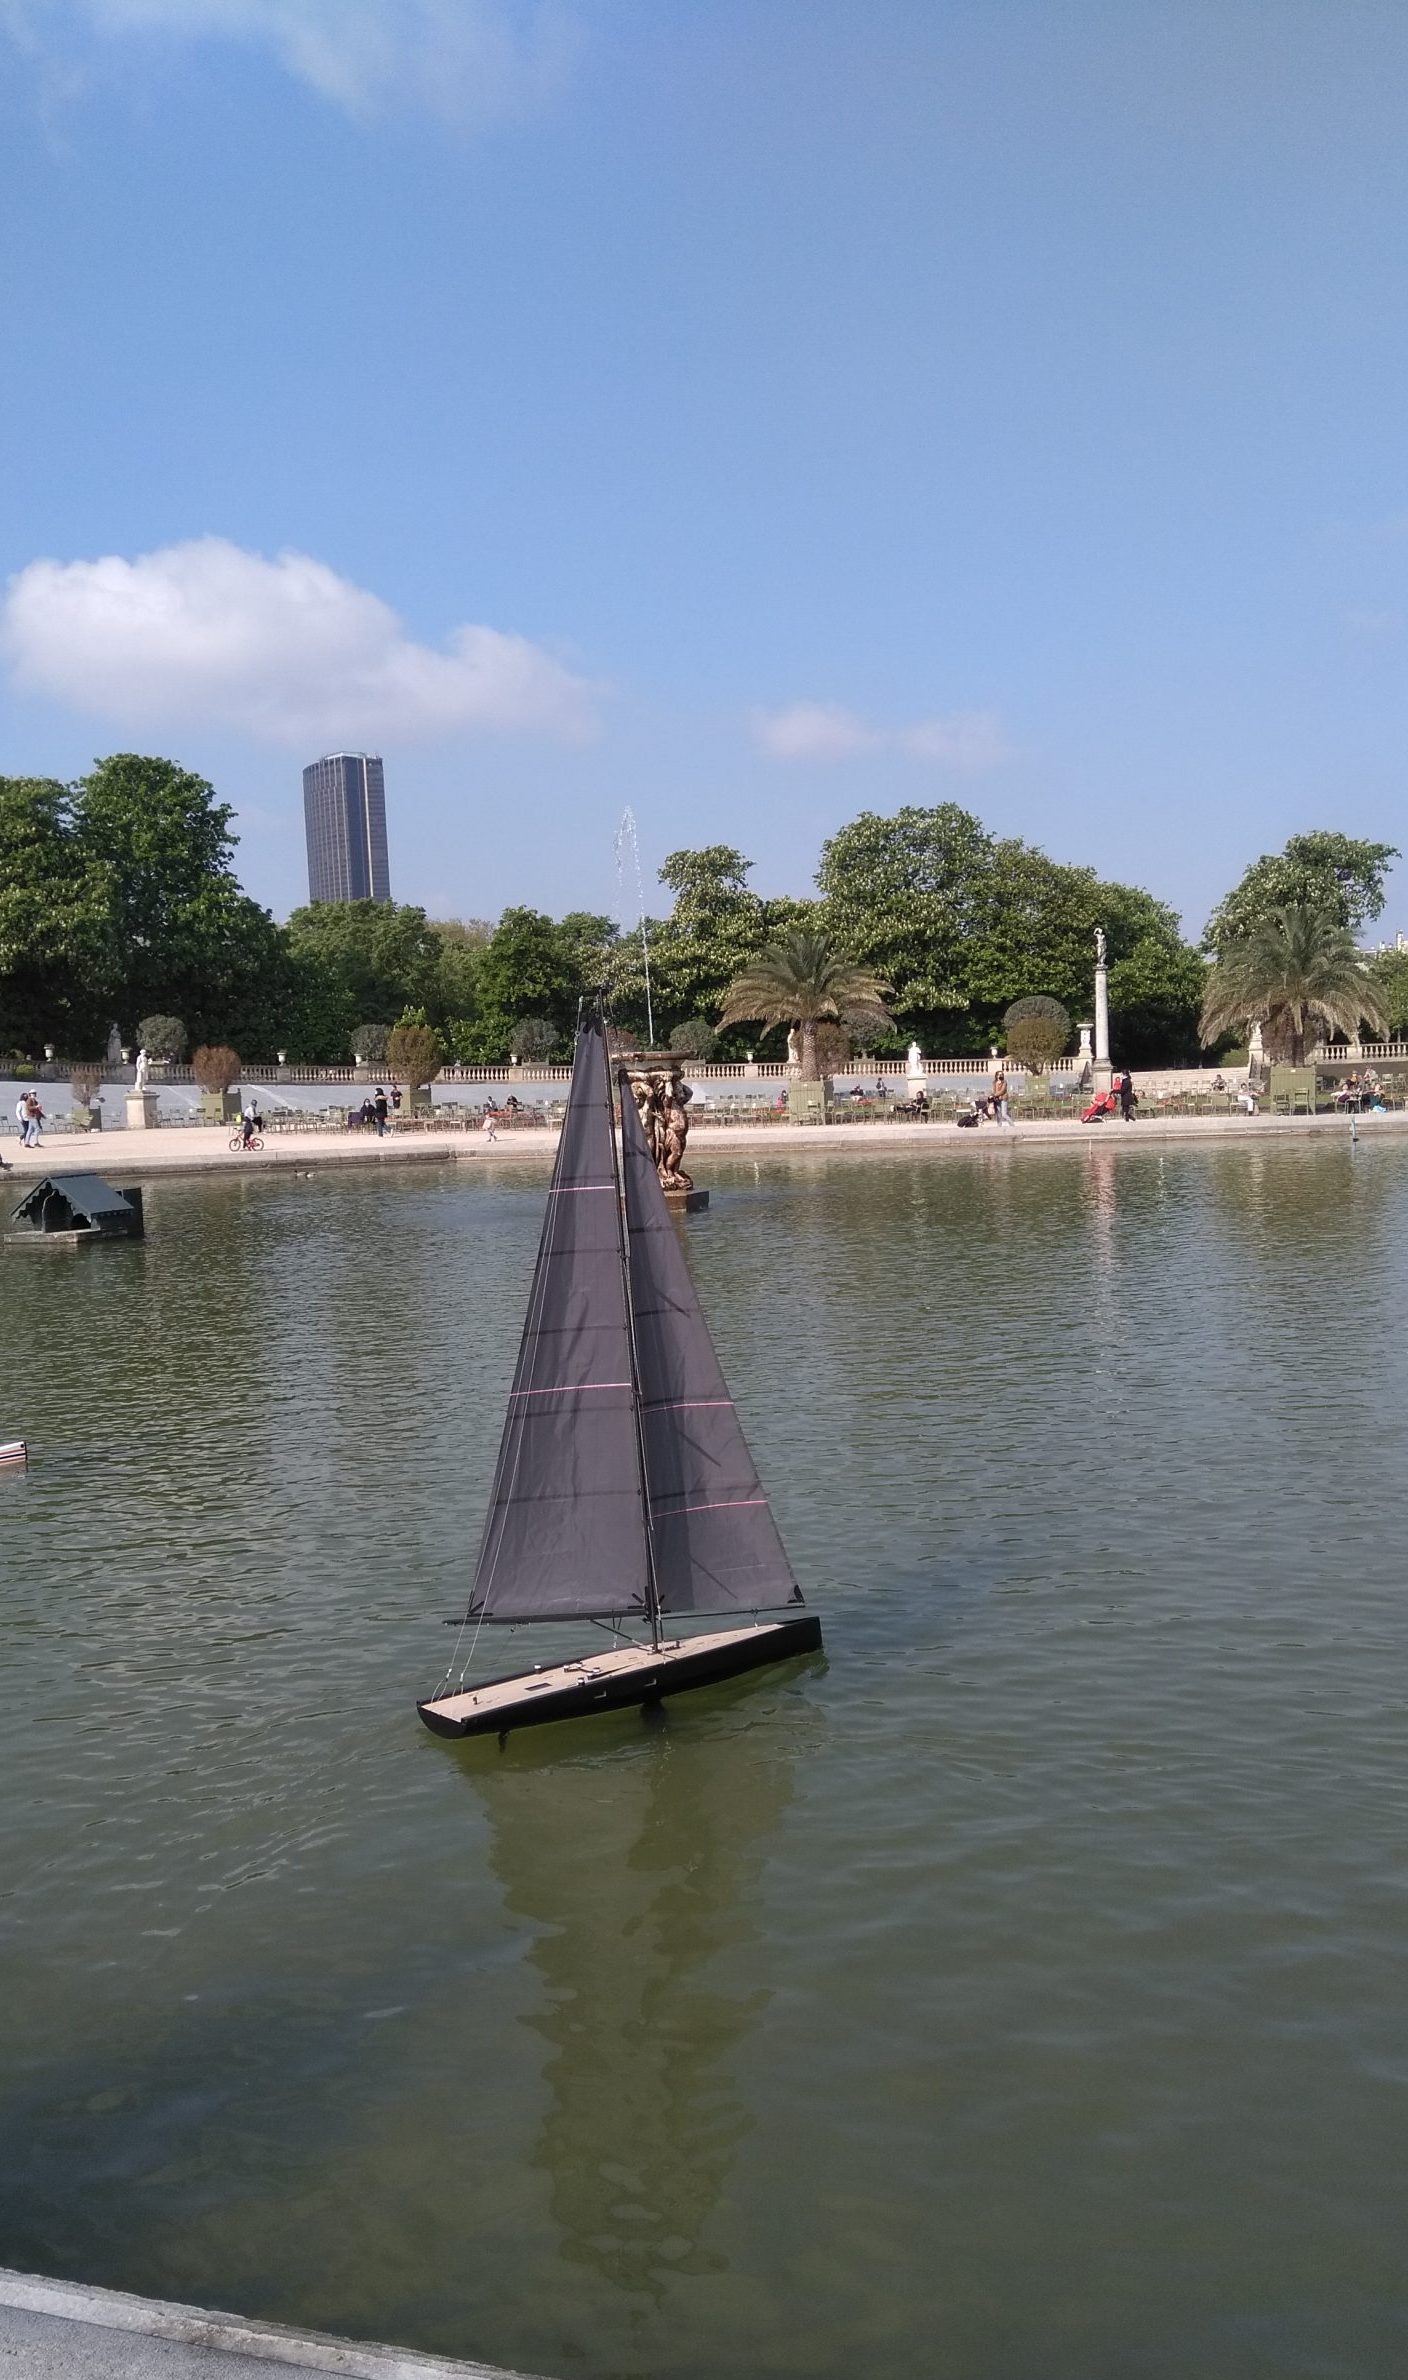
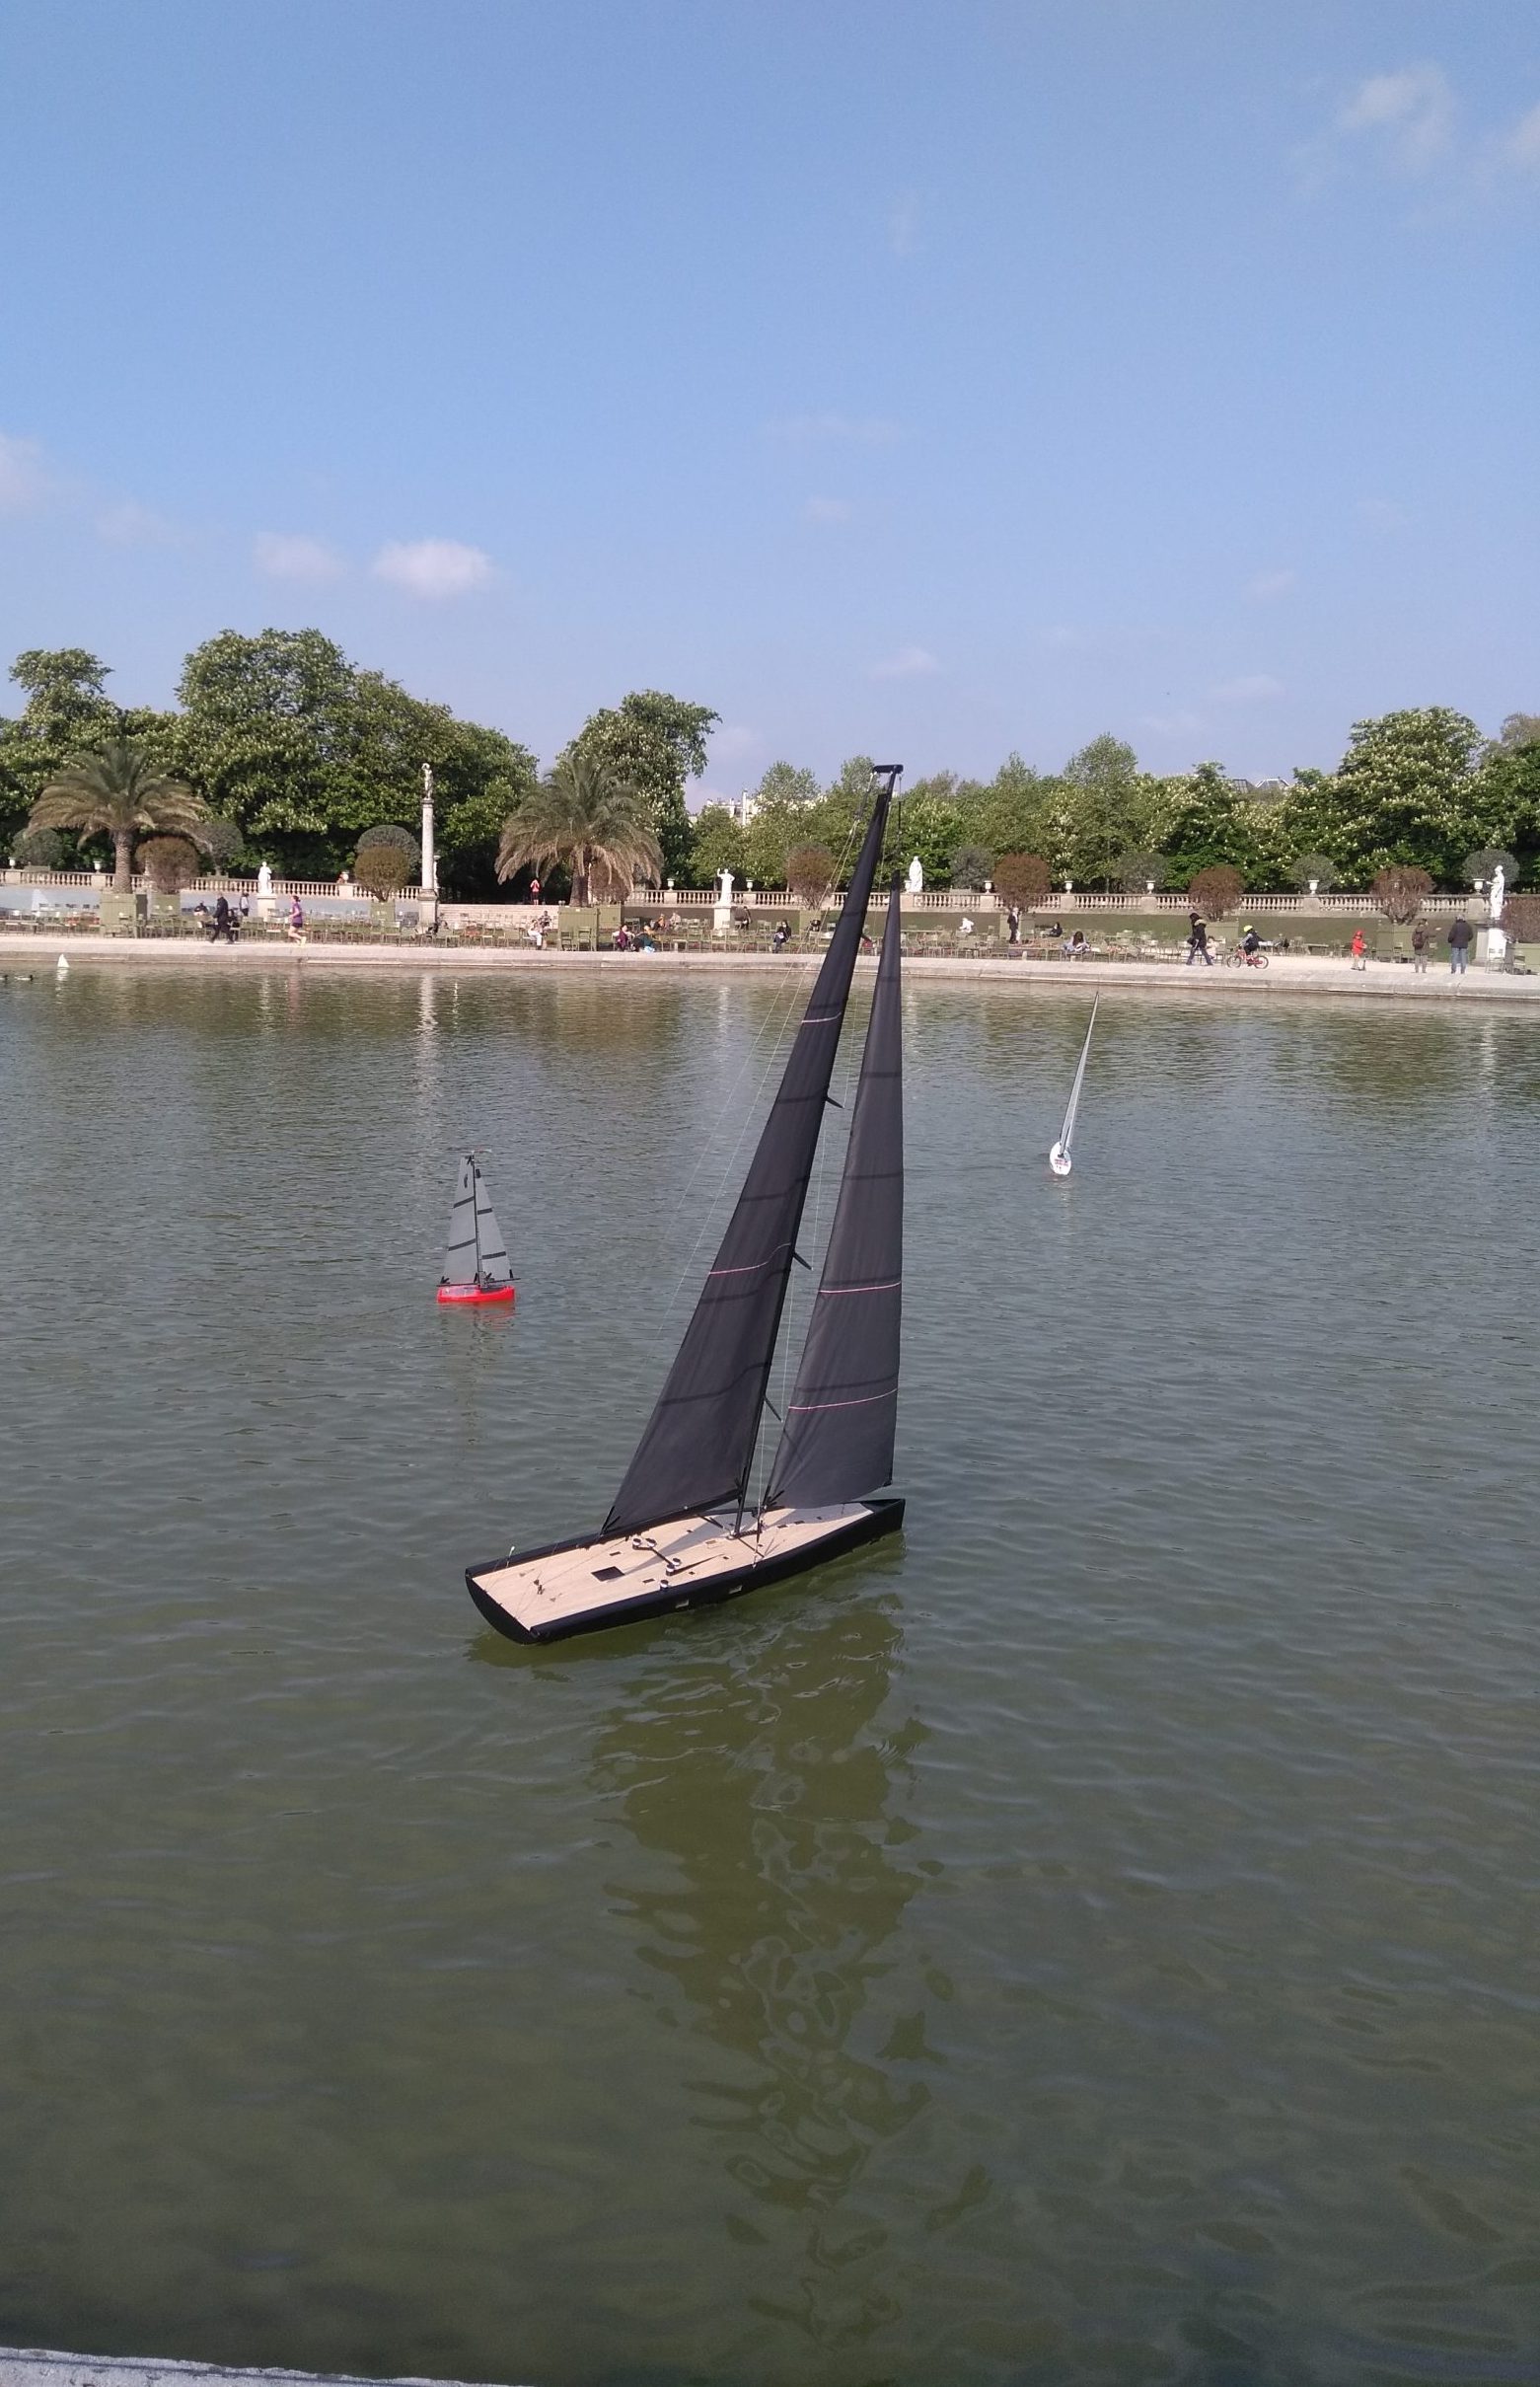
Nice speed. Well balanced. The perfect morning.  
I had a great time with my friends at Jardin du Luxembourg in Paris.  
Eating the waterline a bit with the 2kg bulb like anticipated. The 1.6kg bulb should be perfect as designed…. but I can not afford to increase the keel size where I am sailing.  
The mast is still far from water even with a high angle of list, the next move will be to lower the boom a bit.
![Wally tango rc](https://guillaumeplayground.net/wp-content/uploads/2021/05/IMG_20210502_101433-scaled-e1619993409611.jpg)

![Wally Tango superyacht RC at 1:25 scale – Ship launching](https://guillaumeplayground.net/wp-content/uploads/2021/05/IMG_20210502_101336-scaled-e1619993443359.jpg)

![Wally Tango superyacht RC at 1:25 scale – Ship launching](https://guillaumeplayground.net/wp-content/uploads/2021/06/IMG_20210626_213407_3-scaled.jpg)