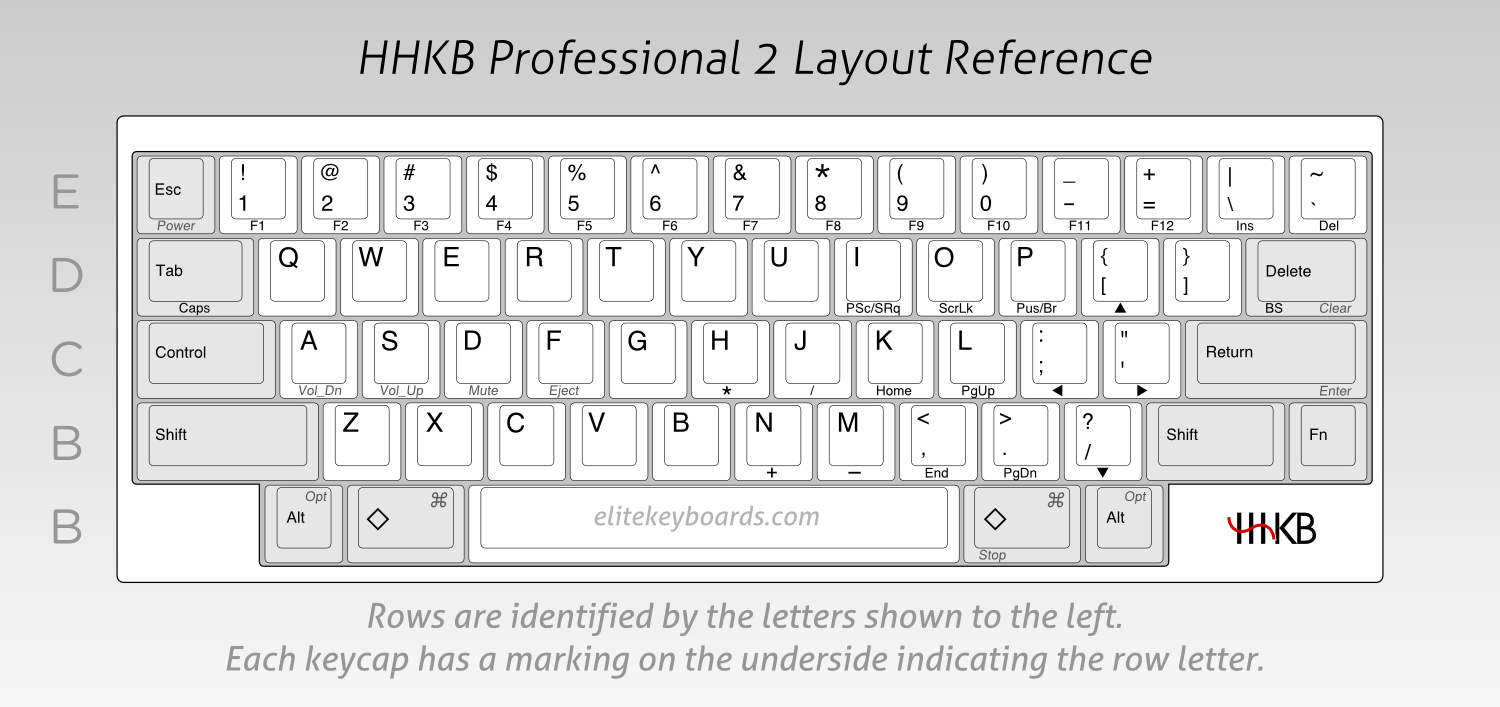
How to build the firmware for gh60 REVCHN (aka ‘satan’) with the Happy Hacking Keyboard Pro 2 layout.
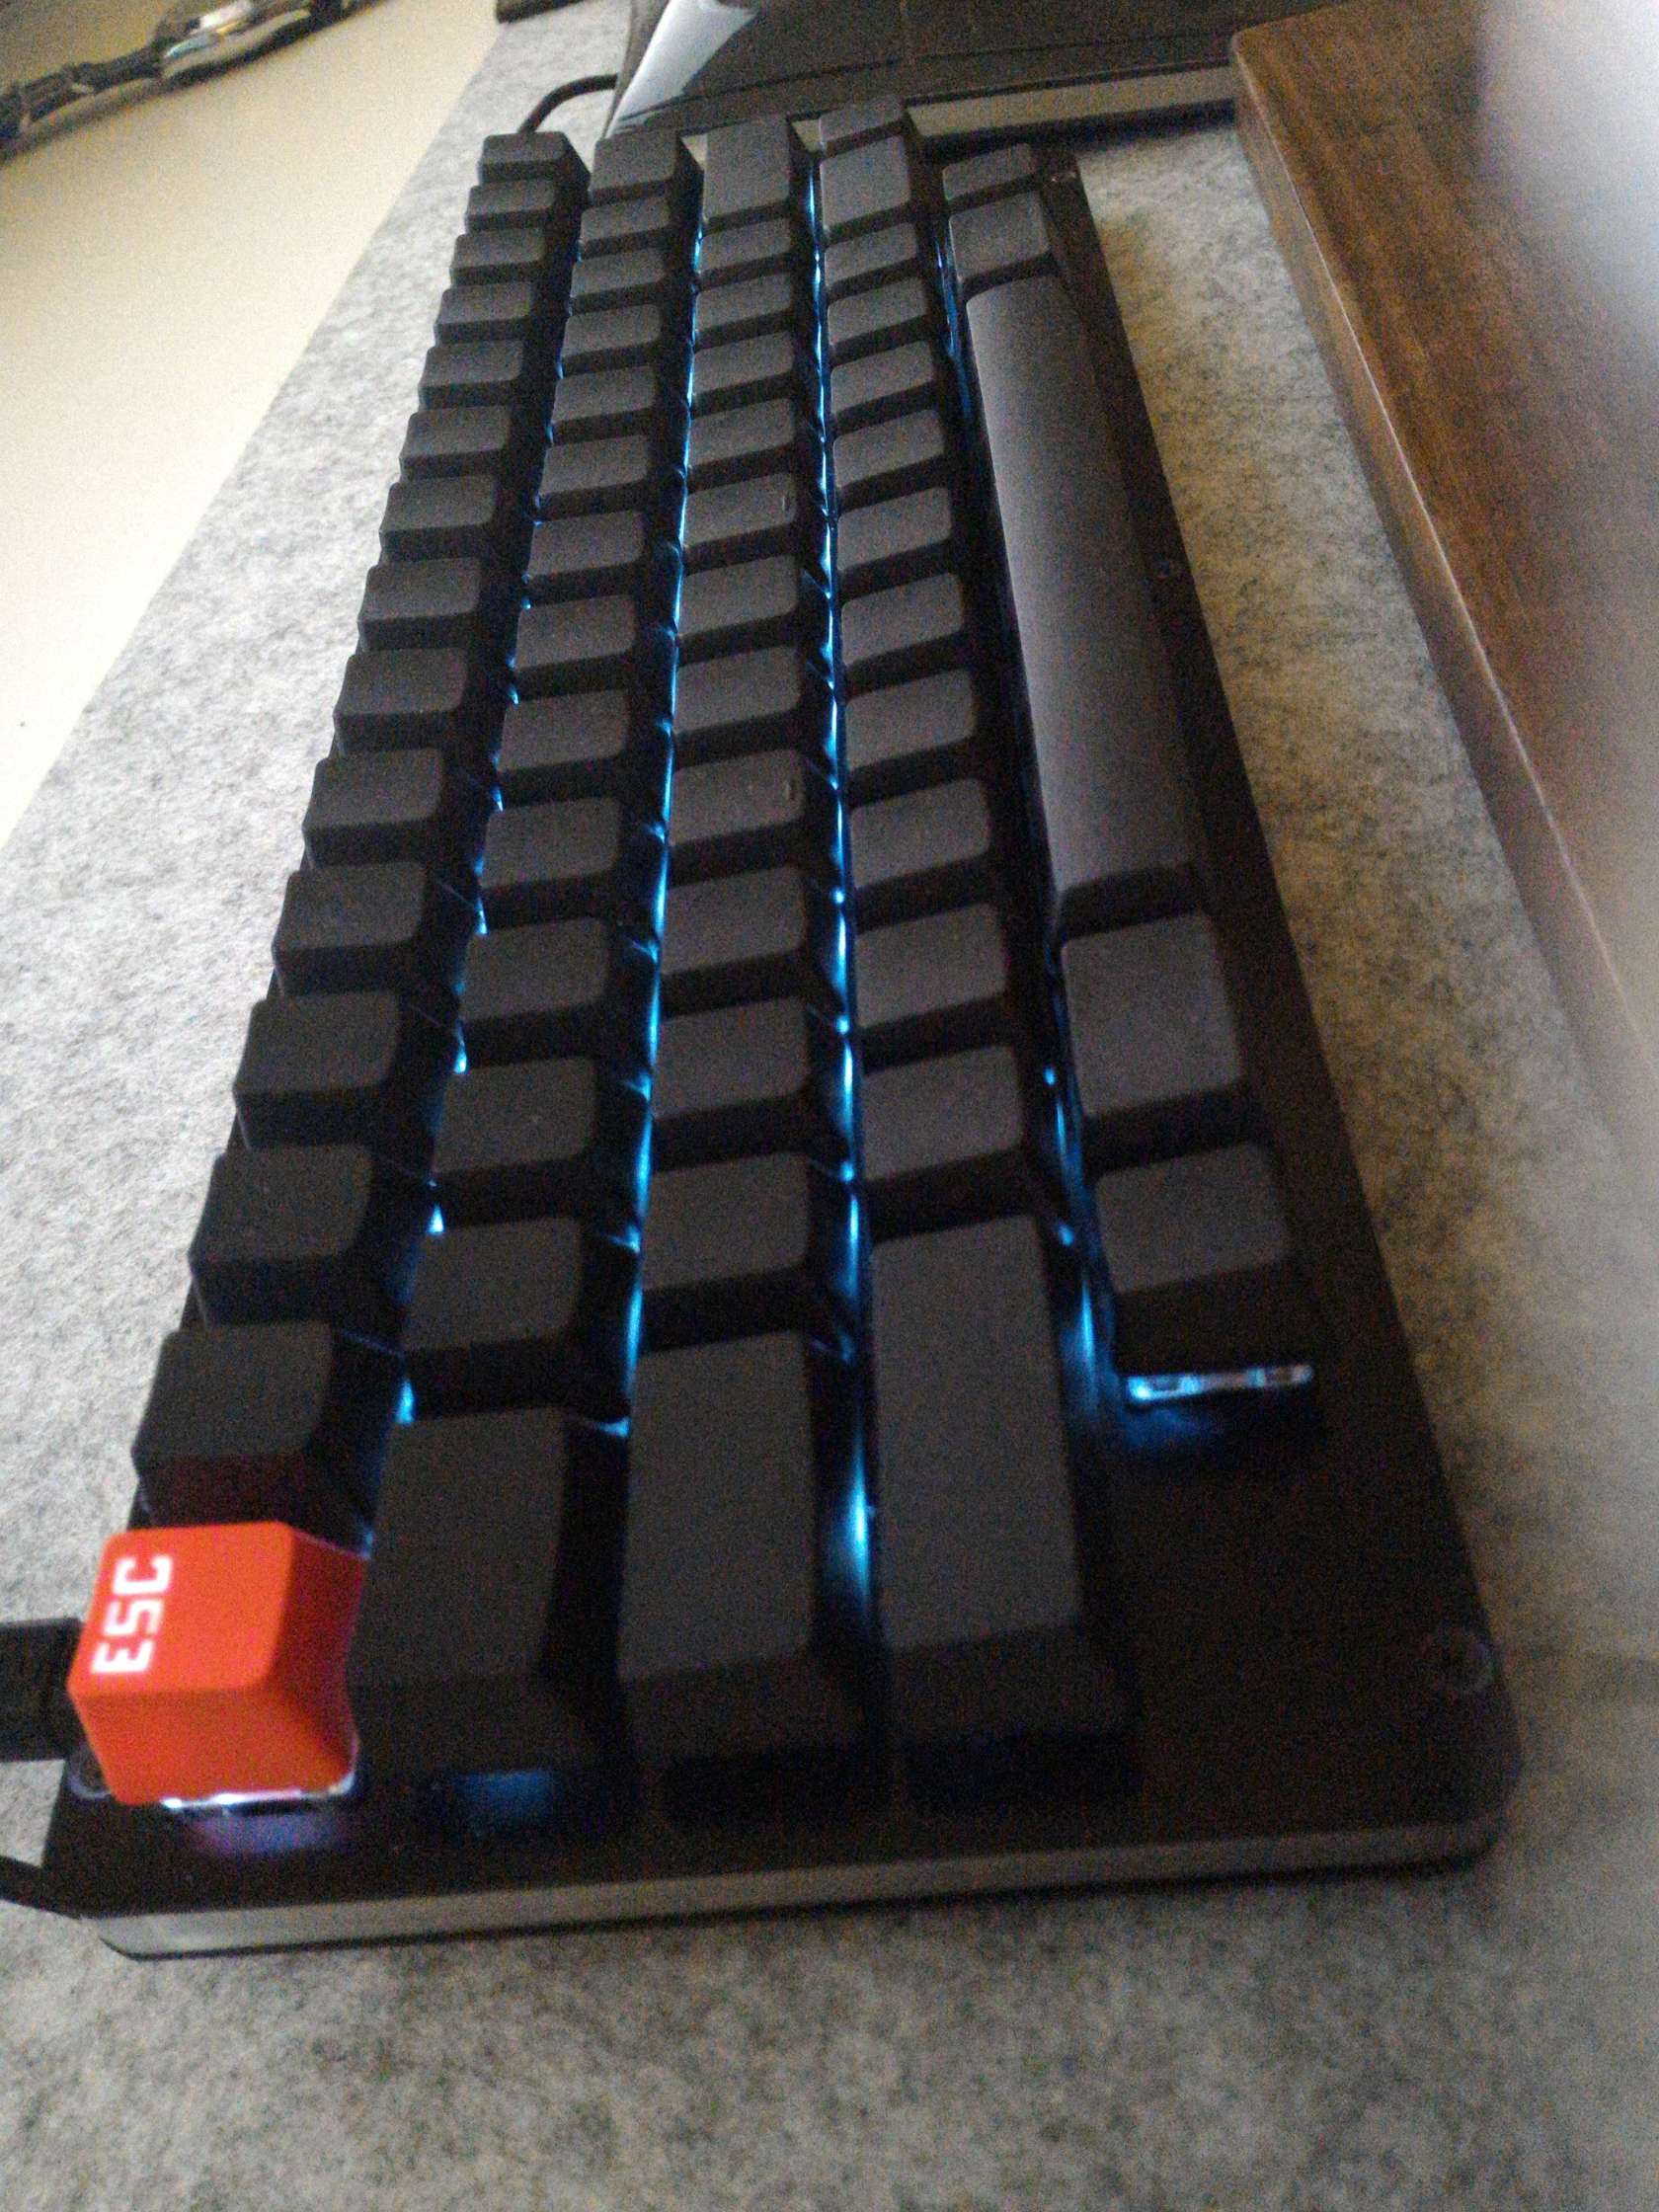
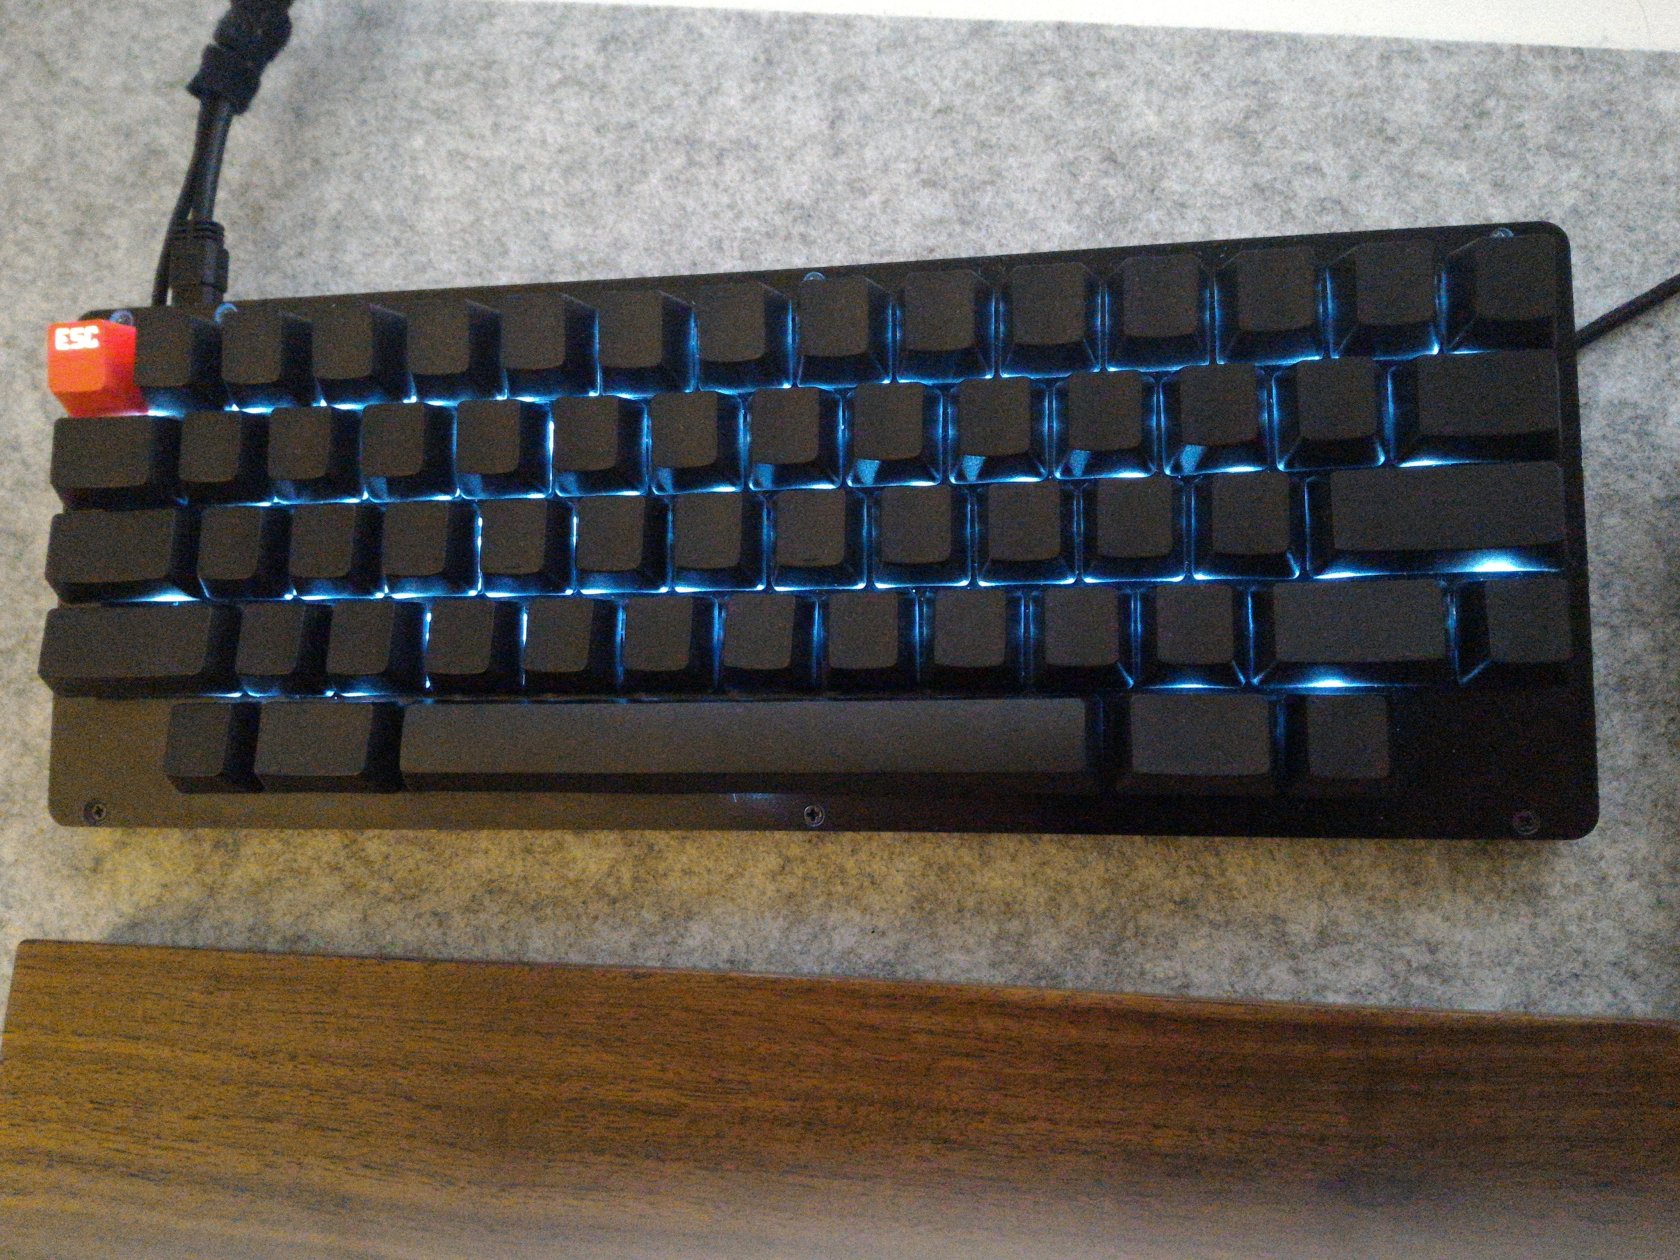
My keyboard was manufactured with the kit of Vincent.
Update 1: Add a third layer to maximize the keys transient state of the keys – like the original HHKB.
Update 2: Another kit with the exact key form factor of the original HHKB.
Update 3: Another PCB – Minila – YD60MQ
This content is intended for linux users (apt-get commands are for debian based linux distribution).
To put the GH60 in flash mode, you can:
- trigger the bottom button on the bottom of the board
- disconnect the keyboard, press <Space>+<B> while connecting the keyboard
You should see in ‘dmesg’ the keyboard loading as ‘Product: ATm32U4DFU, Manufacturer: ATMEL’.
1) Base
apt-get update
apt-get install gcc-avr avr-libc dfu-programmer make
cd /usr/src/
git clone https://github.com/guillaumef/tmk_keyboard_custom
cd tmk_keyboard_custom
git submodule init
git submodule update
cd keyboard/gh60
3) Compile
make REV=CHN KEYMAP=hhkb
4) Flash the keyboard (put the keyboard in flashing mode)
make REV=CHN KEYMAP=hhkb dfu
5) Change the keymap
cd /usr/src
git clone https://github.com/kairyu/tkg-toolkit
cd tkg-toolkit/linux/
./setup.sh
 Select your keyboard:
 << select (2) GH60 RevCHN
 Select a firmware for your keyboard:
 << select (1) Default
 Select bootloader of your keyboard:
 << select (1) atmel_dfu
6) Make up your own keymap or use classic ones (keyboard-layout-editor.com)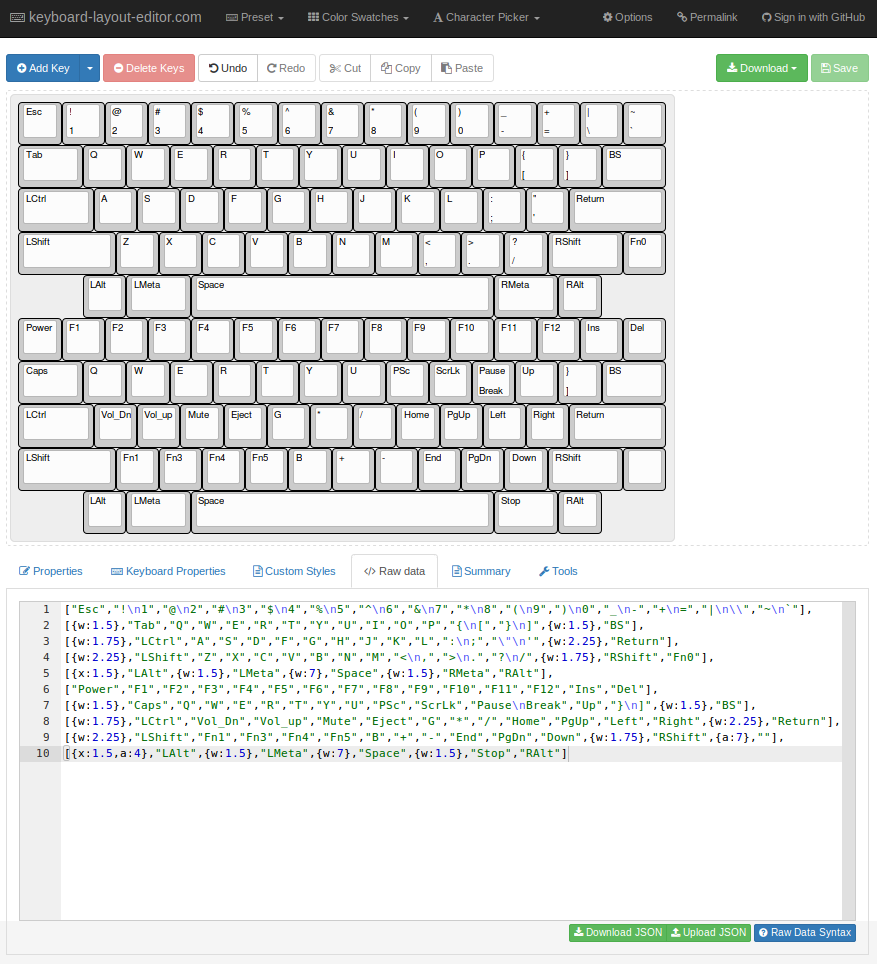
Mine are based on Vincent’s one (missing transient, which you need if you have combos like screen switch: “Alt+Arrow”… arrow meaning “Fn0+”).
I put them public on my github gist, the base layer of HHKB pro 2 with transient keys on sub-layer (except reserved ones for the backlight)
You can put this in the raw data of keyboard-layout-editor.com and modify it it you need, even create more layers.
v1-2L-gh60-satan-revchn-hhkb-fullmode-BS (BackSpace)
["Esc","!\n1","@\n2","#\n3","$\n4","%\n5","^\n6","&\n7","*\n8","(\n9",")\n0","_\n-","+\n=","|\n\\","~\n`"],
[{w:1.5},"Tab","Q","W","E","R","T","Y","U","I","O","P","{\n[","}\n]",{w:1.5},"BS"],
[{w:1.75},"LCtrl","A","S","D","F","G","H","J","K","L",":\n;","\"\n'",{w:2.25},"Return"],
[{w:2.25},"LShift","Z","X","C","V","B","N","M","<\n,",">\n.","?\n/",{w:1.75},"RShift","Fn0"],
[{x:1.5},"LAlt",{w:1.5},"LMeta",{w:7},"Space",{w:1.5},"RMeta","RAlt"],
["Power","F1","F2","F3","F4","F5","F6","F7","F8","F9","F10","F11","F12","Ins","Del"],
[{w:1.5},"Caps","Q","W","E","R","T","Y","U","PSc","ScrLk","Pause\nBreak","Up","}\n]",{w:1.5},"BS"],
[{w:1.75},"LCtrl","Vol_Dn","Vol_up","Mute","Eject","G","*","/","Home","PgUp","Left","Right",{w:2.25},"Return"],
[{w:2.25},"LShift","Fn1","Fn3","Fn4","Fn5","B","+","-","End","PgDn","Down",{w:1.75},"RShift",{a:7},""],
[{x:1.5,a:4},"LAlt",{w:1.5},"LMeta",{w:7},"Space",{w:1.5},"Stop","RAlt"]
v1-2L-gh60-satan-revchn-hhkb-fullmode
["Esc","!\n1","@\n2","#\n3","$\n4","%\n5","^\n6","&\n7","*\n8","(\n9",")\n0","_\n-","+\n=","|\n\\","~\n`"],
[{w:1.5},"Tab","Q","W","E","R","T","Y","U","I","O","P","{\n[","}\n]",{w:1.5},"Del"],
[{w:1.75},"LCtrl","A","S","D","F","G","H","J","K","L",":\n;","\"\n'",{w:2.25},"Return"],
[{w:2.25},"LShift","Z","X","C","V","B","N","M","<\n,",">\n.","?\n/",{w:1.75},"RShift","Fn0"],
[{x:1.5},"LAlt",{w:1.5},"LMeta",{w:7},"Space",{w:1.5},"RMeta","RAlt"],
["Power","F1","F2","F3","F4","F5","F6","F7","F8","F9","F10","F11","F12","Ins","Del"],
[{w:1.5},"Caps","Q","W","E","R","T","Y","U","PSc","ScrLk","Pause\nBreak","Up","}\n]",{w:1.5},"BS"],
[{w:1.75},"LCtrl","Vol_Dn","Vol_up","Mute","Eject","G","*","/","Home","PgUp","Left","Right",{w:2.25},"Return"],
[{w:2.25},"LShift","Fn1","Fn3","Fn4","Fn5","B","+","-","End","PgDn","Down",{w:1.75},"RShift",{a:7},""],
[{x:1.5,a:4},"LAlt",{w:1.5},"LMeta",{w:7},"Space",{w:1.5},"Stop","RAlt"]
7) Take the raw data block to tkg.io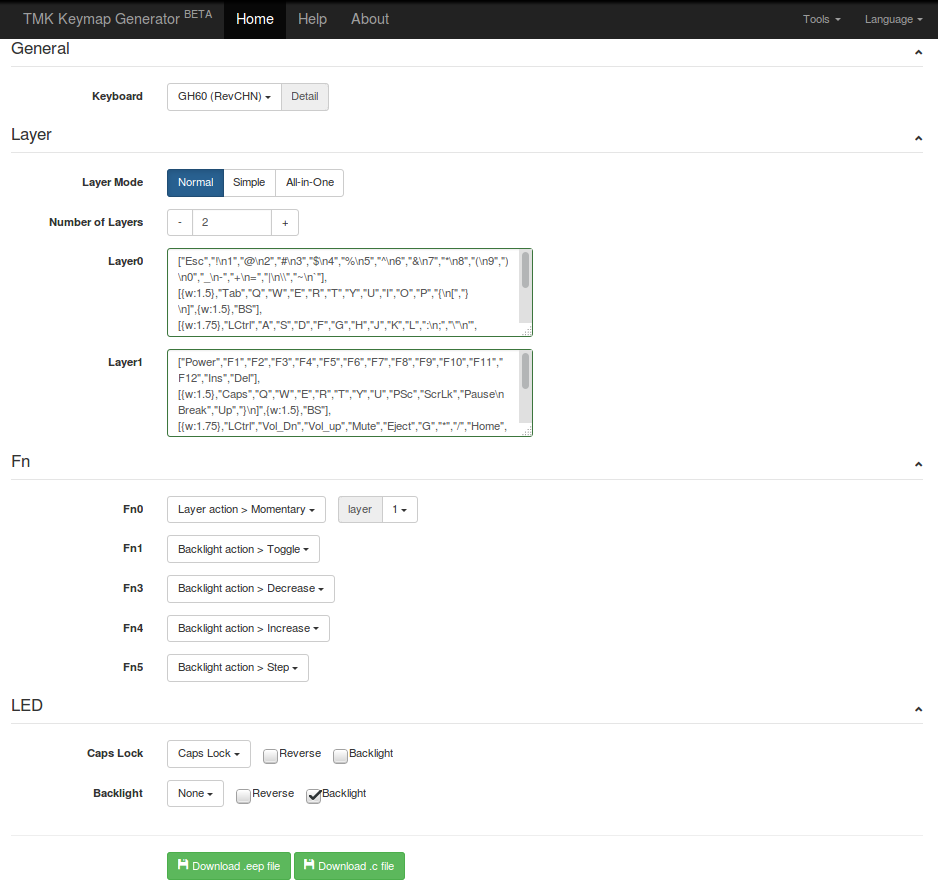
 Keyboard:
 << GH60 (REVCHN)
 Layer Mode:
 << Normal

 Layer0: (Copy the first block of the Raw Data)
 << ["Esc","!\n1","@\n2","#\n3","$\n4","%\n5","^\n6","&\n7","*\n8","(\n9",")\n0","_\n-","+\n=","|\n\\","~\n`"],
[{w:1.5},"Tab","Q","W","E","R","T","Y","U","I","O","P","{\n[","}\n]",{w:1.5},"BS"],
[{w:1.75},"LCtrl","A","S","D","F","G","H","J","K","L",":\n;","\"\n'",{w:2.25},"Return"],
[{w:2.25},"LShift","Z","X","C","V","B","N","M","<\n,",">\n.","?\n/",{w:1.75},"RShift","Fn0"],
[{x:1.5},"LAlt",{w:1.5},"LMeta",{w:7},"Space",{w:1.5},"RMeta","RAlt"]

 Layer1: (Copy the second block of the Raw Data)
 << ["Power","F1","F2","F3","F4","F5","F6","F7","F8","F9","F10","F11","F12","Ins","Del"],
[{w:1.5},"Caps","Q","W","E","R","T","Y","U","PSc","ScrLk","Pause\nBreak","Up","}\n]",{w:1.5},"BS"],
[{w:1.75},"LCtrl","Vol_Dn","Vol_up","Mute","Eject","G","*","/","Home","PgUp","Left","Right",{w:2.25},"Return"],
[{w:2.25},"LShift","Fn1","Fn3","Fn4","Fn5","B","+","-","End","PgDn","Down",{w:1.75},"RShift",{a:7},""],
[{x:1.5,a:4},"LAlt",{w:1.5},"LMeta",{w:7},"Space",{w:1.5},"Stop","RAlt"]

 Fn0:
 << Momentary Layer 1
 Fn1:
 << Backlight: toggle
 Fn2:
 << Backlight: decrease
 Fn3:
 << Backlight: increase
 Fn4:
 << Backlight: step
 Led:
 << Backlight: check backlight box
 ... and everything as you like it.

 Generate the .eep file
8) Flash the keymap (put the keyboard in flashing mode)
cd /usr/src/kb/tkg-toolkit/linux
./reflash <myeepfile>
It is done.
Of course, you should do some tuning now and try out everything.
- Fn0+Z: toggle the backlight
- Fn0+X: decrease the backlight mode
- Fn0+C: increase the backlight mode
- Fn0+V: step the backlight intensity
Here are my files:
gh60_satan_hhkb_firmware in full mode (apple)
gh60_satan_hhkb_lite_firmware in lite mode (preferred)
At least, you can remove the “Power” switch from the Fn0 layer, just a suggestion to avoid unexpected shutdown (it is in the lite mode)
You can even be your own keyboard manufacturer by editing tmk_keyboard file: config.h (you need to reflash the tmk_core after keymap reflash because it is overwriting it)
3 layers
If you need to have maximum transient keys within the second layer, you can reassign the led switches to a 3rd layer.
To do this you need to specify the Fn0 key as ‘Set and clear’, to be able to momentary set another cascading layer. The ‘set and clear’ has the same behavior as ‘Momentary’ except it is releasing the ‘Momentary layer’ capability.
This way, i keep my transient on Z,X,C,V keys with Fn0 and activate them for led control only when Fn0+RMeta are pressed.

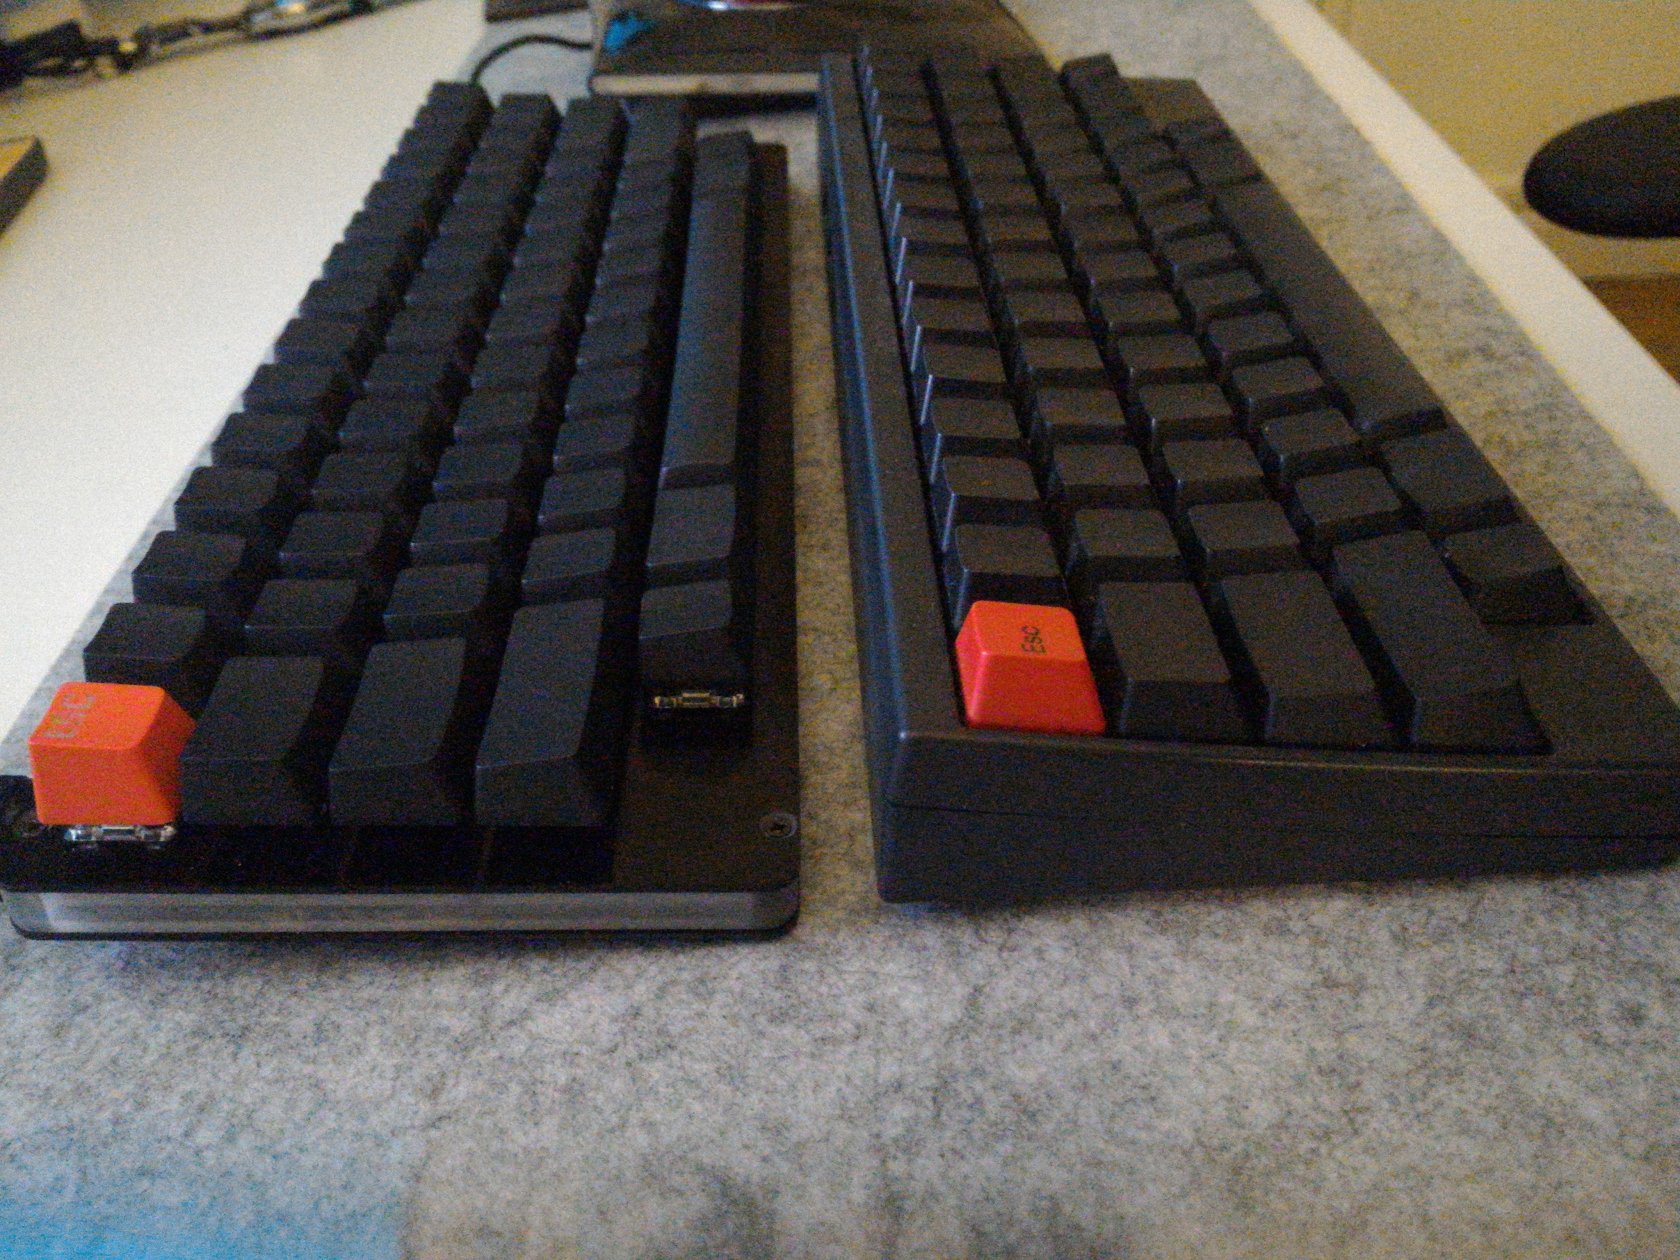
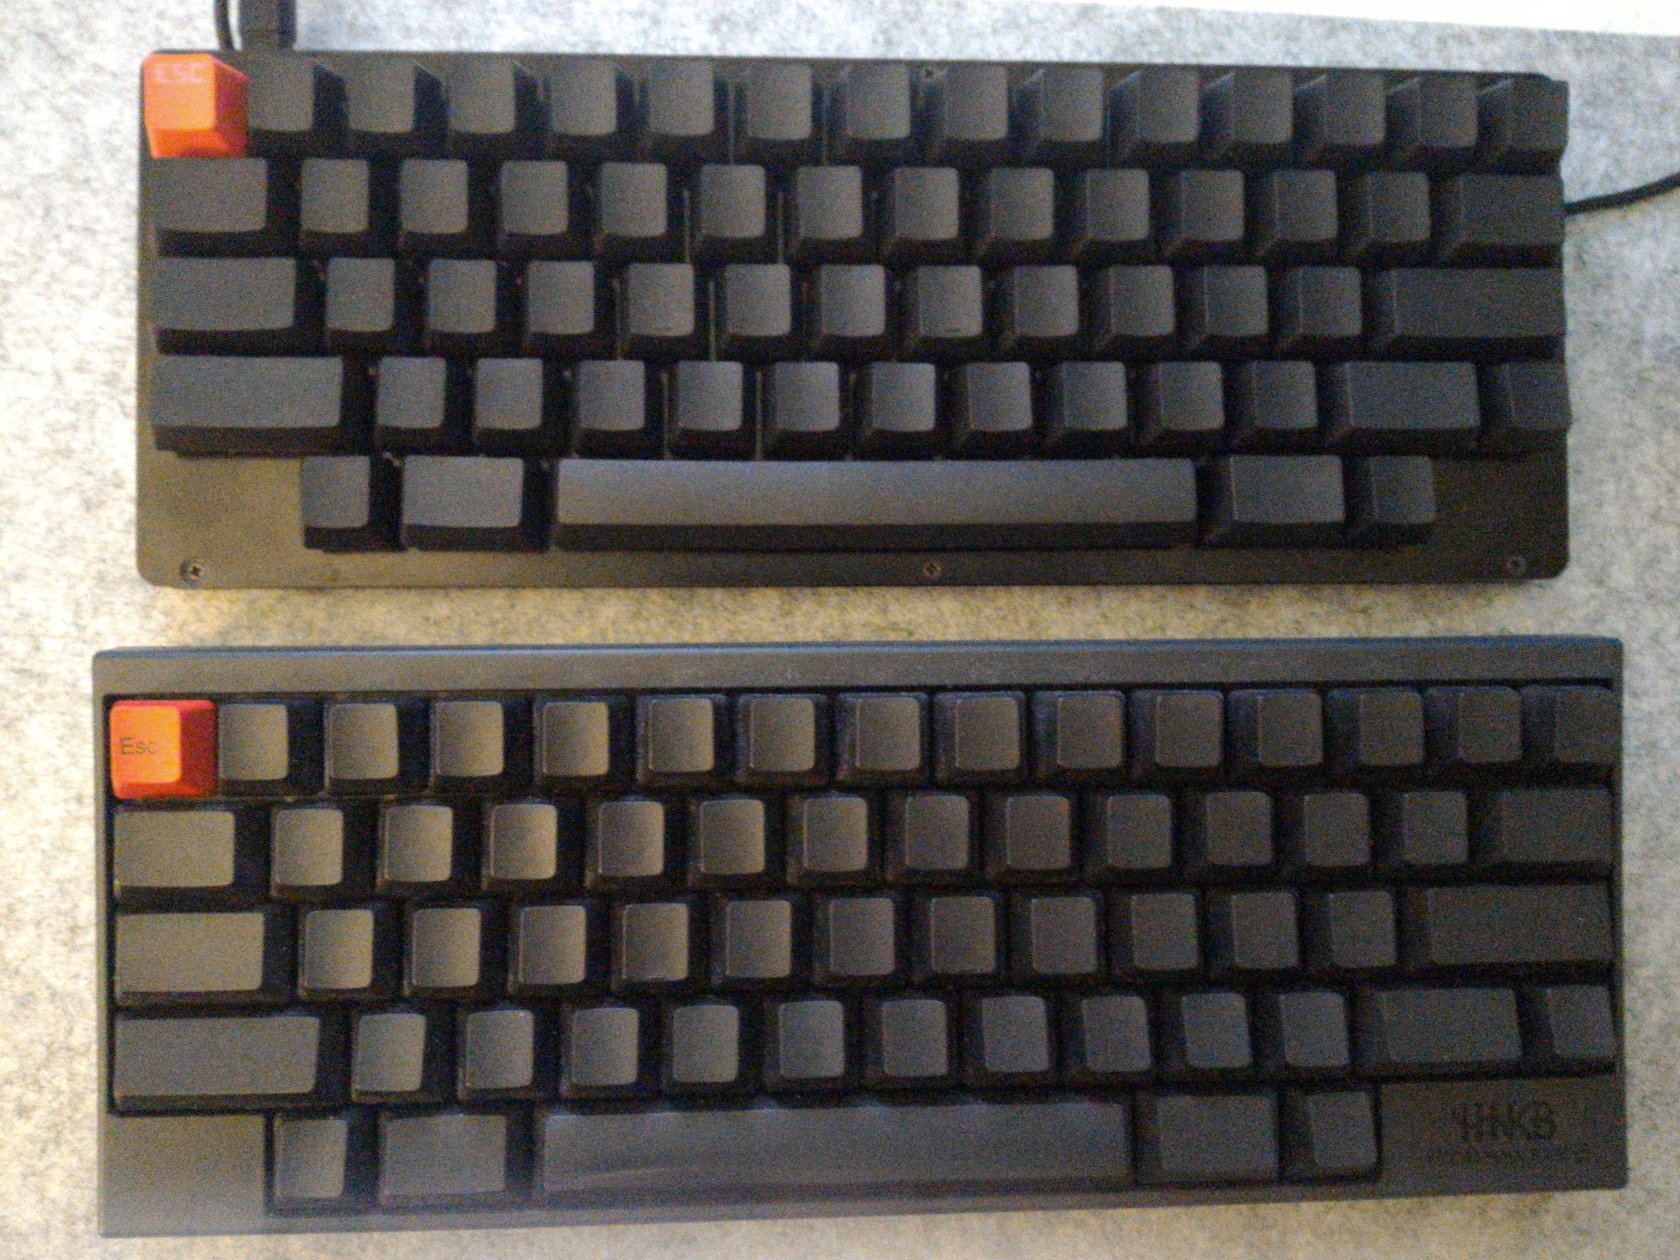
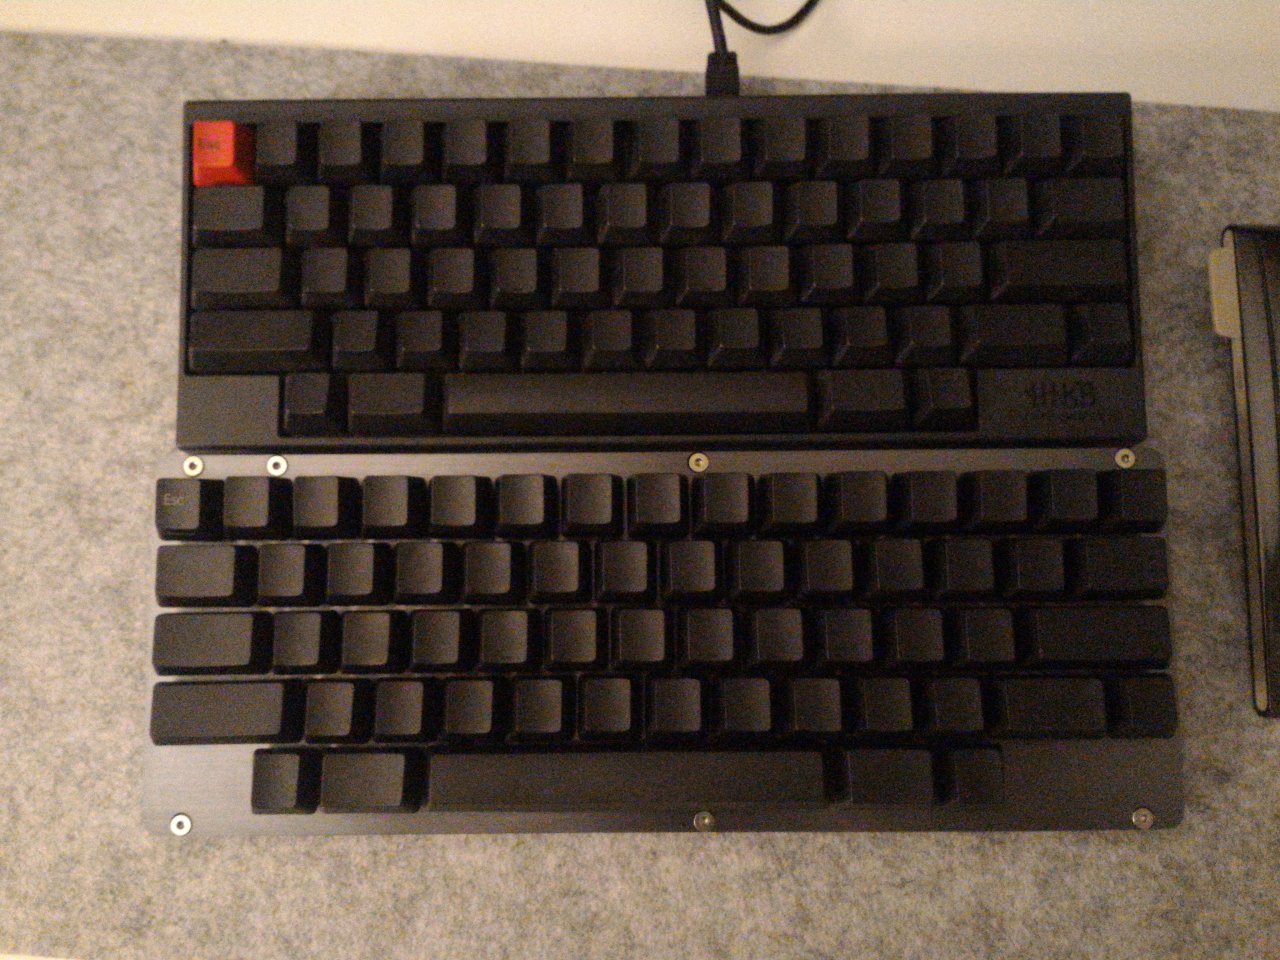
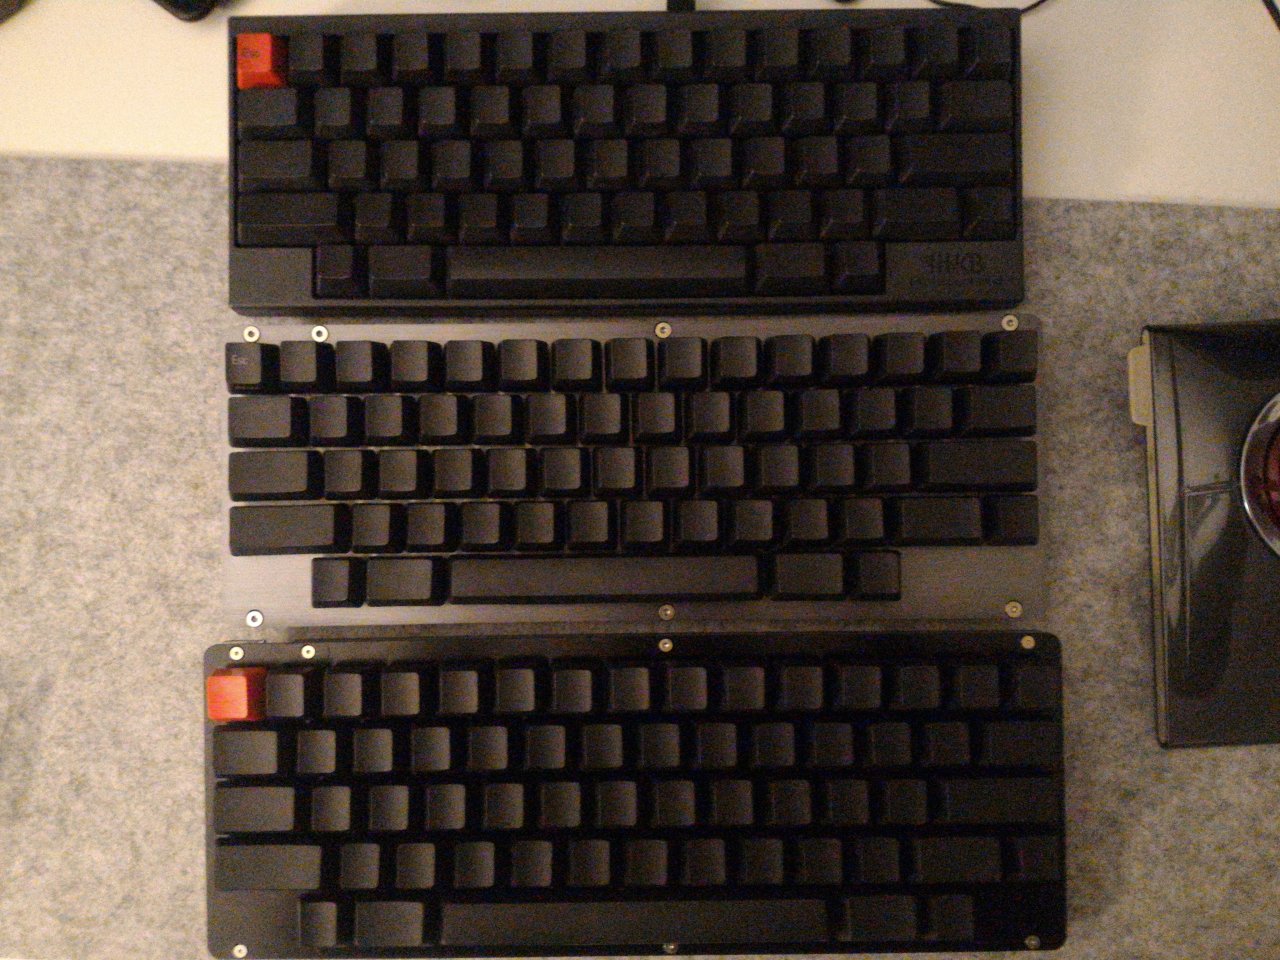
Another gh60 CHN keyboard with exact hhkb key sizes
A new one from HBDFans Store.
This one is the exact replica of HHKB layout with the same space bar size, as you can see on my previous pictures, the one from Vincent is a bit larger than the original HHKB.
With this new one, the RMeta and RAlt are perfectly positioned !
The layout change a bit and impact the keys. Here it is for the 3 layers:
["Esc","!\n1","@\n2","#\n3","$\n4","%\n5","^\n6","&\n7","*\n8","(\n9",")\n0","_\n-","+\n=","|\n\\","~\n`"],
[{w:1.5},"Tab","Q","W","E","R","T","Y","U","I","O","P","{\n[","}\n]",{w:1.5},"BS"],
[{w:1.75},"LCtrl","A","S","D","F","G","H","J","K","L",":\n;","\"\n'",{w:2.25},"Return"],
[{w:2.25},"LShift","Z","X","C","V","B","N","M","<\n,",">\n.","?\n/",{w:1.75},"RShift","Fn0"],
[{x:1.5},"LAlt",{w:1.5},"LMeta",{w:6},"Space",{w:1.5},"RMeta","RAlt"],
["Esc","F1","F2","F3","F4","F5","F6","F7","F8","F9","F10","F11","F12","Ins","Del"],
[{w:1.5},"Caps","Q","W","E","R","T","Y","U","I","ScrLk","Pause\nBreak","Up","}\n]",{w:1.5},"BS"],
[{w:1.75},"LCtrl","A","S","D","F","G","H","J","K","PgUp","Left","Right",{w:2.25},"Return"],
[{w:2.25},"LShift","Z","X","C","V","B","N","M","End","PgDn","Down",{w:1.75},"RShift",{a:7},""],
[{x:1.5,a:4},"LAlt",{w:1.5},"LMeta",{w:6},"Space",{w:1.5},"Fn1","RAlt"],
["Esc","F1","F2","F3","F4","F5","F6","F7","F8","F9","F10","F11","F12","Ins","Del"],
[{w:1.5},"Caps","Q","W","E","R","T","Y","U","I","ScrLk","Pause\nBreak","Up","}\n]",{w:1.5},"BS"],
[{w:1.75},"LCtrl","A","S","D","F","G","H","J","K","PgUp","Left","Right",{w:2.25},"Return"],
[{w:2.25},"LShift","Fn2","Fn3","Fn4","Fn5","B","N","M","End","PgDn","Down",{w:1.75},"RShift",{a:7},""],
[{x:1.5,a:4},"LAlt",{w:1.5},"LMeta",{w:6},"Space",{w:1.5},"RMeta","RAlt"]
Generated eep: keymap.eep

Another PCB : Minila GH60… with qmk
hhkb.zip hhkb.json hhkb.hex => https://kbfirmware.com
dfu-programmer atmega32u4 erase
dfu-programmer atmega32u4 flash hhkb.hex
dfu-programmer atmega32u4 reset
Hey,
It appears that my Gh60 Satan pcb doesnt have a reset button on the back? Using the spacebar + b method worked but i flashed a different keympa onto it and now it doesnt work. Is there another method for putting it in flash mode?
You can still find the right pins on your Atmel to set it in manual flash mode.