Looking for a full size, 4.0m, quirky and original F5J model for hobby and training… the Art Hobby Scalar might be the one.
I was looking for a nice F5J, and knowing the quality of AH’s models, I bought the Scalar on a whim when I saw it. Here is my build log.

You can find other builds here at the time I wrote this post:
From Patrick Sokol (designer of the Scalar, thanks!) on pfmrc-eu
and from another early builder: CJS on rc-network.de
I received the box pretty quickly, in stock at pp-rc Modellbau.
The kit
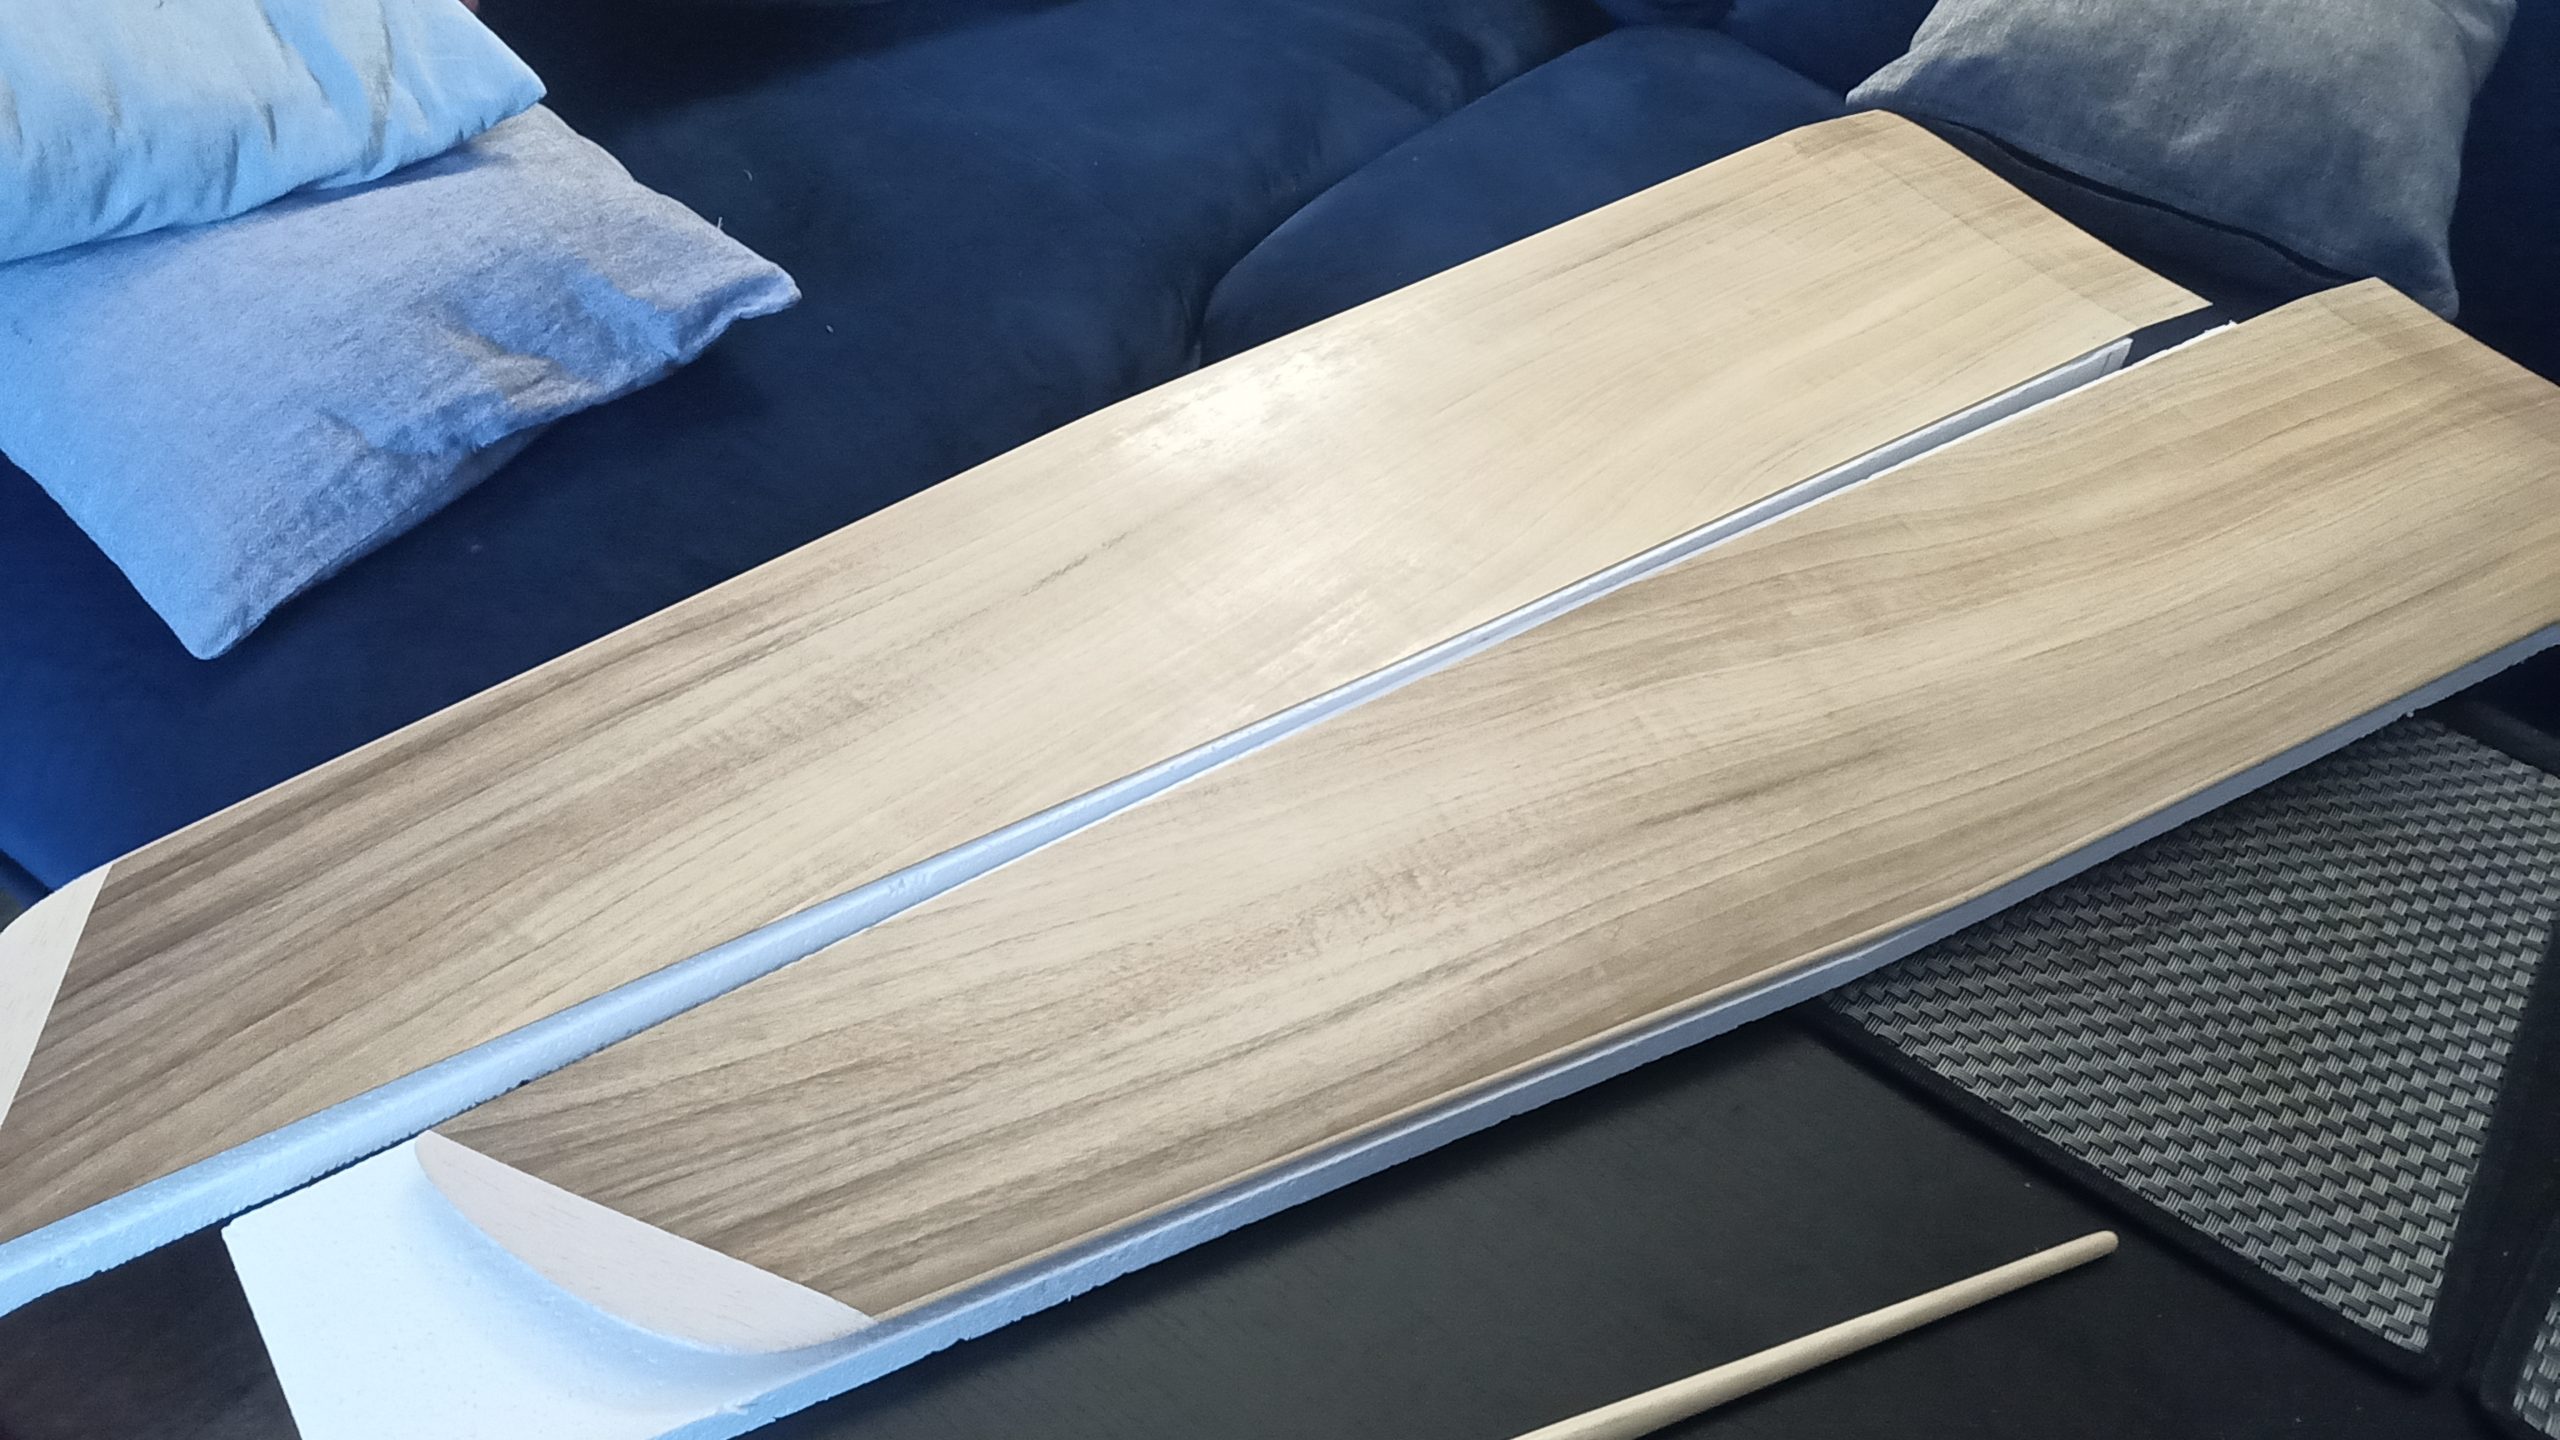
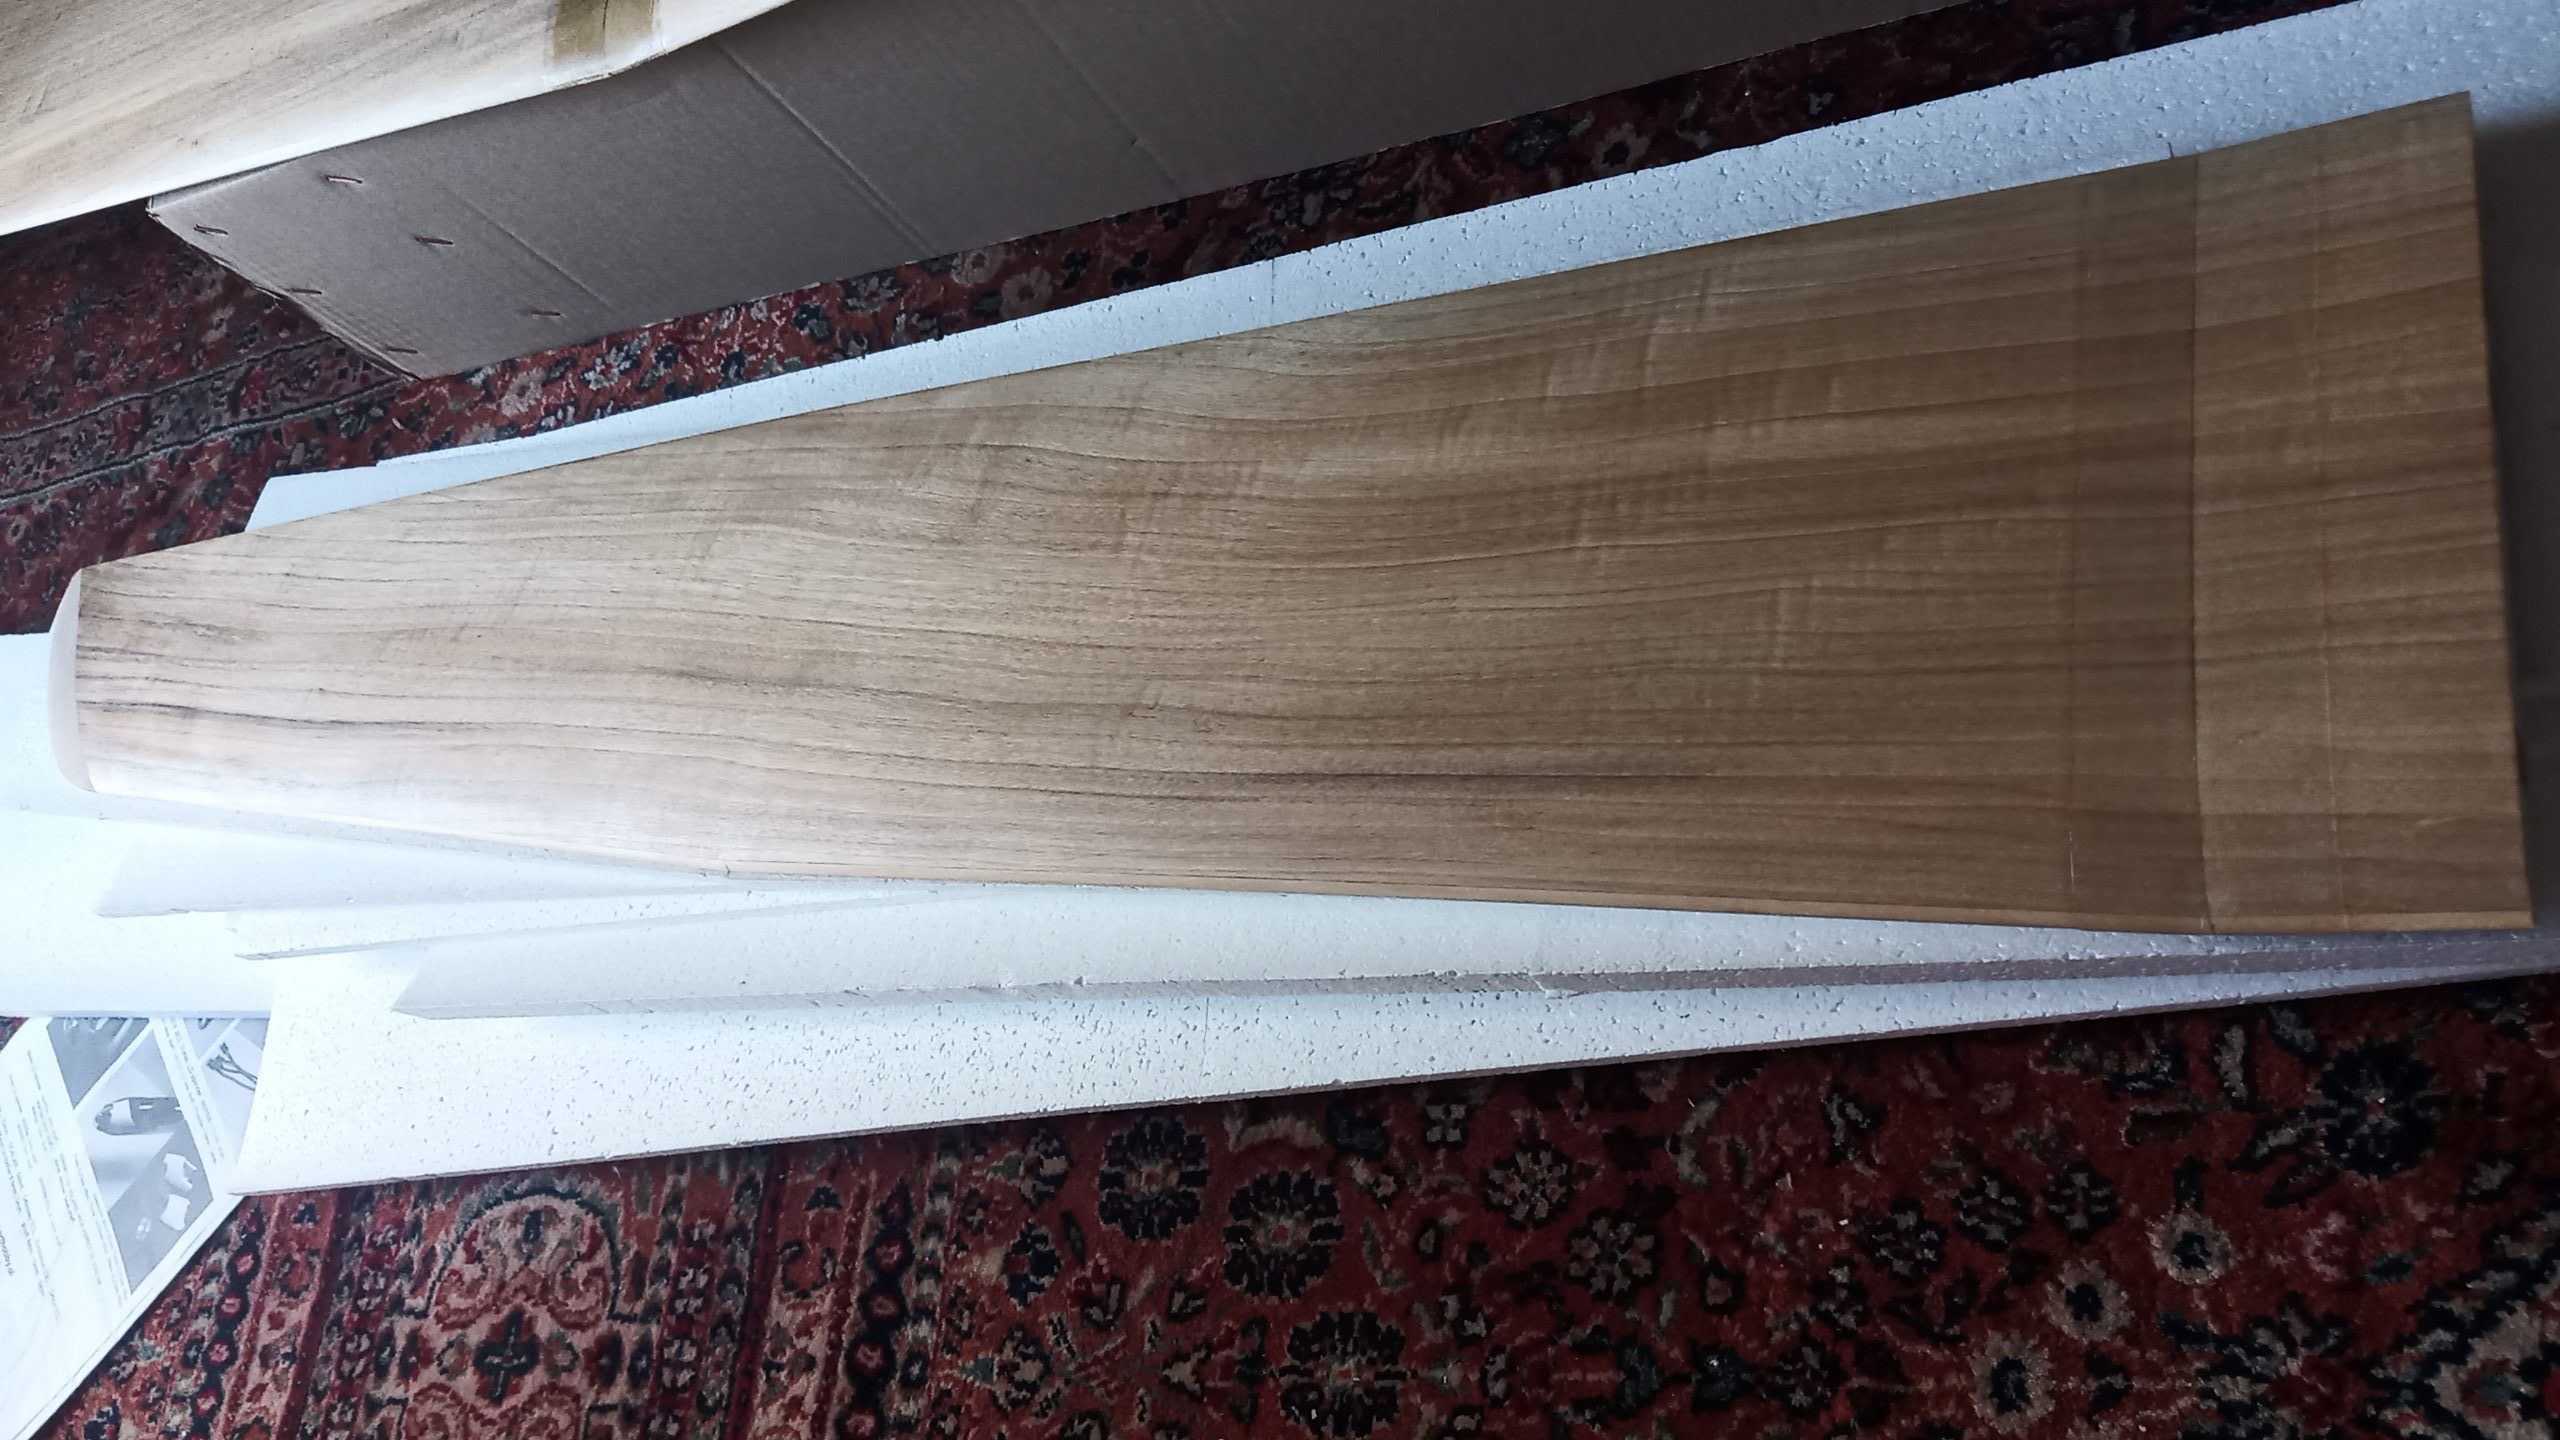
The fuselage, tail boom, rudder, stabilizer are high end parts, like my DLG, looks like Carboline and of course quite light. The wings are big… 4 meters of wood veneer. An impressive kit.
That explains a lot of the price and this is the most expensive Art Hobby glider.
If you exclude the beautiful Art Hobby “signature” wing panels, everything is exactly as you would expect from a classic cfk/gfk 4m f5j model… which is almost twice the price. The scalar looks like a good deal.
Experience
Having some experience with my old Odyssey – I’ve done everything to it from varnish to epoxy paint. I can recommend never painting it or you may regret it, try the wood finish wings instead…
For wood, you have the mono-component varnish… with solvent like Art Hobby varnish (the most risky for the moss) or water based like Marine varnish; And the bi-component: epoxy – the wood is saturated, resistant, enhances the beauty of the wood grain and gives you a good hardness.
You can do both by starting with epoxy.
A quick list of specific material for the build not included:
- Epoxy Resin with UV protection – with low viscosity – mandatory
- Matte Marine Varnish (I used Syntilor) – for extra finish
- Some peel ply
- Paper towel roller…
- Fiberglass twill ~200g/m2 – for viable external wing panel joints – mandatory (provided fiberglass is too thin and only useful for the edge of the wings panels).
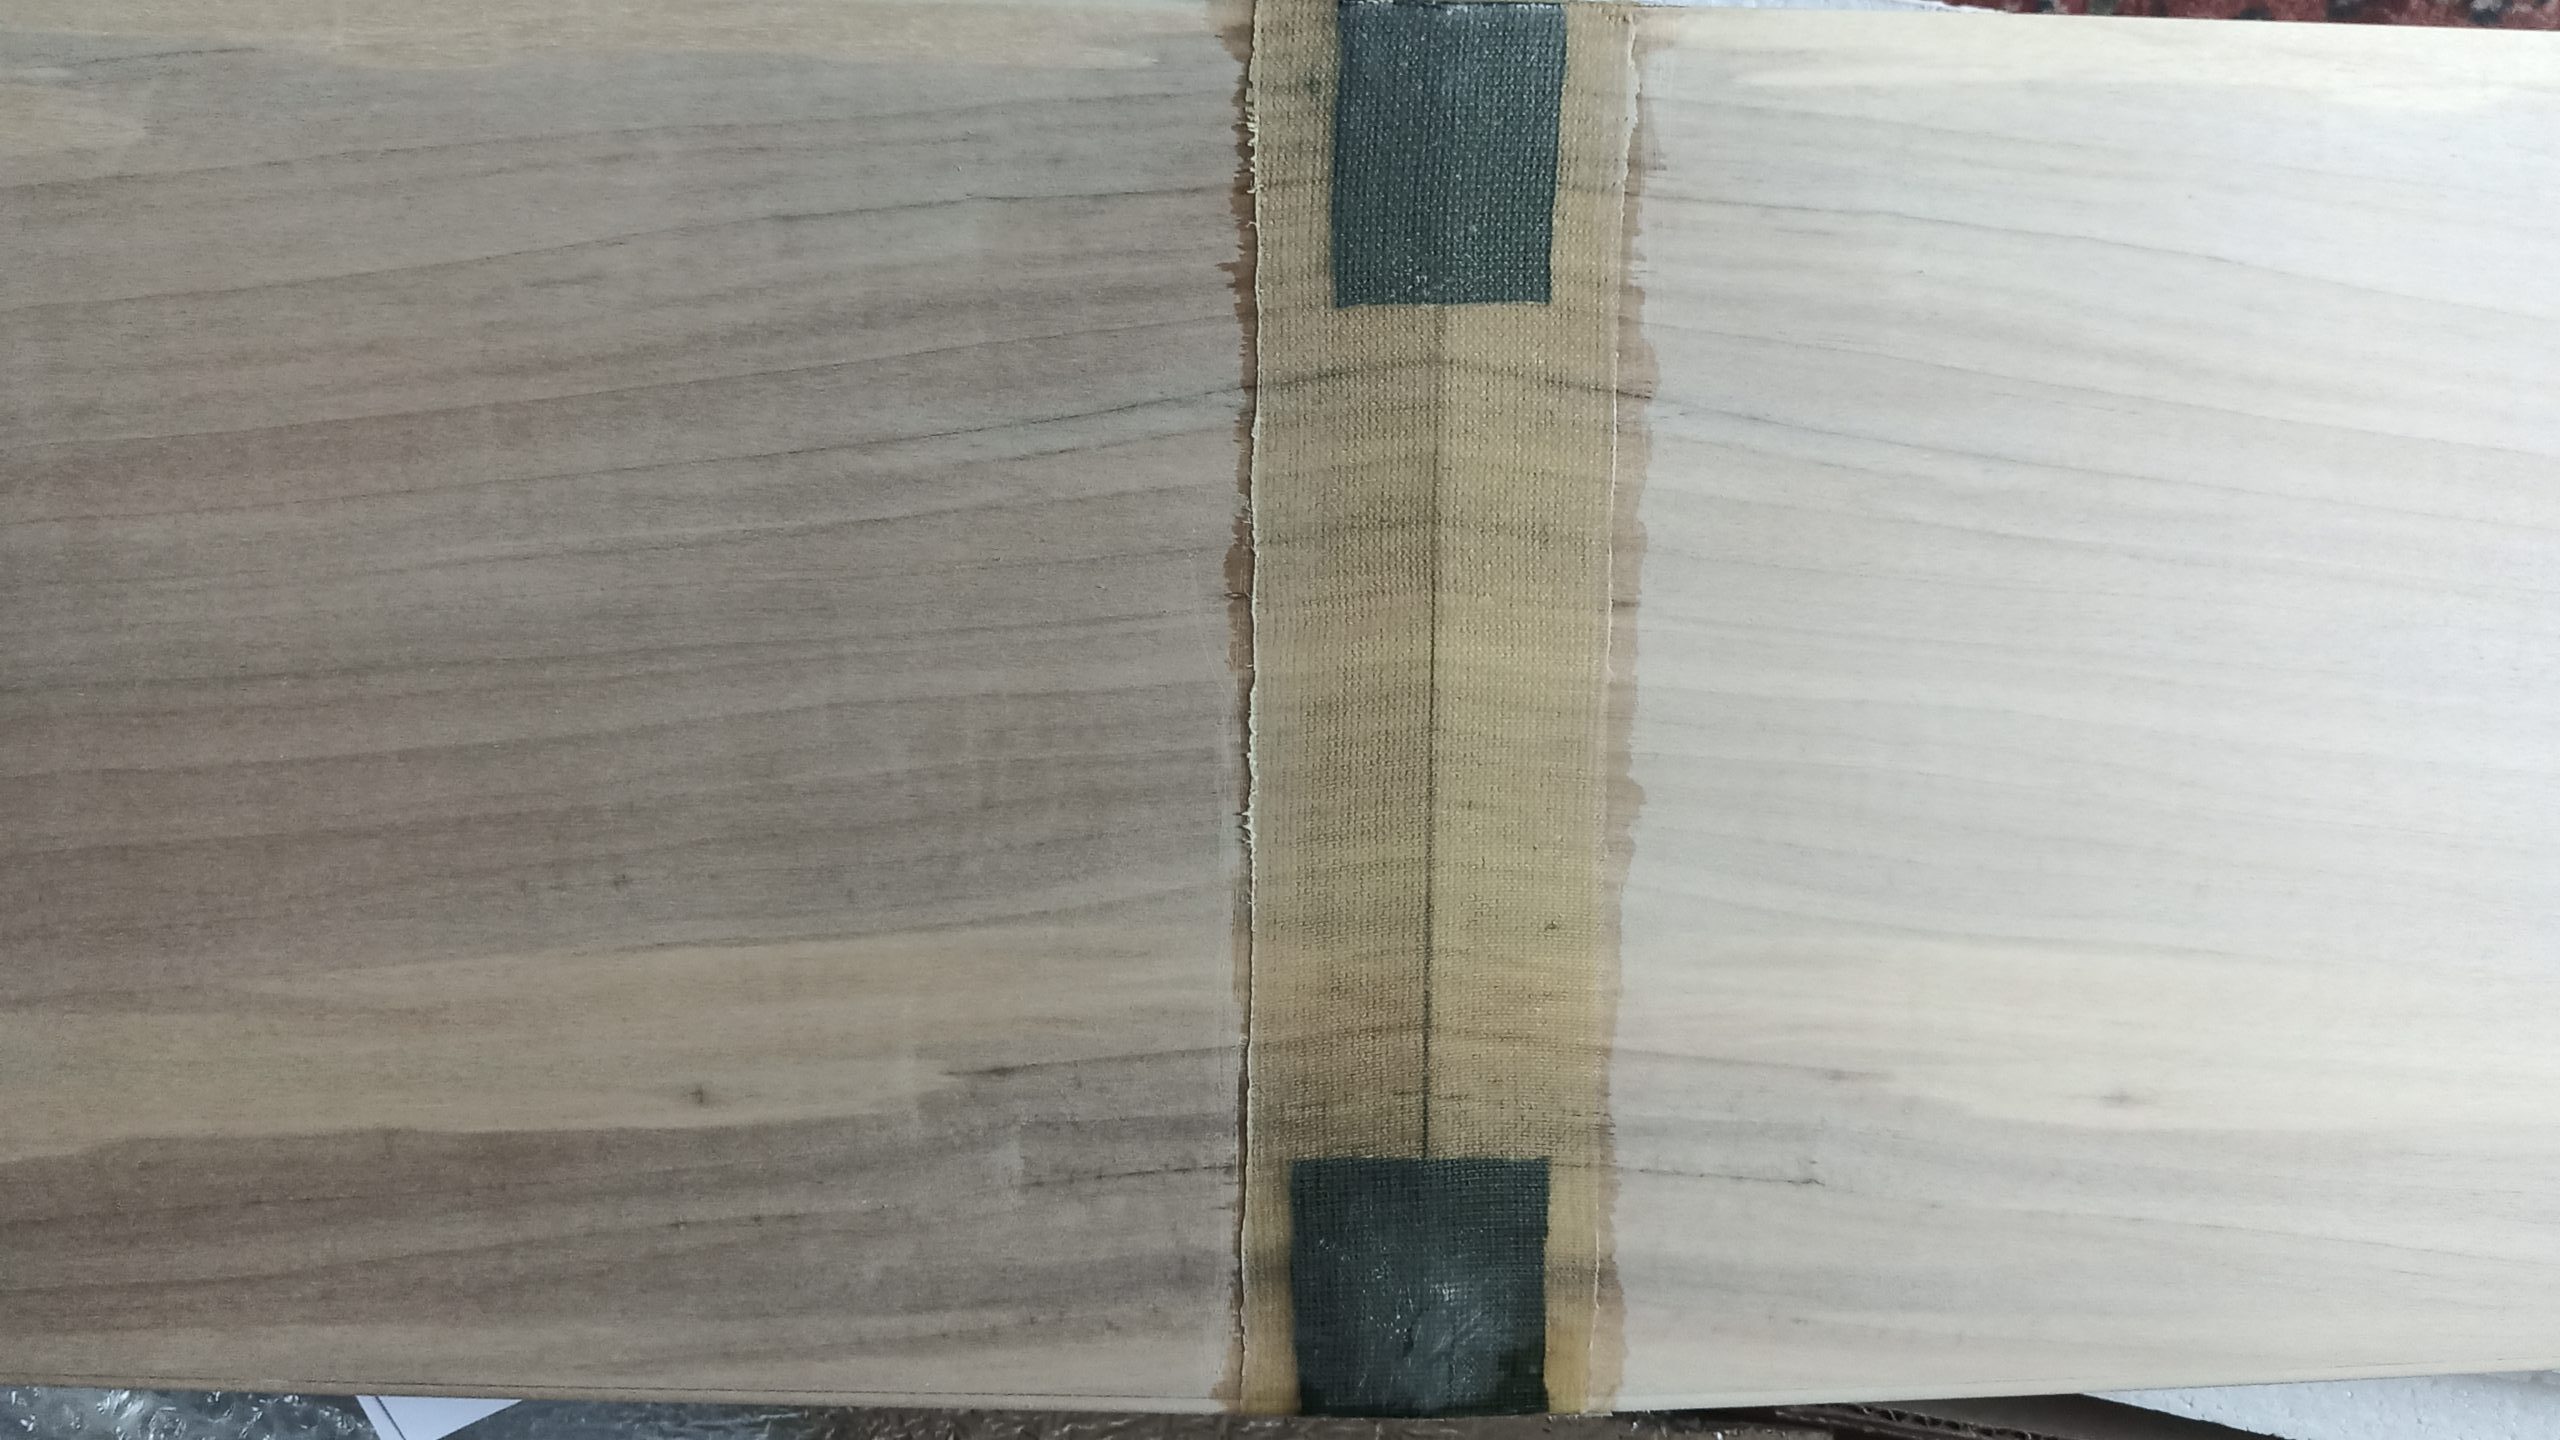
- Not mandatory: Carbon twill ~200g/m2 to reinforce the bottom central panel joint more than the provided kevlar strips.
- Carbon steel surgical blades like some Swann-Morton – ref 10 and ref 11.
You can find the classic AH building steps online, there are many video tutorials on AH gliders (like cutting the aileron/flap)… I’m writing here about the steps that wasted a lot of my time in mistakes and trials. Here are the things I absolutely must do for AH gliders.
Wings
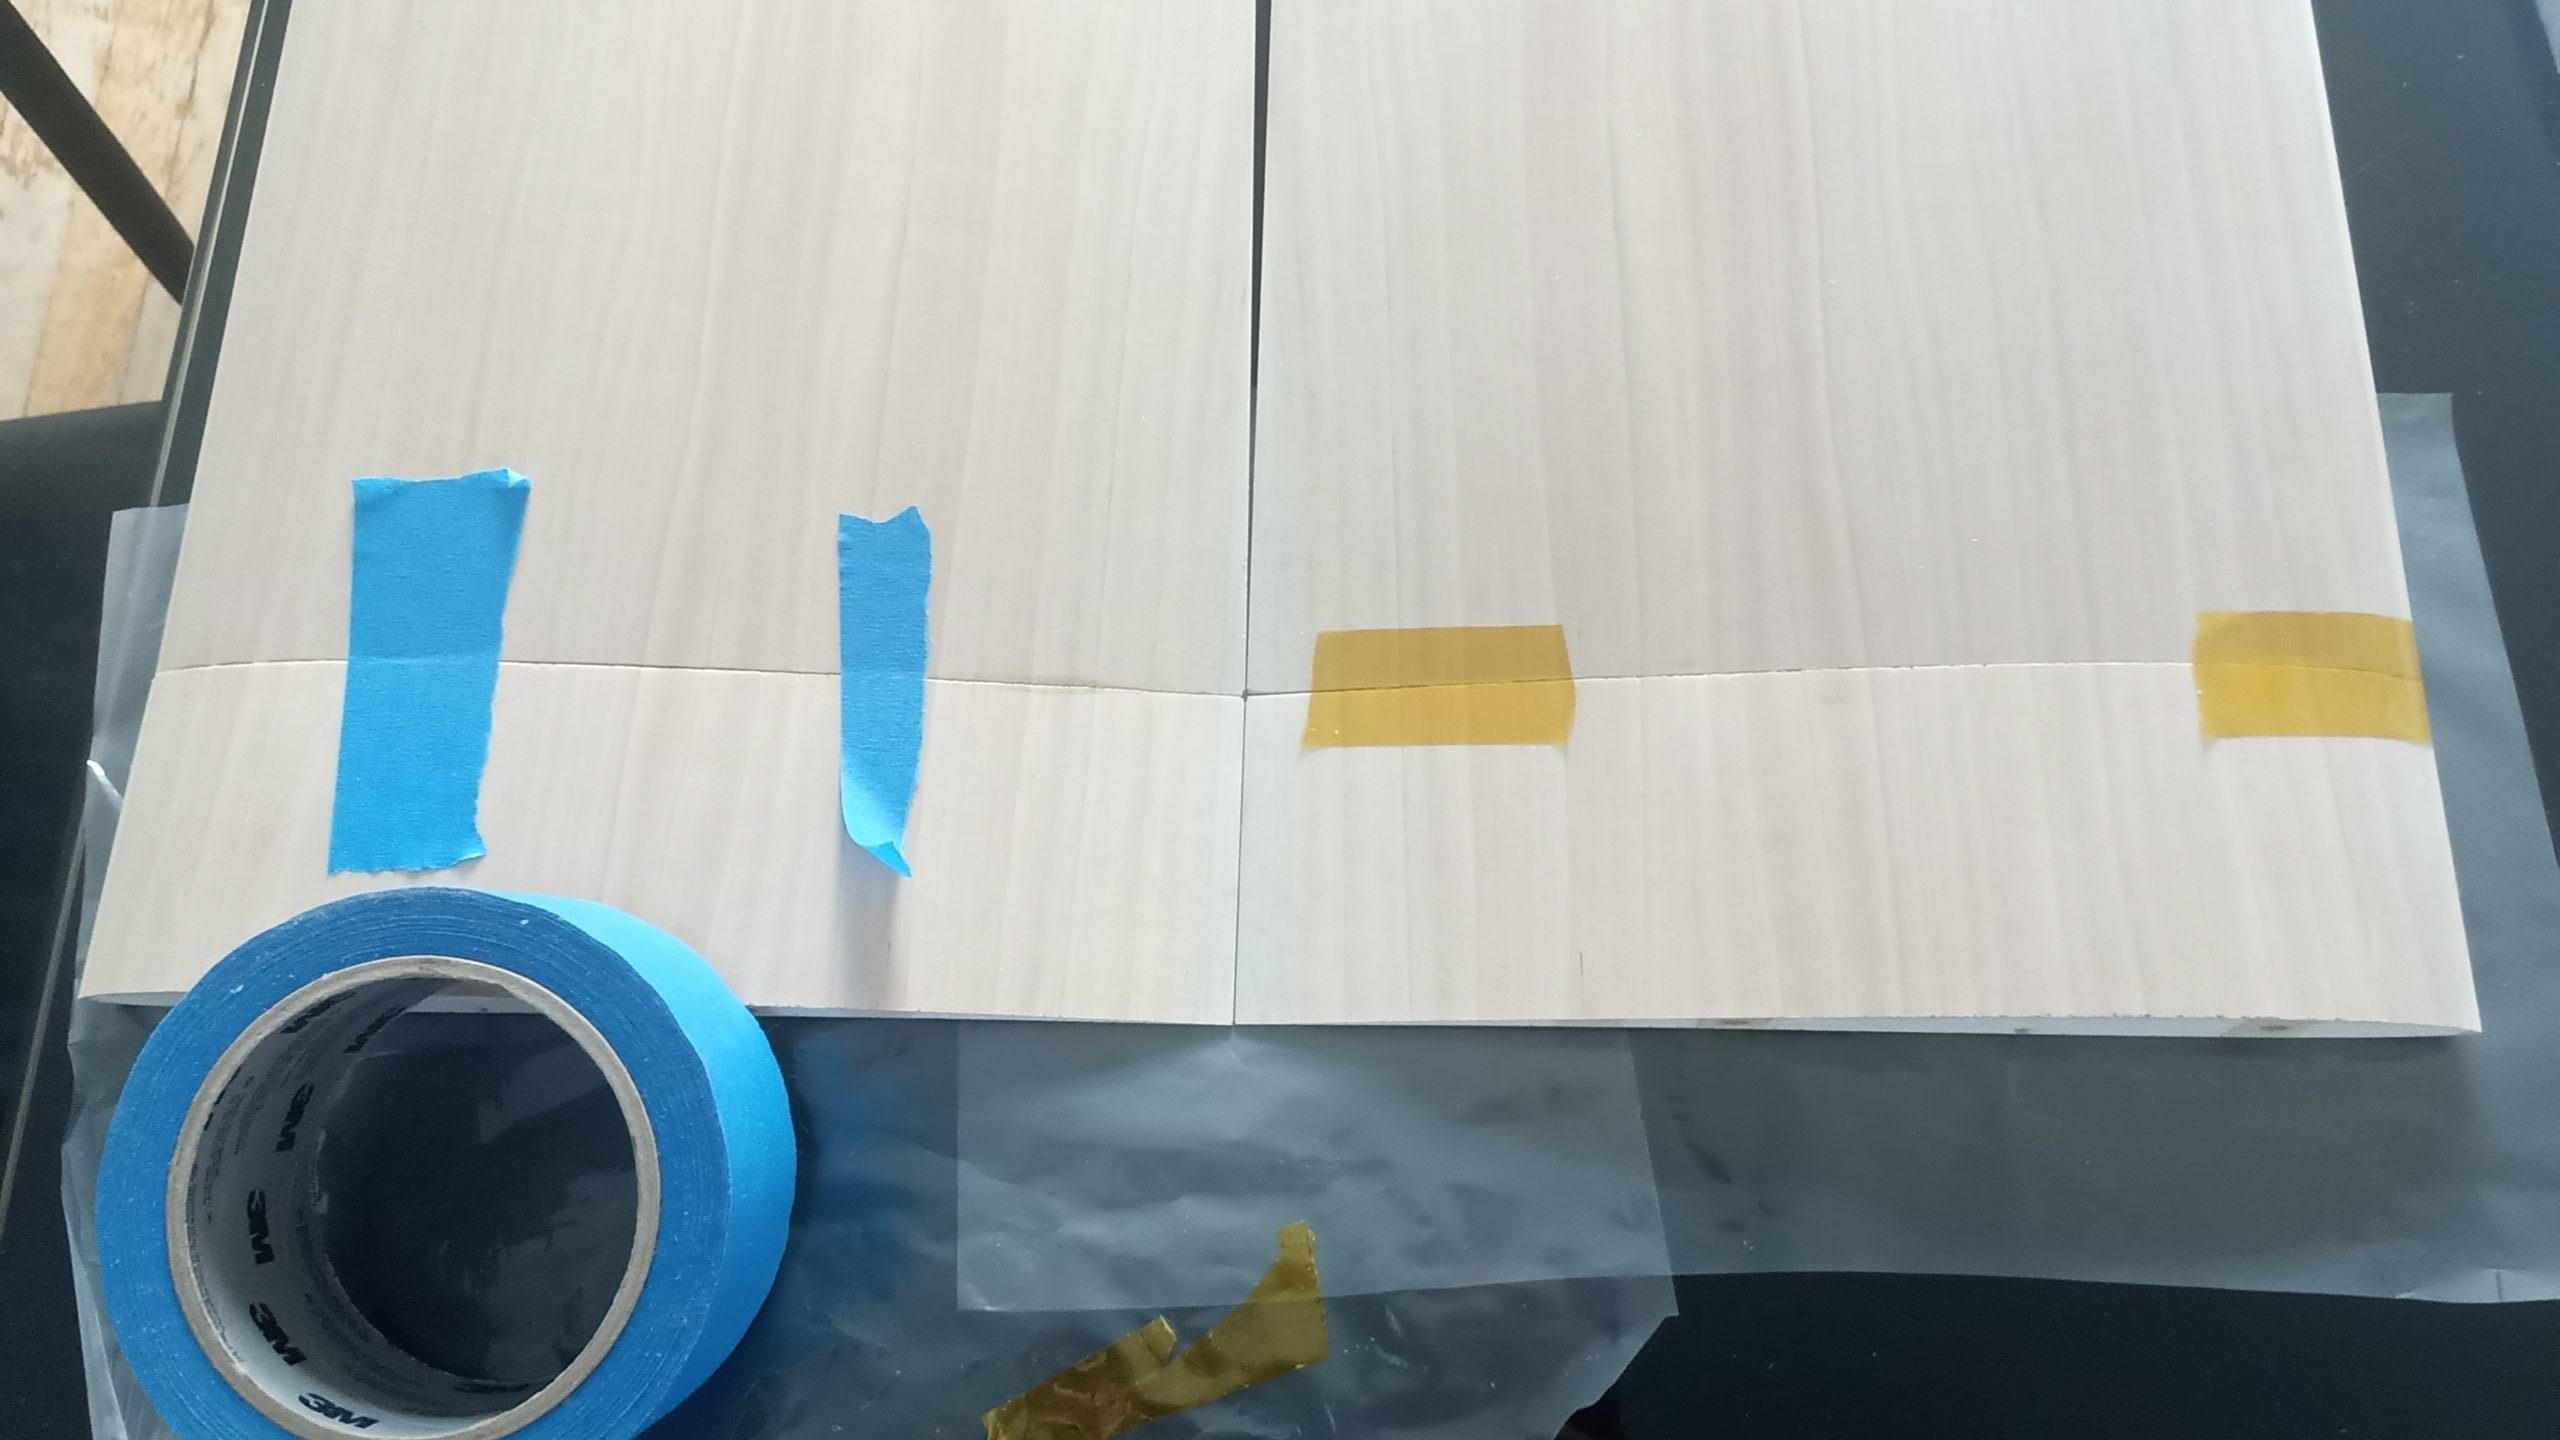
First, the wing panels are aligned, the joint is sanded to match the dihedral. The joint is simply glued with epoxy as a first step to secure the two parts. The joint is strong enough to keep the right angle for the fiberglass/kevlar covering.
Always work at a good room temperature like 20 DegC at least, with the resin and the surface at the same temperature.
Wing panel joint
- Mix your resin (Epoxy Resin with UV protection – transparent stratification resin)
- Wet the wood with the resin
- Heat the wood (a hair dryer can do the job. I am using my heat gun soldering station at 120 DegC) – not too much, it is lowering a lot the viscosity – just enough to see bubbles popping, the resin is penetrating deeply in the wood.
- Apply your layers (carbon, fiberglass, …) and wet them completely with resin. A brush with vertical moves on the clothes or your finger (glove).
- Finally put the peel ply and pressure on it to wet it completely. You can use a credit card. The peel ply will suck the excess of epoxy. Check there is not a single bubble left between layers.
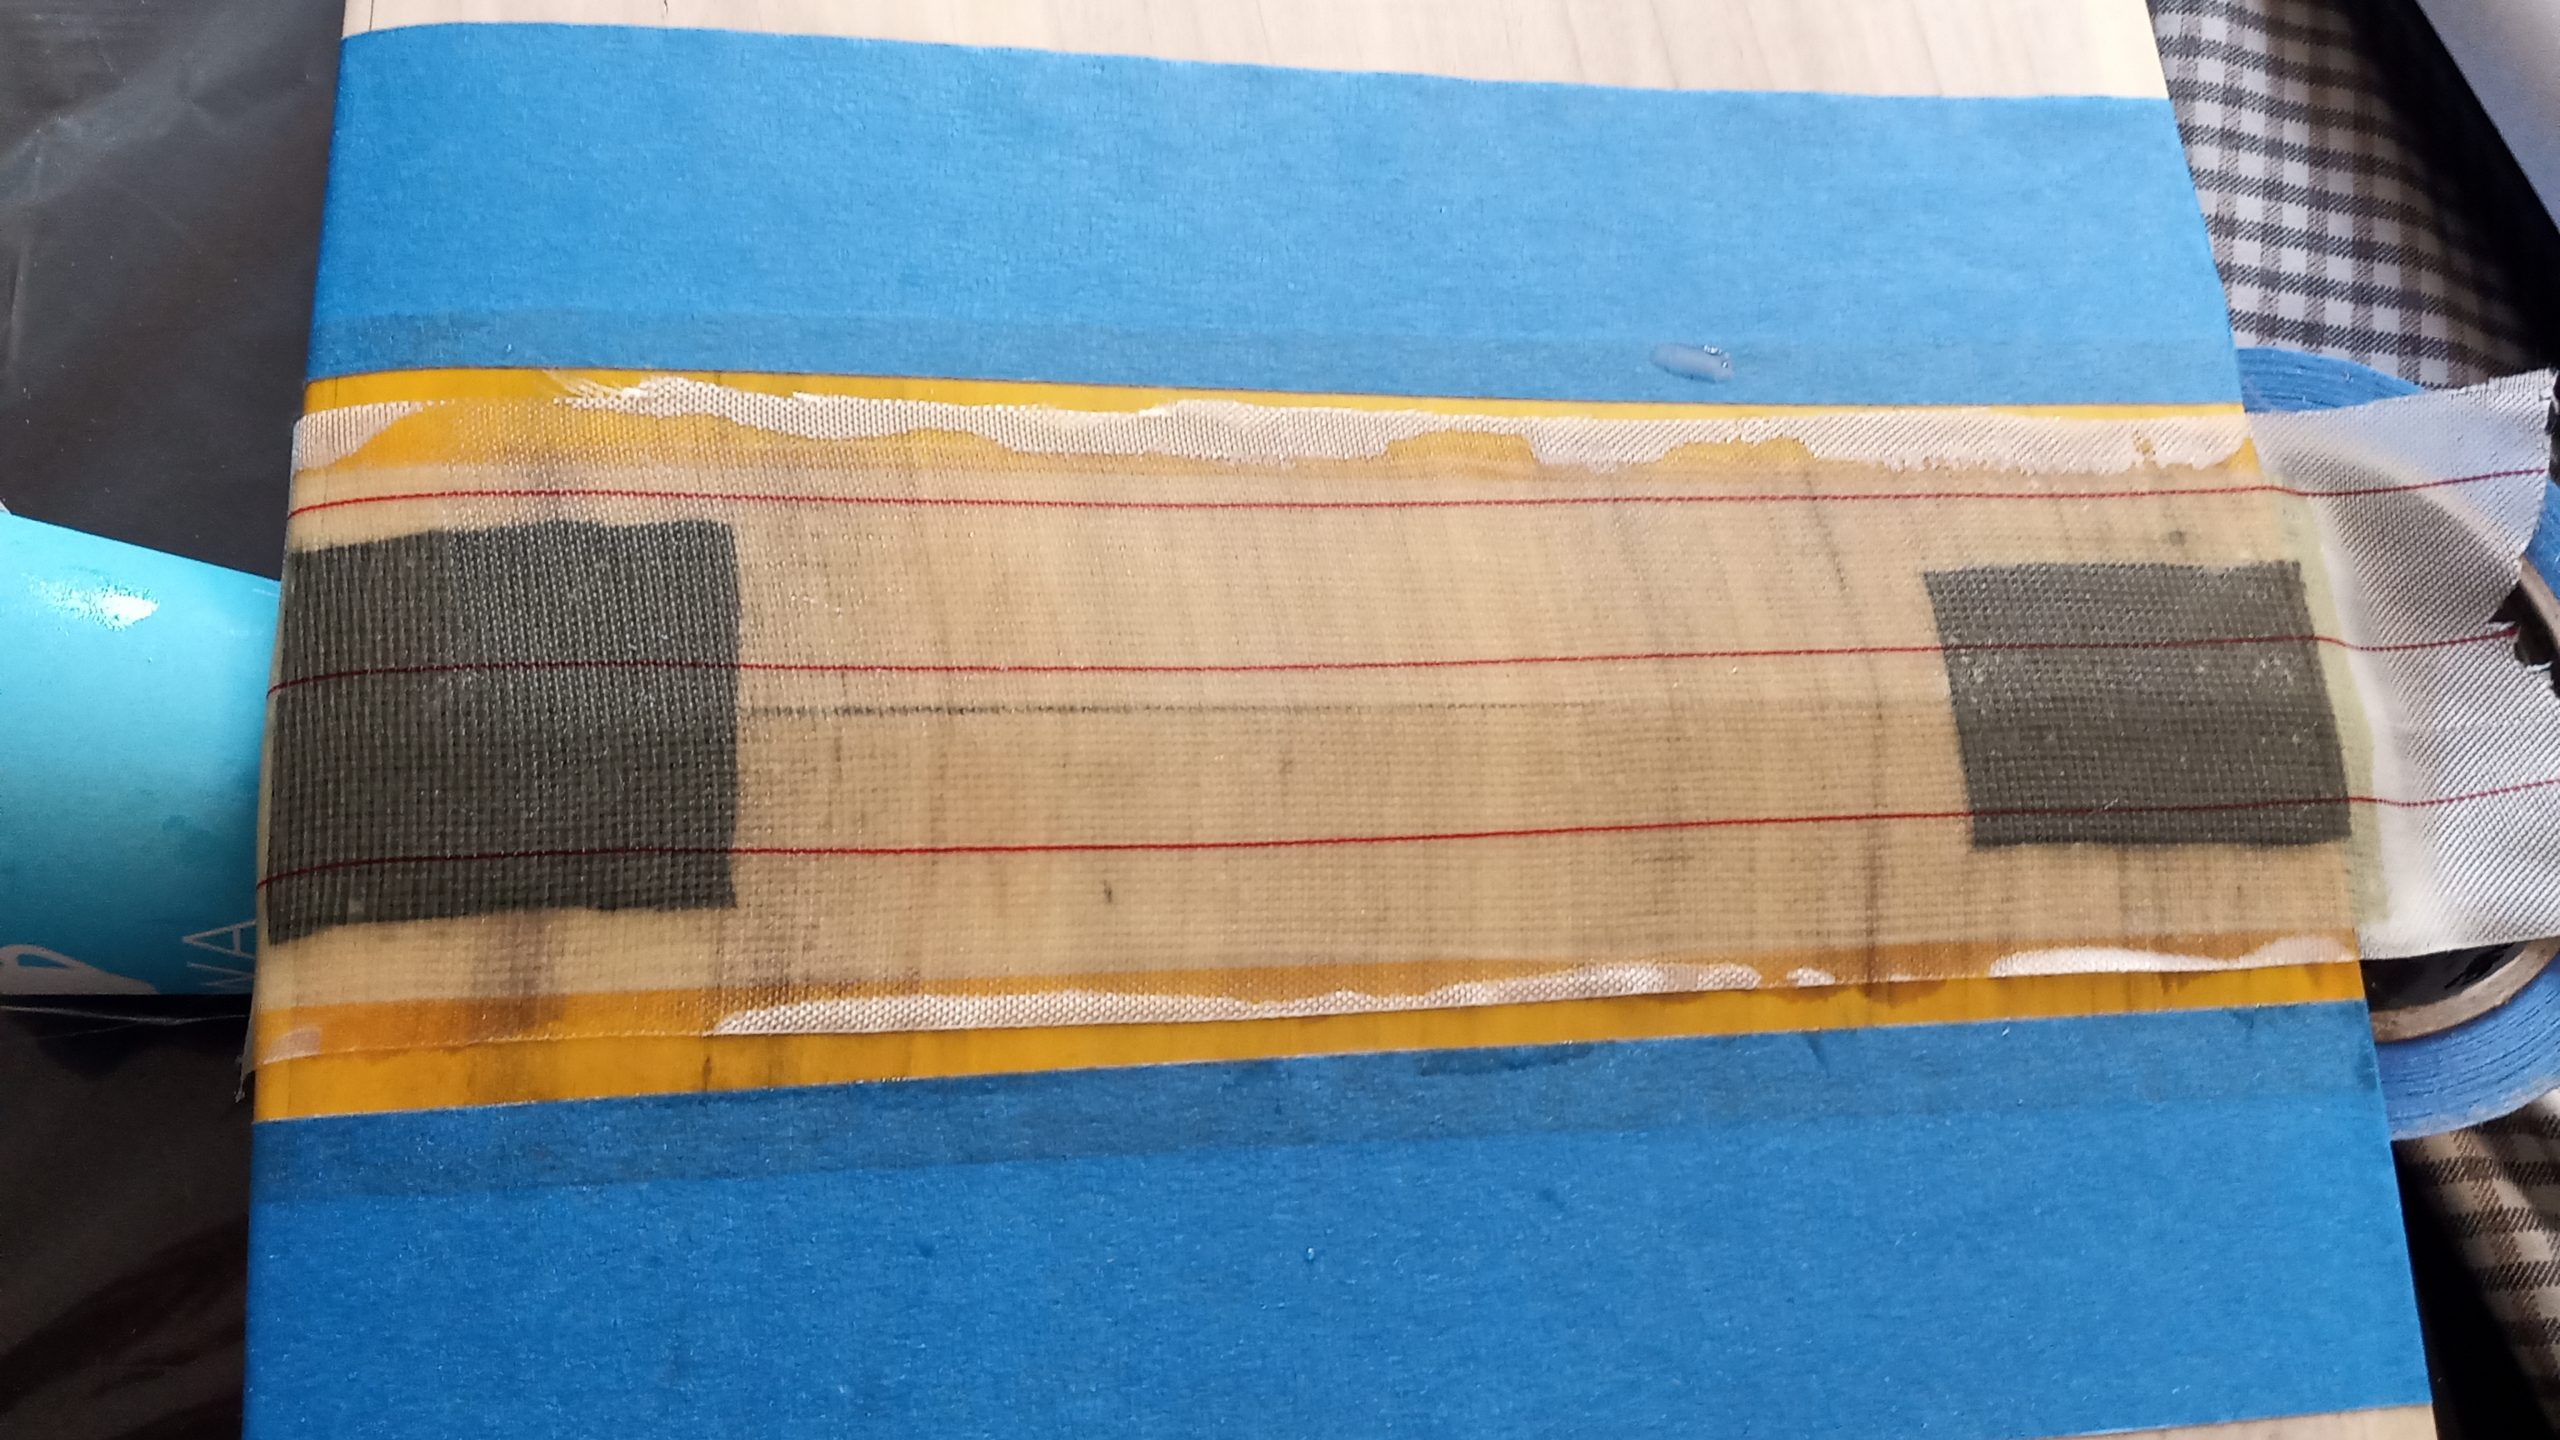
Peel ply over to grab the excess resin and ensure there is not air bubbles between layers.
We will apply 200gr/m2 fiberglass here – not the light fiberglass provided.
Wing panel surface
- Sand the surface with 300 grit.
- Clean the surface and remove any dust
- Mix your resin (Epoxy Resin with UV protection – transparent stratification resin)
- Wet the wood with the resin (I am using my finger with latex glove here)
- Heat the wood (a hair dryer can do the job. I am using my heat gun soldering station at 150 DegC) – not too much! the goal is to lower the viscosity – just enough to see bubbles popping, the resin is penetrating deeply in the wood.
- Take a sheet of towel paper and remove all the excess resin by doing one movement from the leading edge to the trailing edge. Repeat with new towel paper. You can stop when you have a matte finish on all the surface.
- Leave it to completely cure for few days (depending on your resin).
- Lightly sand with 300 grit sandpaper and clean the surface
- Varnish one layer with a foam brush (Matte Syntilor Marine Varnish). It is a finish layer to perfectly fill the surface.
- Lightly sand with 300 -> 600 -> 1000 grit sandpaper.
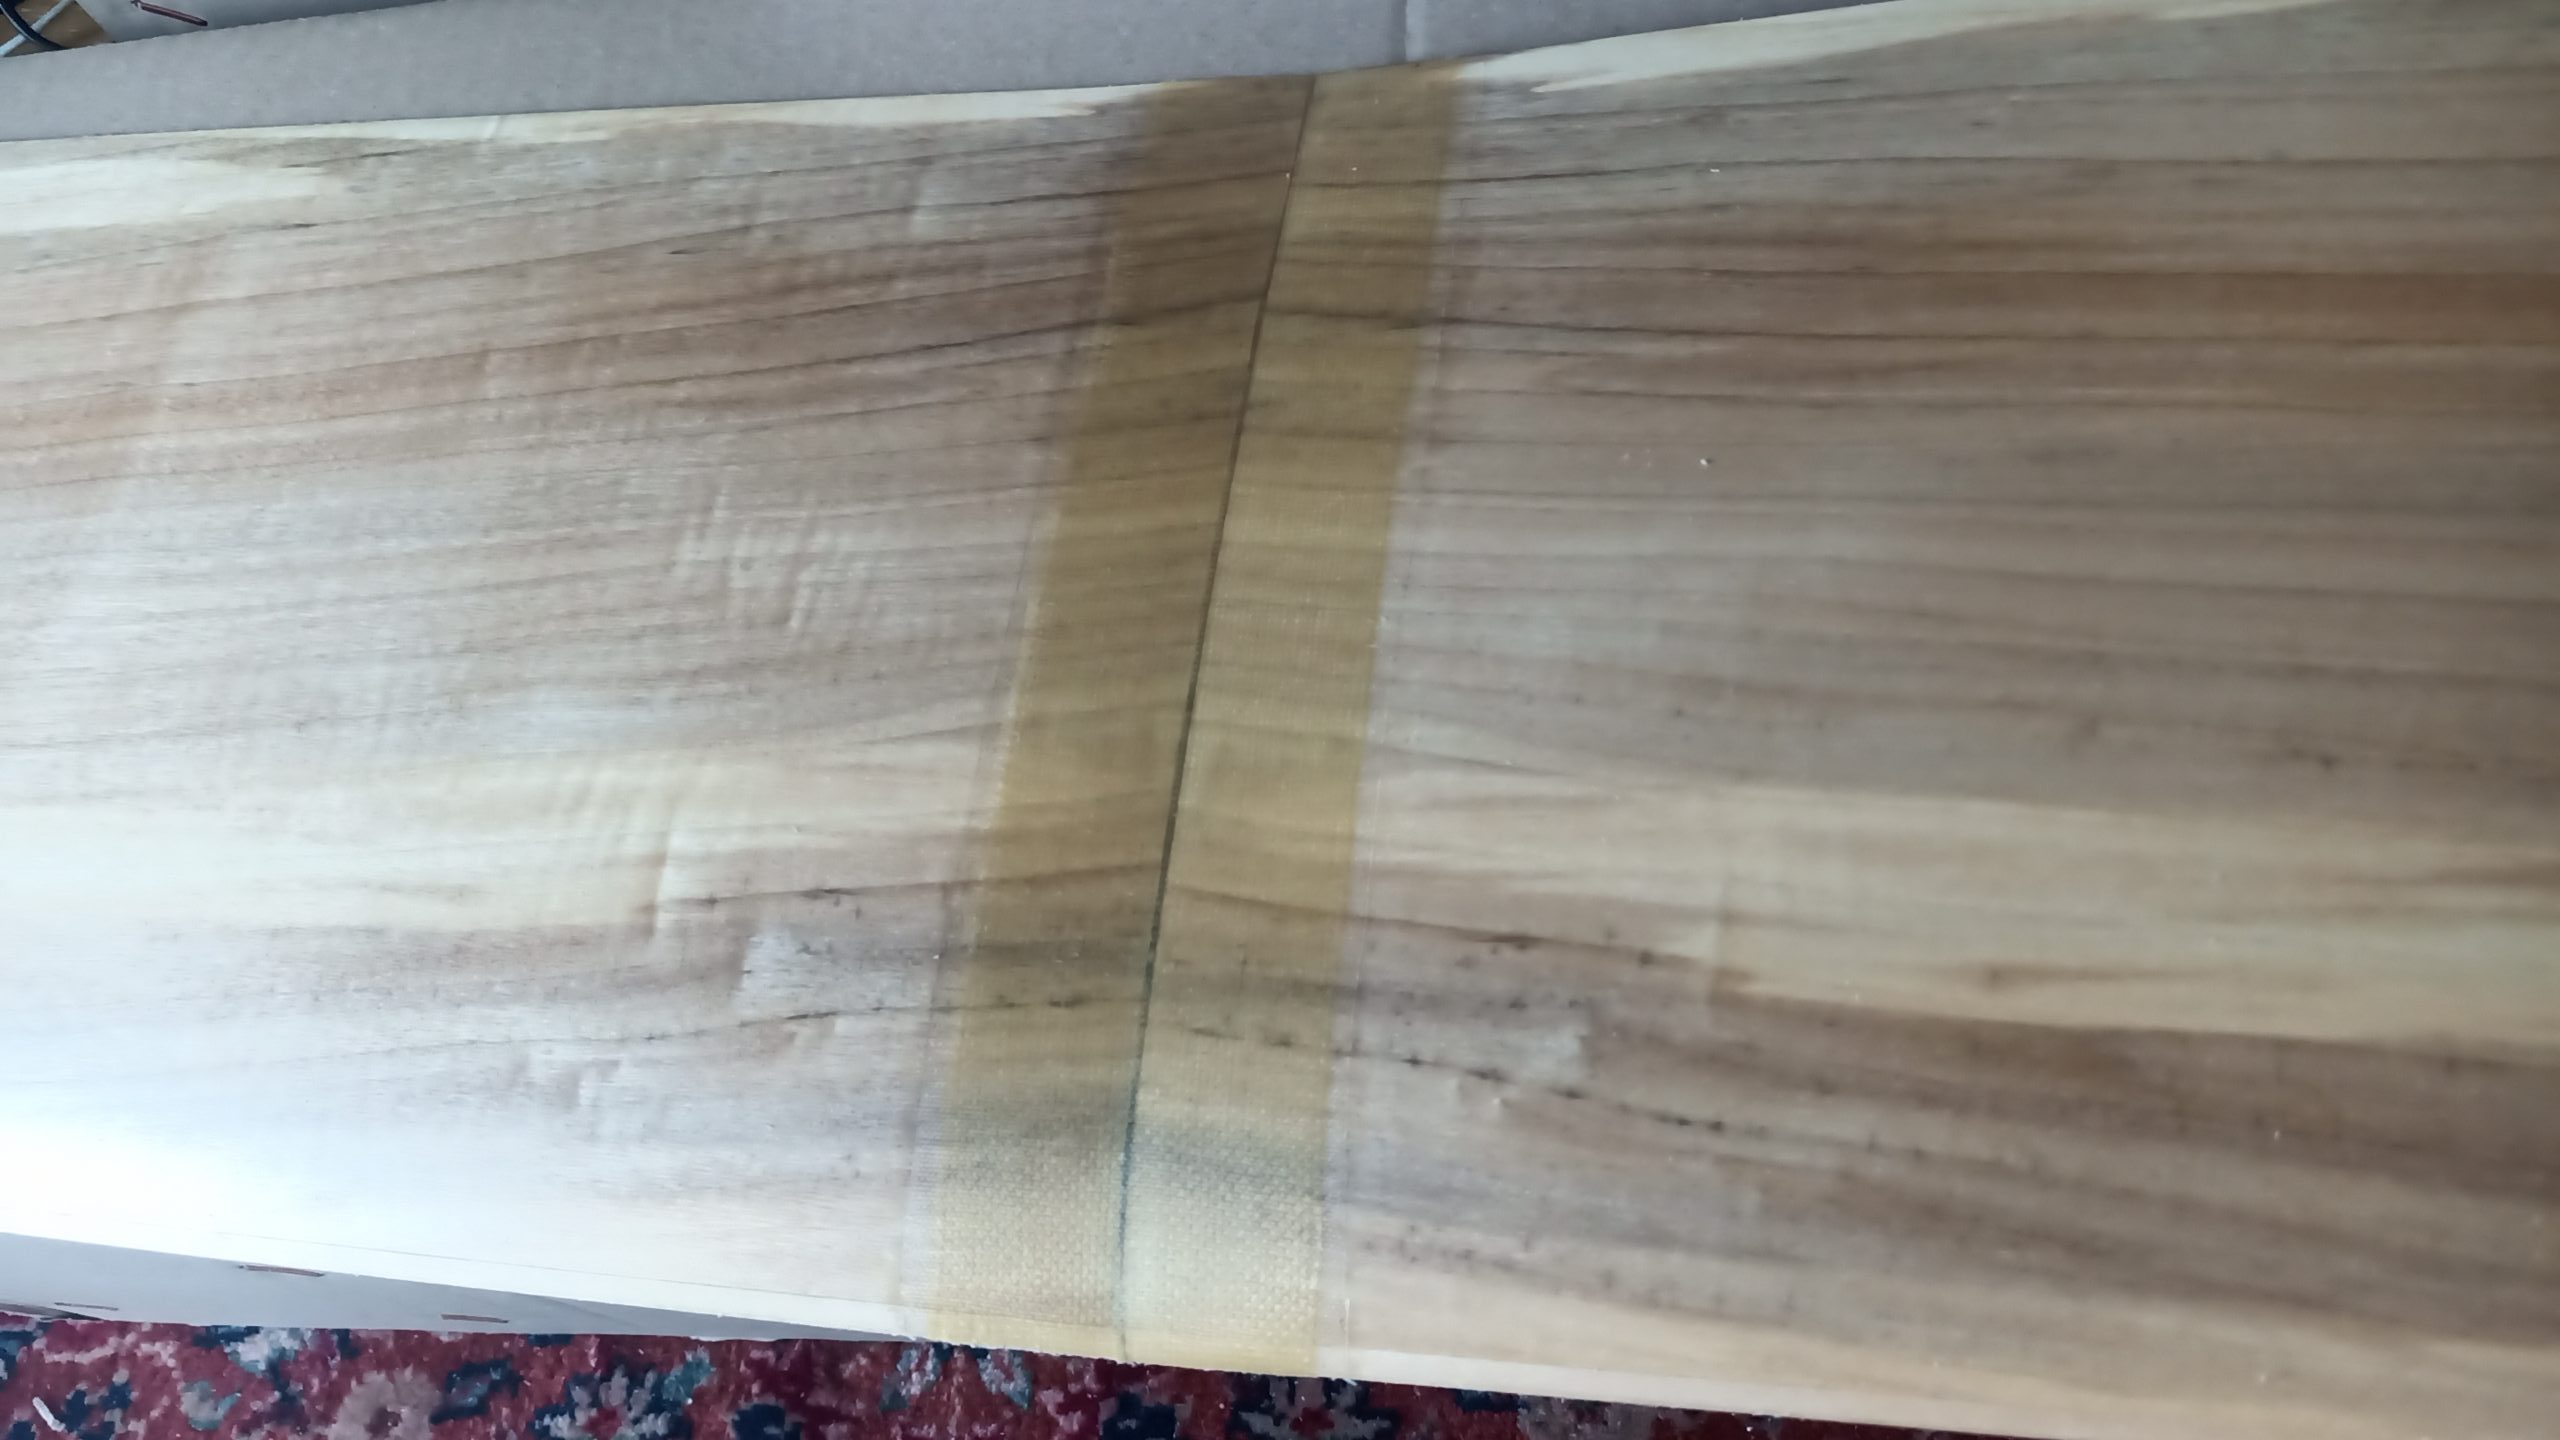
Kevlar is more “yellow”
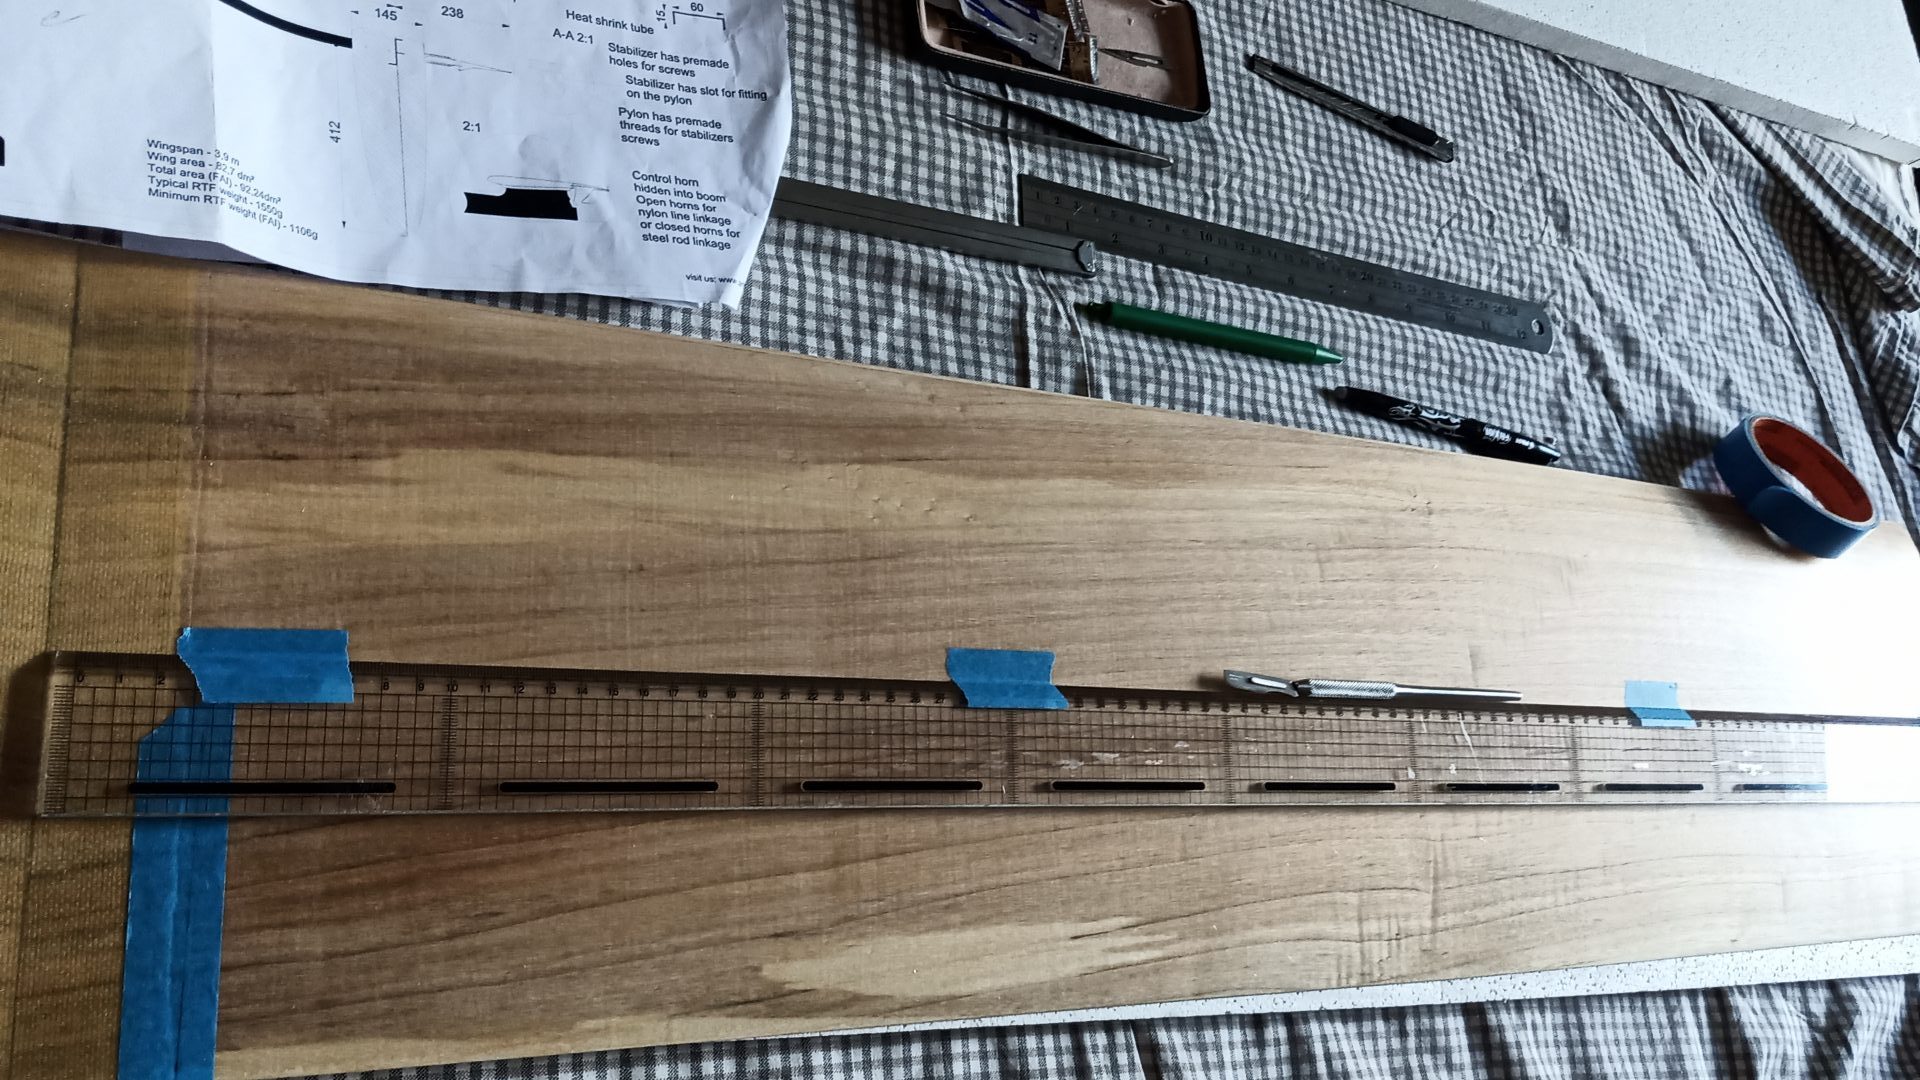
The wing is prepared for the aileron / flap cut.


Fuselage
Nothing extraordinary here. I added some carbon reinforcements in the fuselage on the joint between the fiberglass (upper white part) and the carbon (lower black part).
It says to use a 35mm nose cone. My fuselage was about 33-34mm and I was mounting a 28mm motor. I chose not to touch the fuselage cut and make an adapter to mount a 32mm nose cone. The weight is optimized (you can’t put the motor further forward) and the result is perfect.
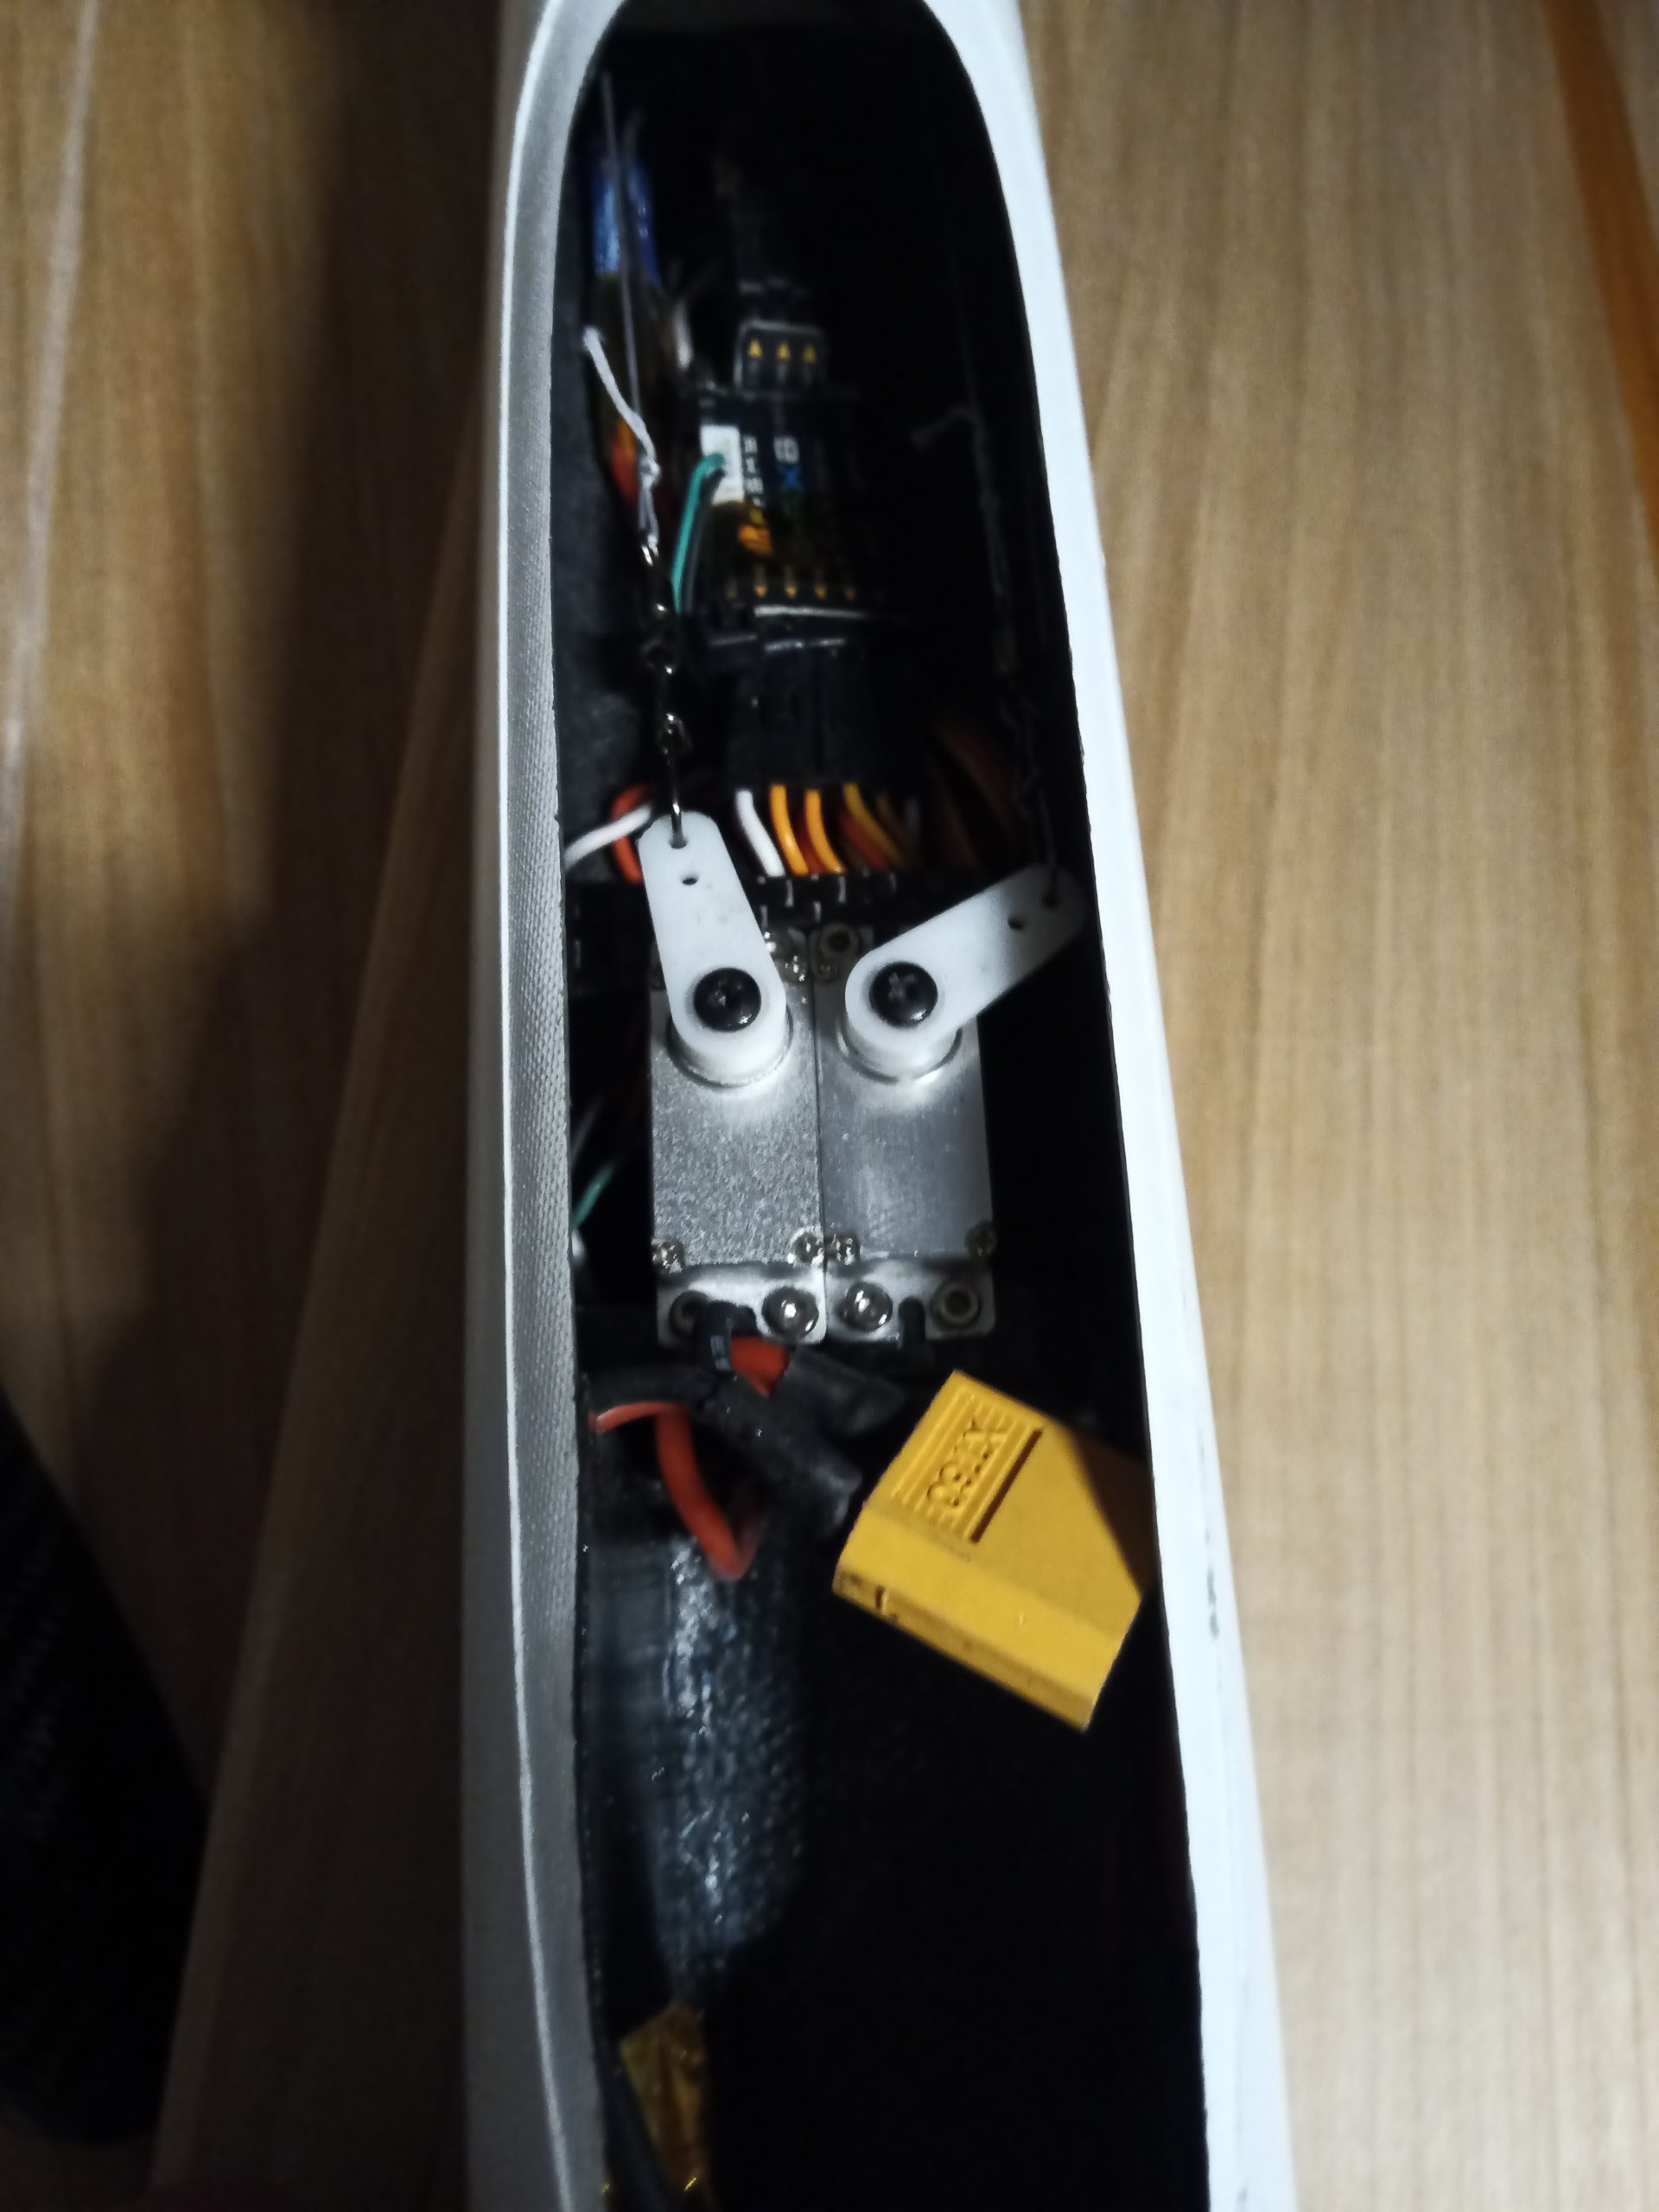
The parts:
- SunnySky x2220 iii 980kv – very efficient
- ESC BLHeli-32 SucceX 55A Slick – (BLHeli-32 !!!)
- Dual redundant Mini-560 BEC – 8V output
- FrSky G-RX8 (2.4Ghz with Altimeter)
- FrSky r9mini (900Mhz redundancy)
- Hyper Spinner POWER 32mm, carbon blades…


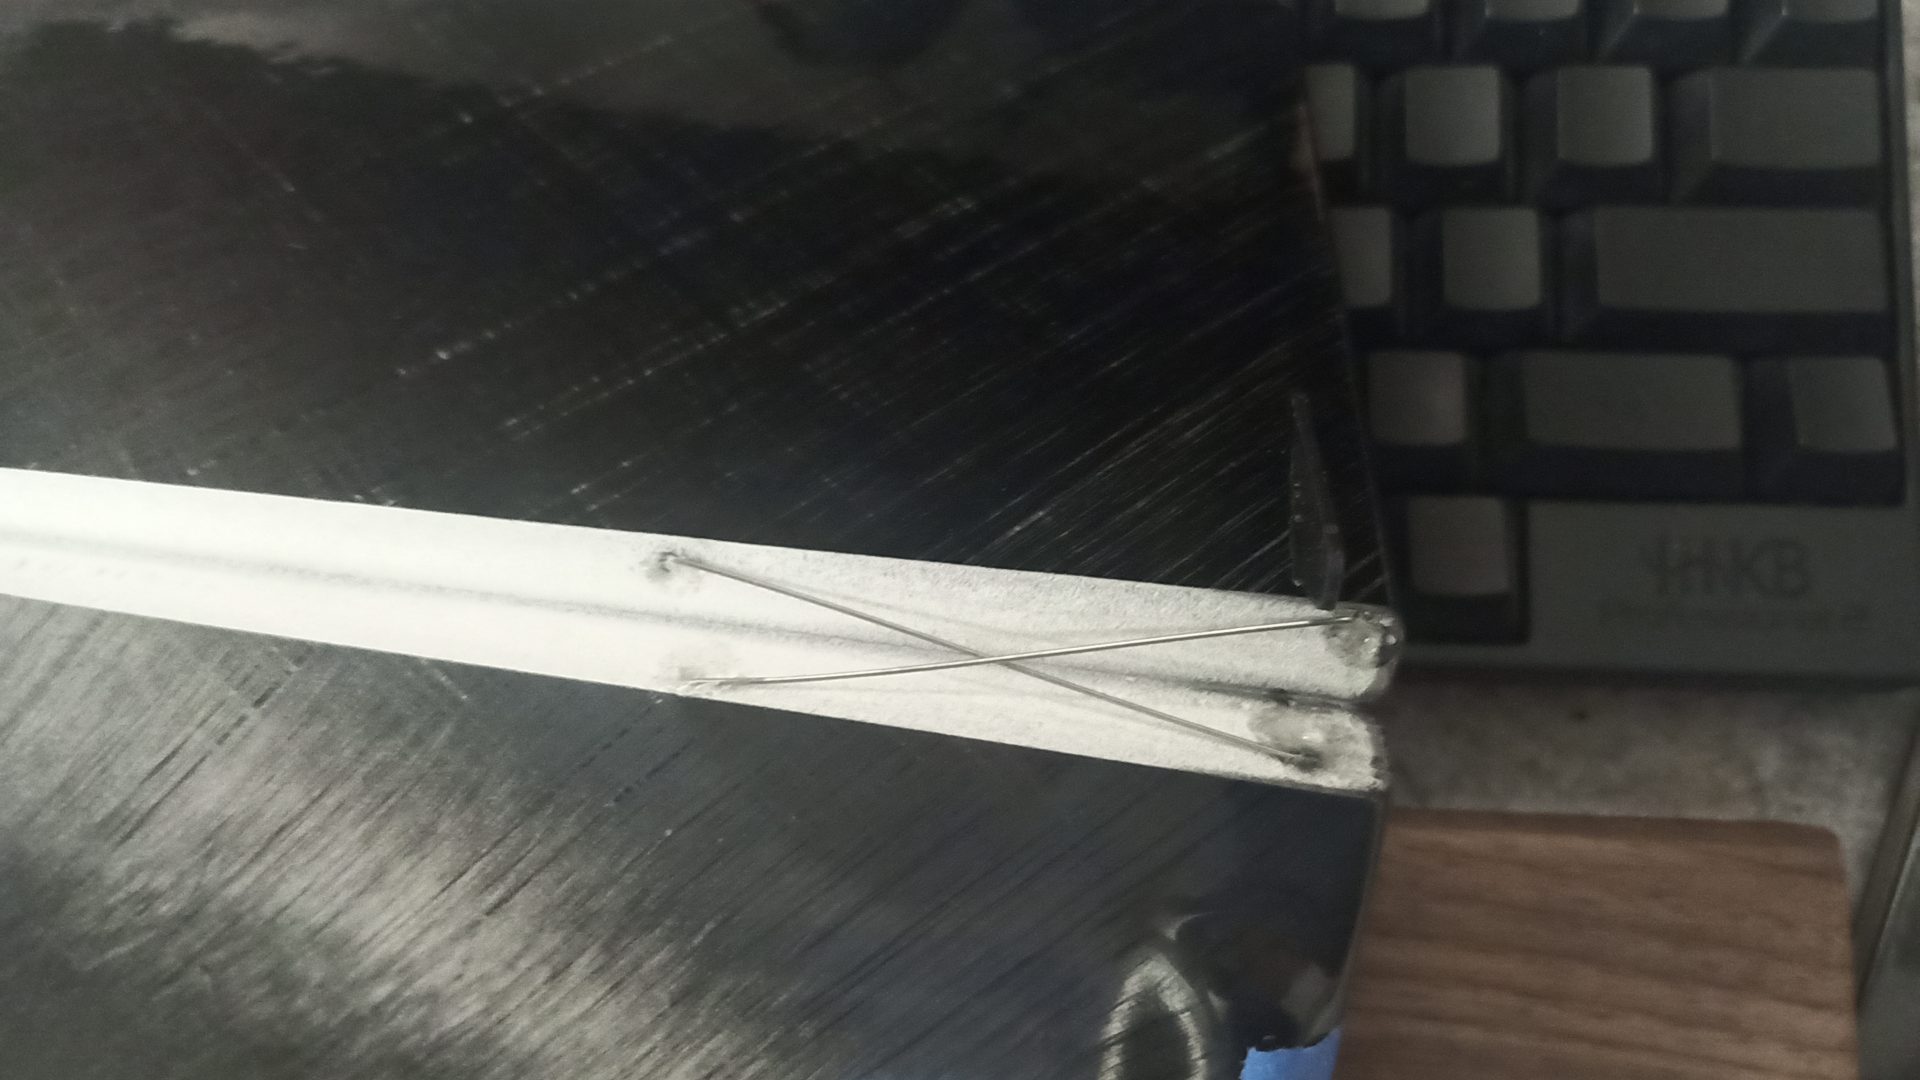

Using fishing swivels for the pull line.
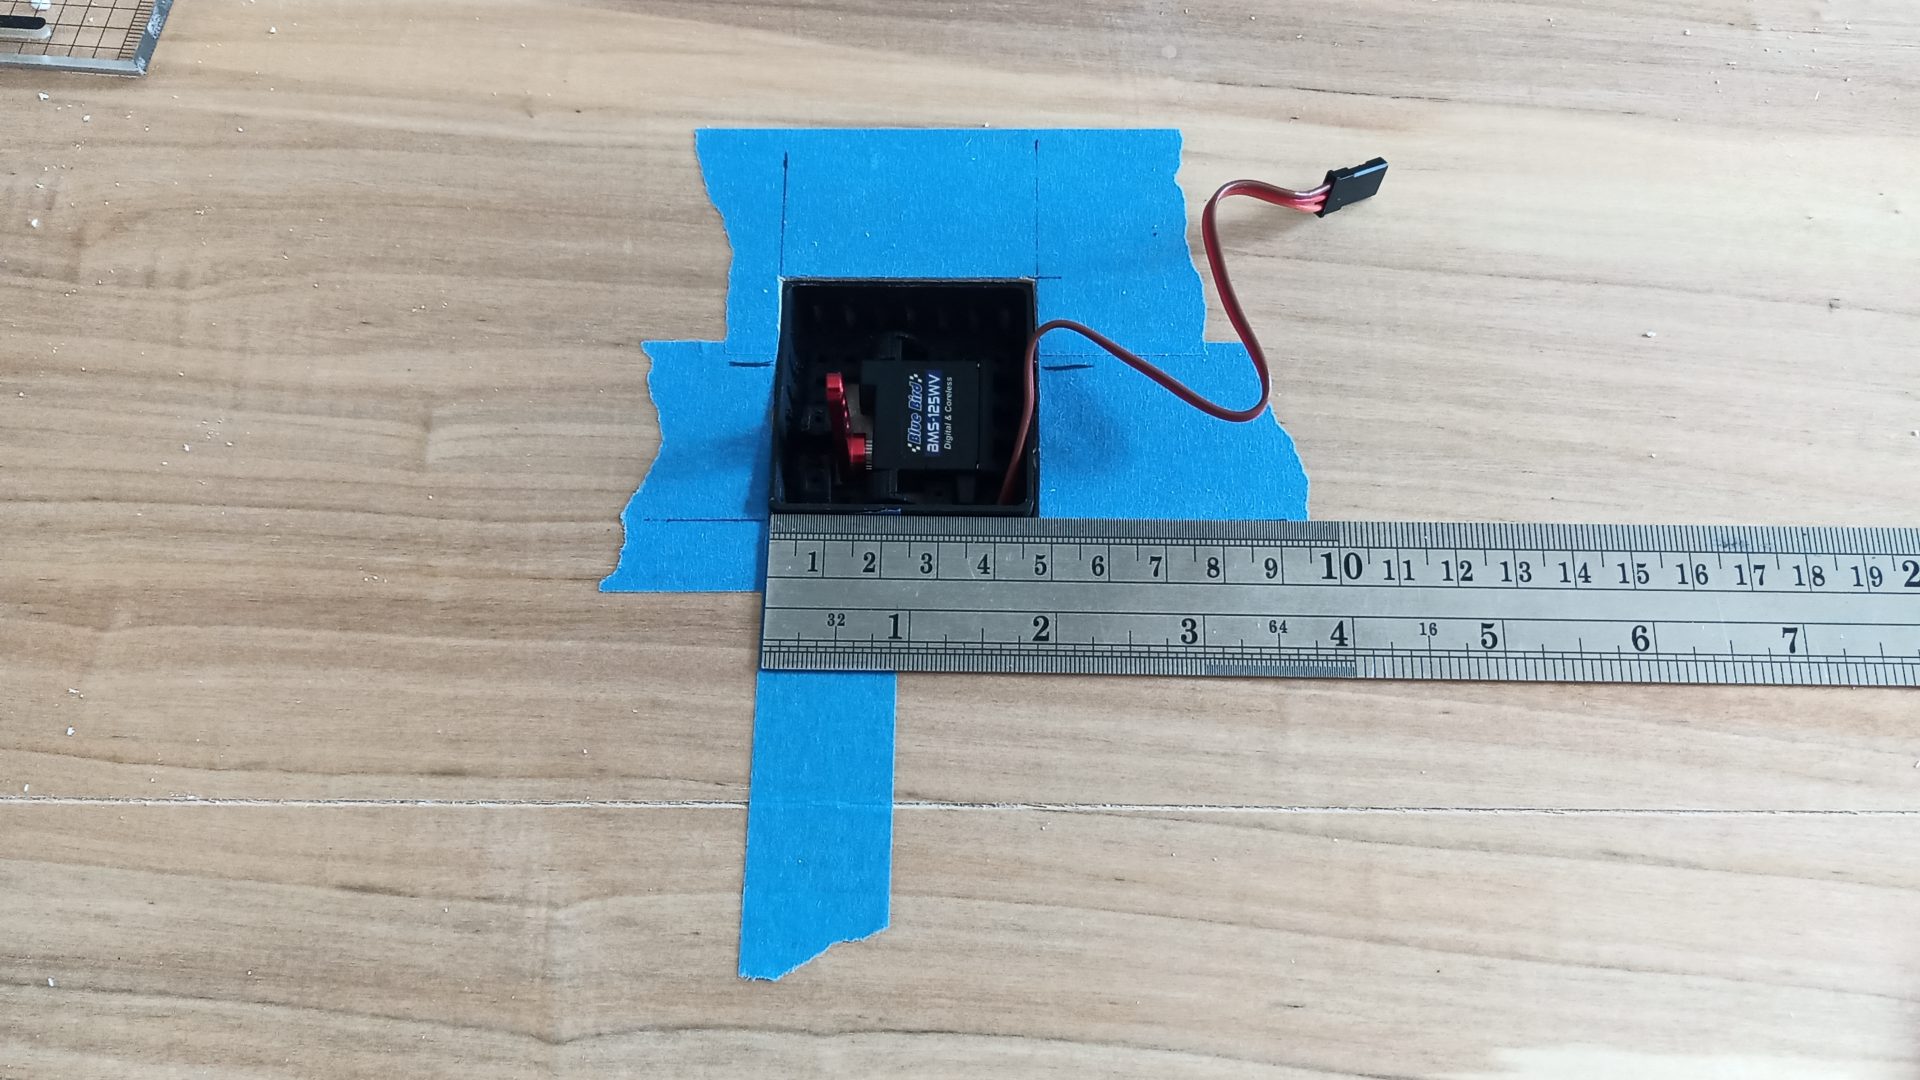
CG at 130mm for the maiden. No lead added with a 3s Tattu 2300mah in the nose. Everything looks good and I’m happy with the result. By design, it’s not a light competition wing (I’m up to 1750gr) but it’s sturdy and easily repairable – exactly what I was looking for with this F5J, a good reliable glider and maybe a great performer. I’m waiting for the maiden now…
Hello,
I would like to build this sailplane. In the above photos, what is the 4th and 5th picture from the bottom? I built the Sky elc 1.7 meter from Art Hobbies. If I decide to build the 4 meter, can I buy the printed parts from you.
Many thanks,
Bill Metcalf
Hello Bill,
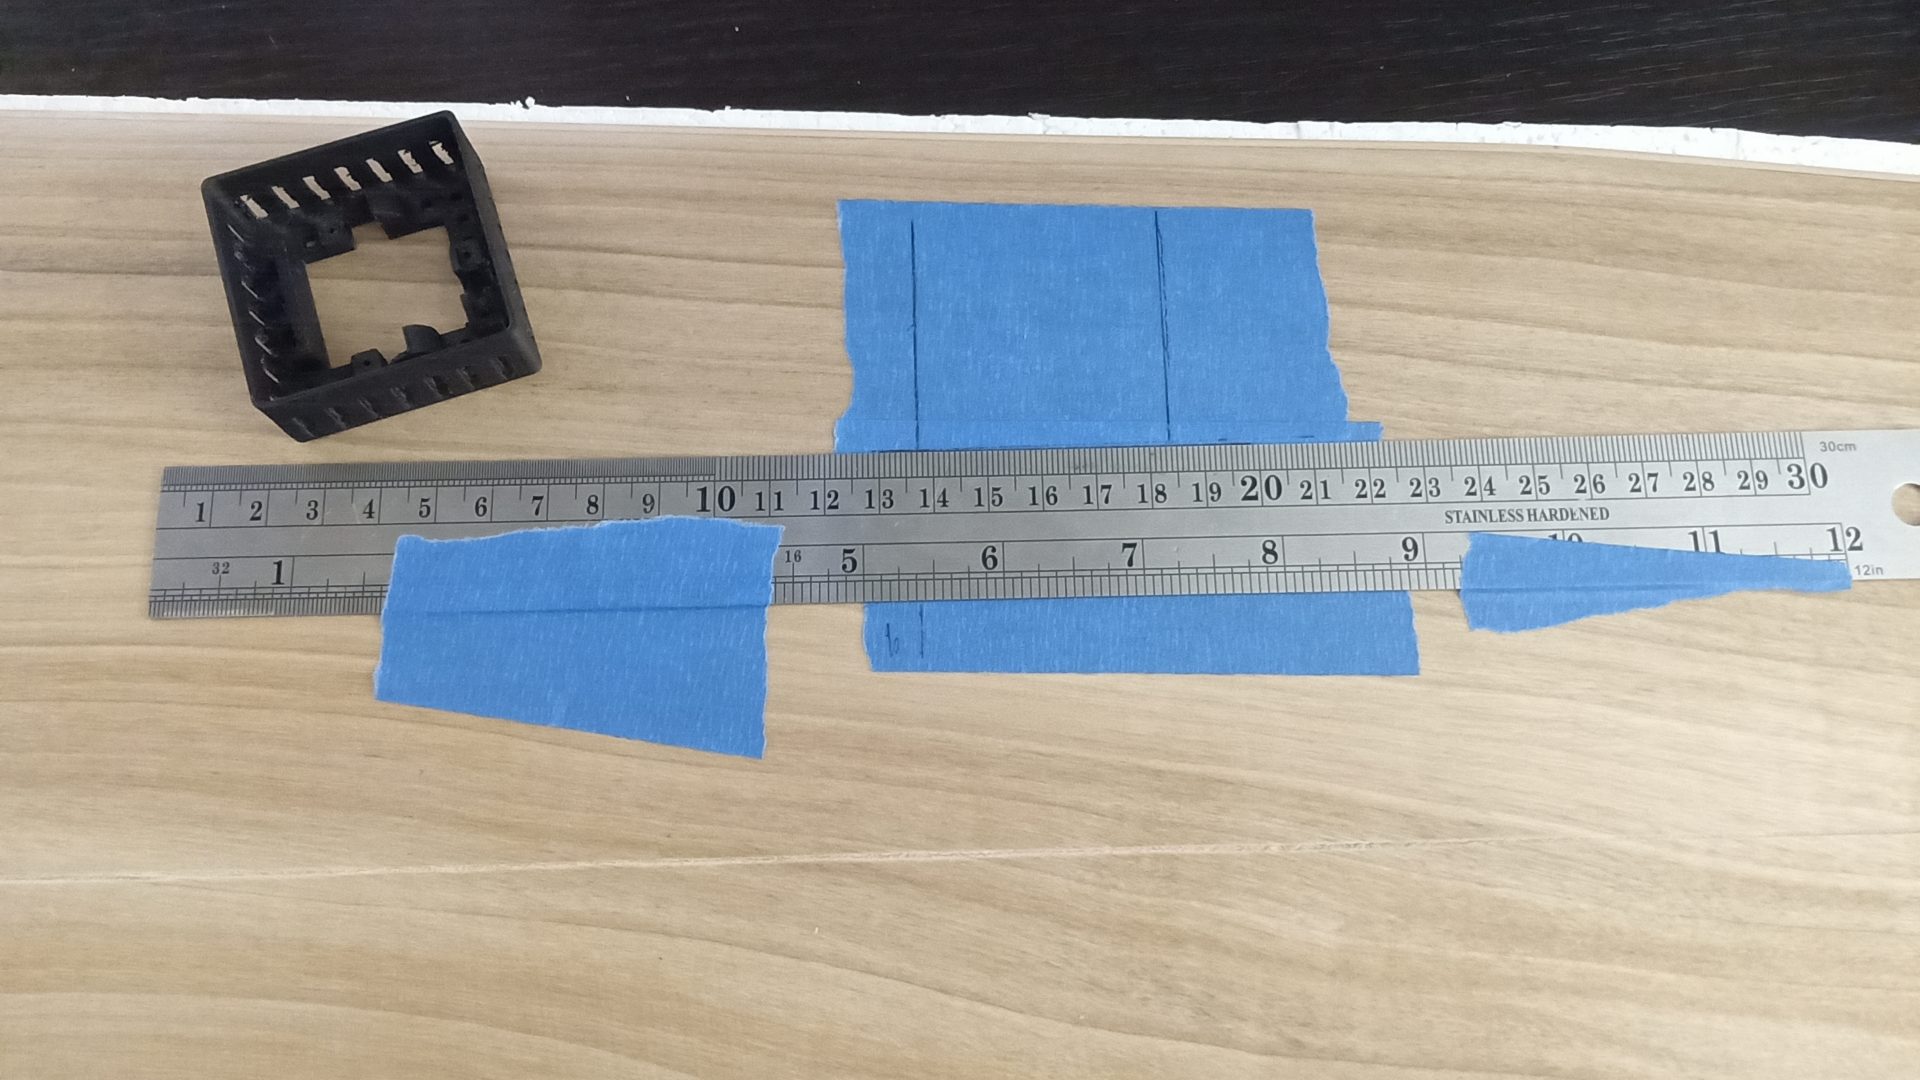
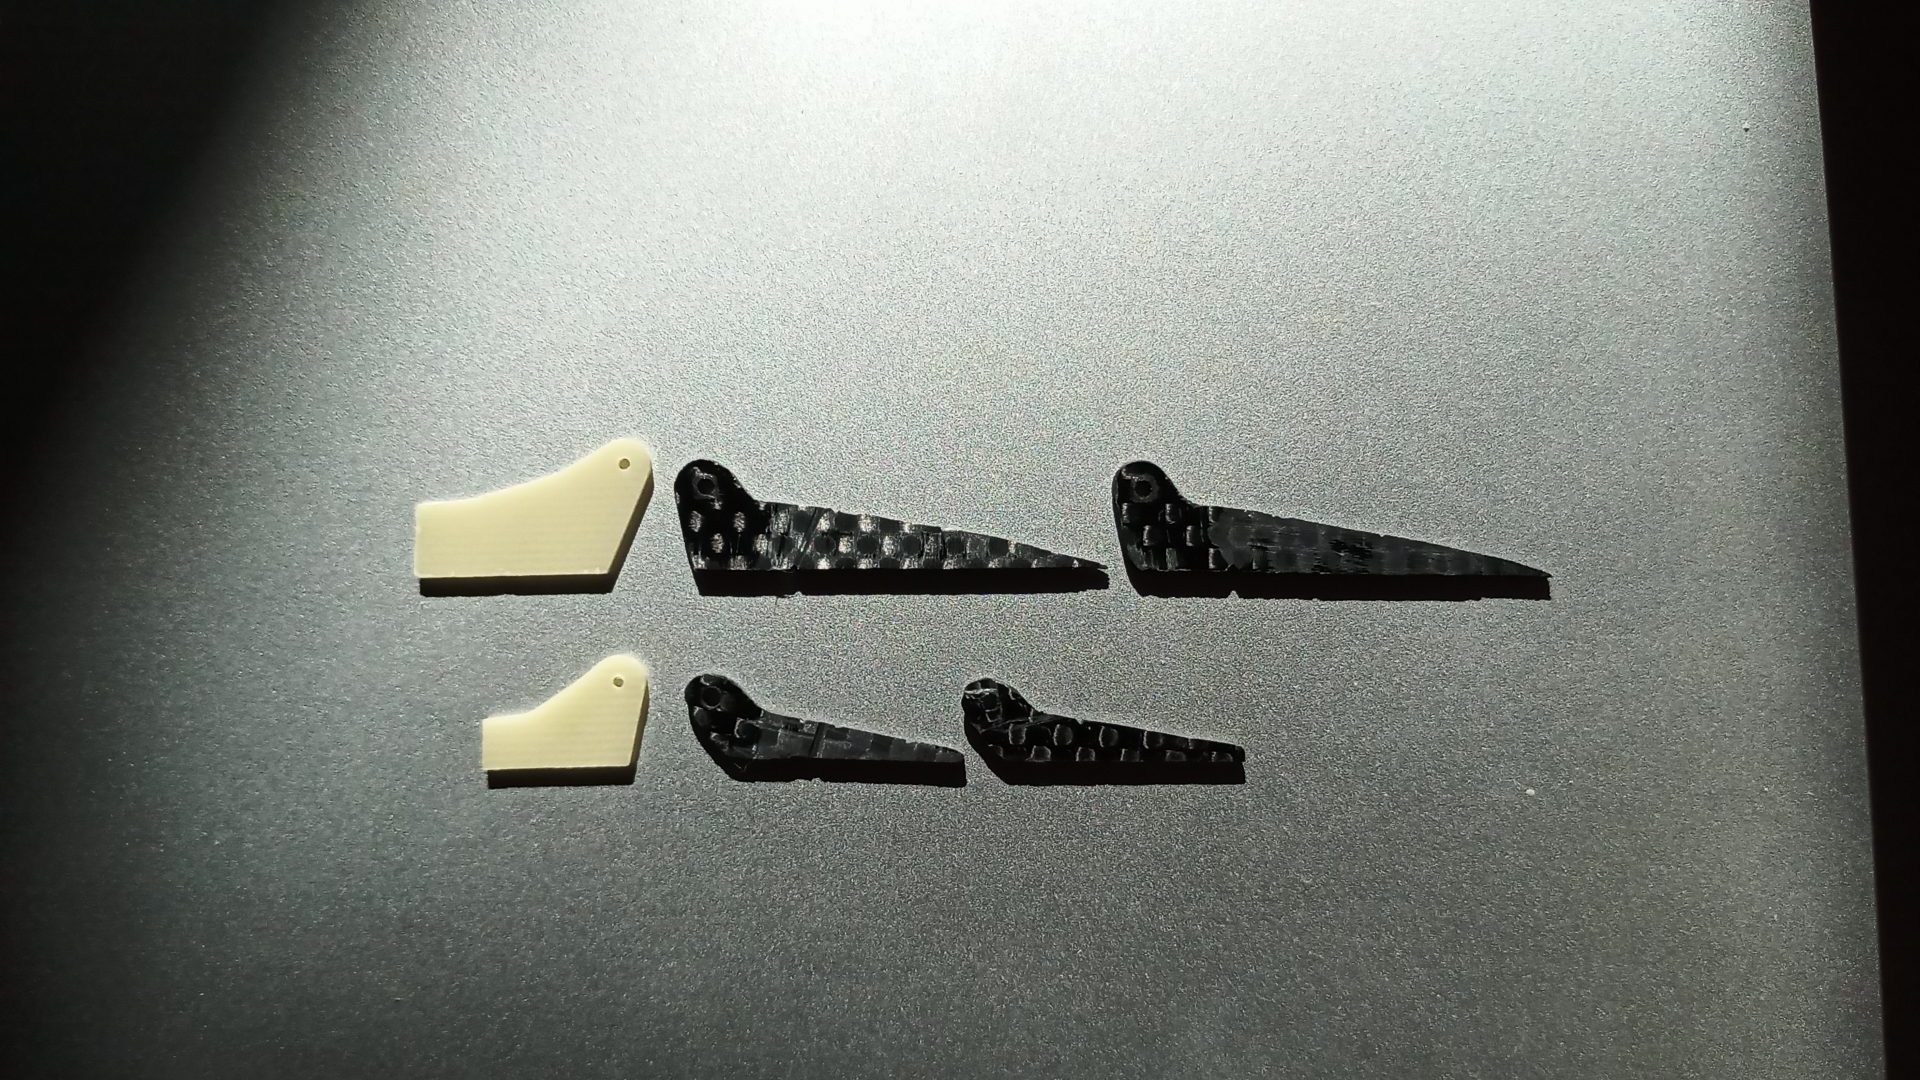
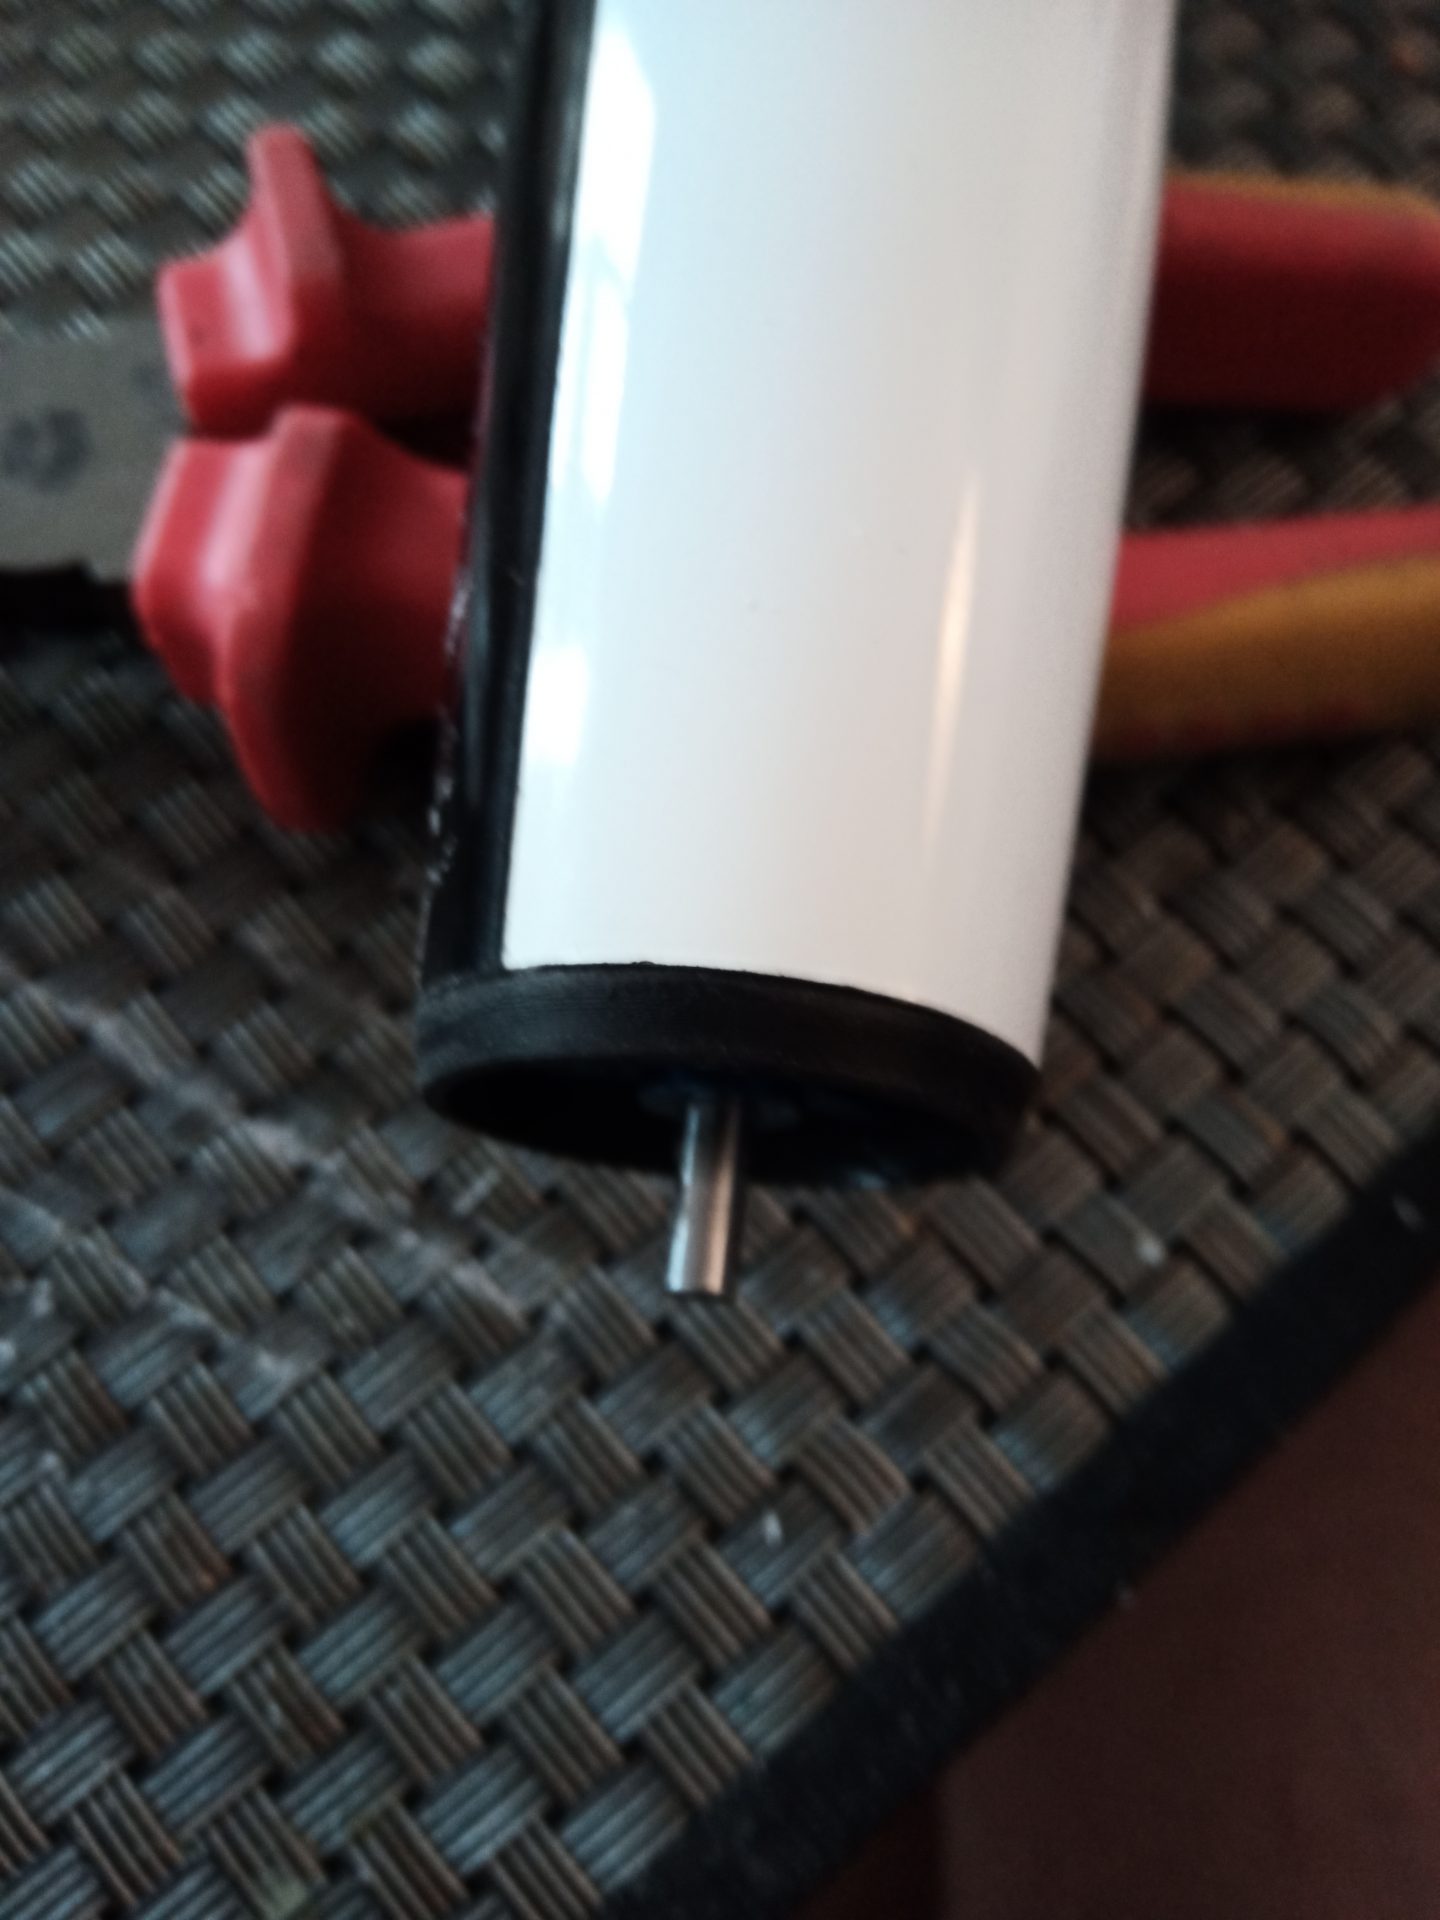
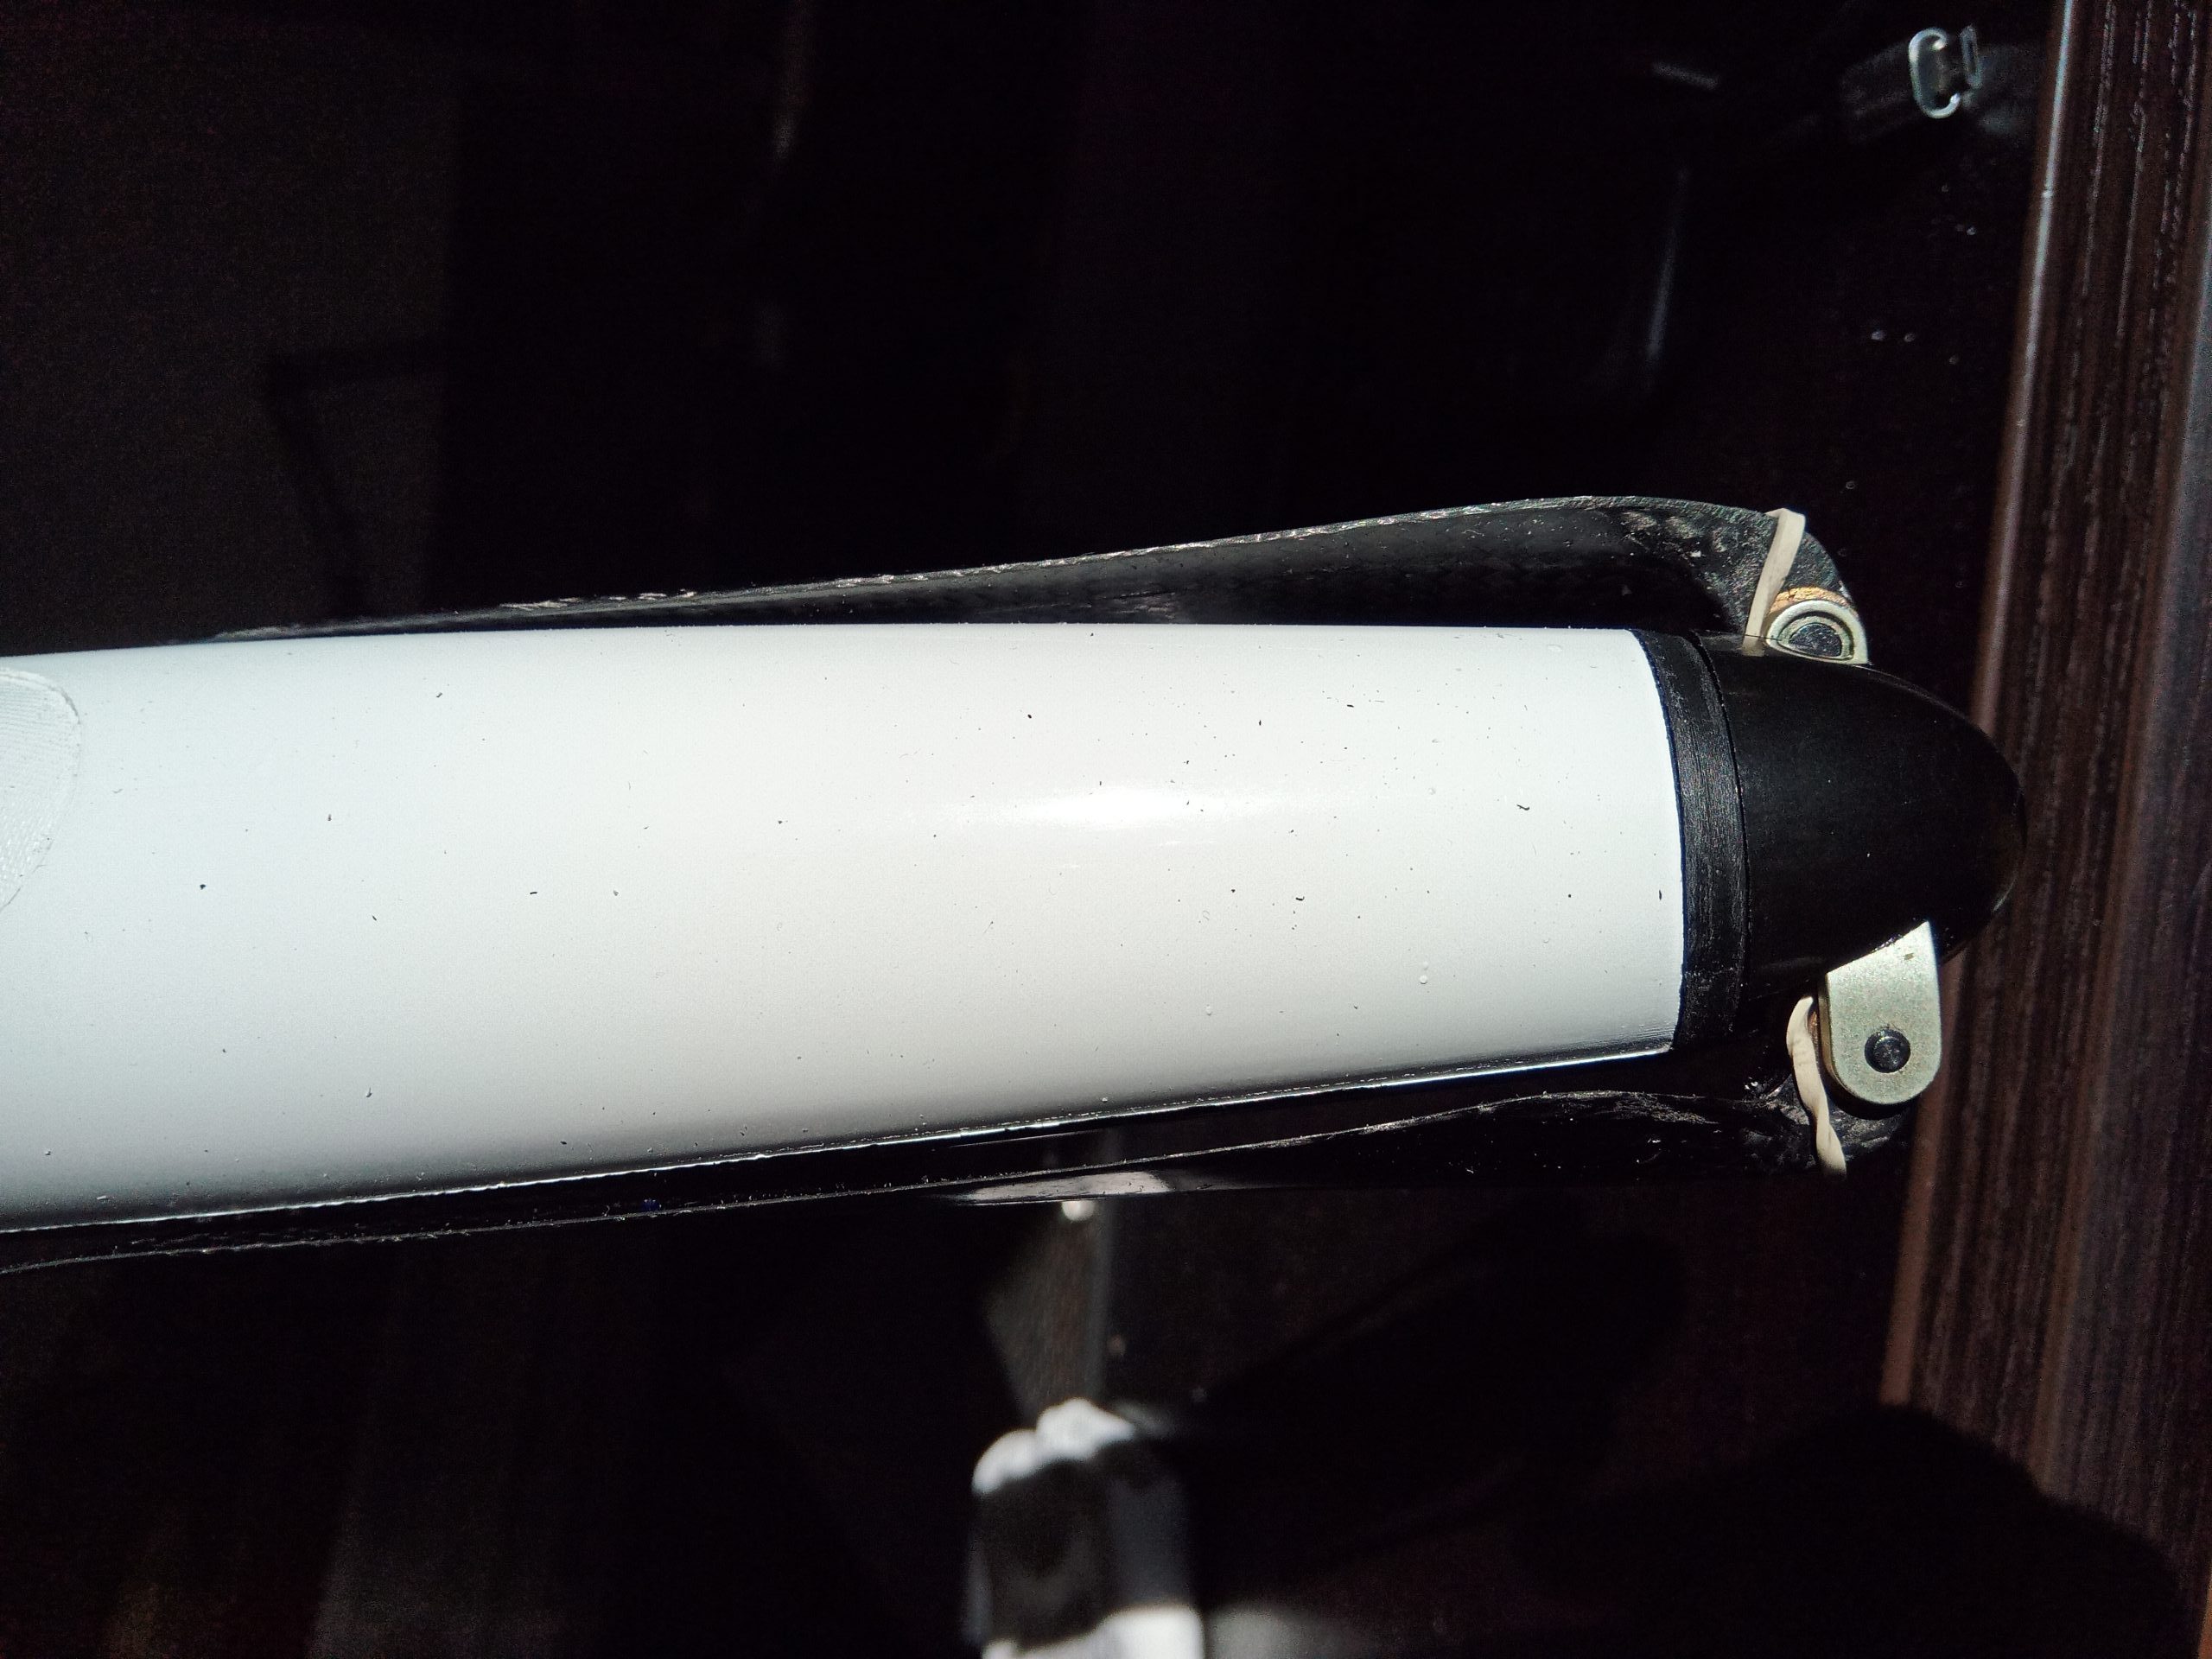
The 4th picture from the bottom, rudder and elevator horn.
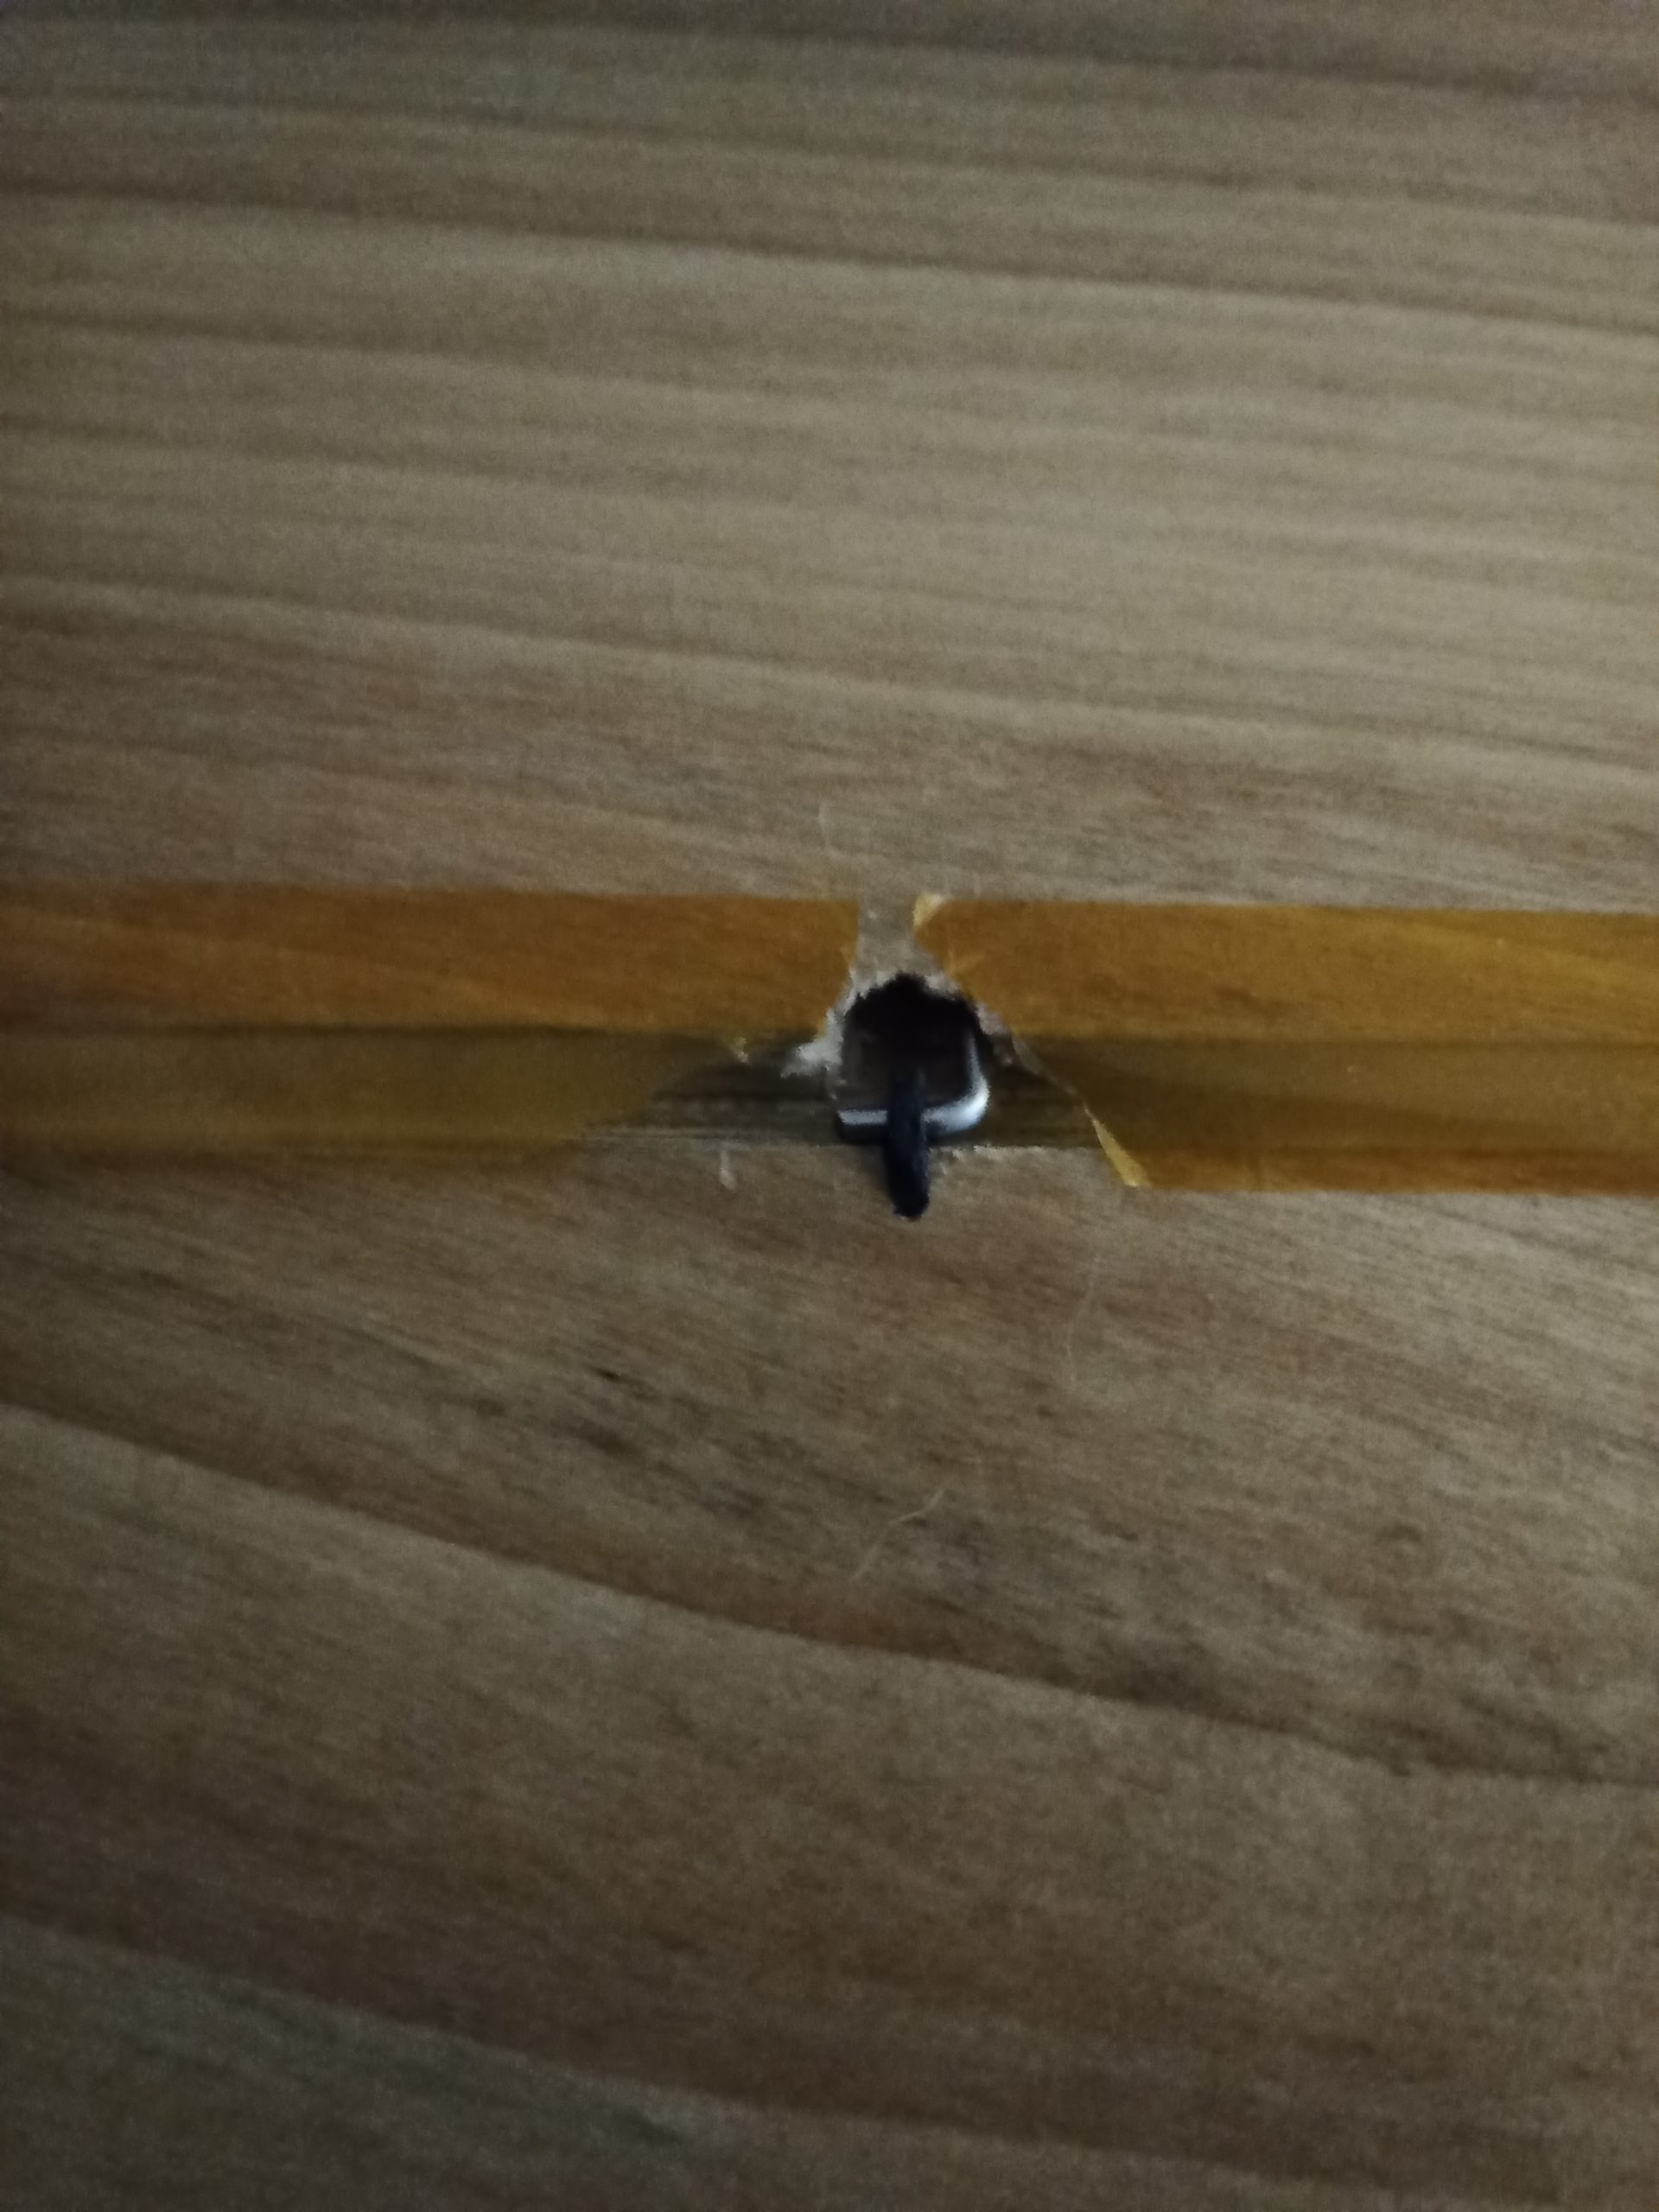
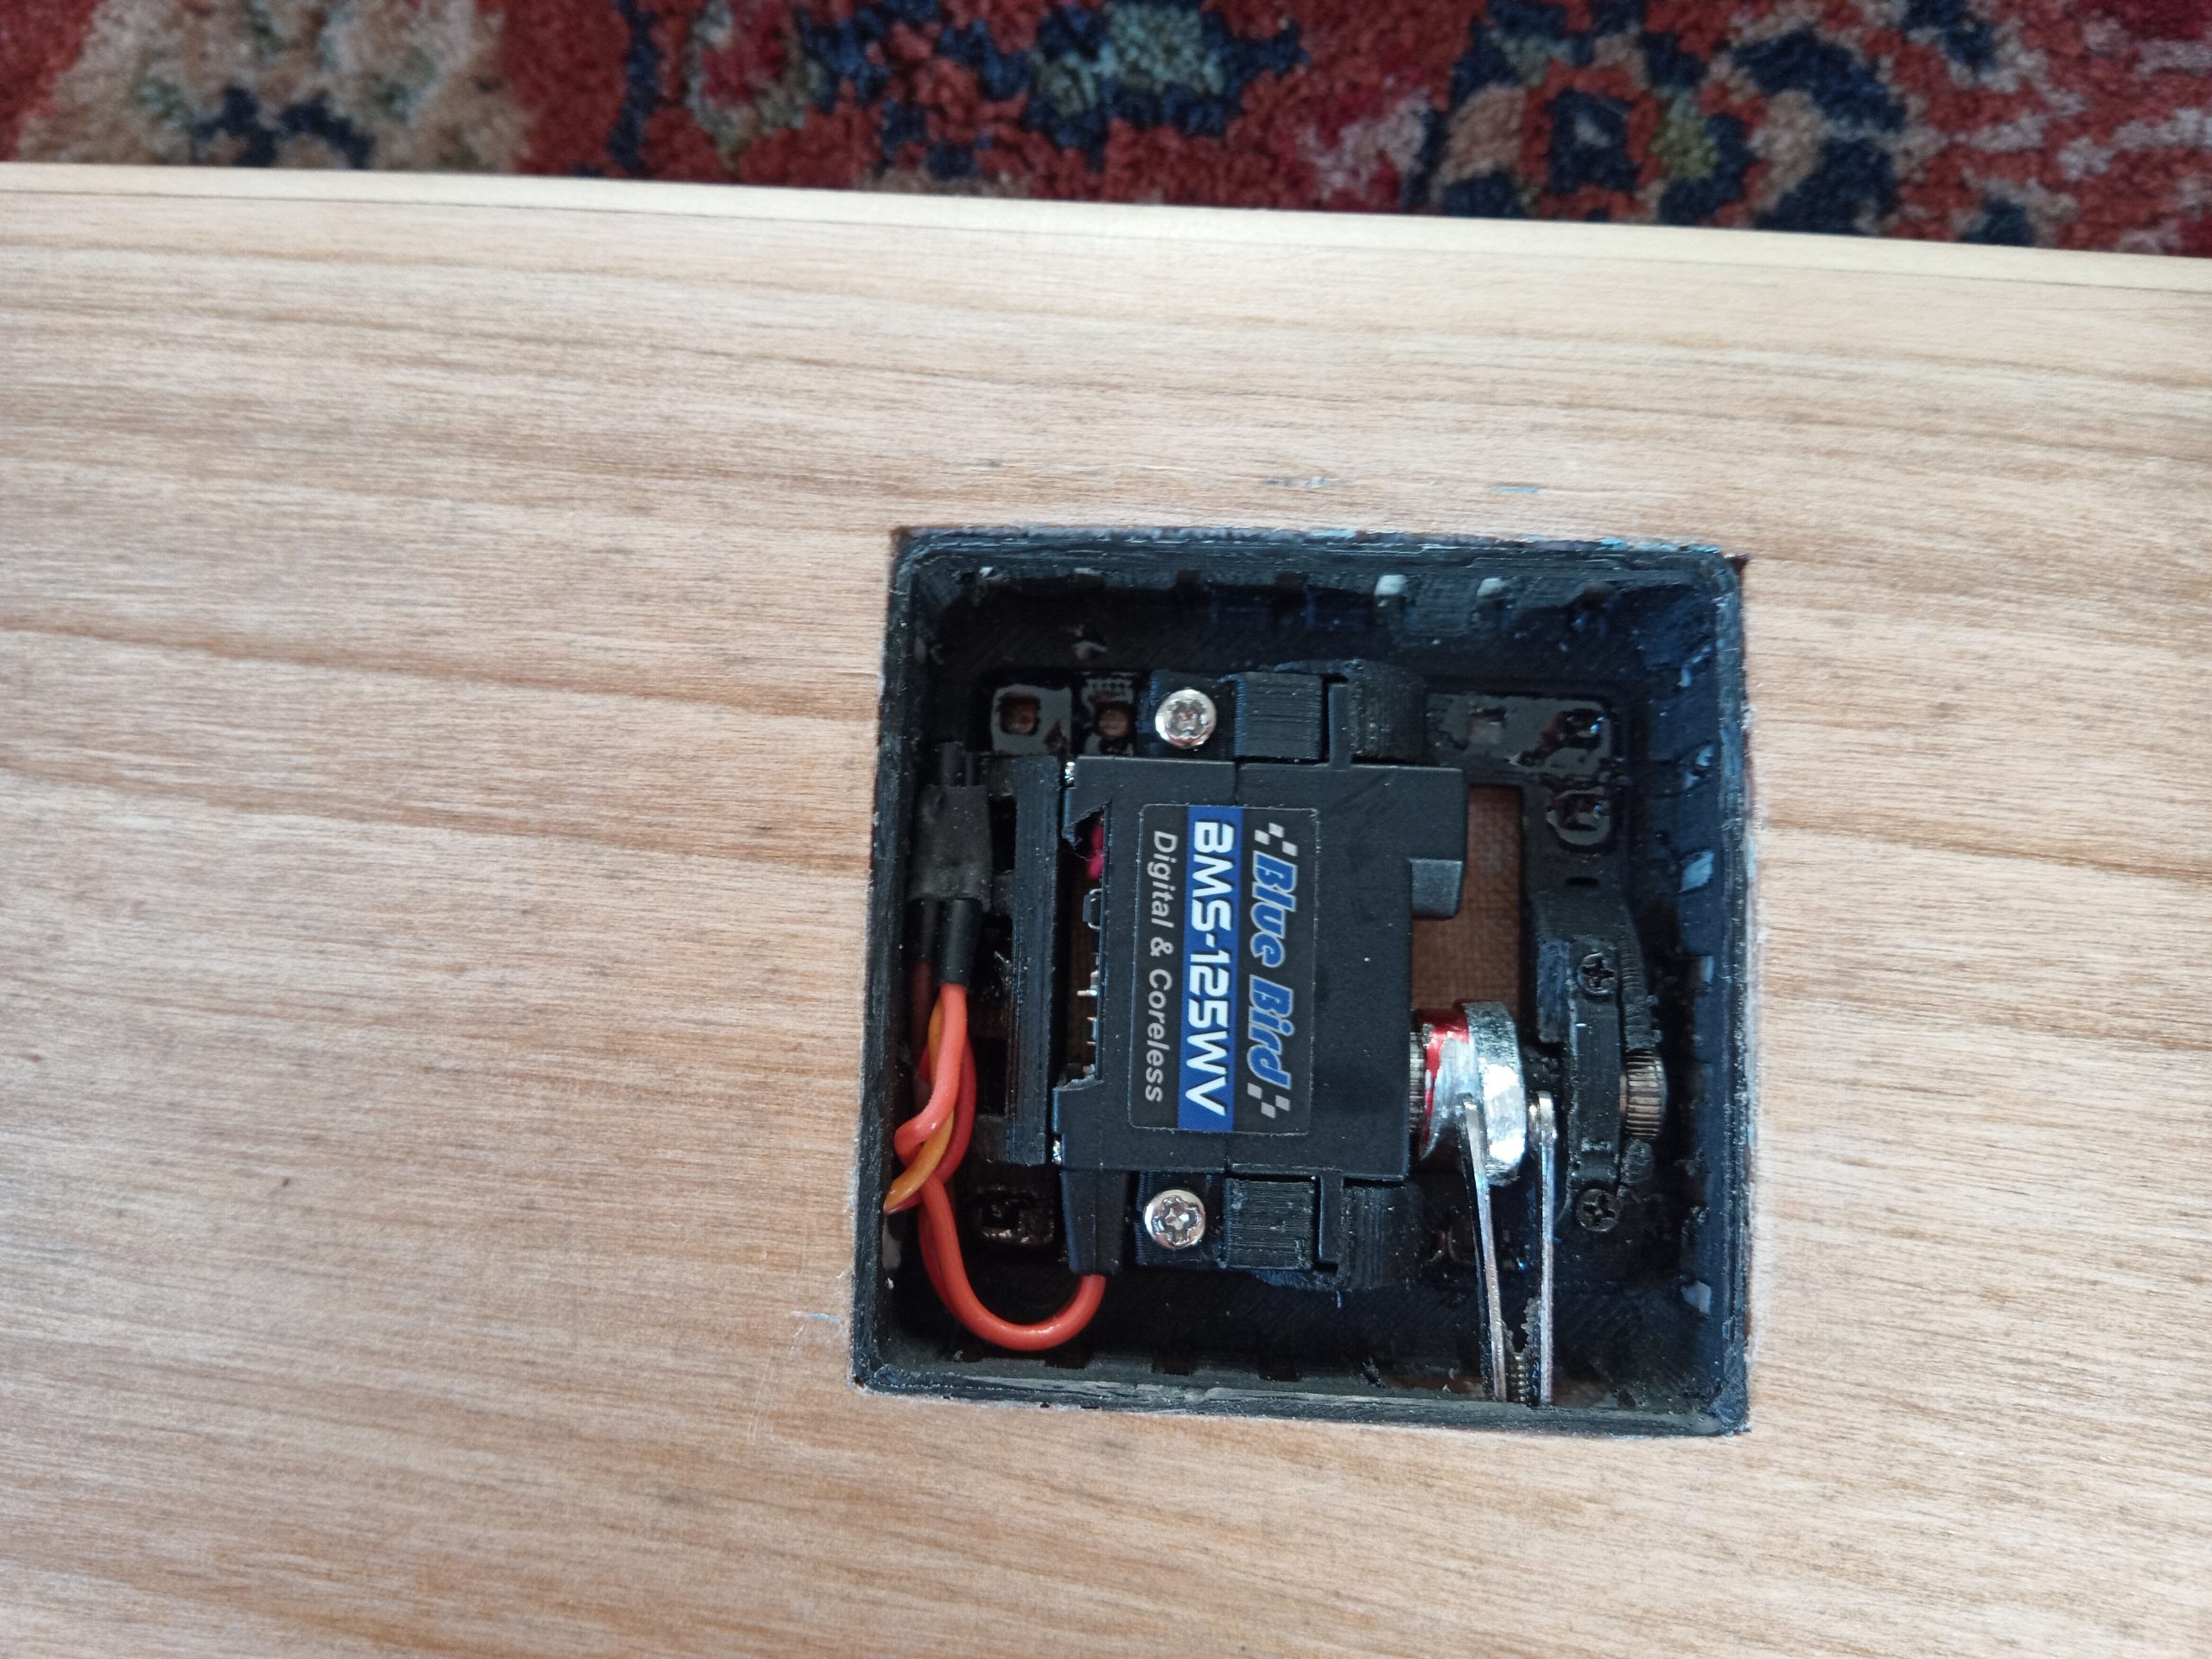
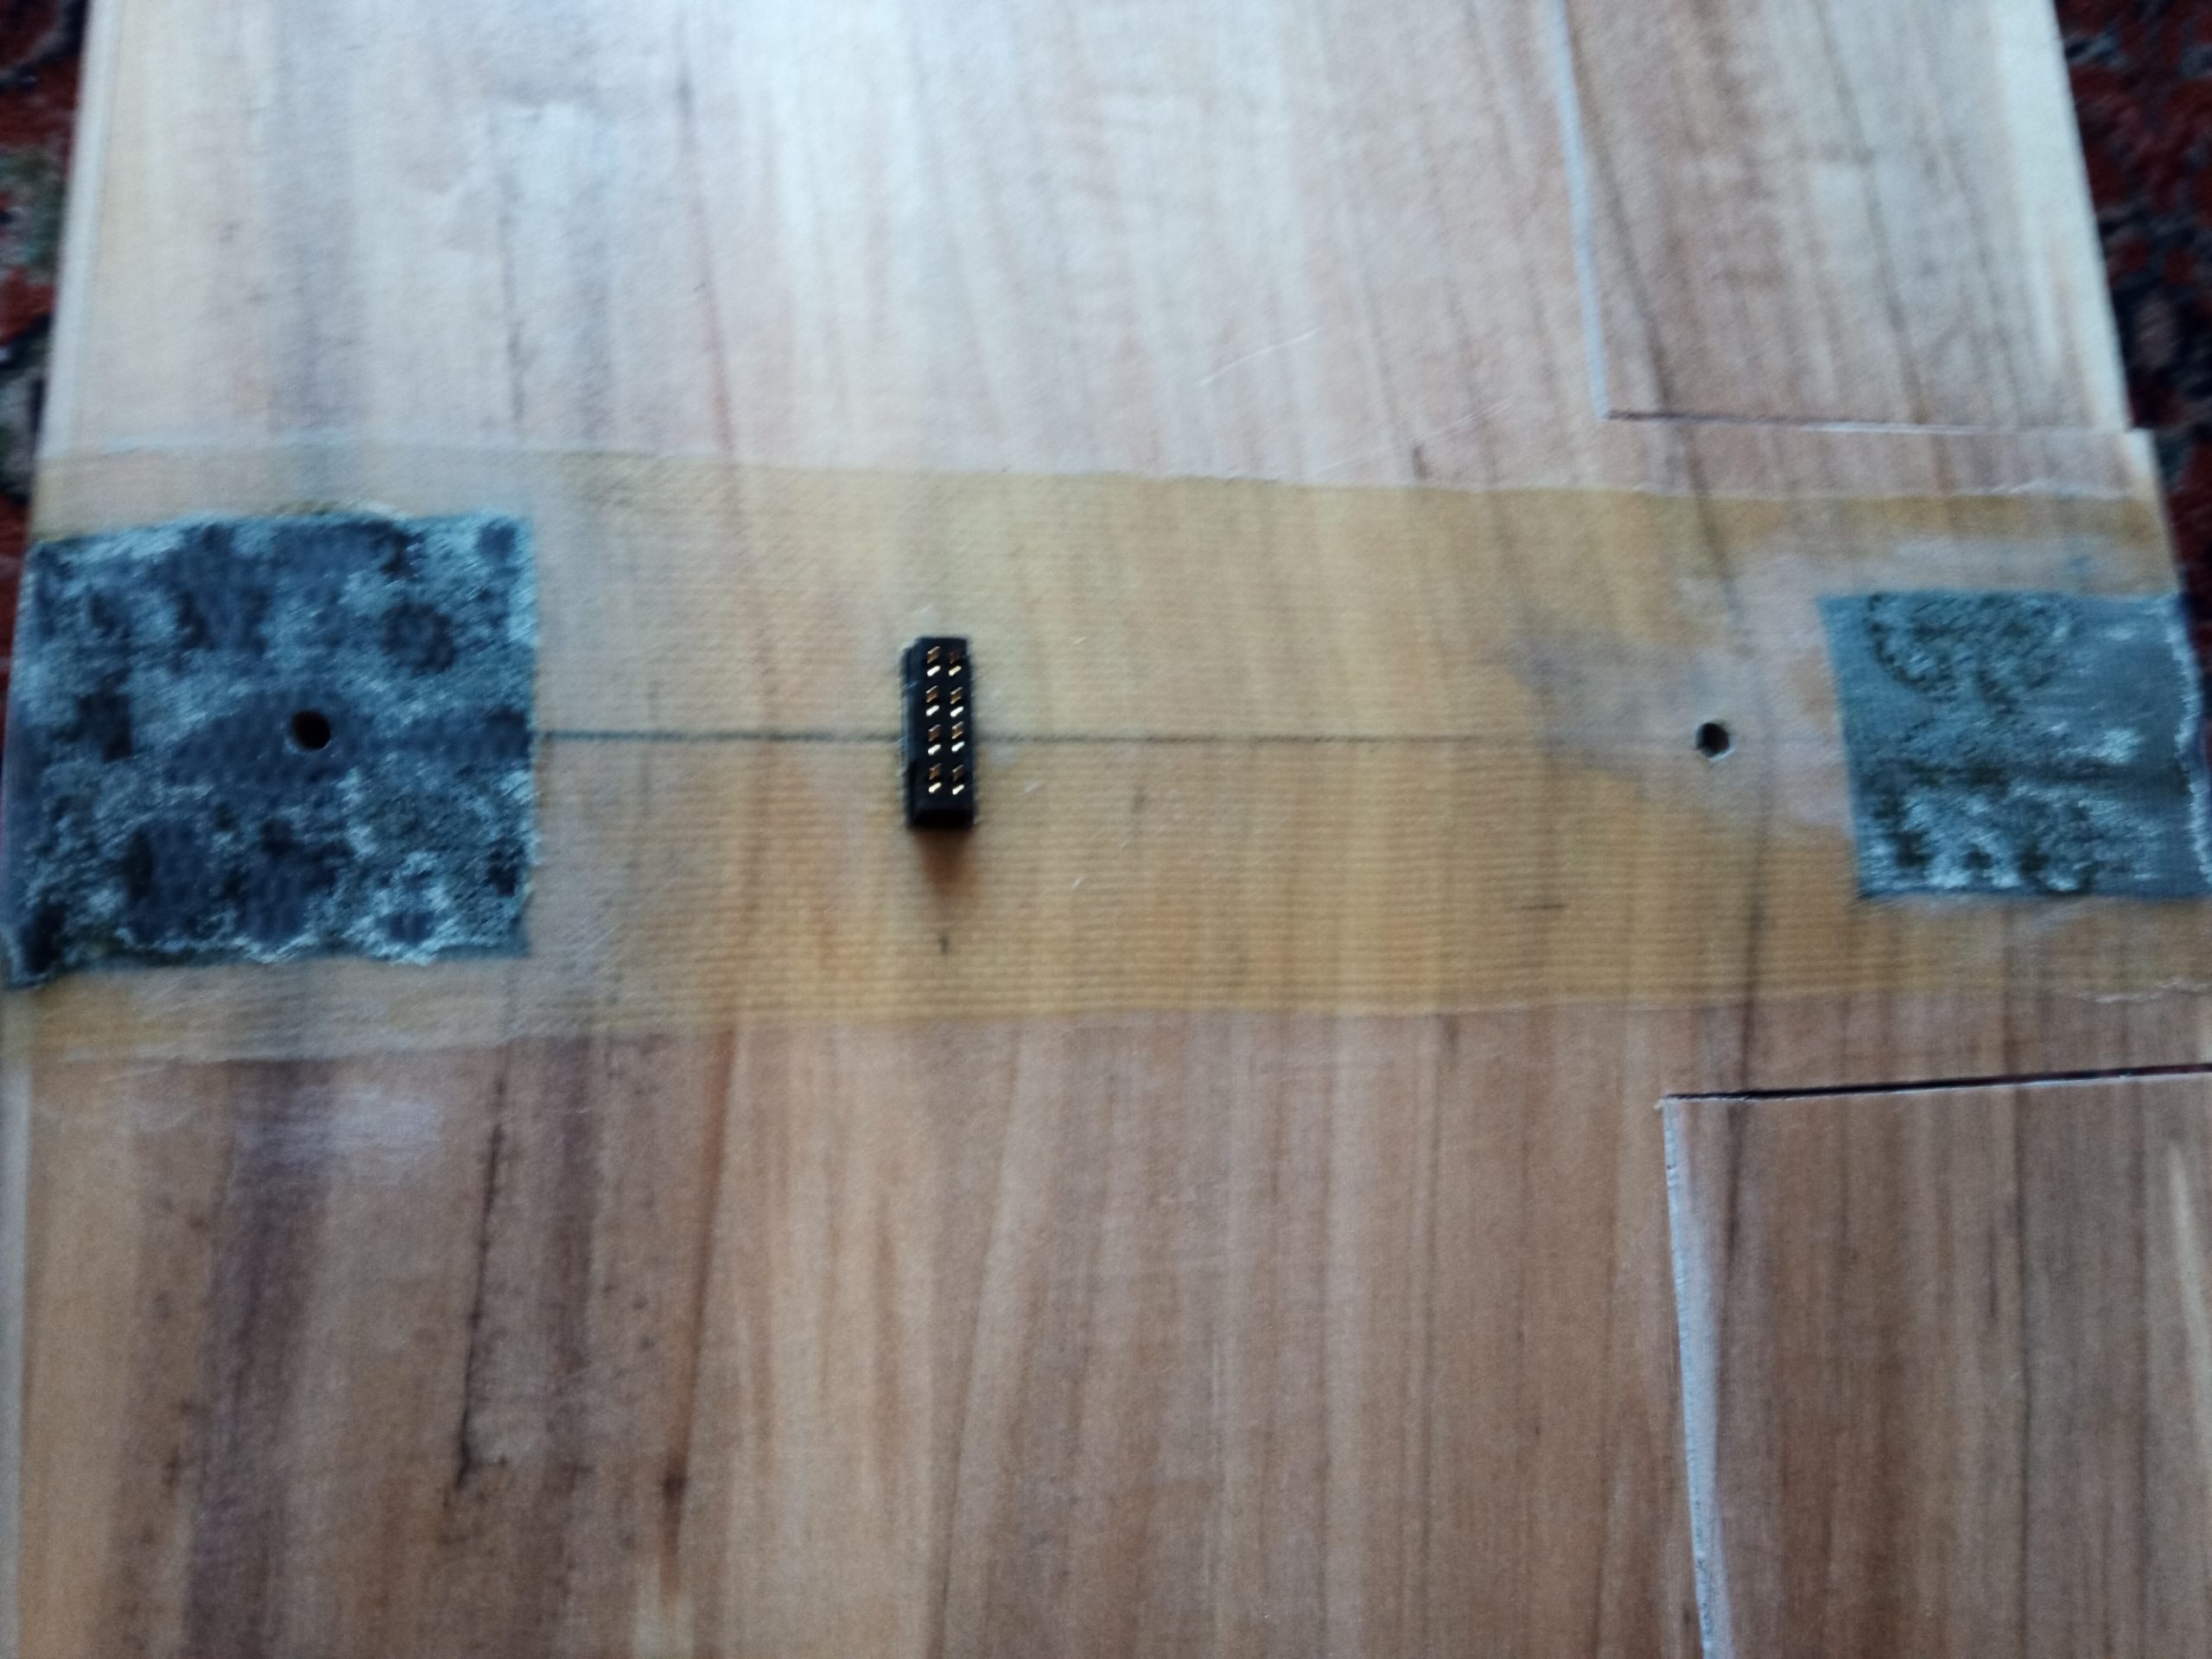
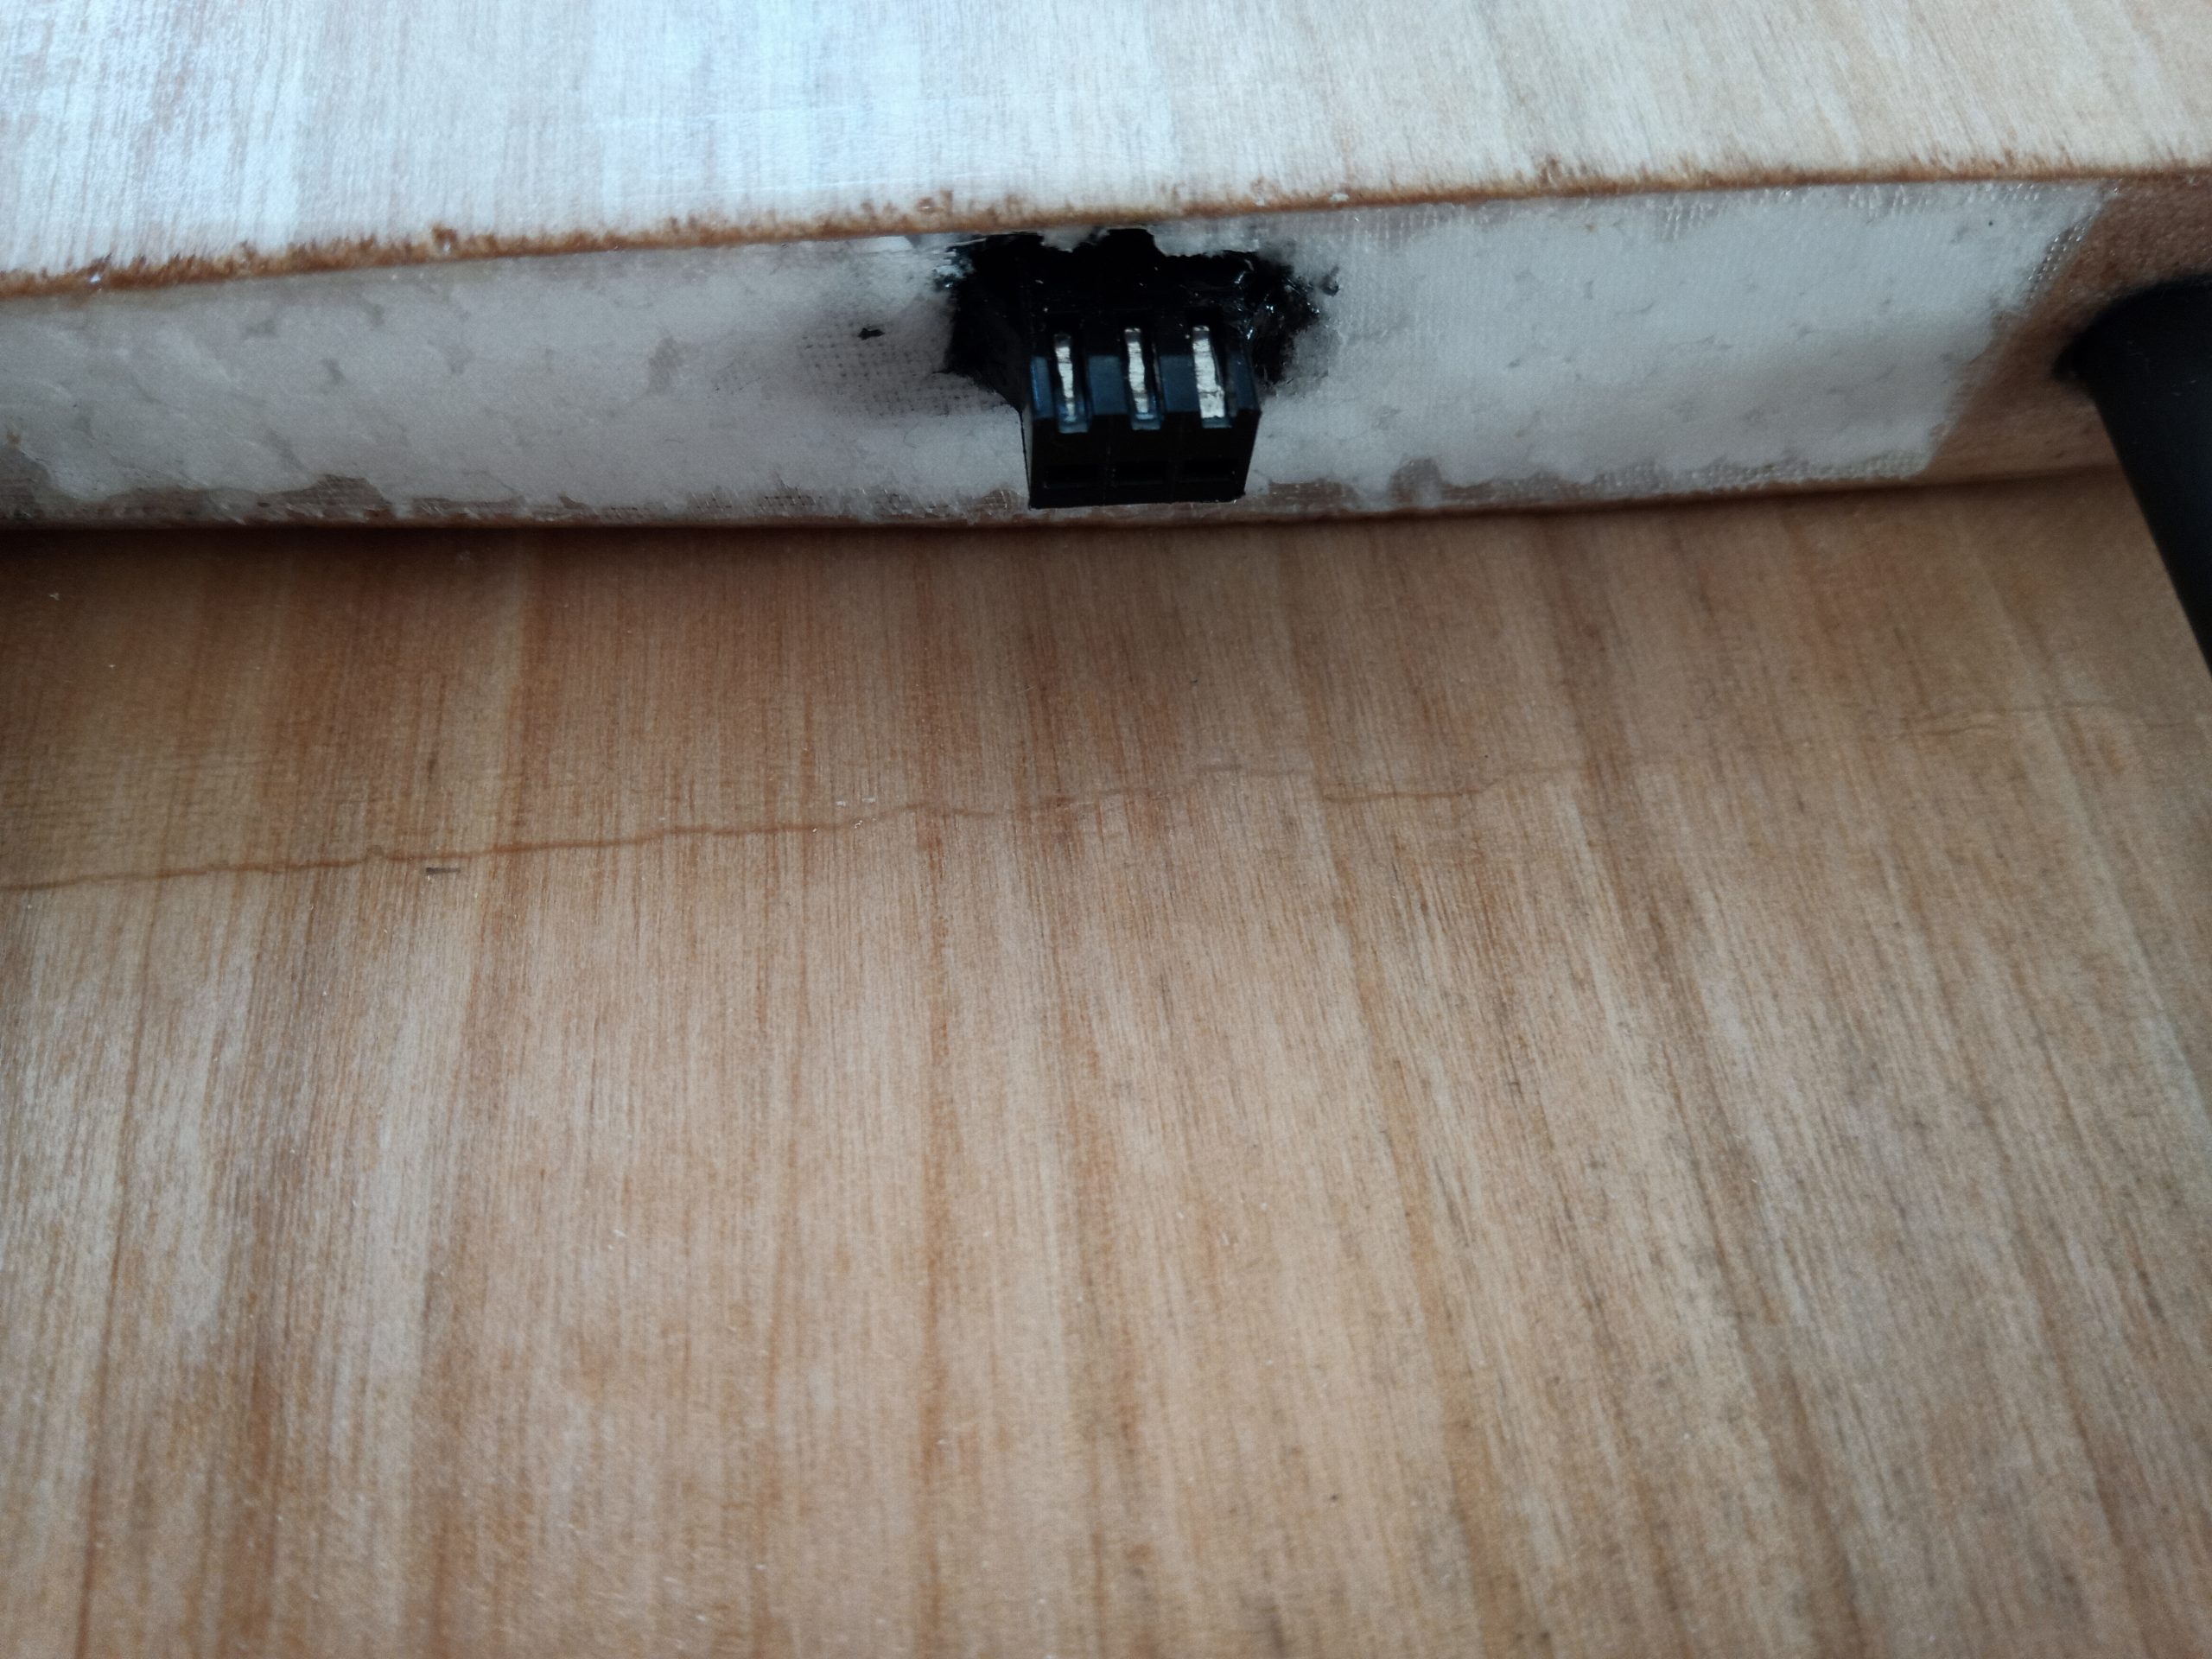
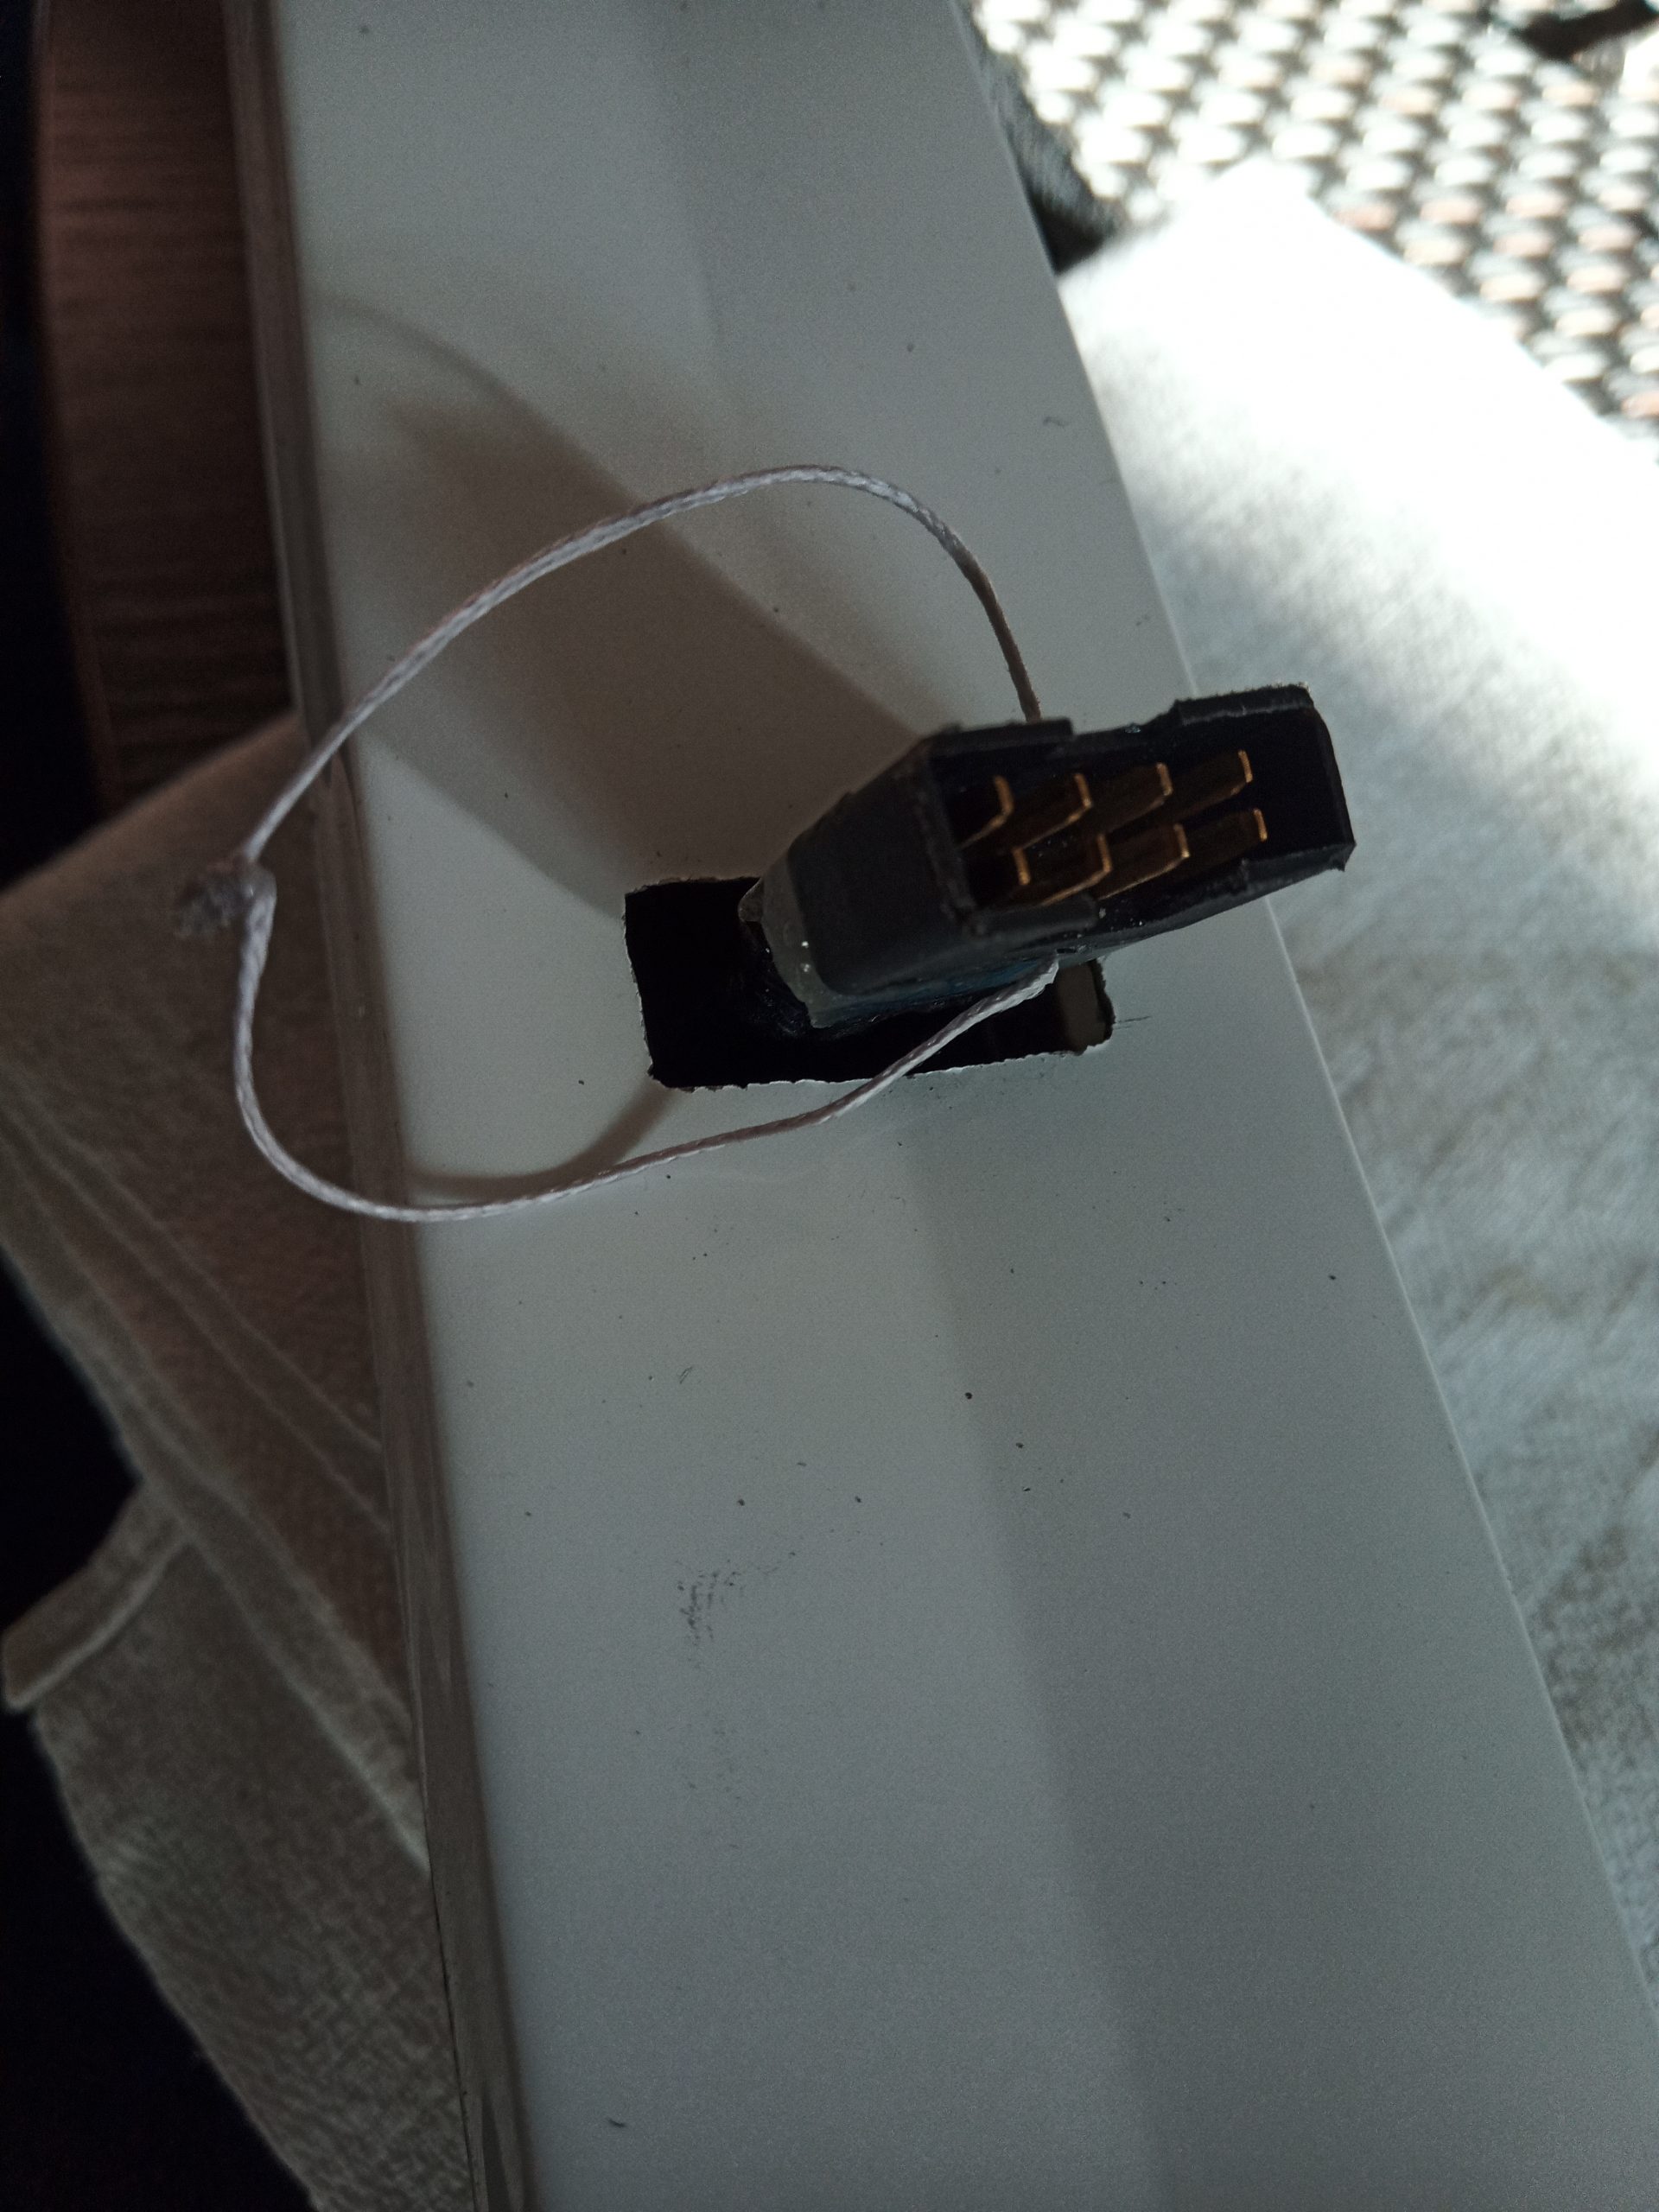
The 5th picture from the bottom, the single wing servo connector from the fuselage.
For the 3d printed part, It is not critical parts. I provided the STL file so you can print them yourself or order them via an online website.
Regards,
Guillaume