The Diana 2 and the GP15 are probably the most splendid single-seat competition gliders currently on the market.
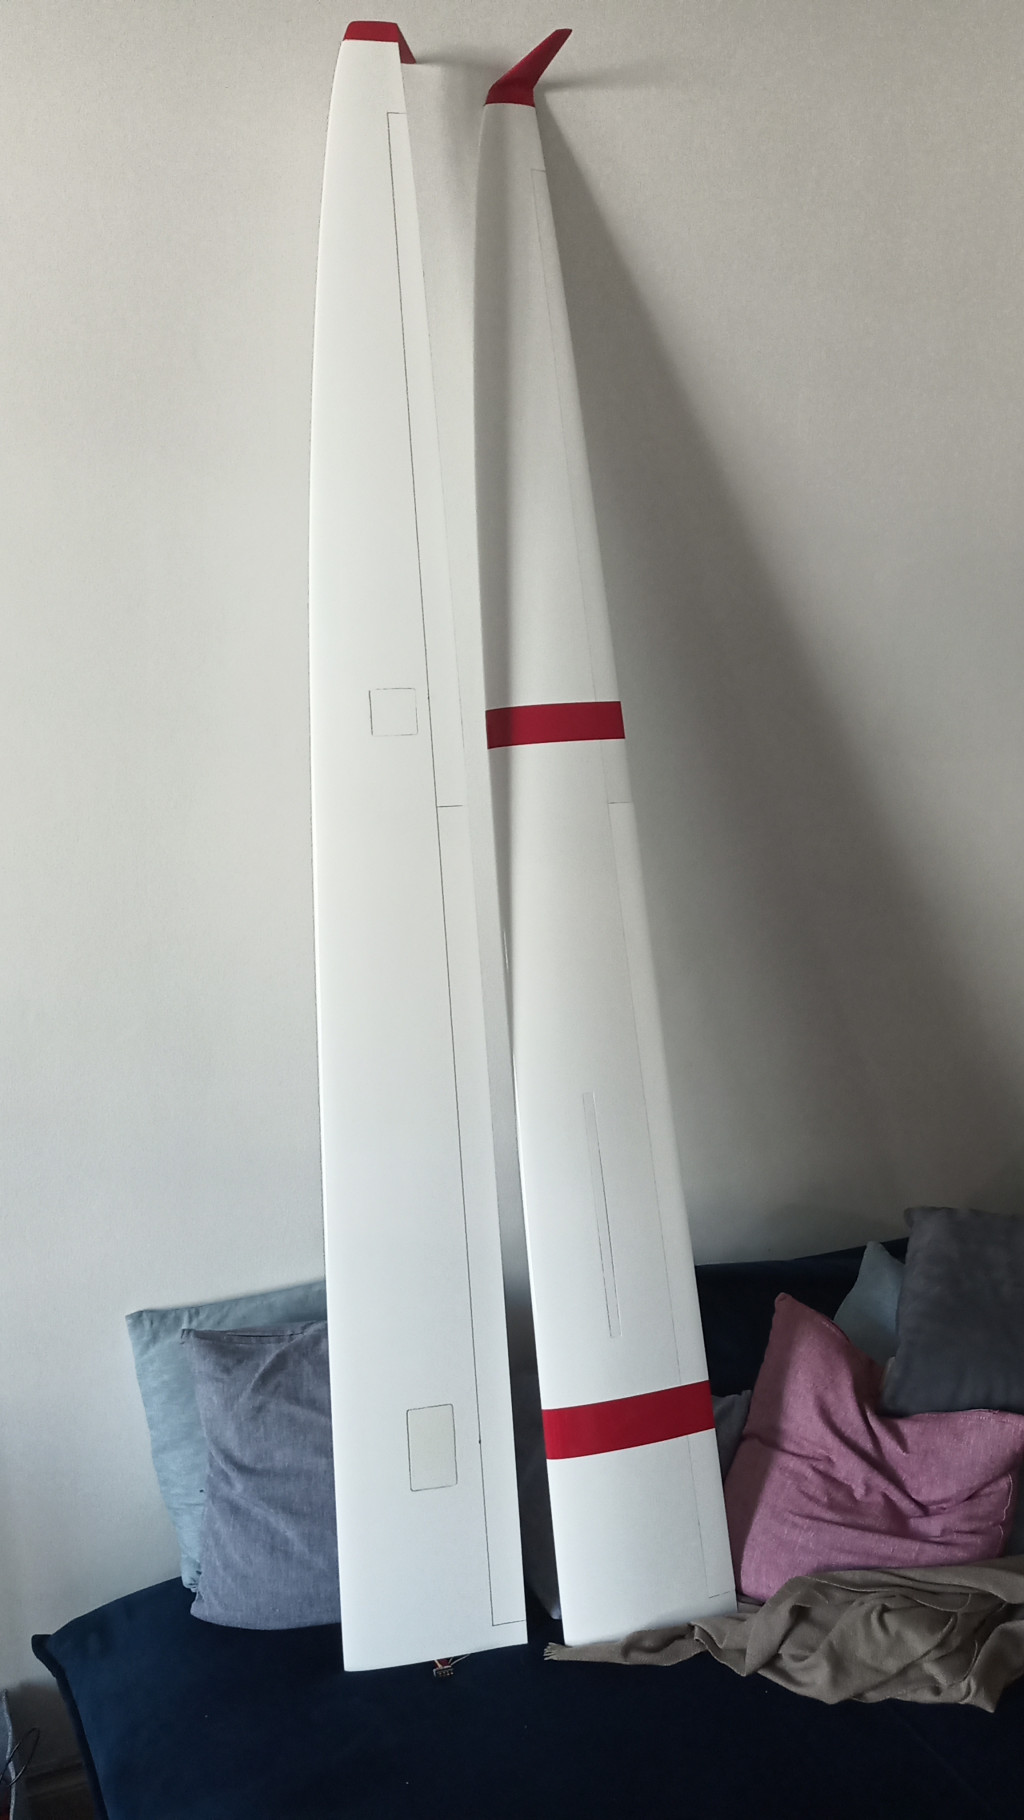
The Royal Model Diana 2 (SZD-56-2) seemed perfect. Just under 4 meters at 3.75m, allowing me to easily transport it (wings below 1.9M – detachable winglets), the cool look full gfk and carbon dbox in the wings and allowing me to enhance and reinforce the build to fit me needs.
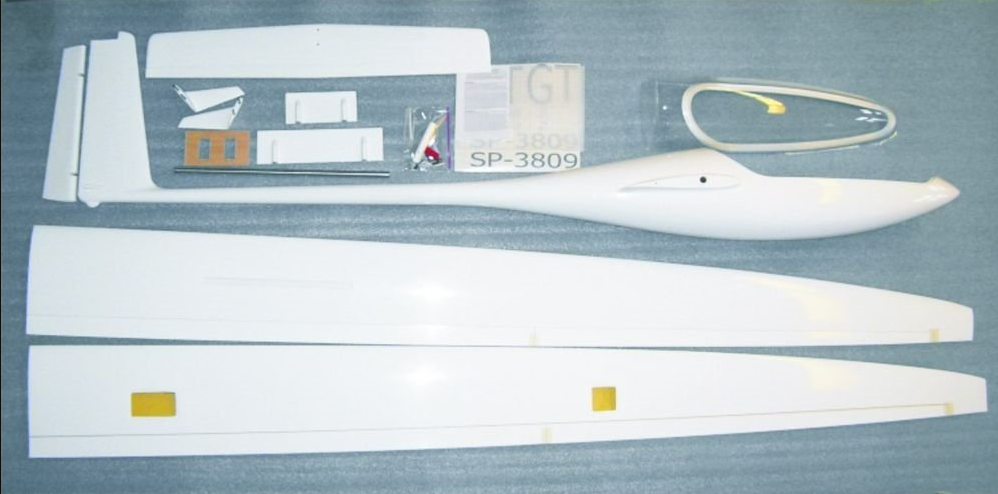
The kit: Epoxy glass fuselage, carbon d-box wings, airbrakes installed, clear canopy…
First impression, surfaces are well finished, no gelcoat glitch, carbon layered from the wing to the tail, provided hardware joiner could be okay for a basic build.
Wings internal is fine and everything seems in order (checked with my endoscopic camera) – wing spar properly glued on the whole length, good epoxy/filler joint.
For the record, I tried first to order a “deluxe version full carbon” of this RM Diana 2 from the only reseller providing it (carbon reinforced, …) and I never got it after months and three rescheduling. In February, I felt back to classic resellers and got the model in less than a week. Thank you Weymuller.fr and Royal Model.
In the end, I am pretty happy to have a vanilla version. It is perfectly eligible to modifications and I was able to enhance what was missing, and I guess better than the phantomatic “deluxe version full carbon”.
Here are my modifications:
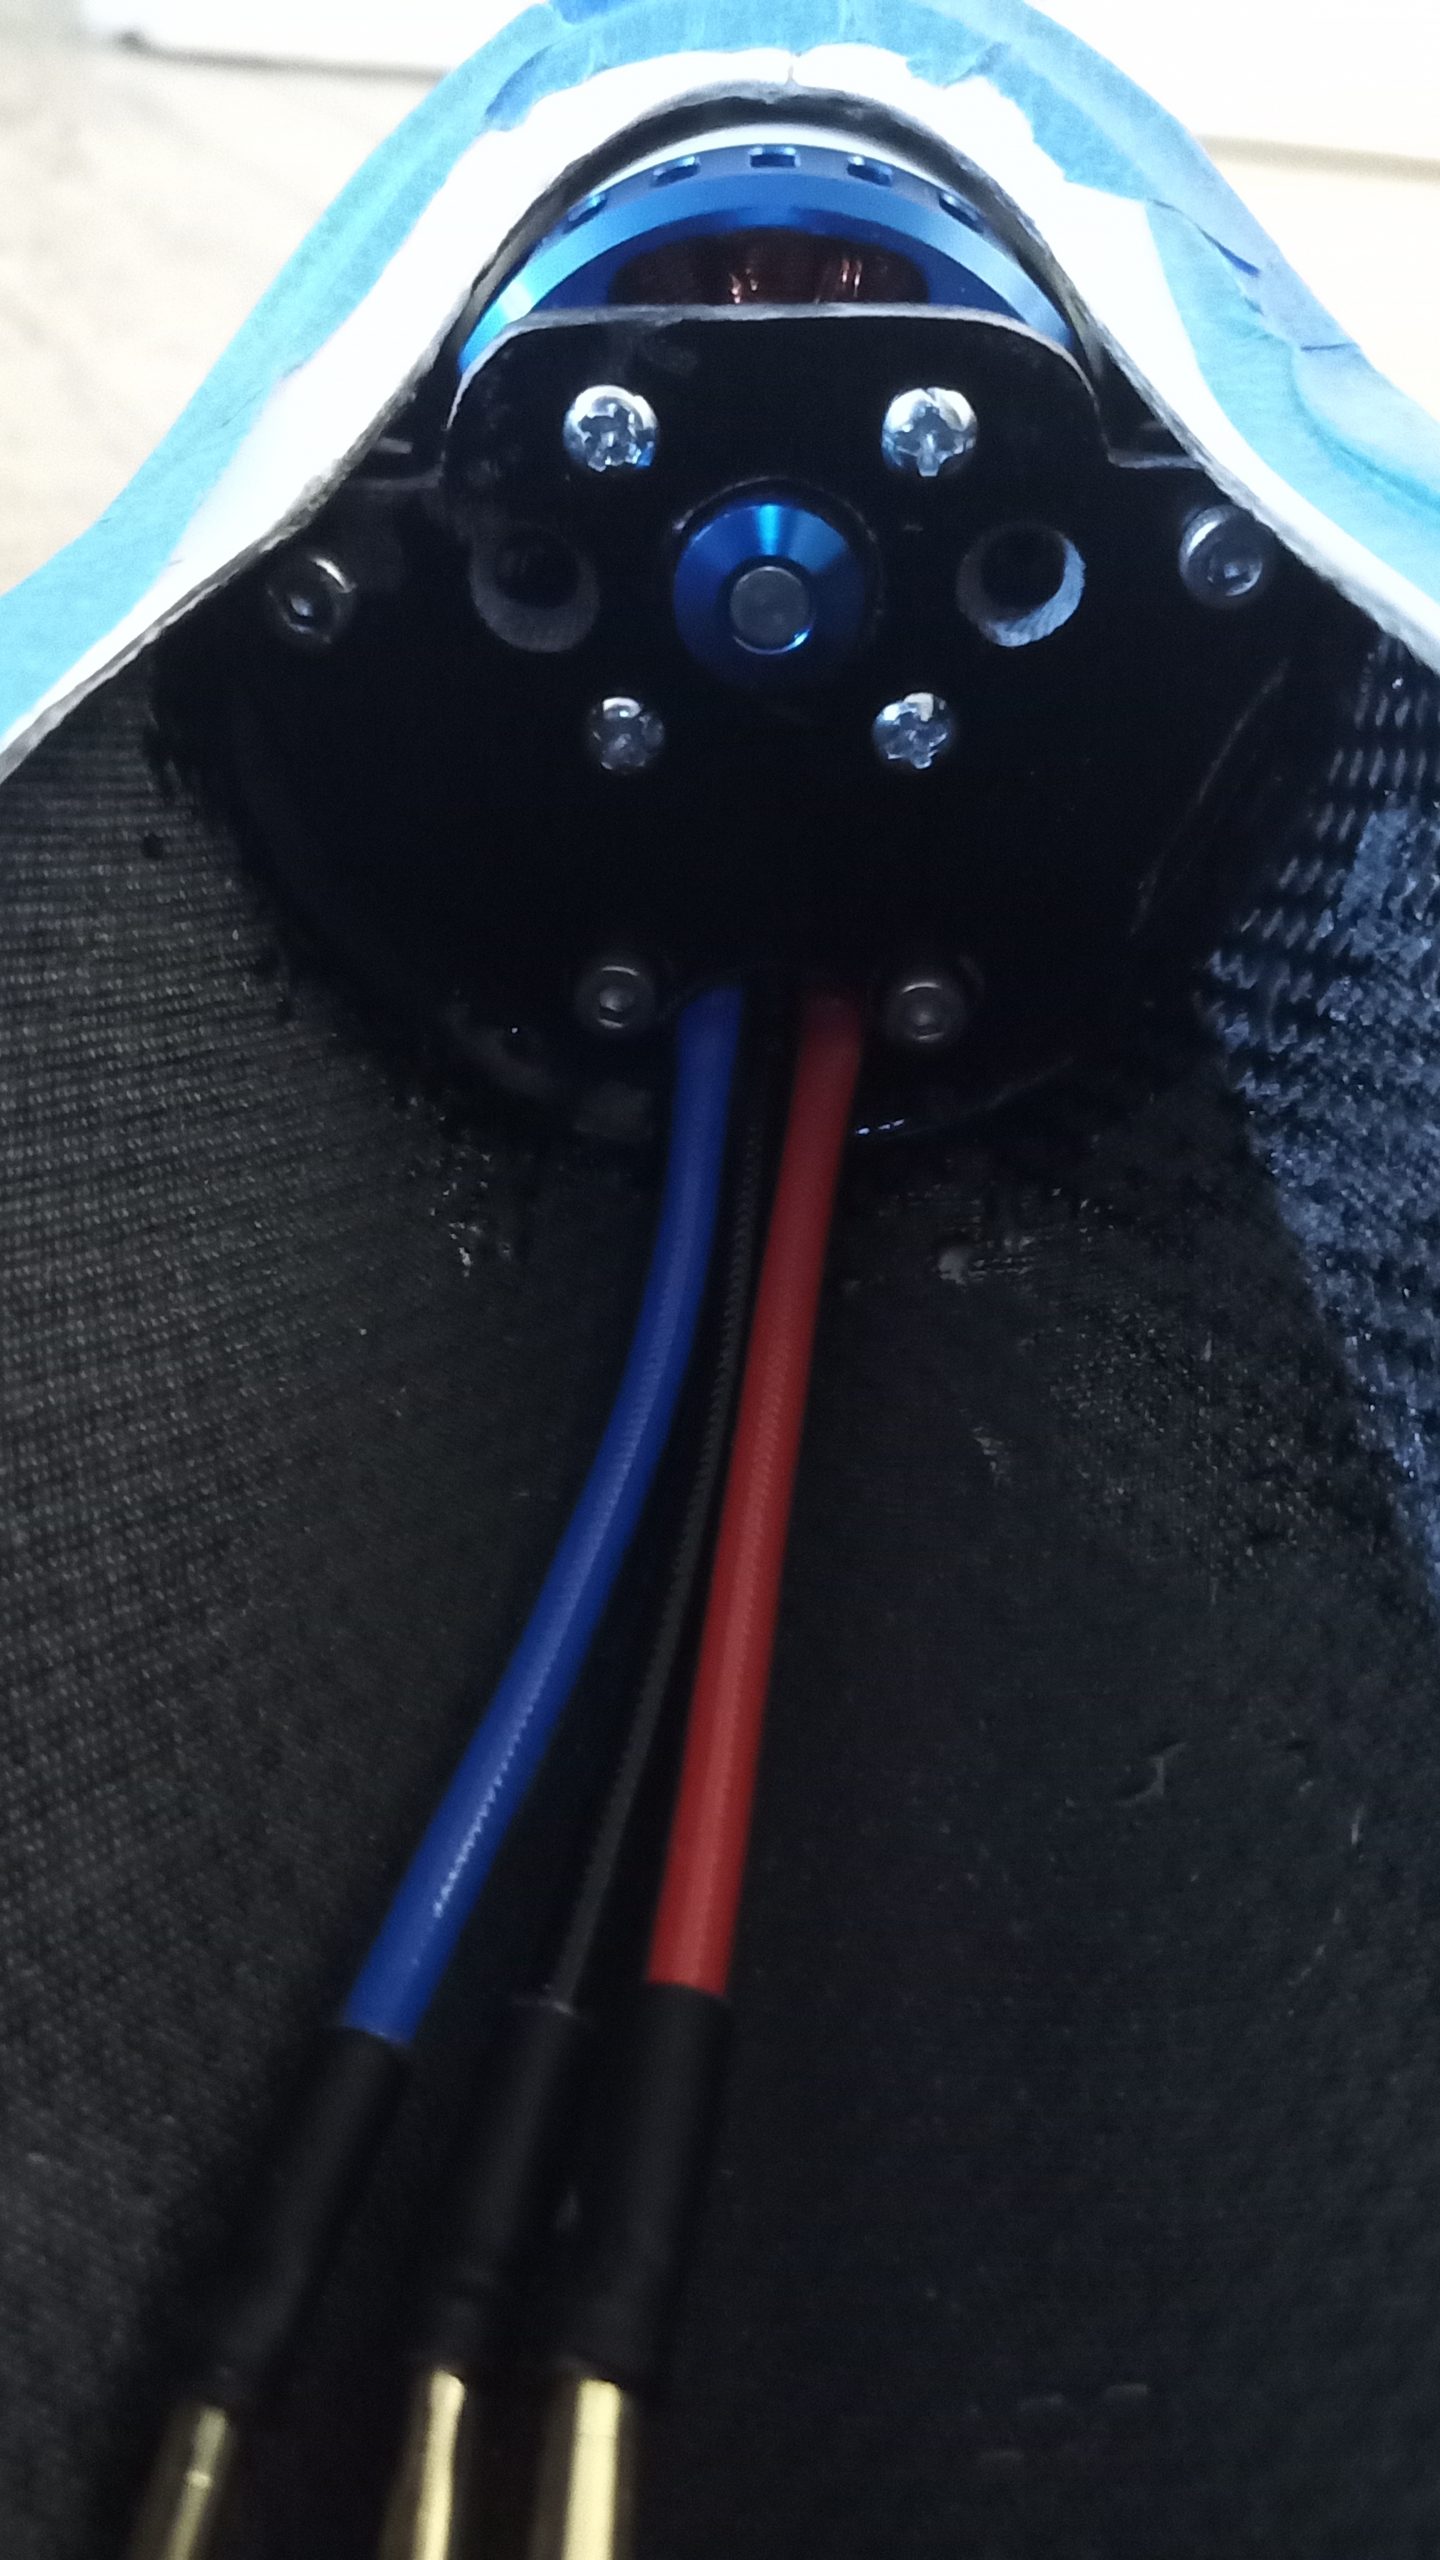
- Carbon reinforced fuselage from wing to nose.
- Carbon reinforced servo skin/surface – I only did the elevator… but I regret. If you read this, you should do the aileron and flaps also.
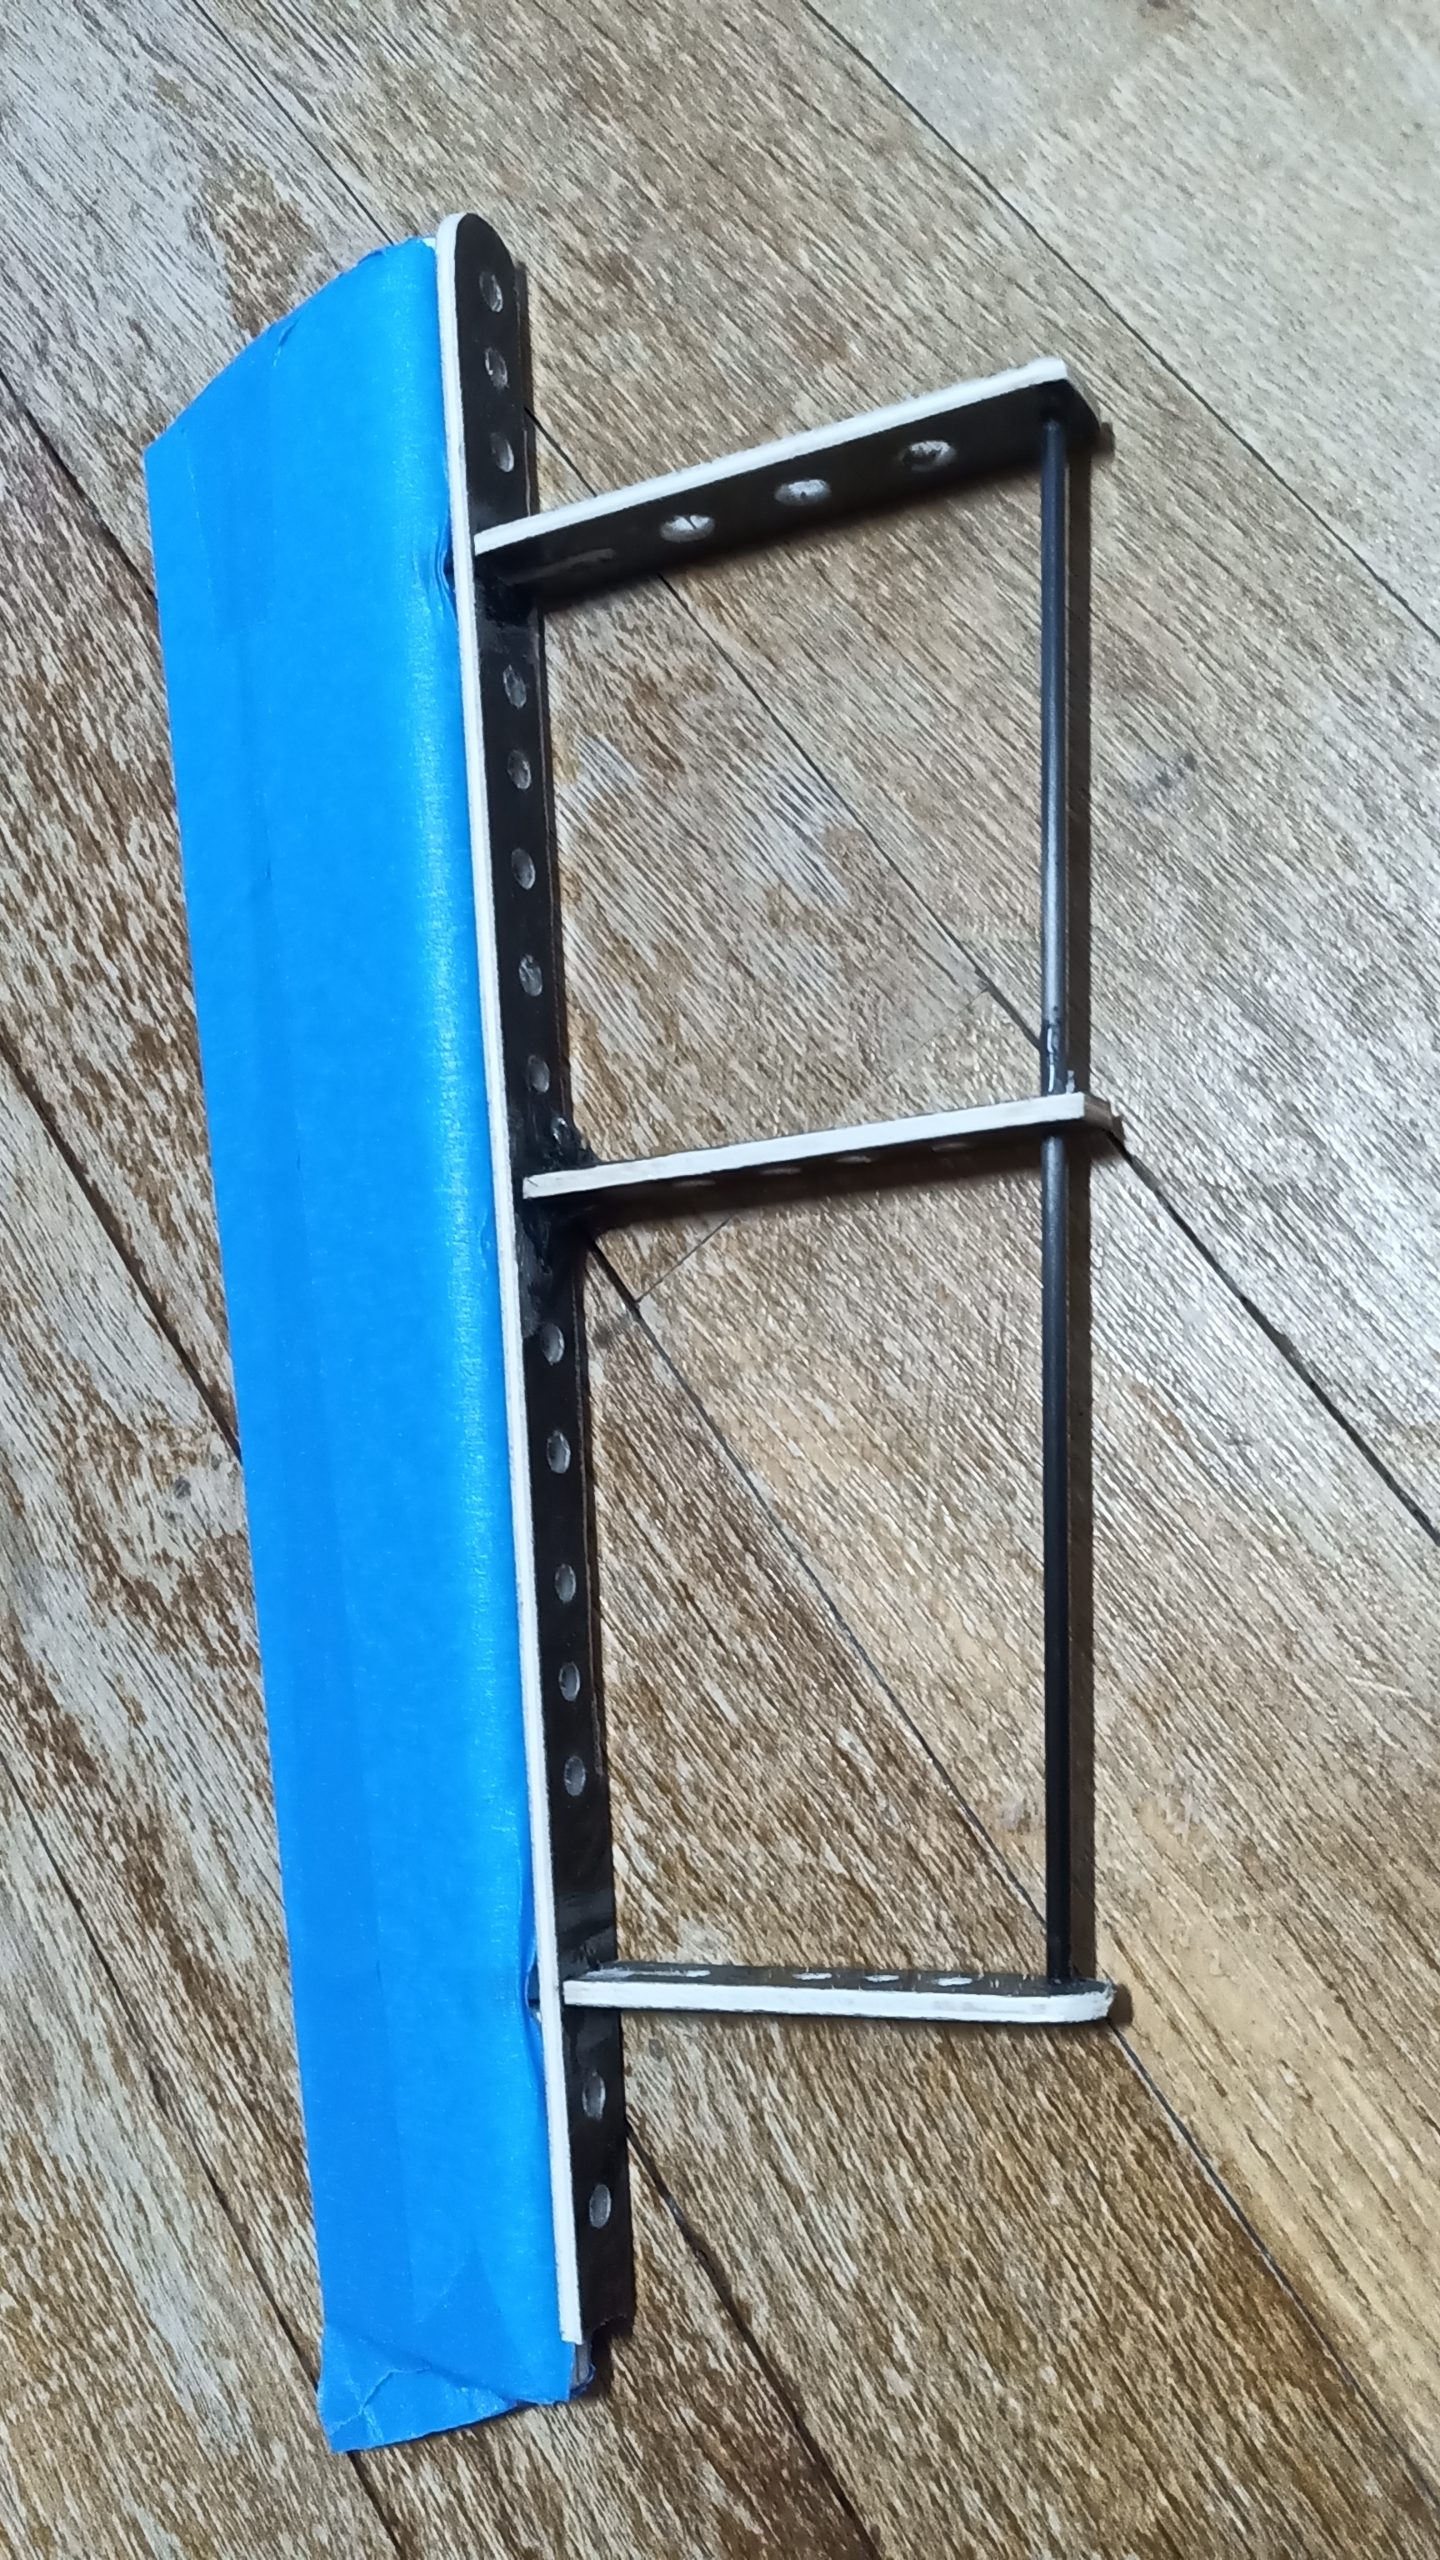
- rudder internal structure refactoring for stiffness
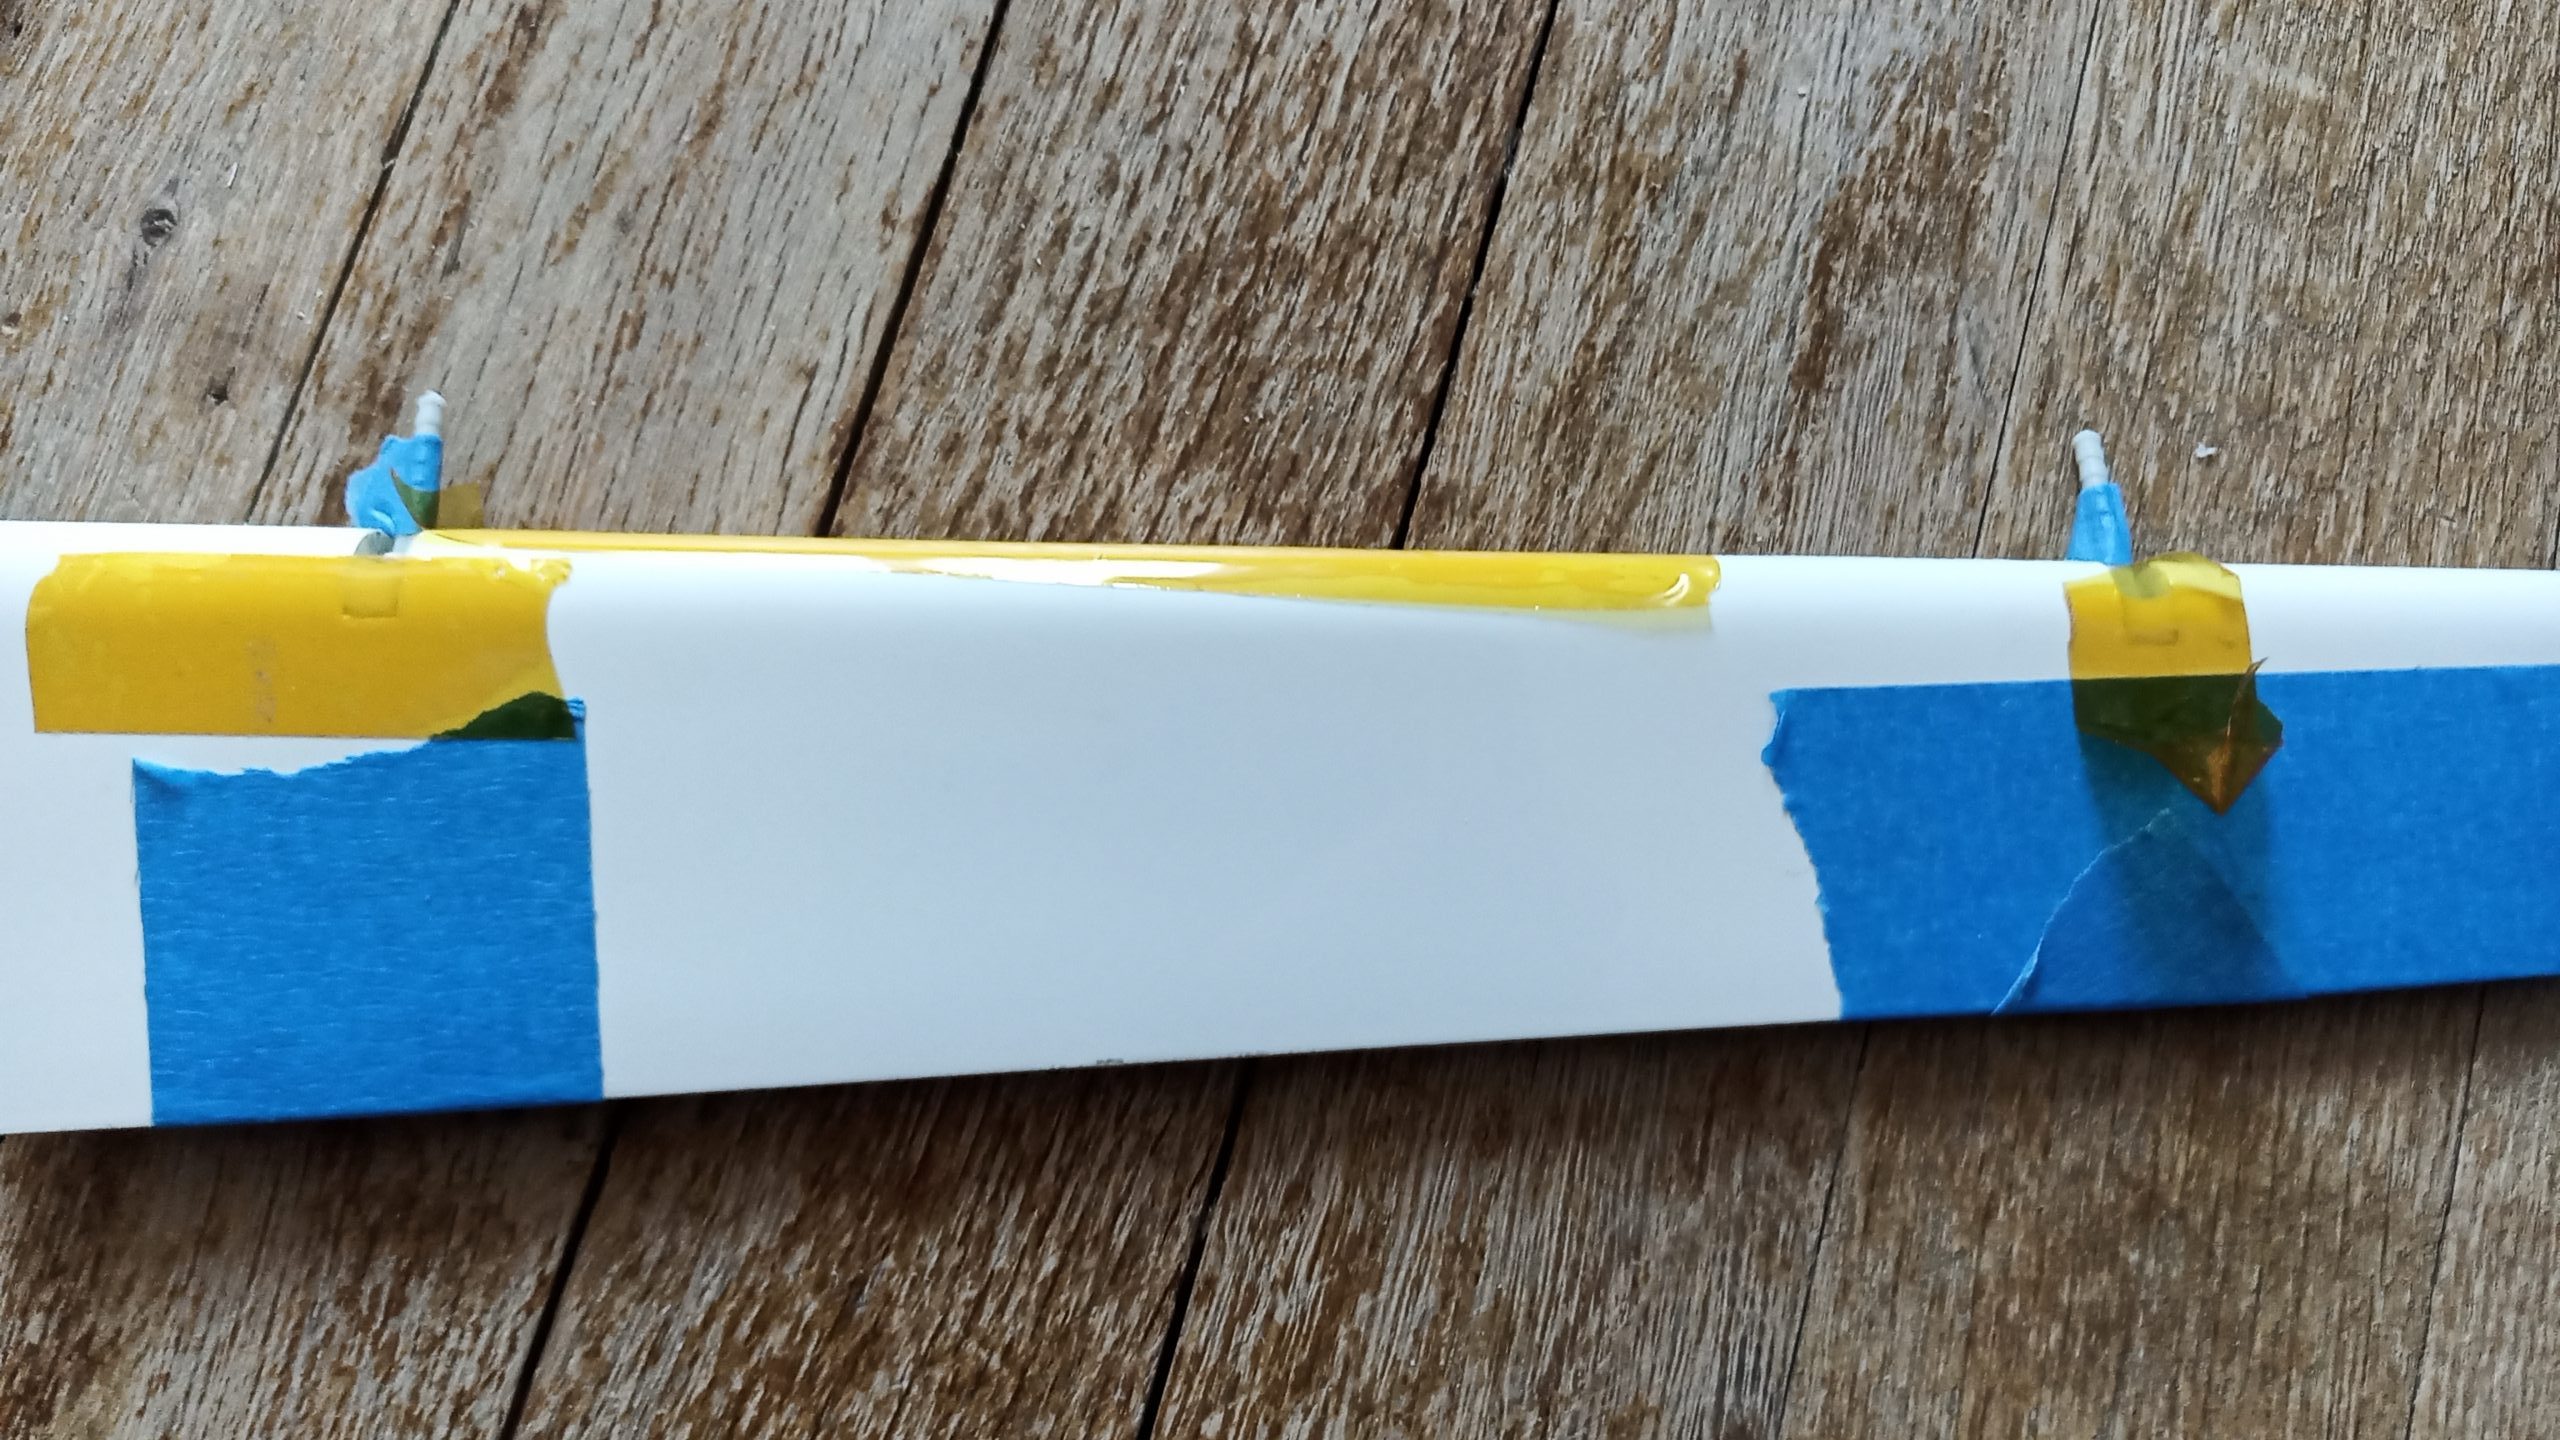
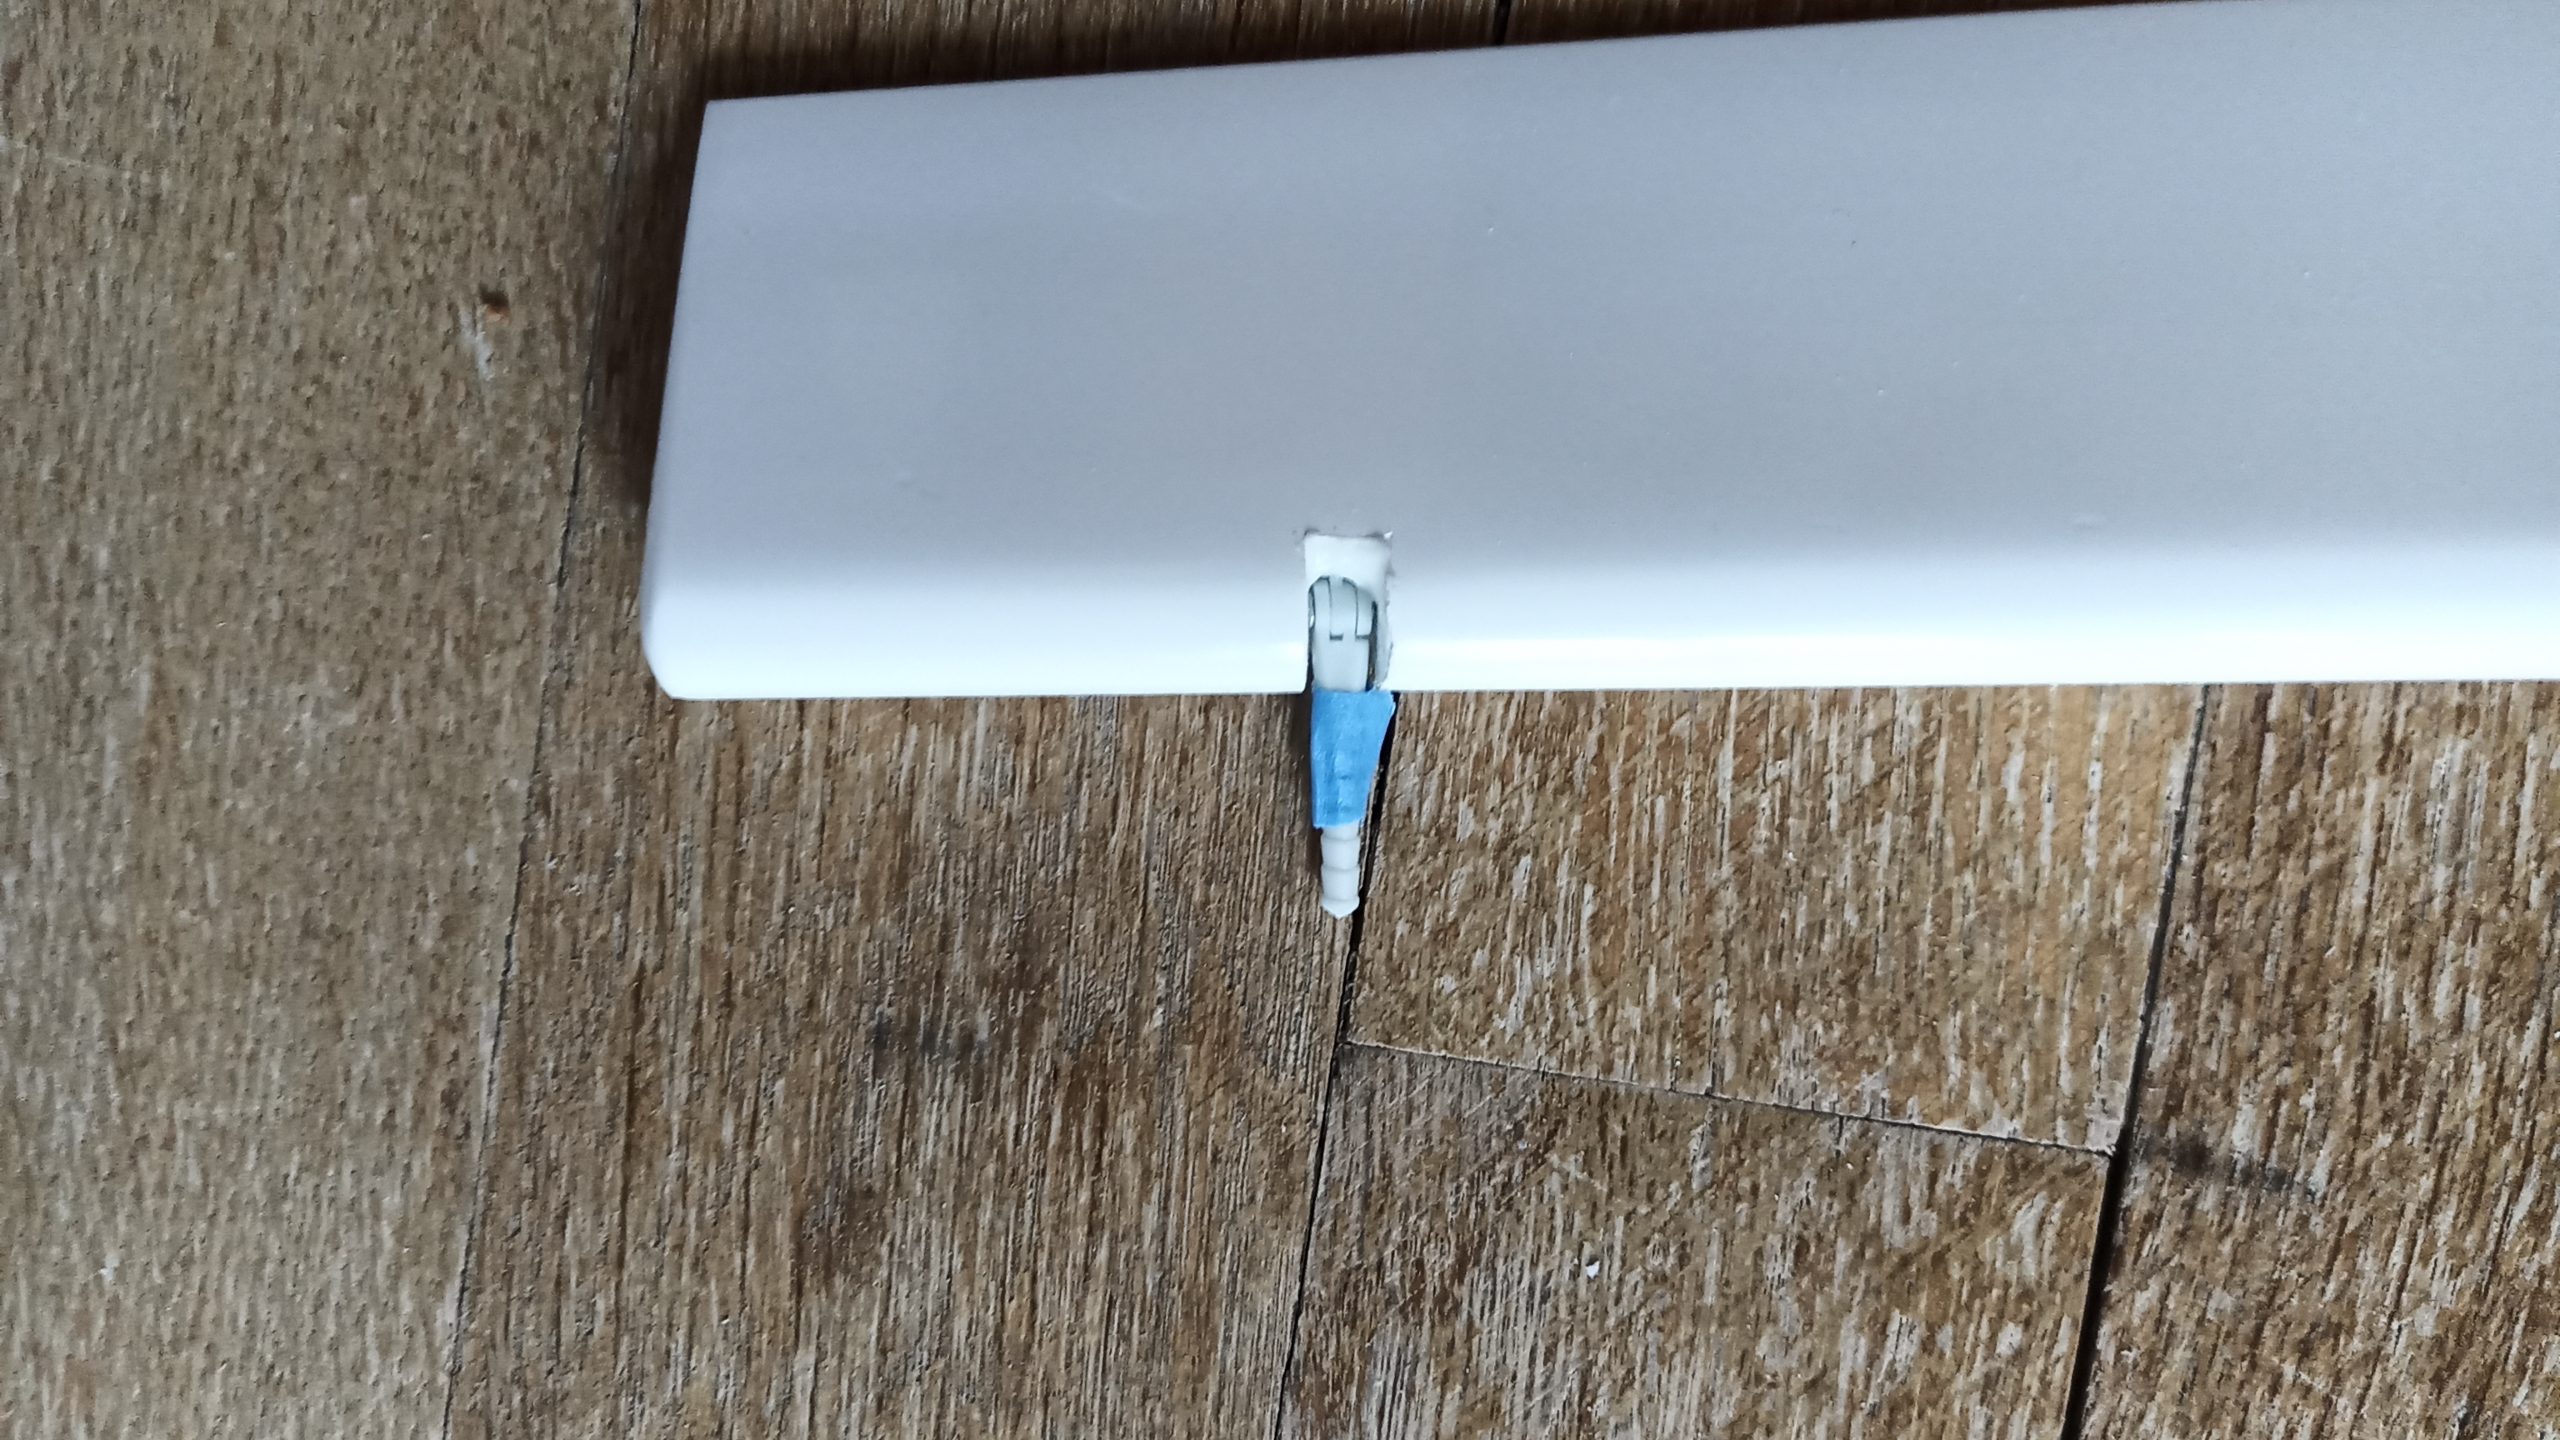
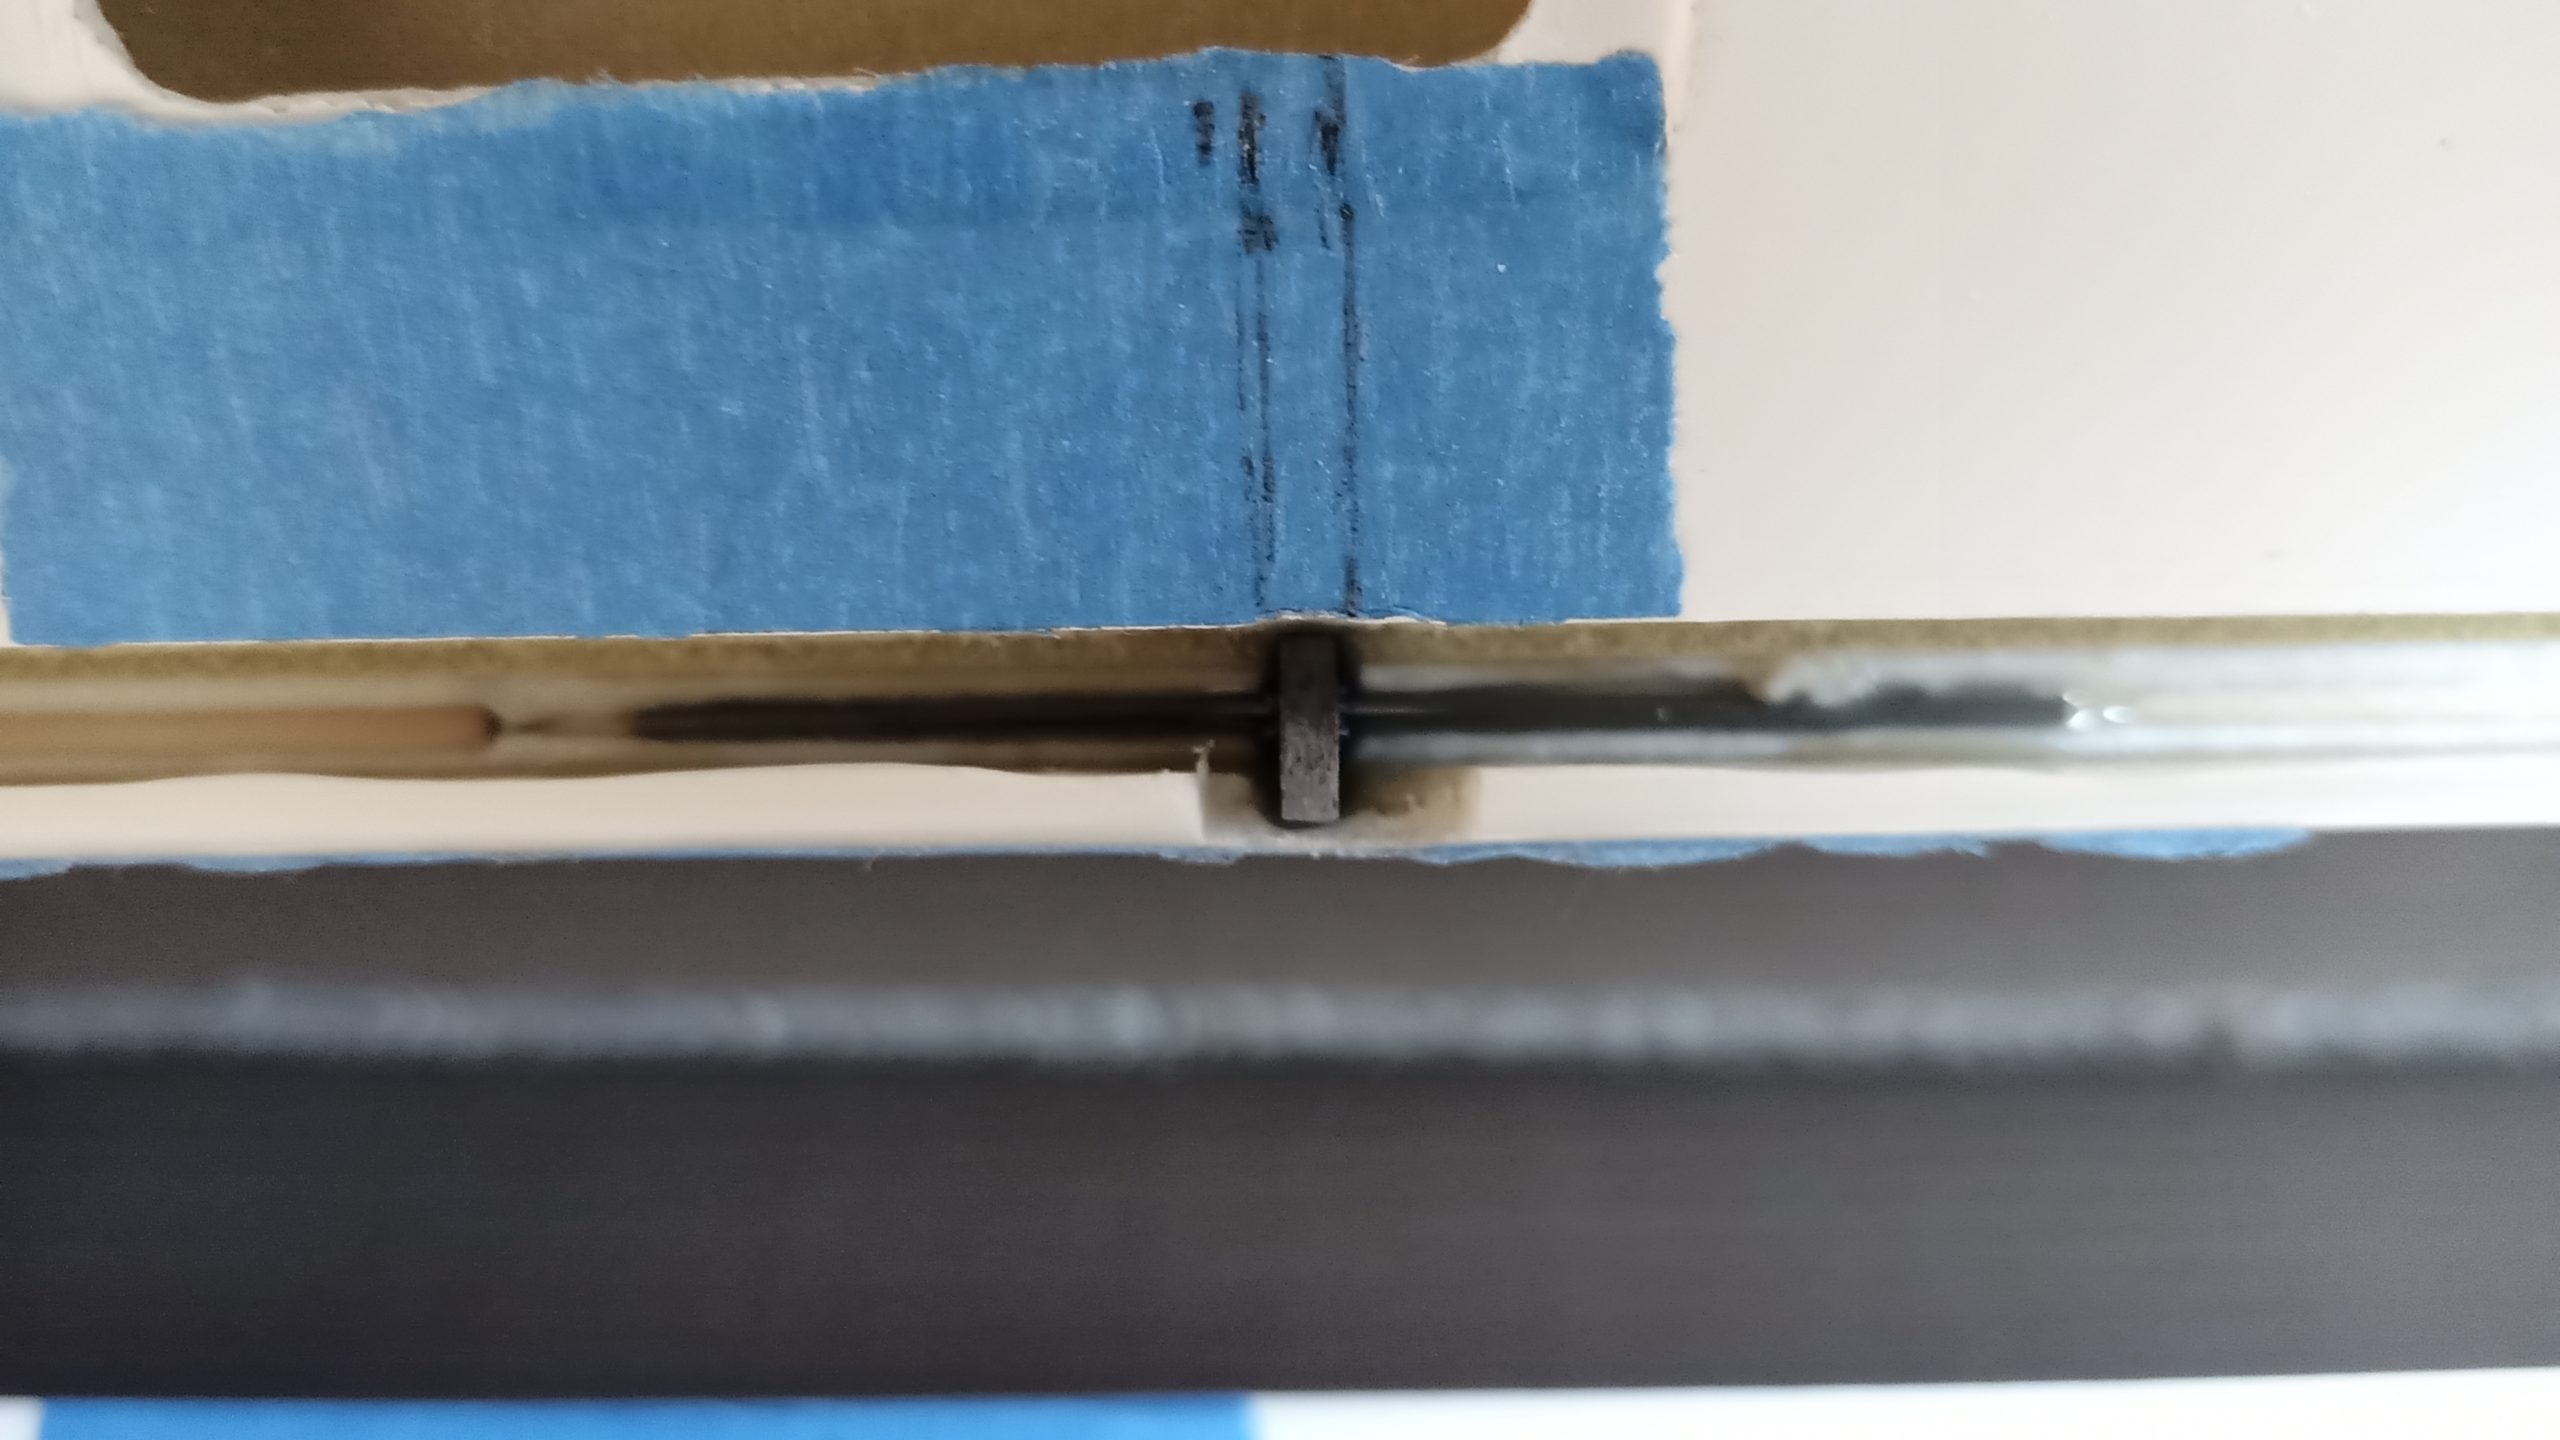
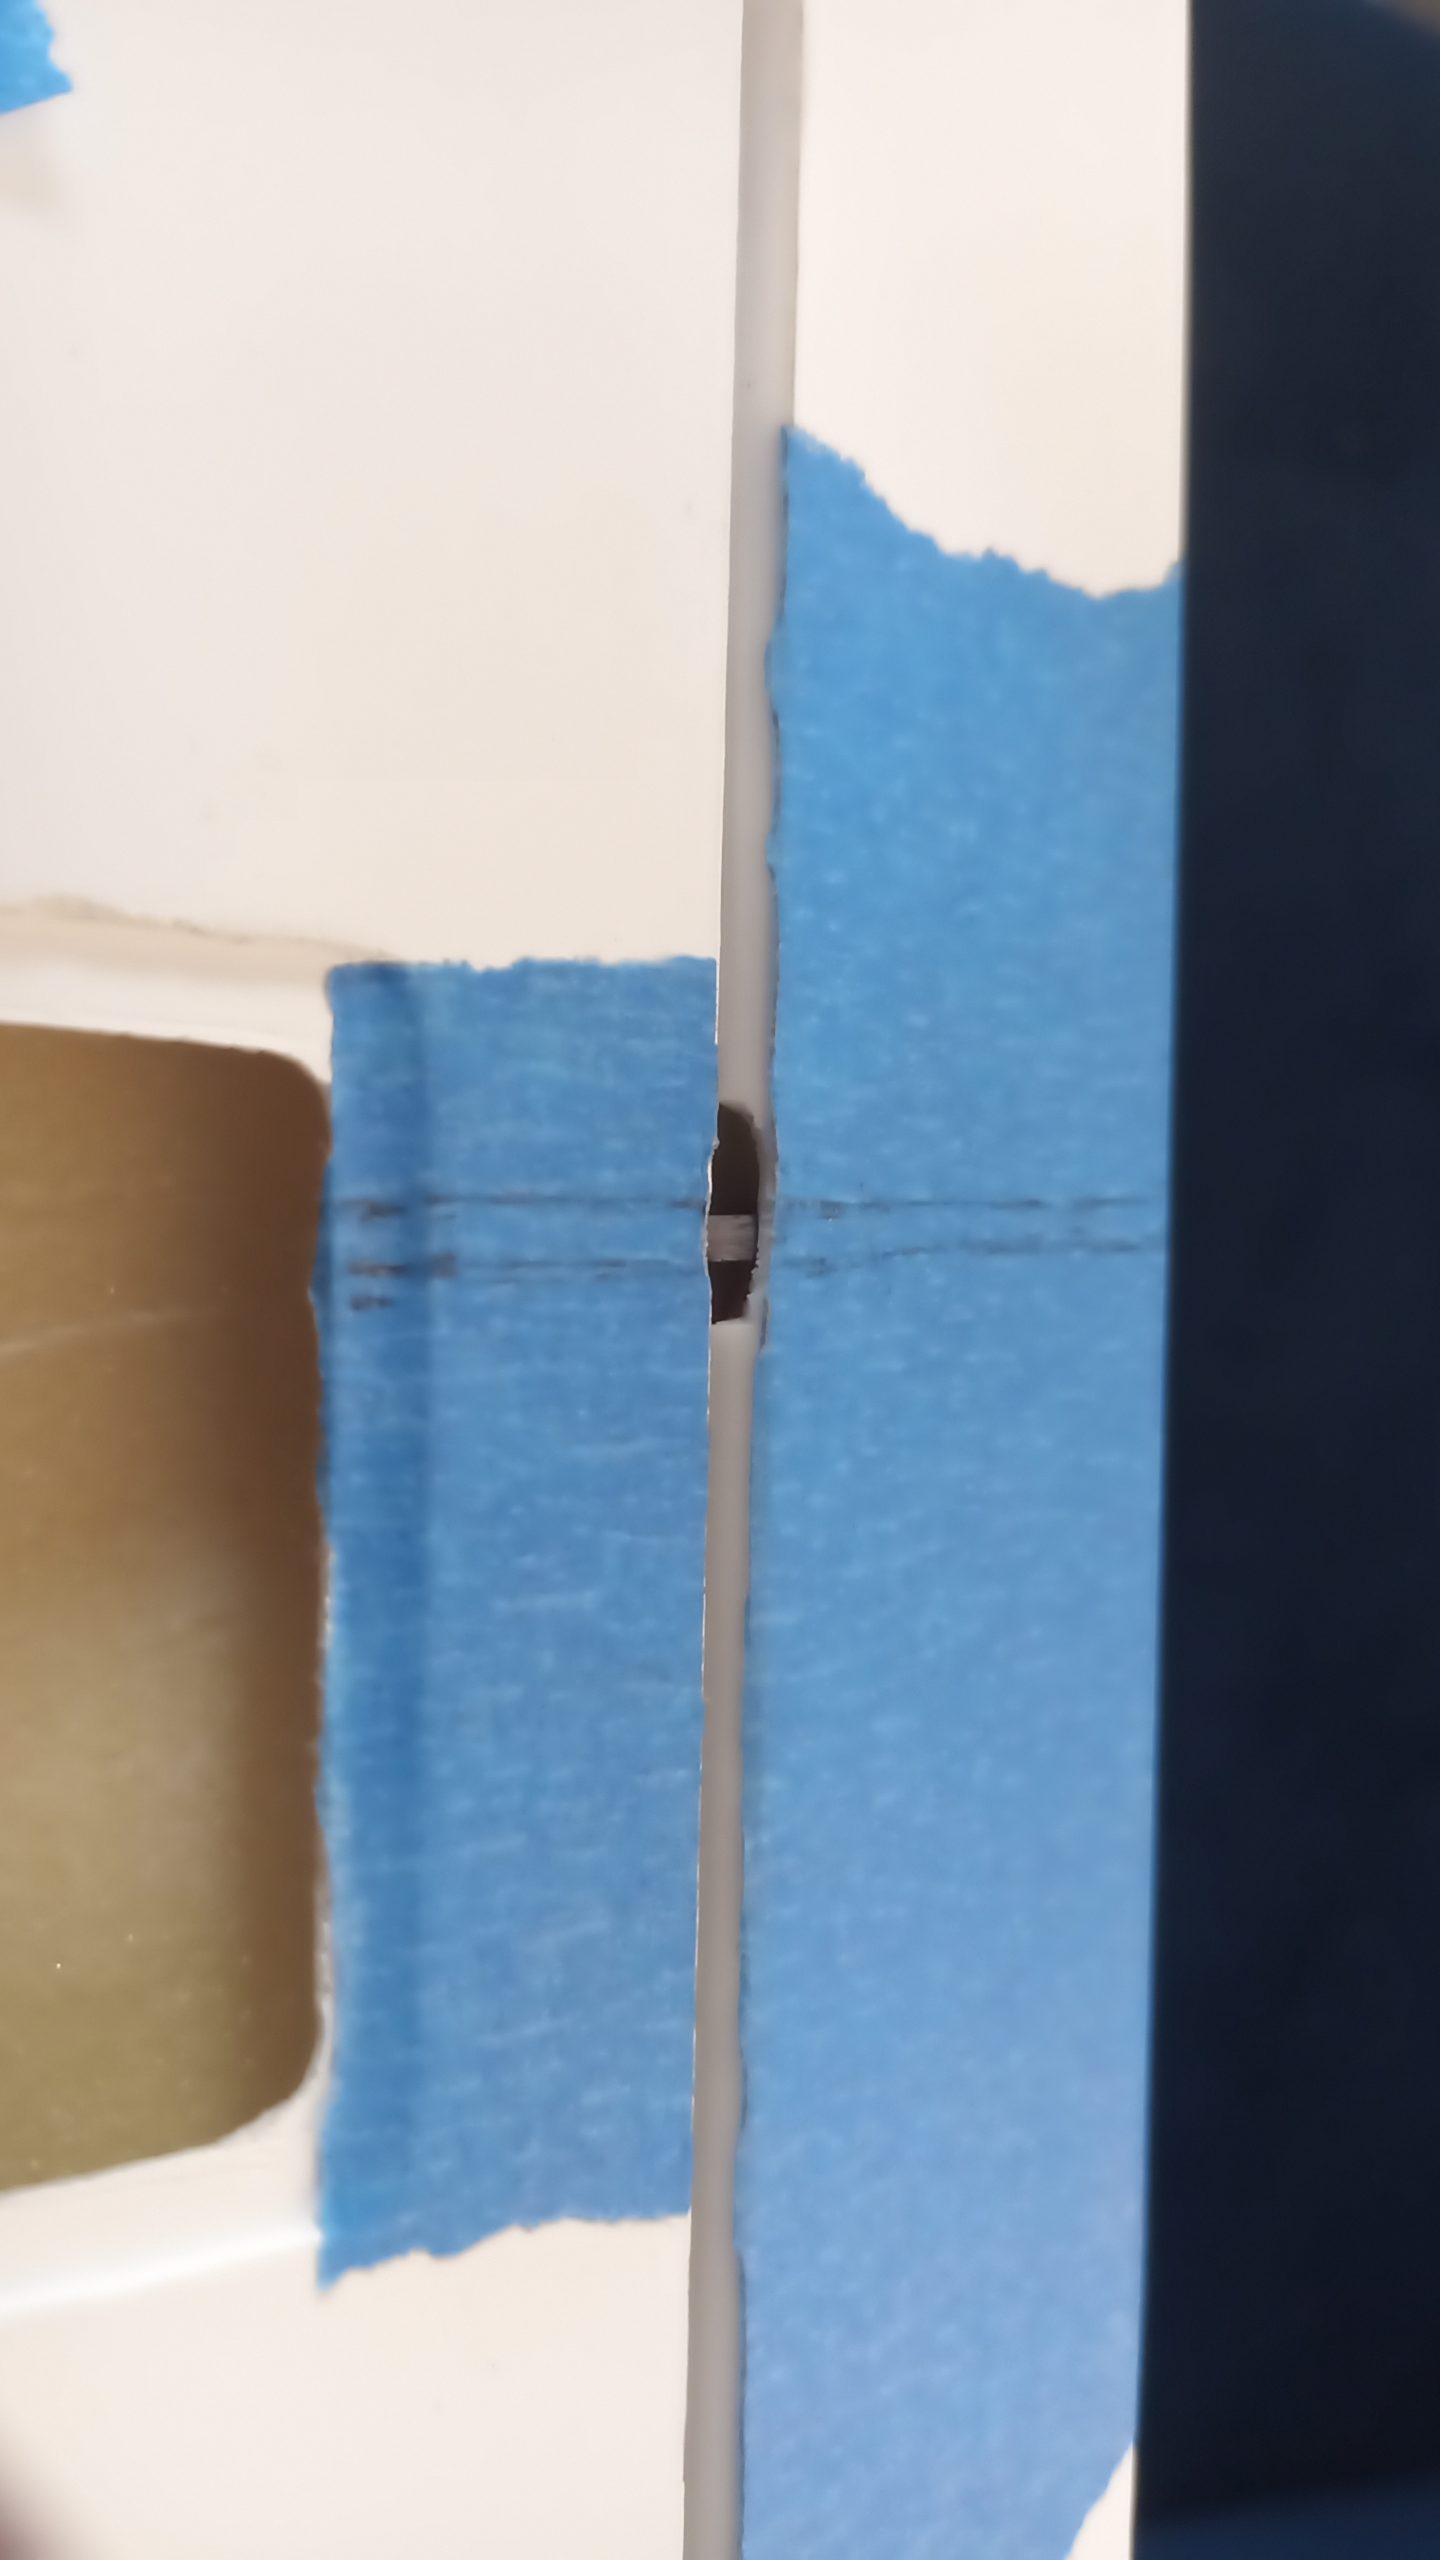
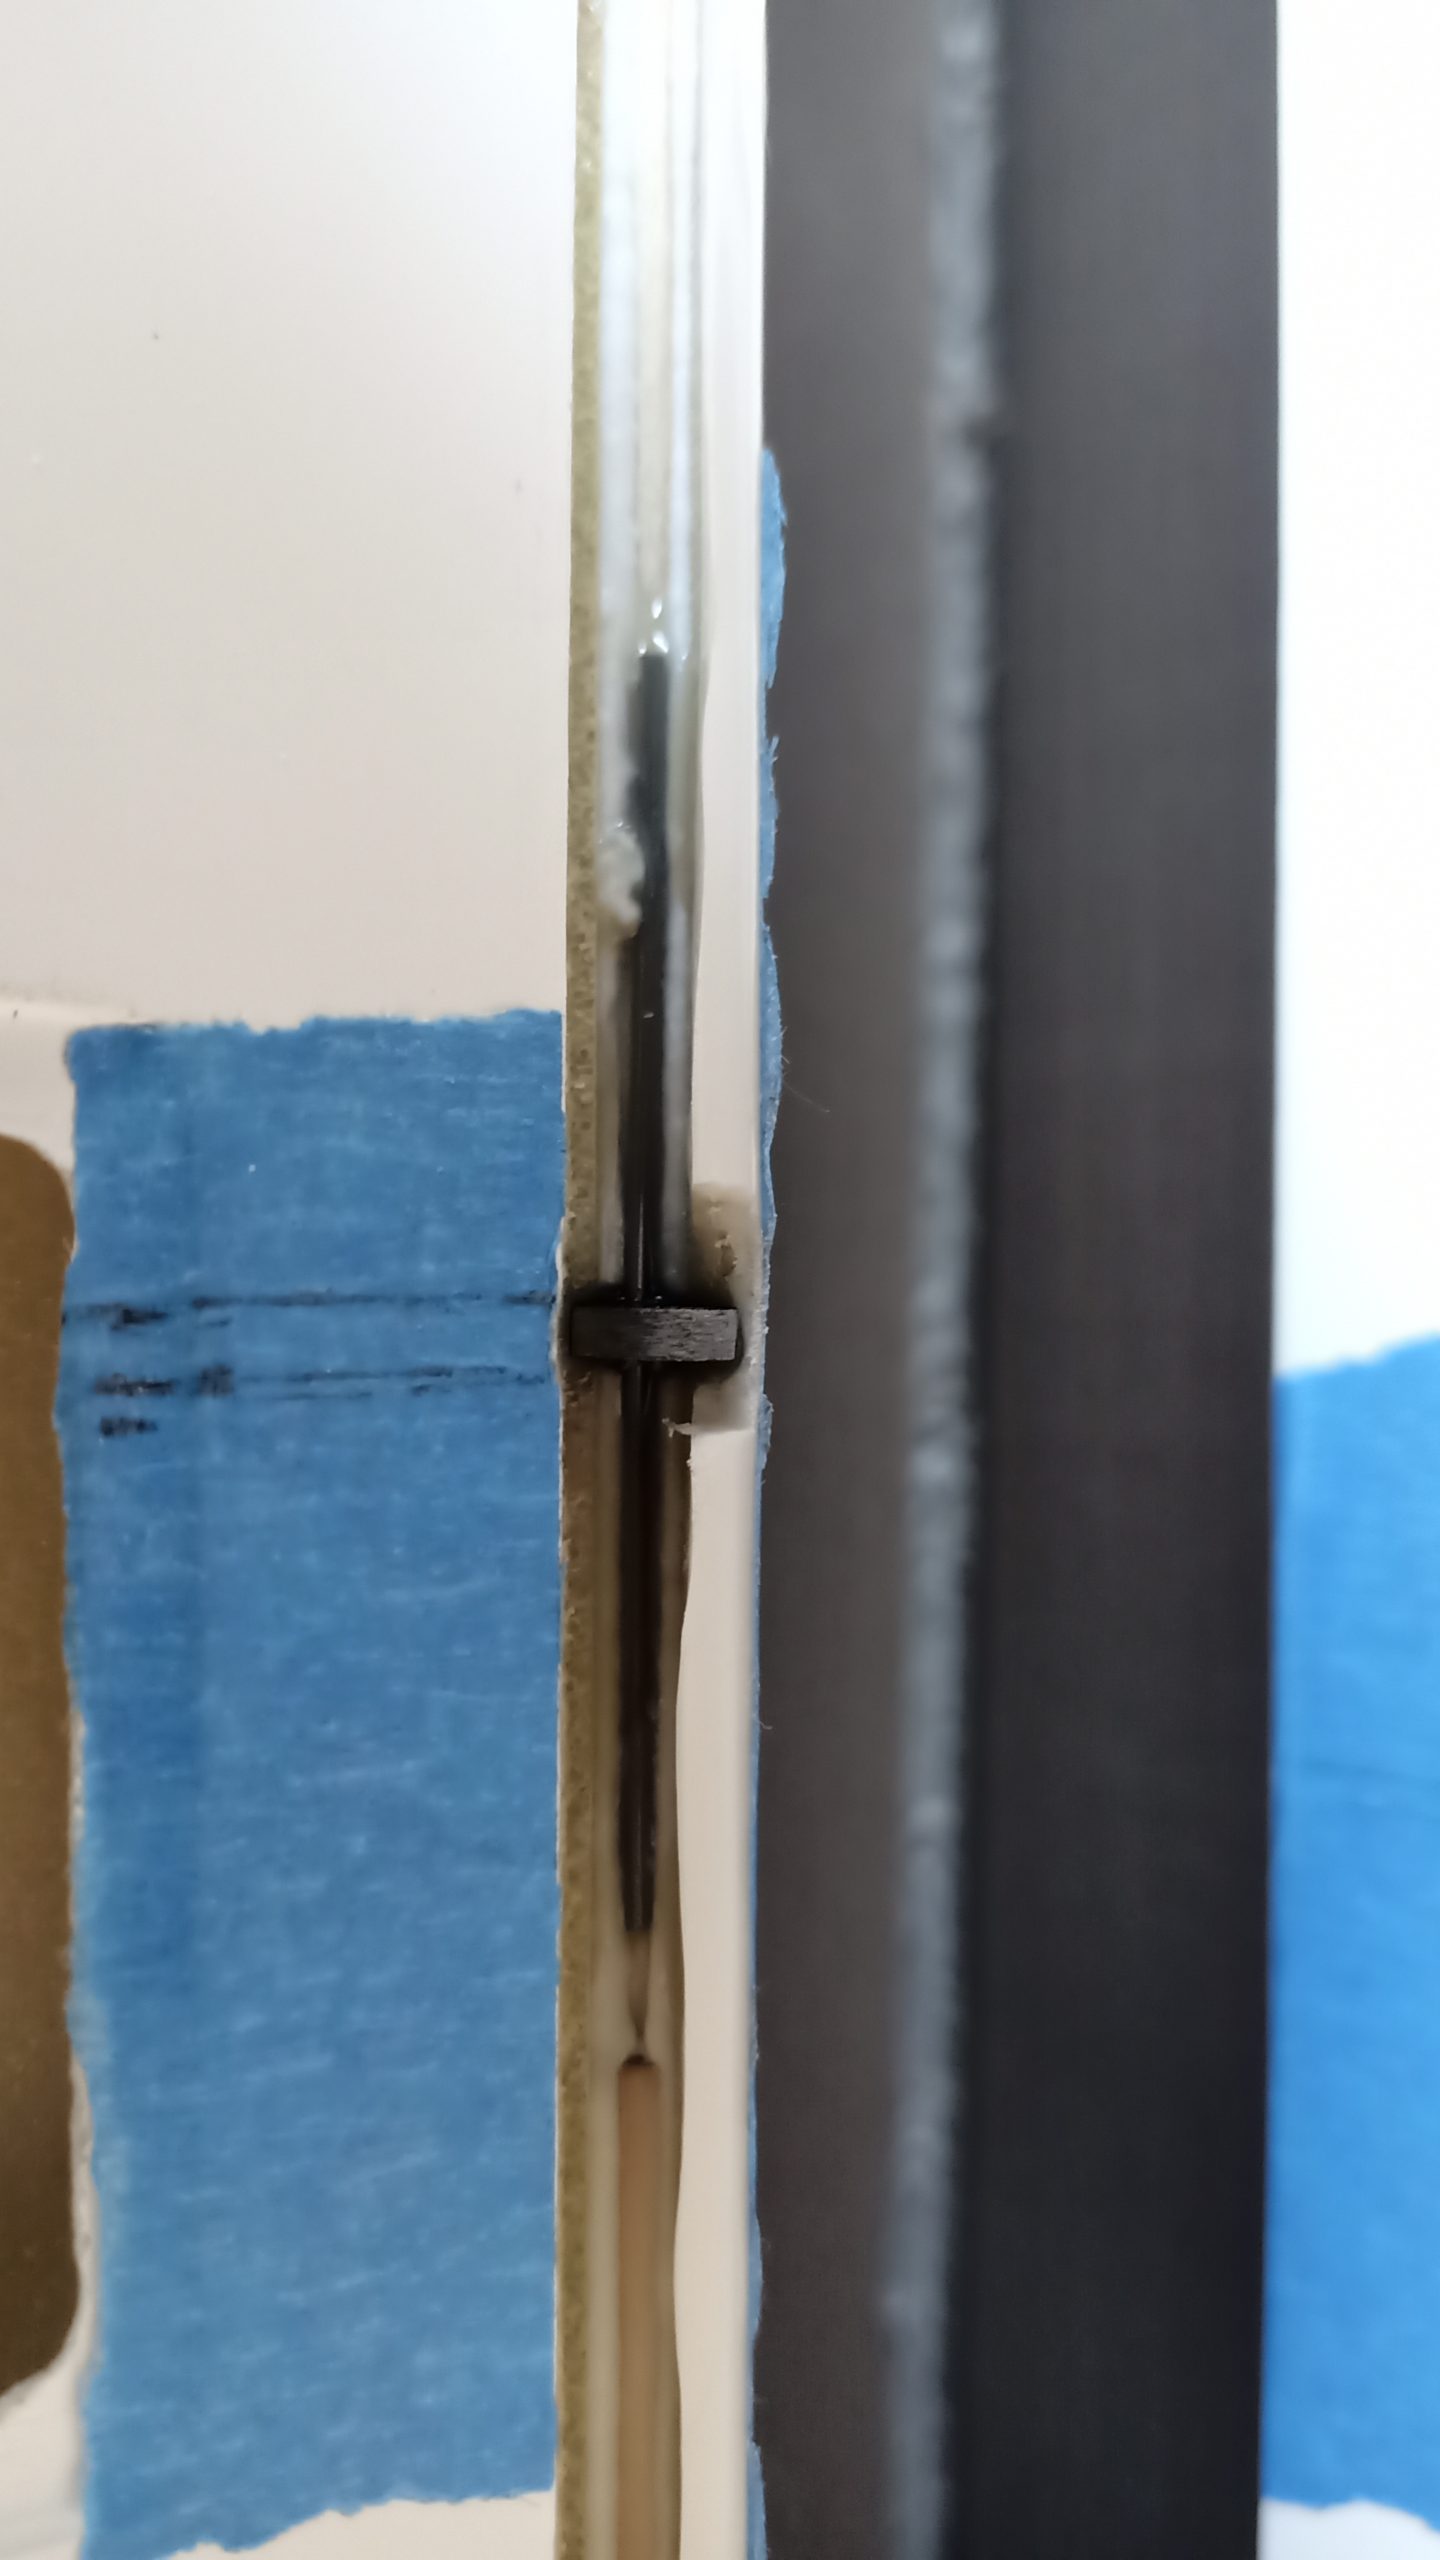
- Hinge gap epoxy/microballoons sealing (using curved klapton tape as mold)
- light carbon/steel wing joiner
- seamless aileron/flap to servo – no external horn.
External files are nearly the same I used in the Harrier build log for the servo frames and my project of Universal Wing Servo Frames.
Albert’s head and hands are available on thingiverse.
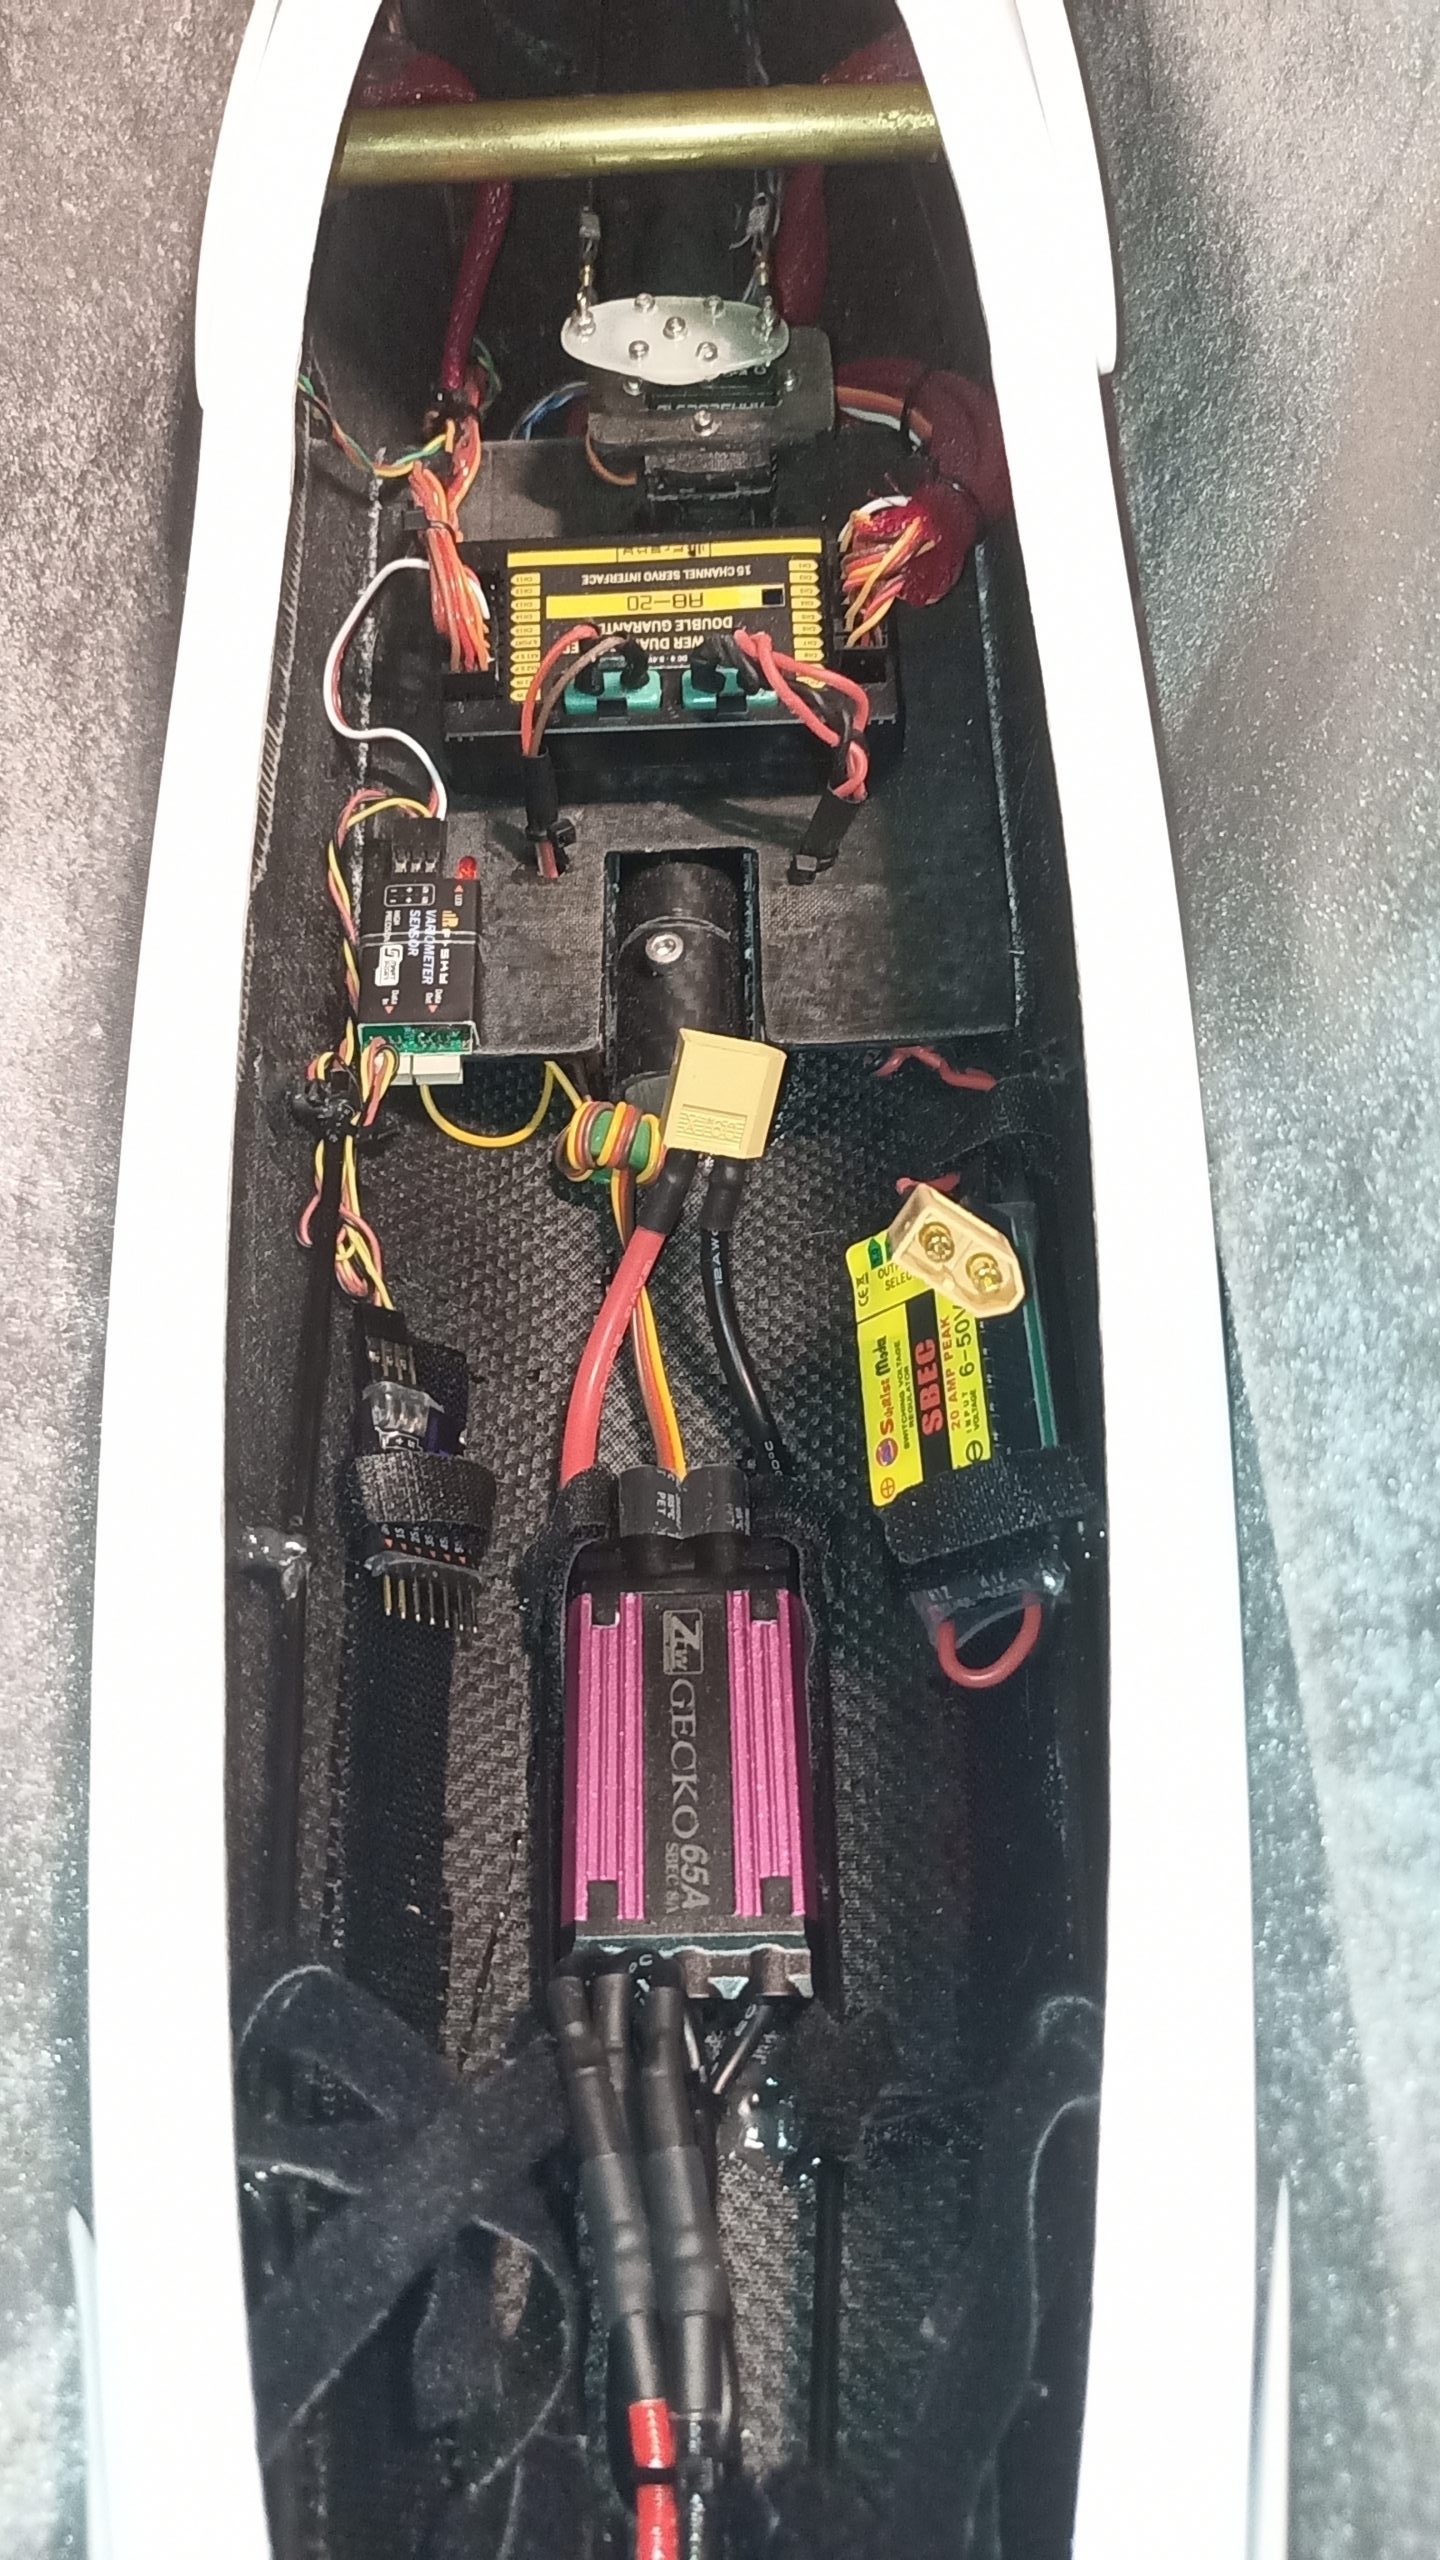
Electronics/power
- KingMax C507 – for elevator
- KingMax CLS0911W – x4 for ailerons and flaps
- KingMax CLS2035HHV – for rudder
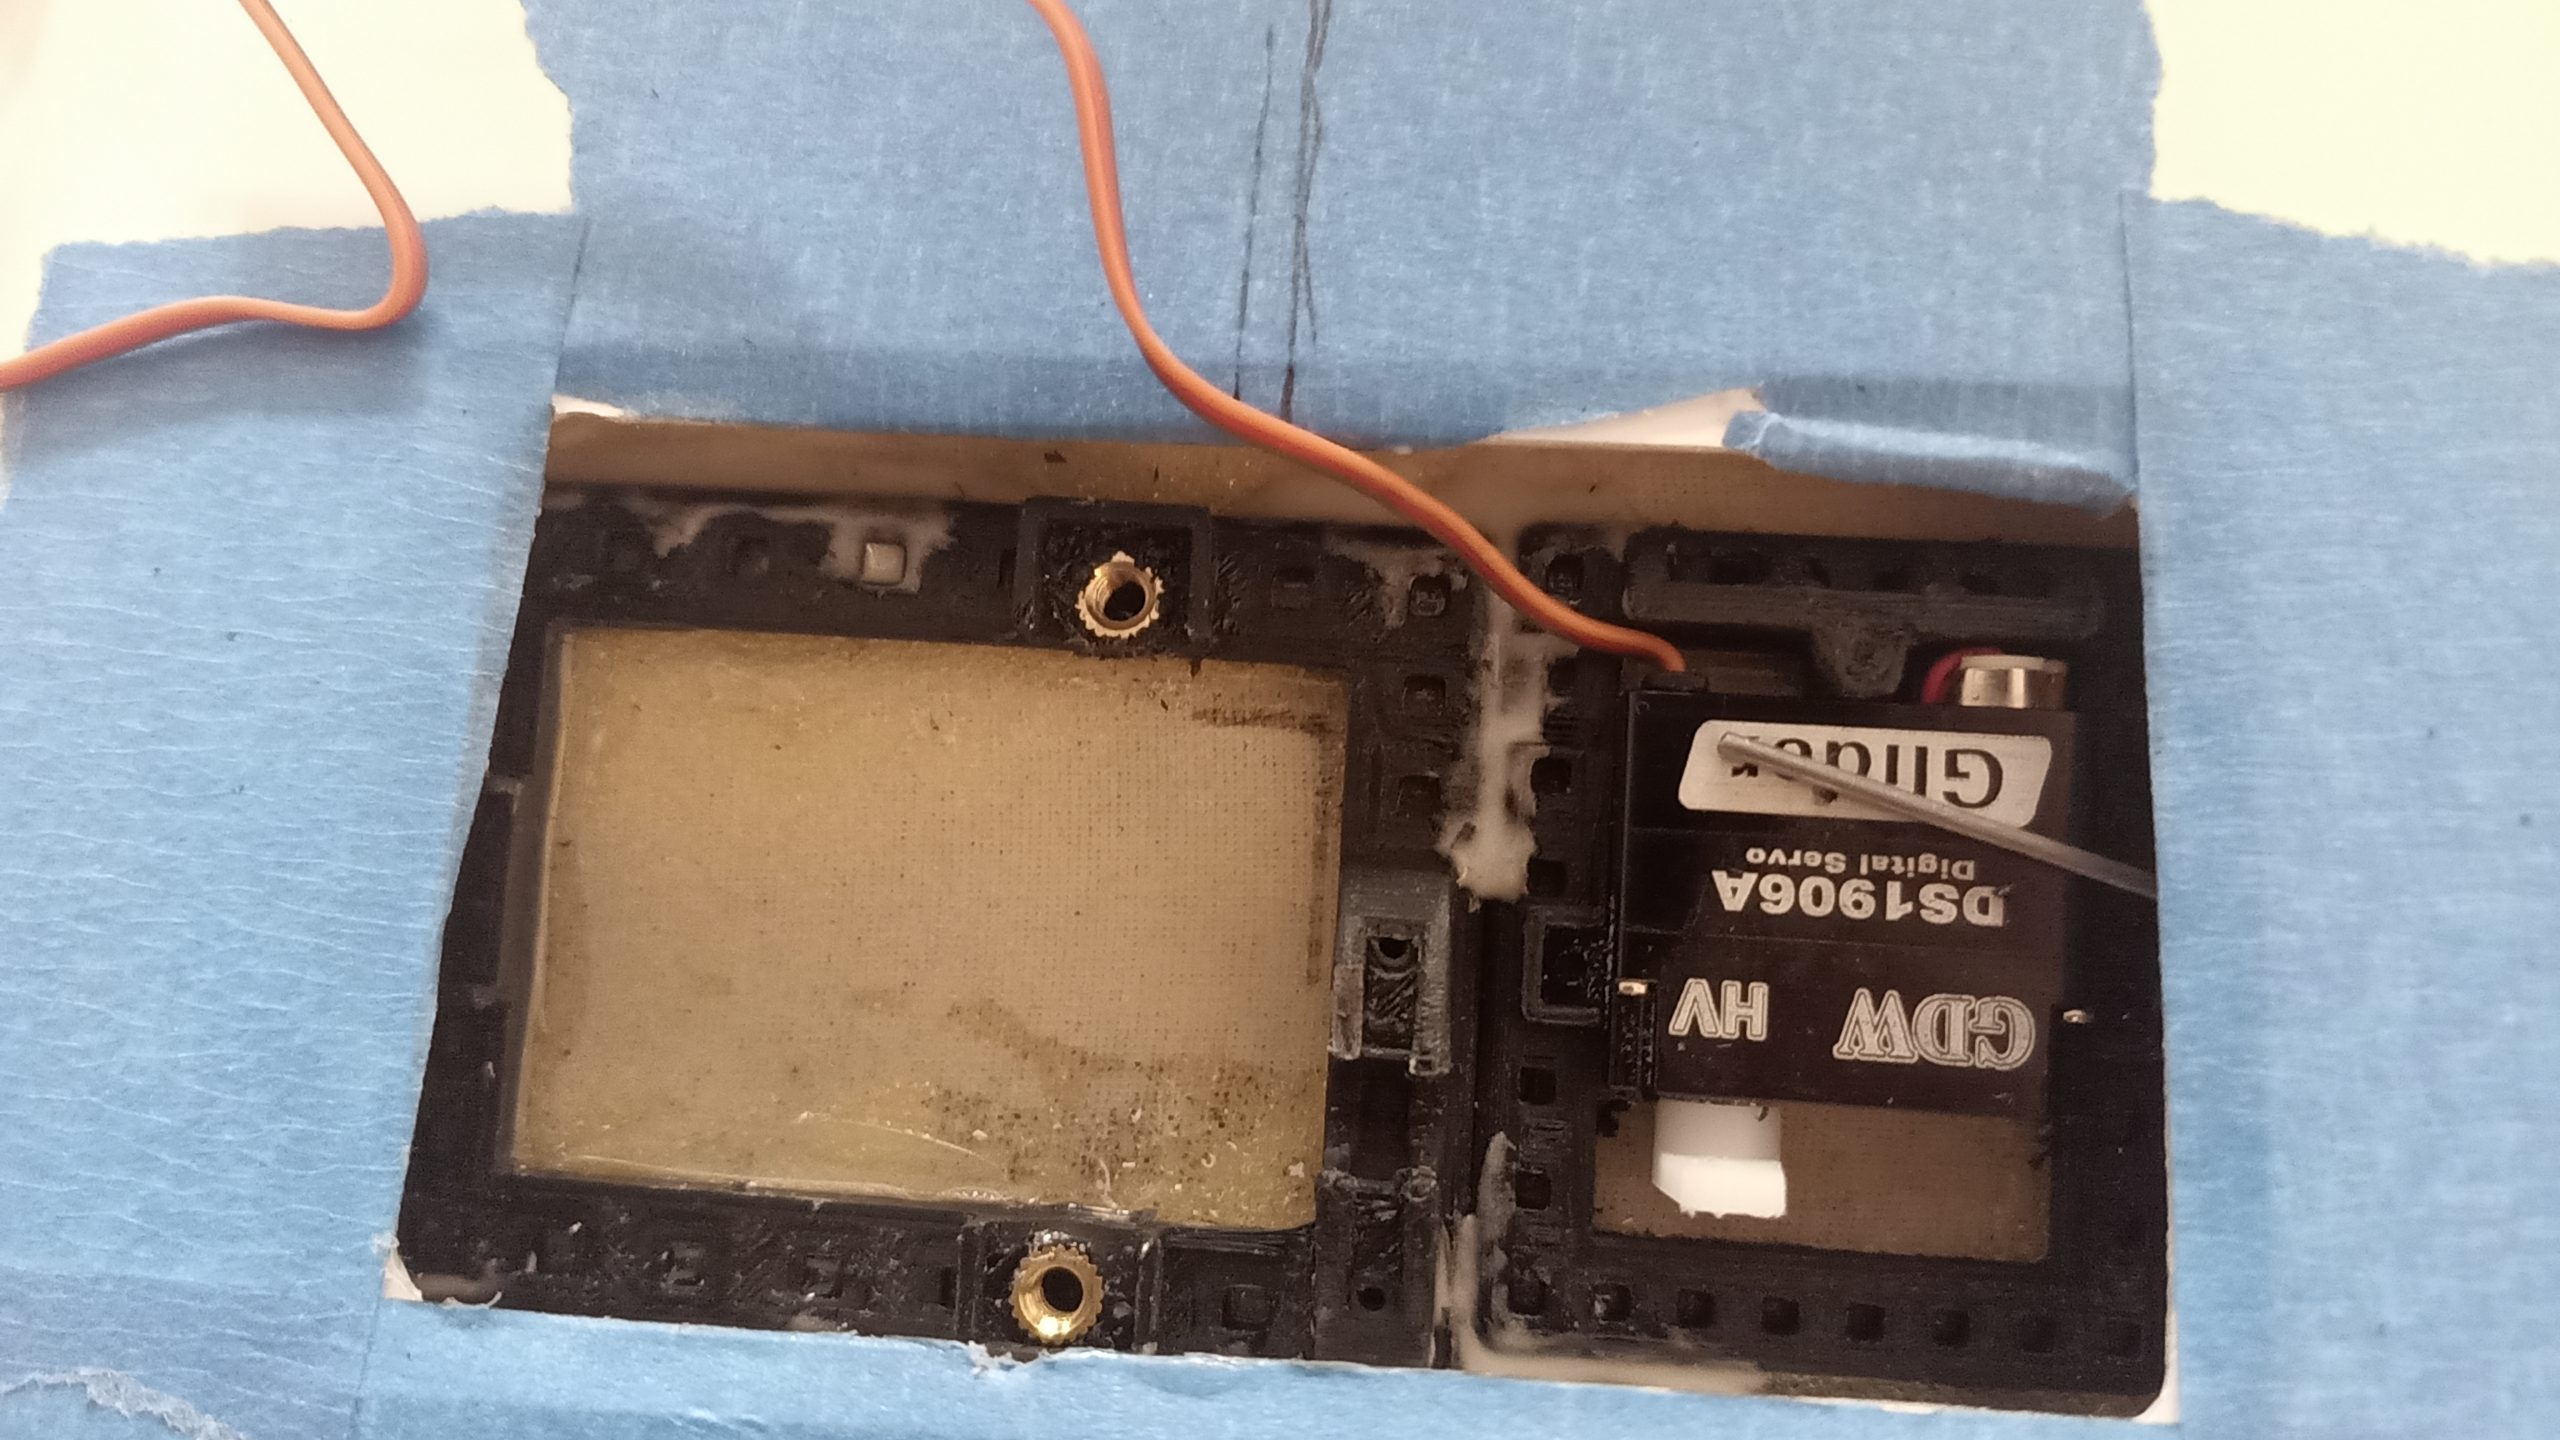
- GDW DS1906A – x2 for airbrakes
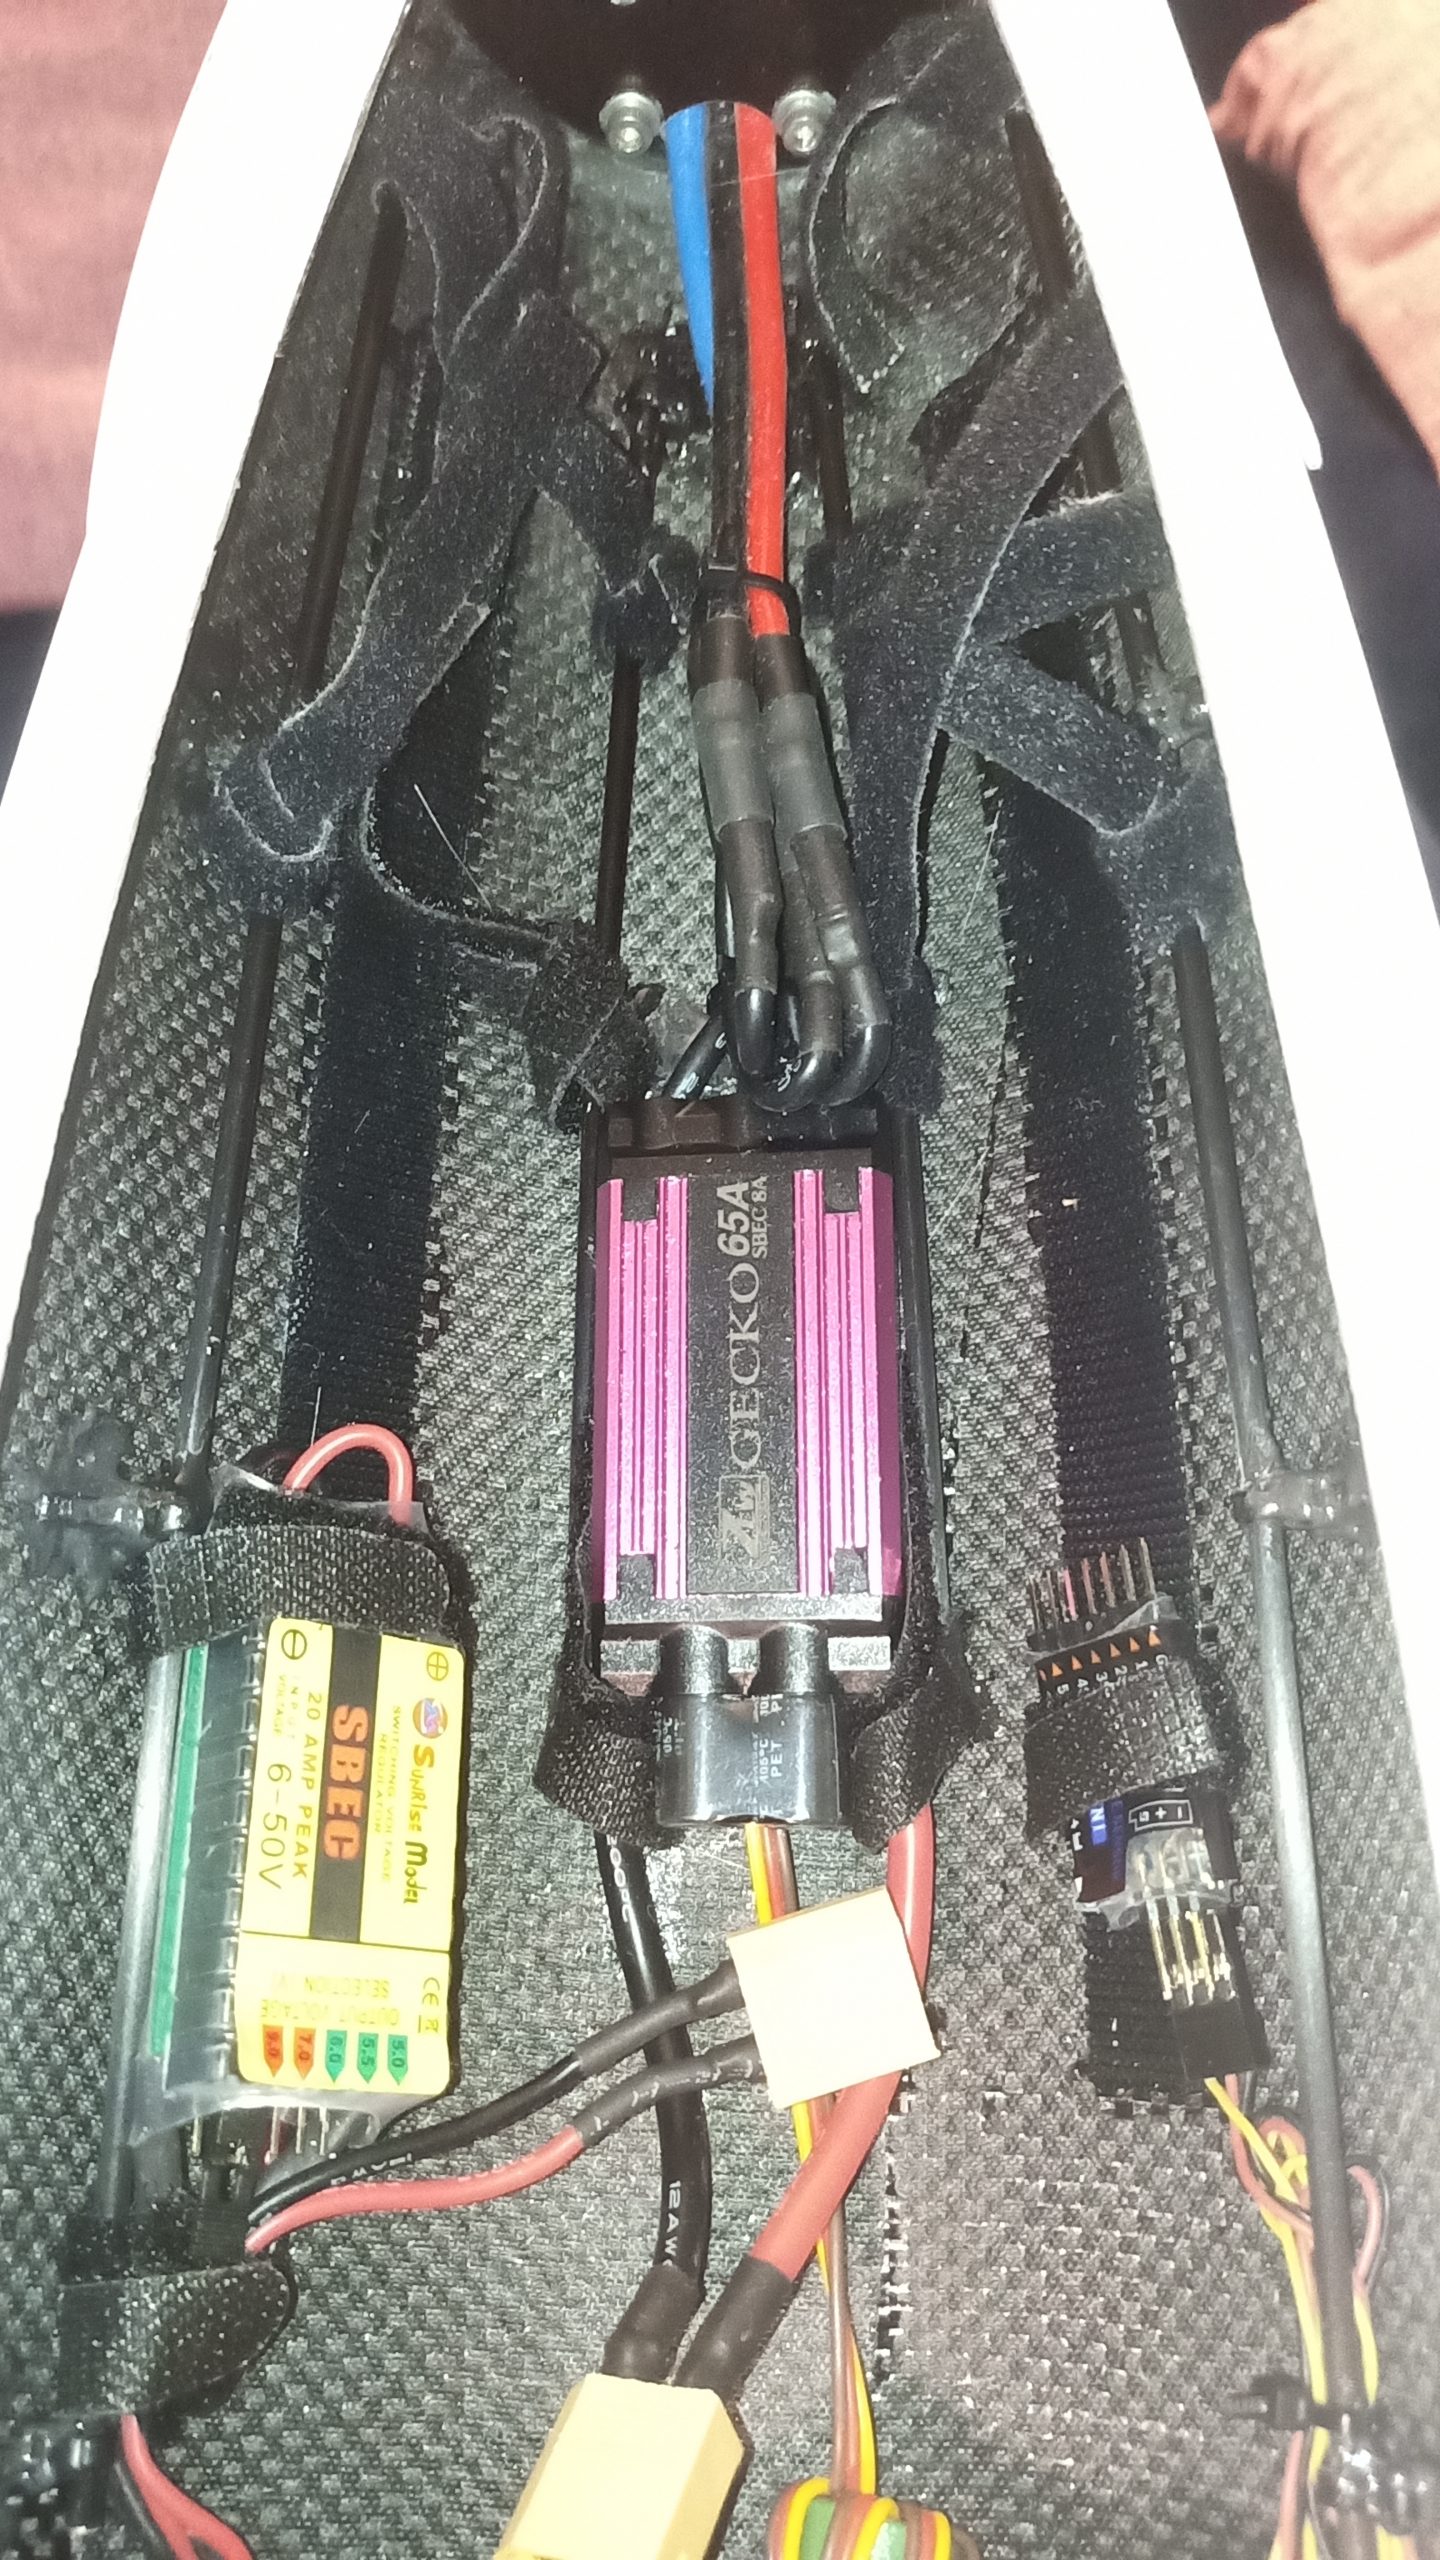
- SunriseModel SBEC 20A
- ZTW GECKO 65A RC Airplane ESC
- SunnySky X3520 KV780
- FrSKY XM+ – receiver 2.4GHz
- FrSKY R9MM – receiver 900MHz
- FrSKY RB-20 – redundant power source – SPort sharing
- FrSKY Variometer + FrSKY lipo sensor – SPort sensors
- 2 x TATTU 3s 2300 45c
- Aeronaut z spinner 40mm + Aeronaut cam carbon z 13×6.5
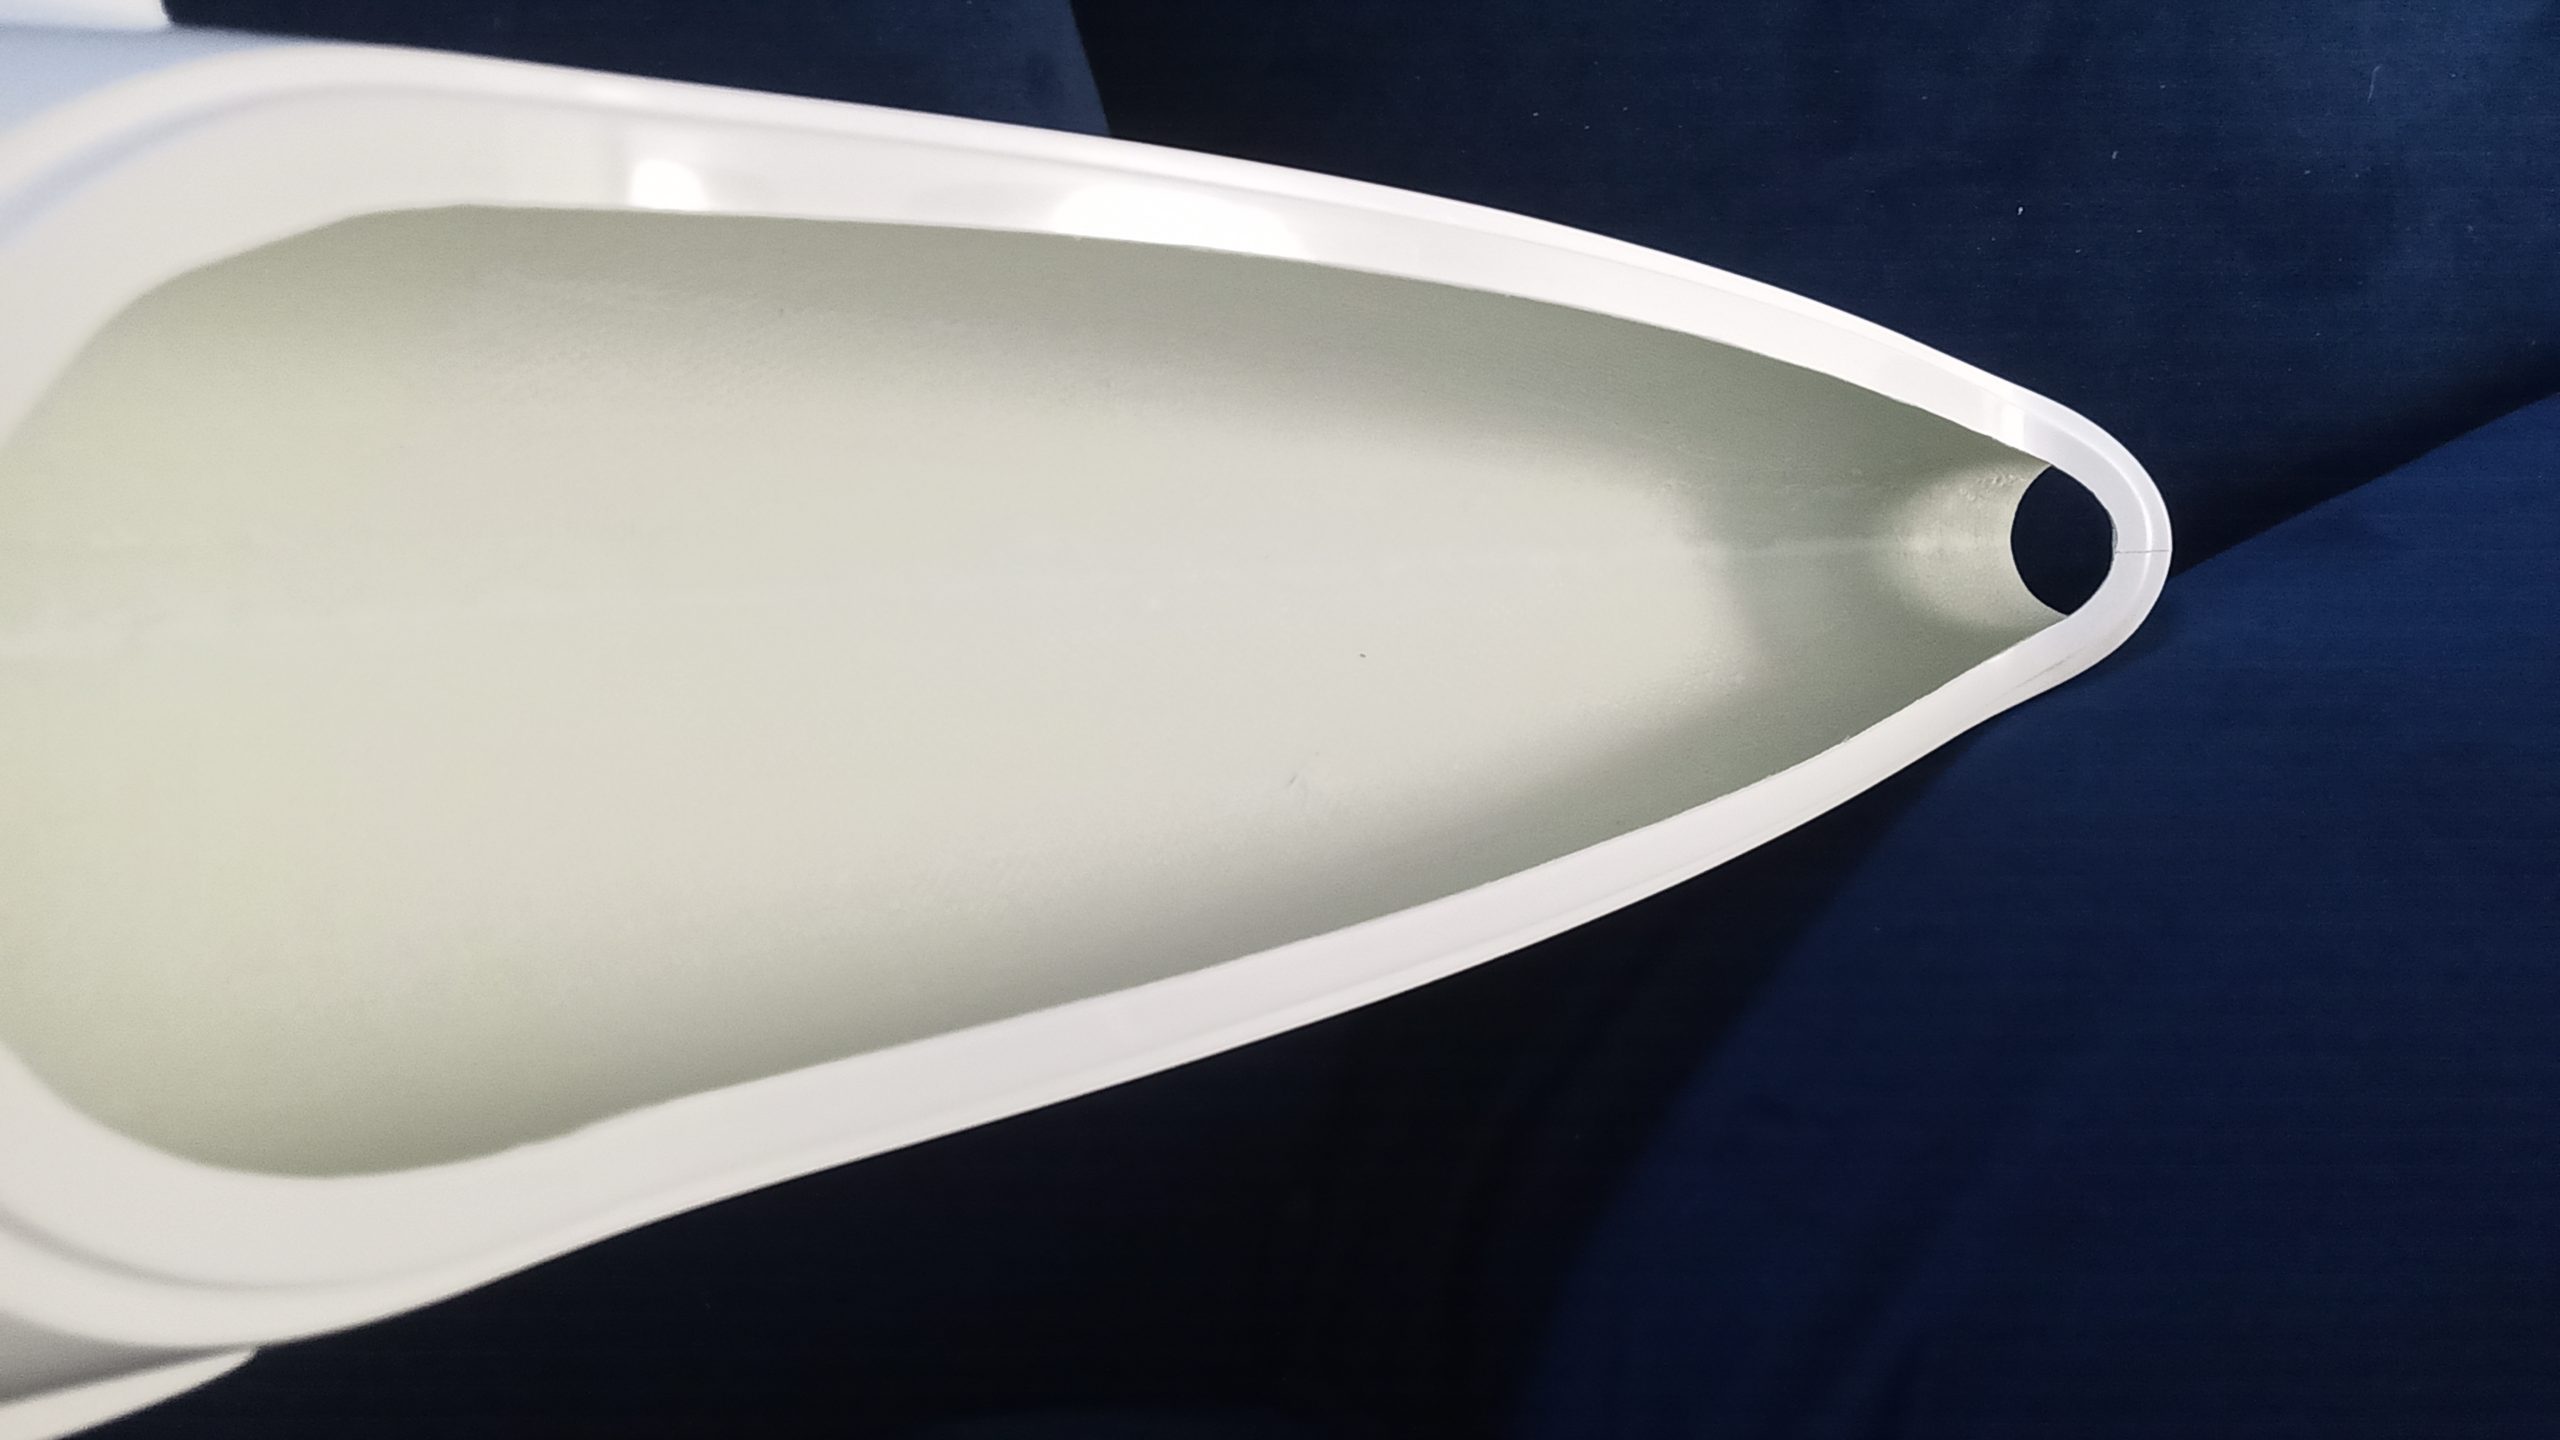
Fuselage:
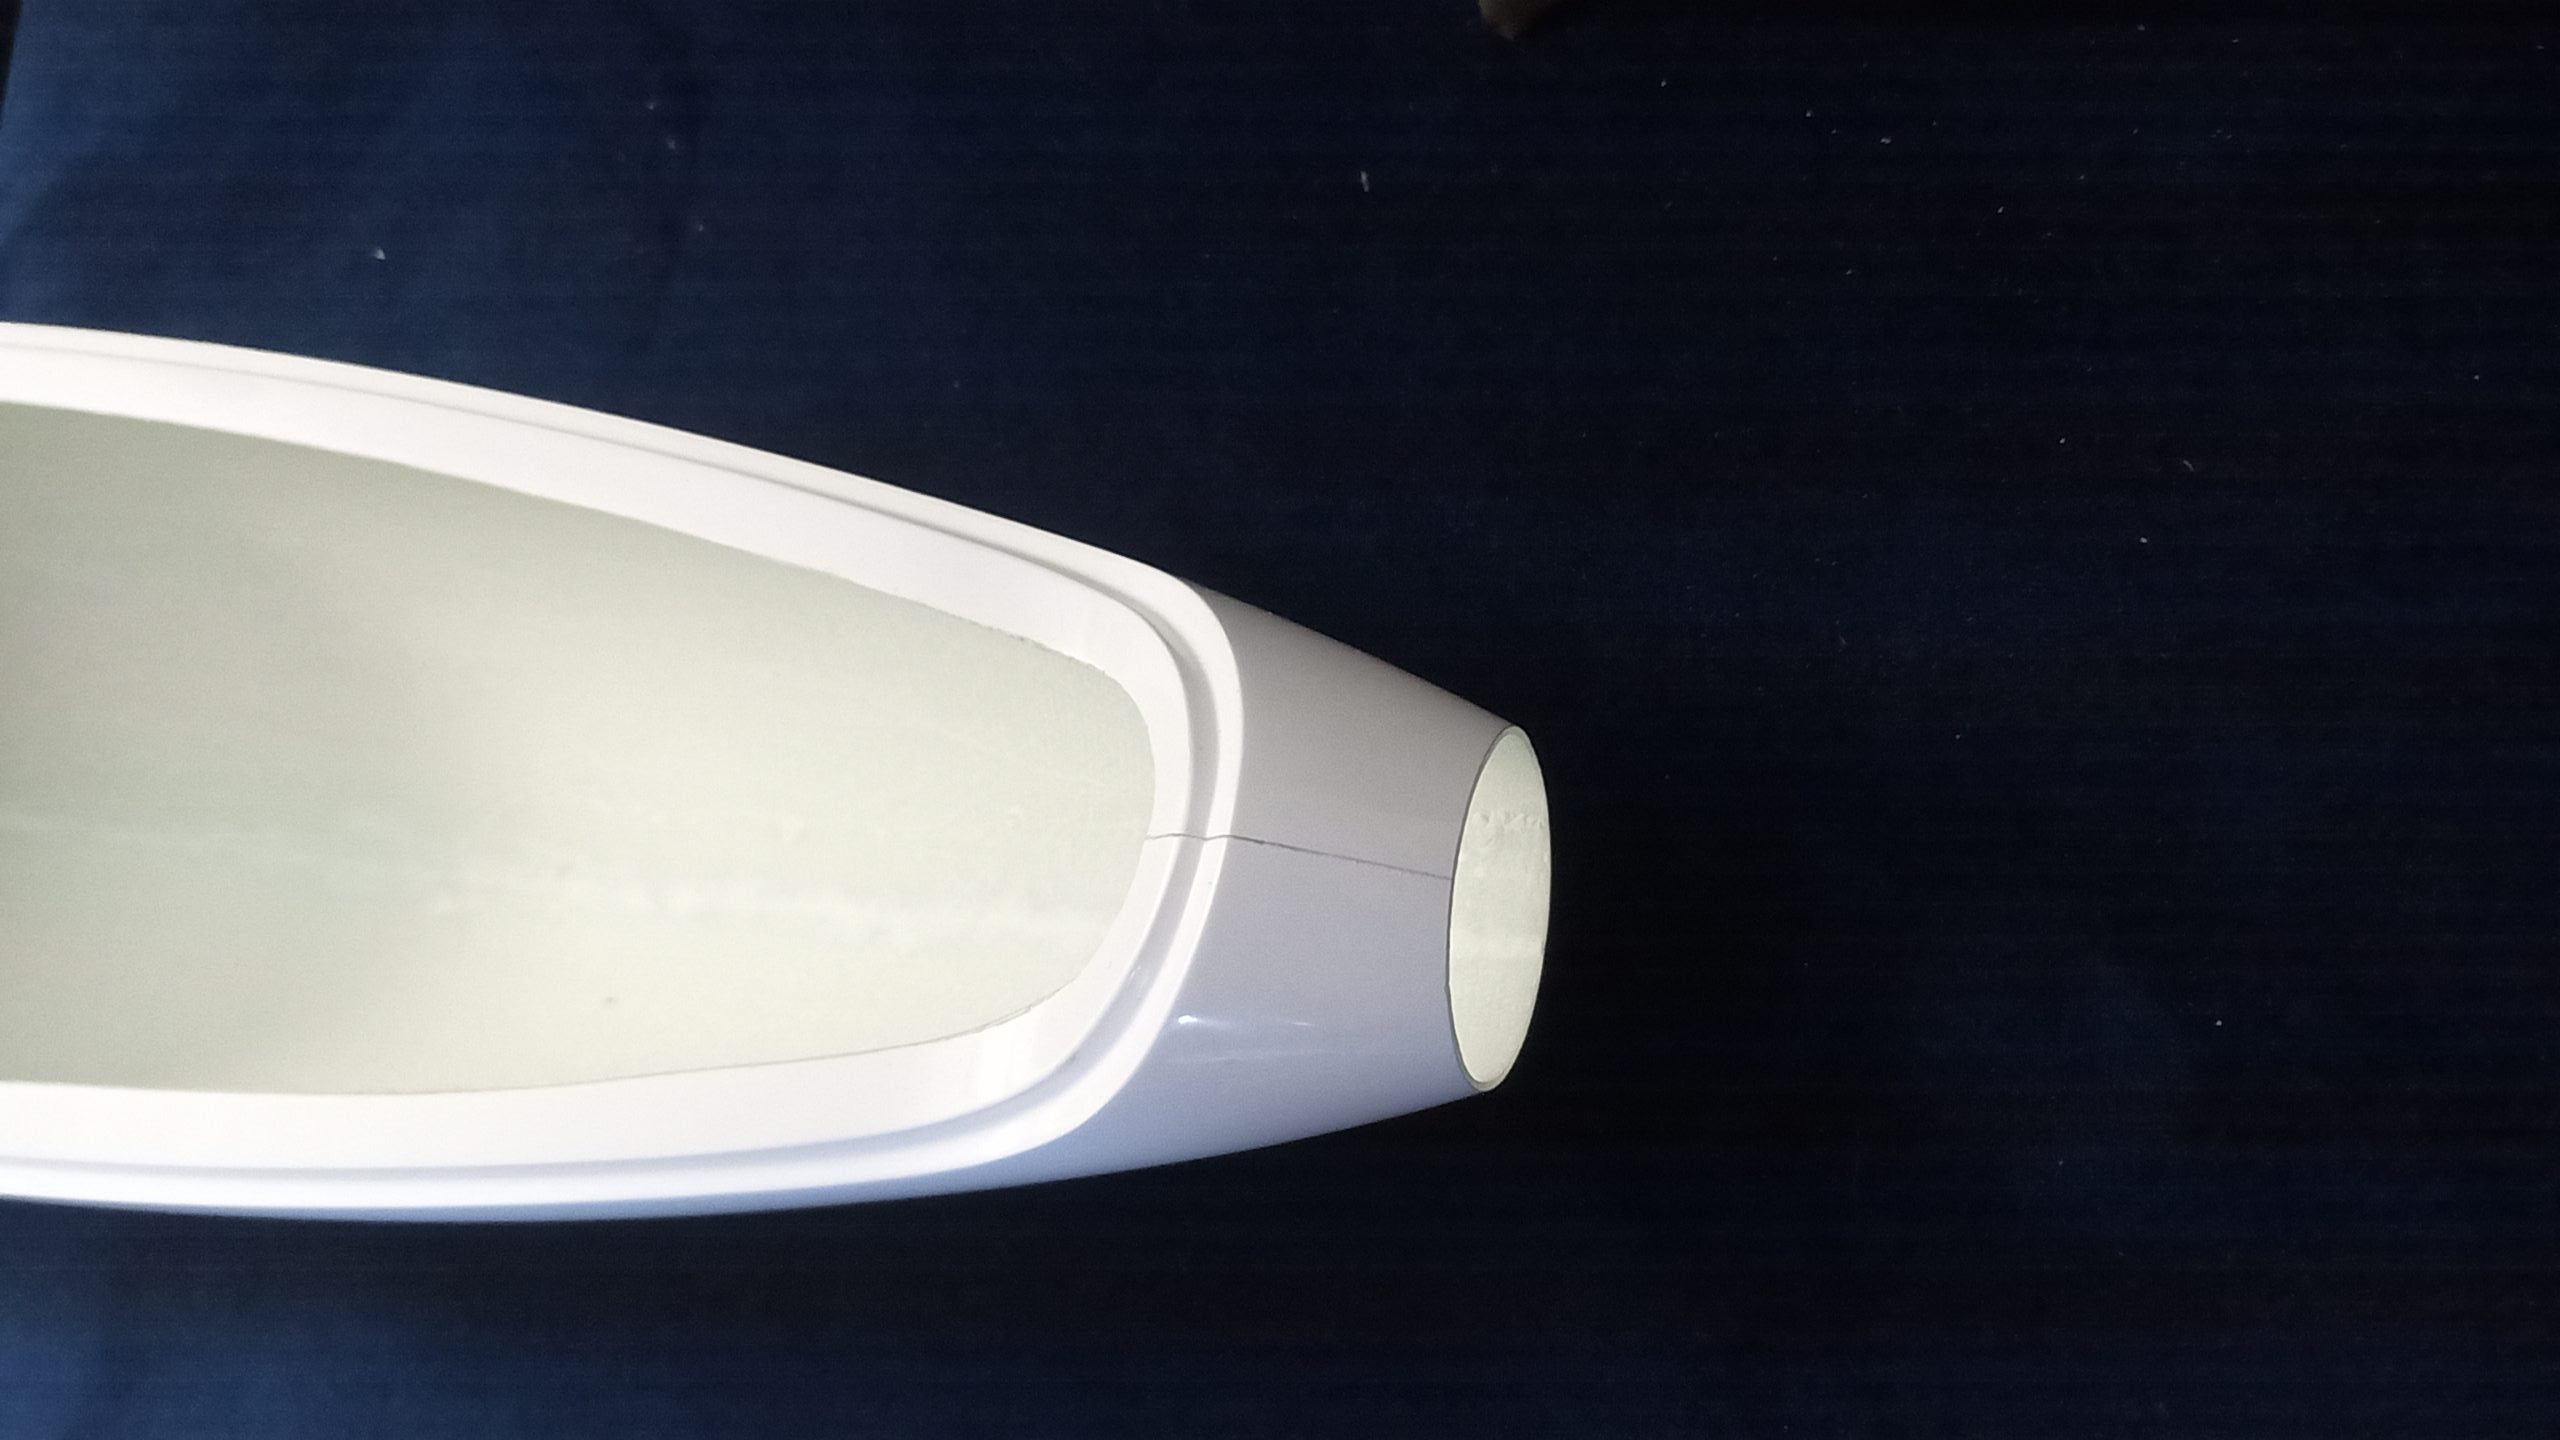
Carbon 3K 200gr/m2 + peel ply

Nothing wrong could happen here now.
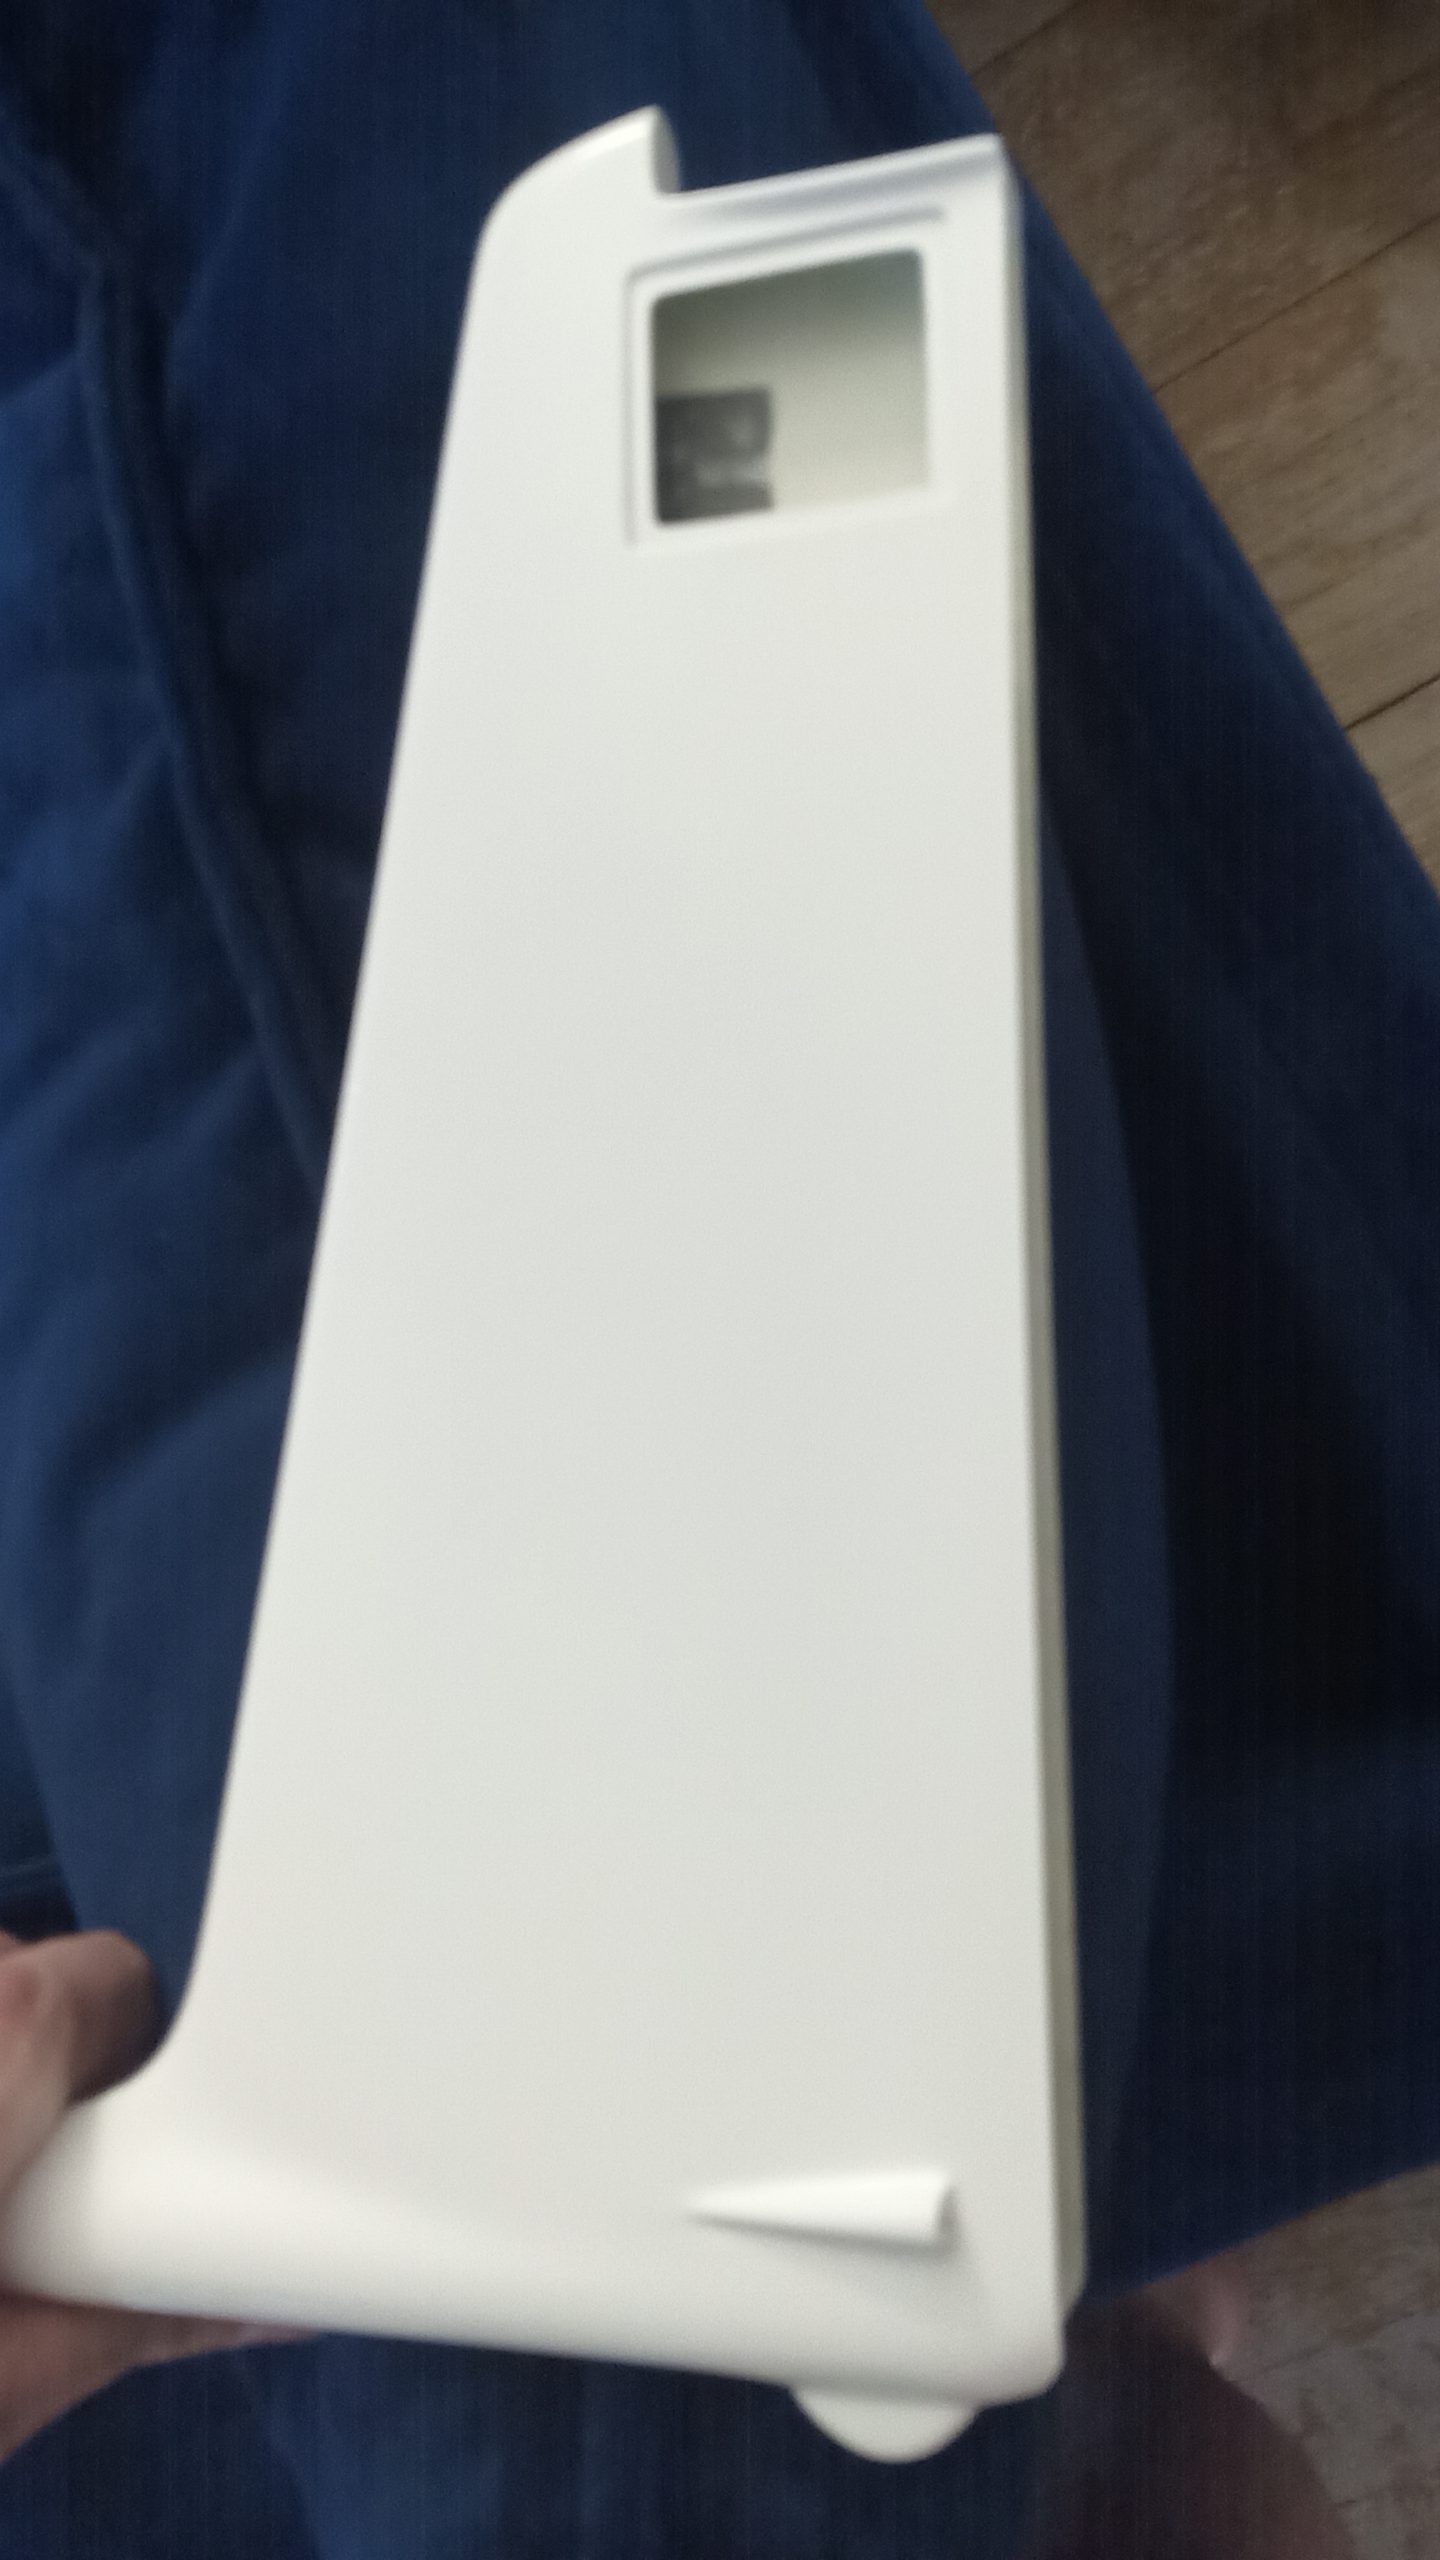
The elevator servo sitting surface is too thin and warping.

I removed the previous plate which should have host the rudder. It was not well glued (with just epoxy and filler?!) and already started to detach. It will allow me to properly install the rudder and reinforce the fuselage here
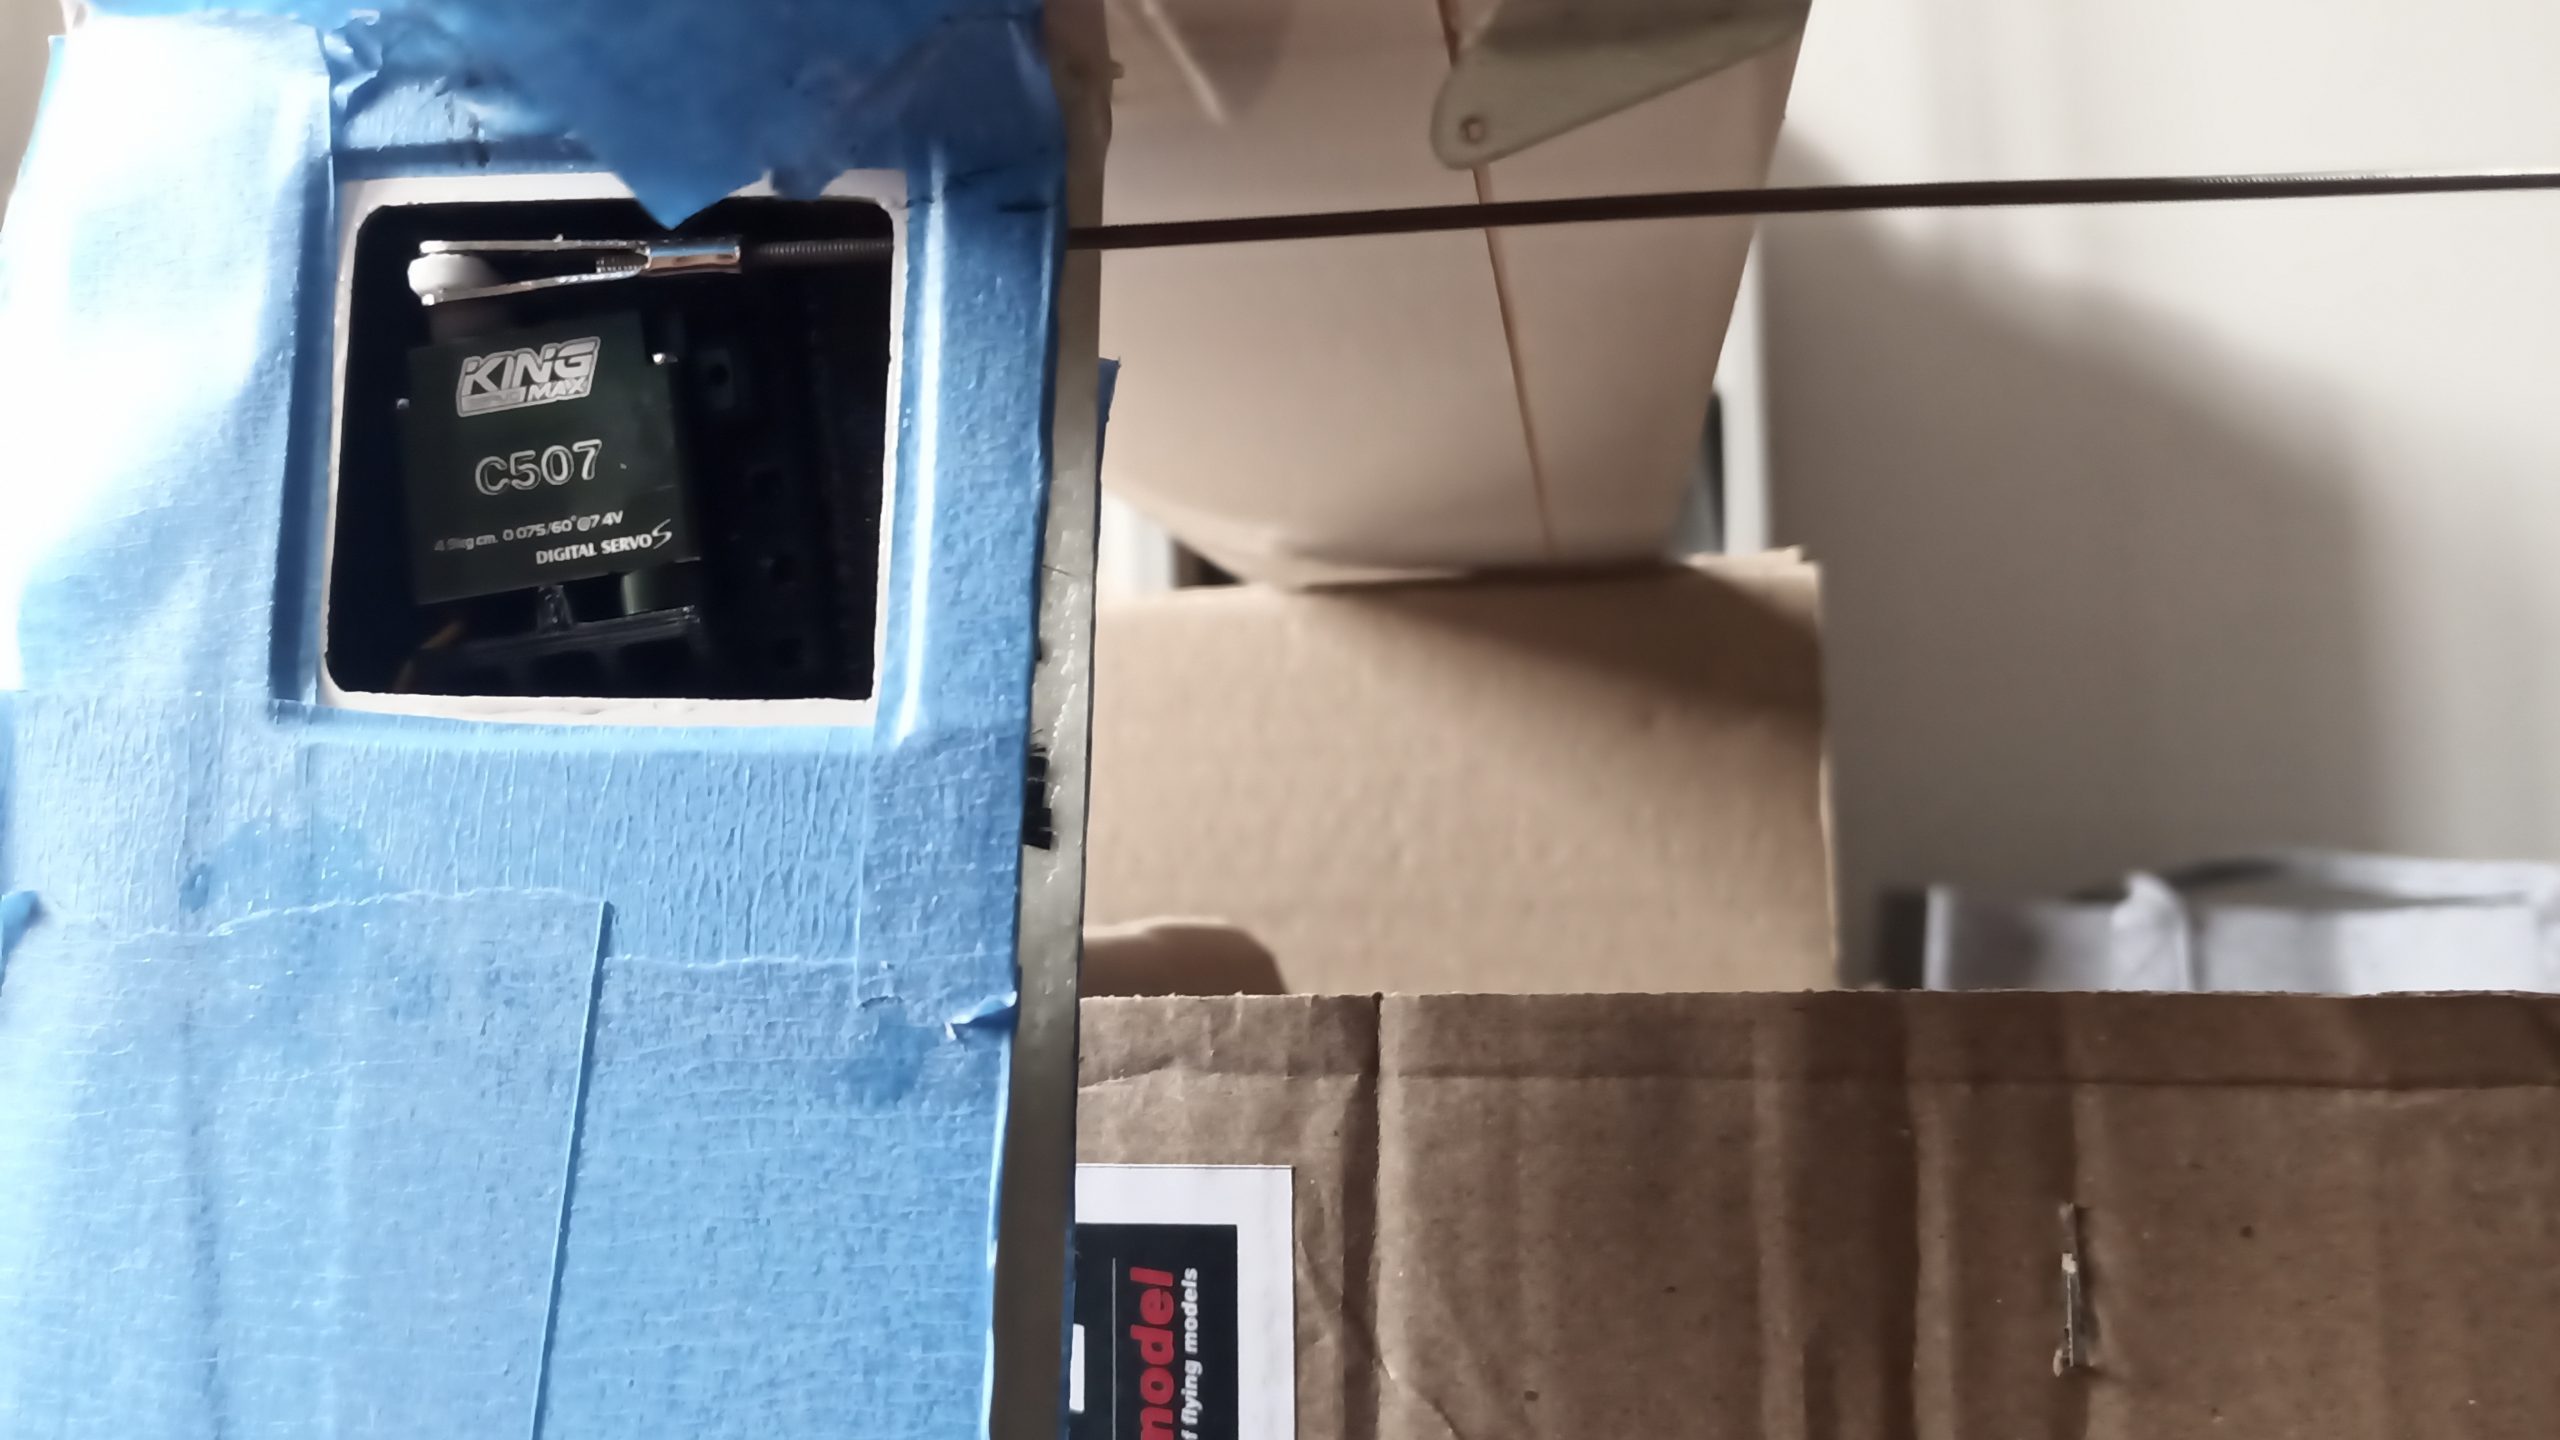
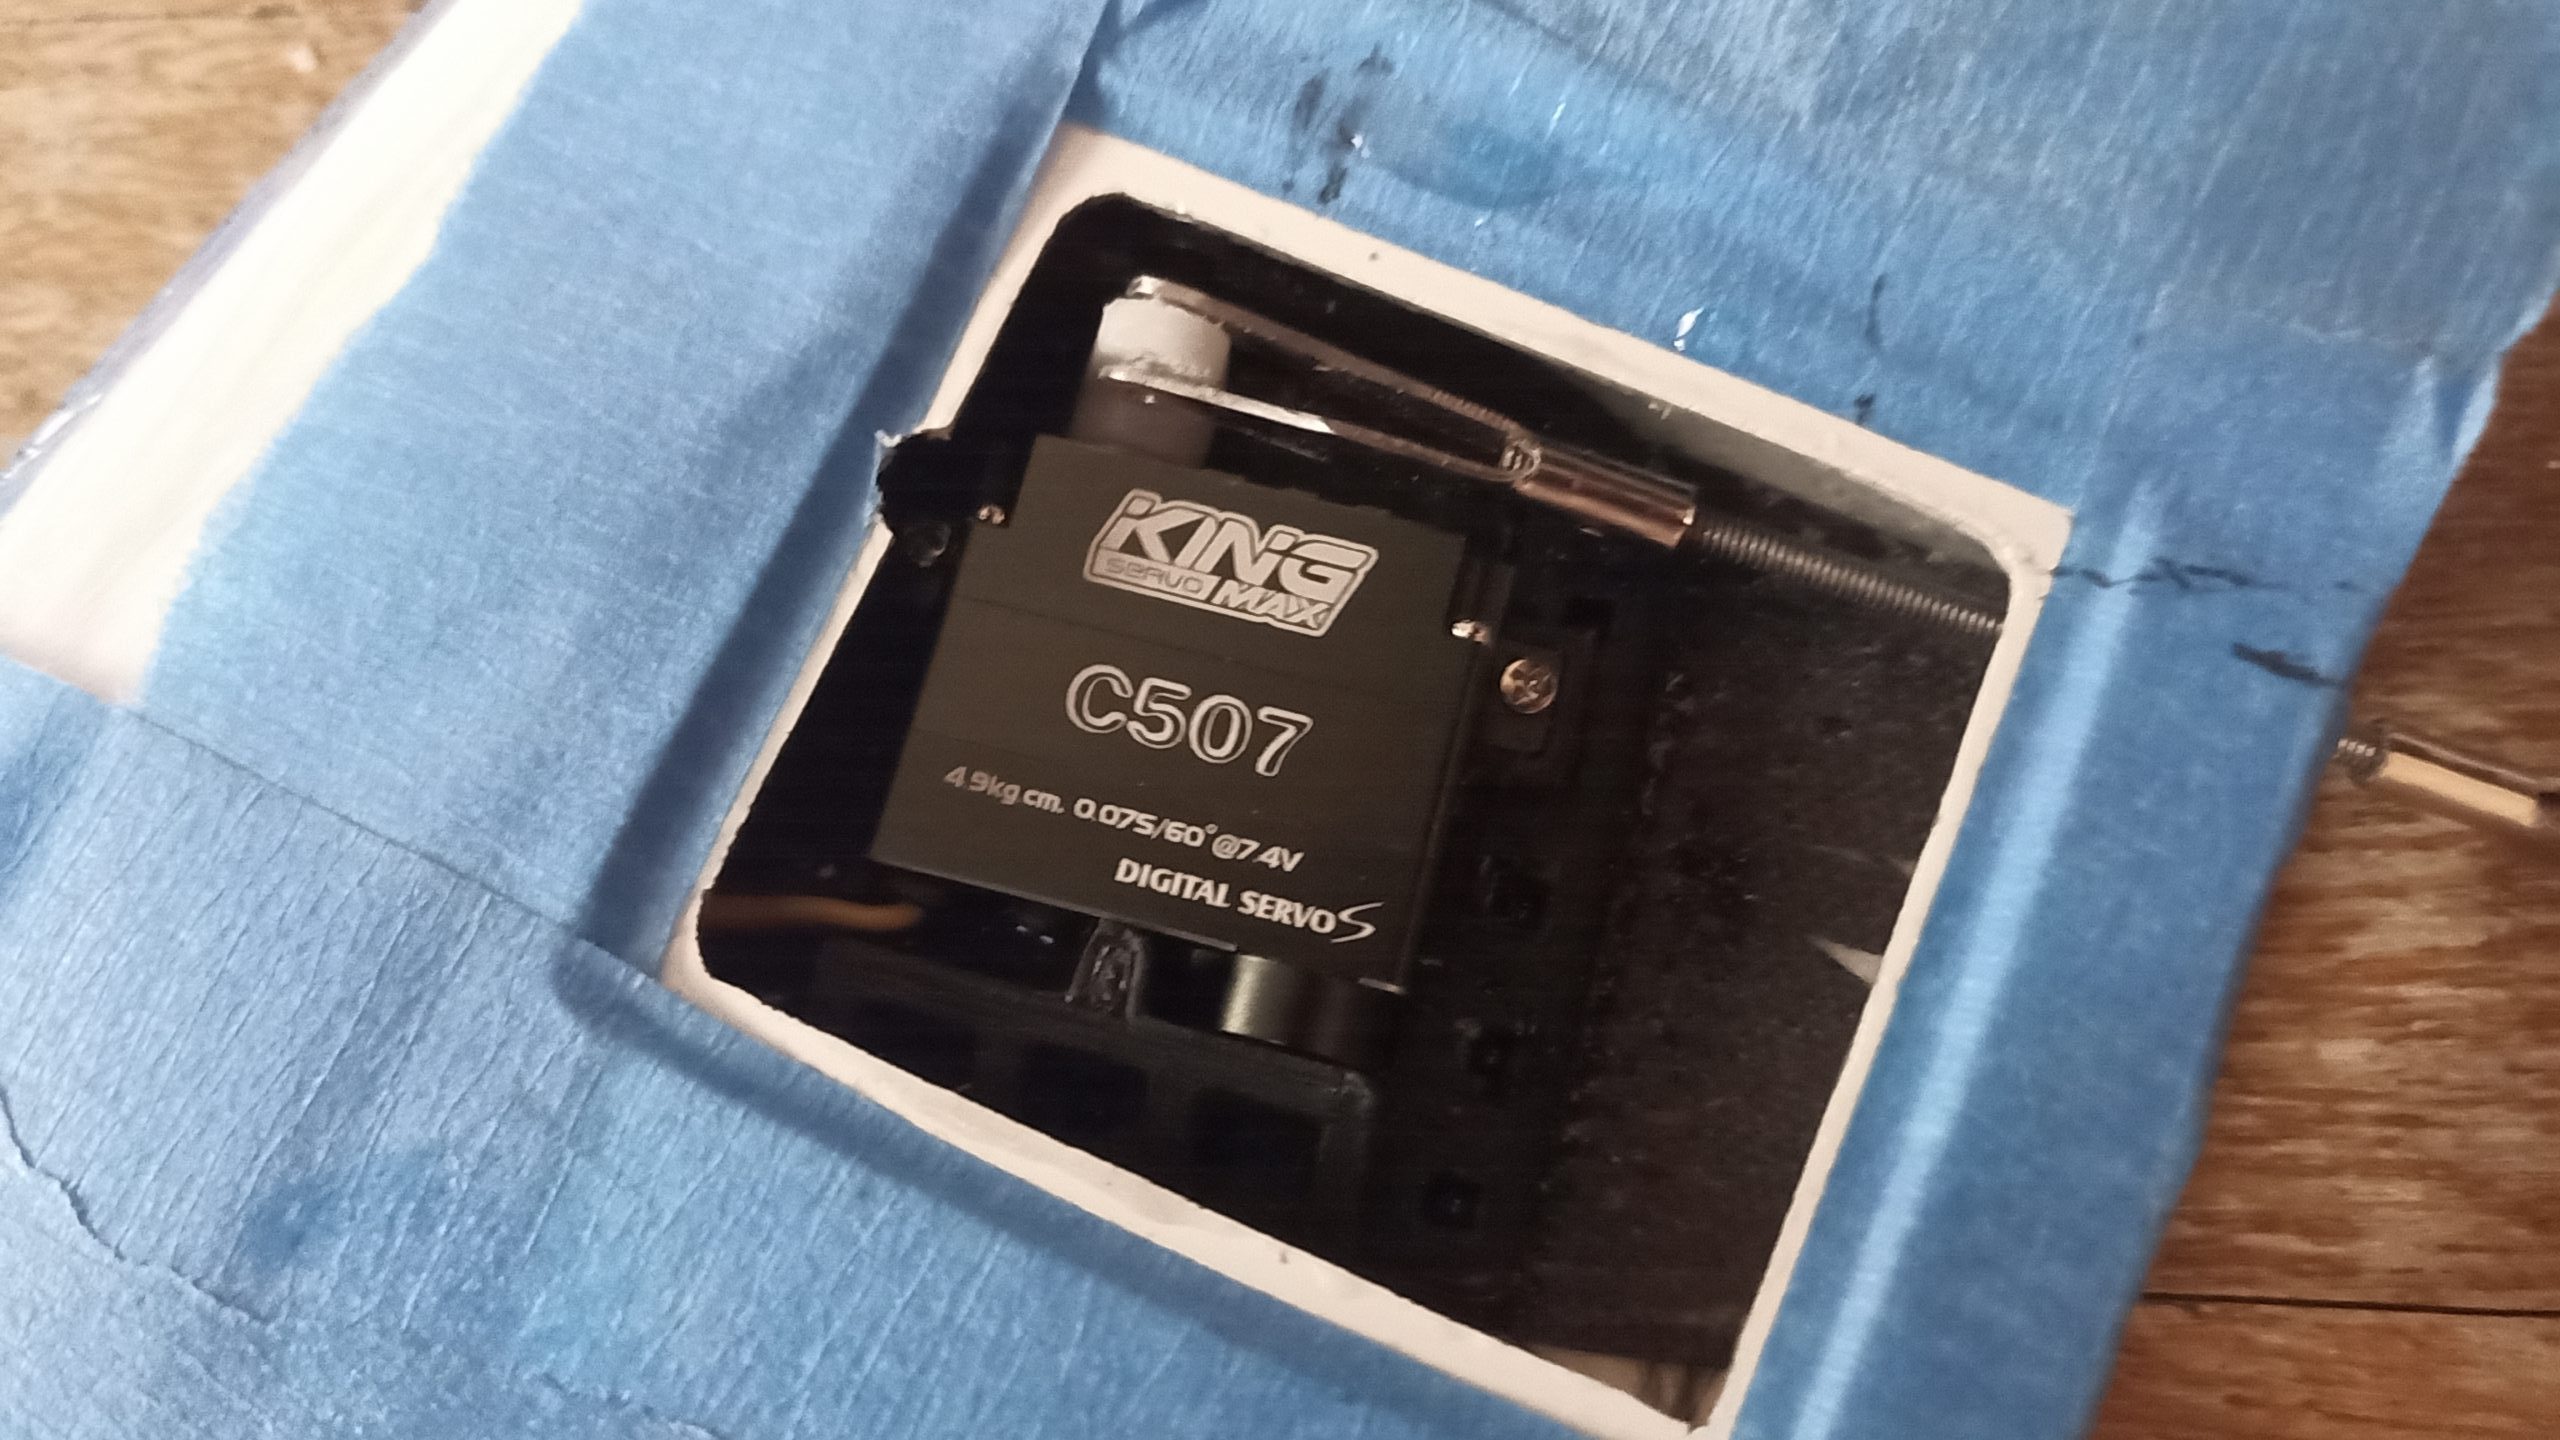
Servo: KingMax C507 HV
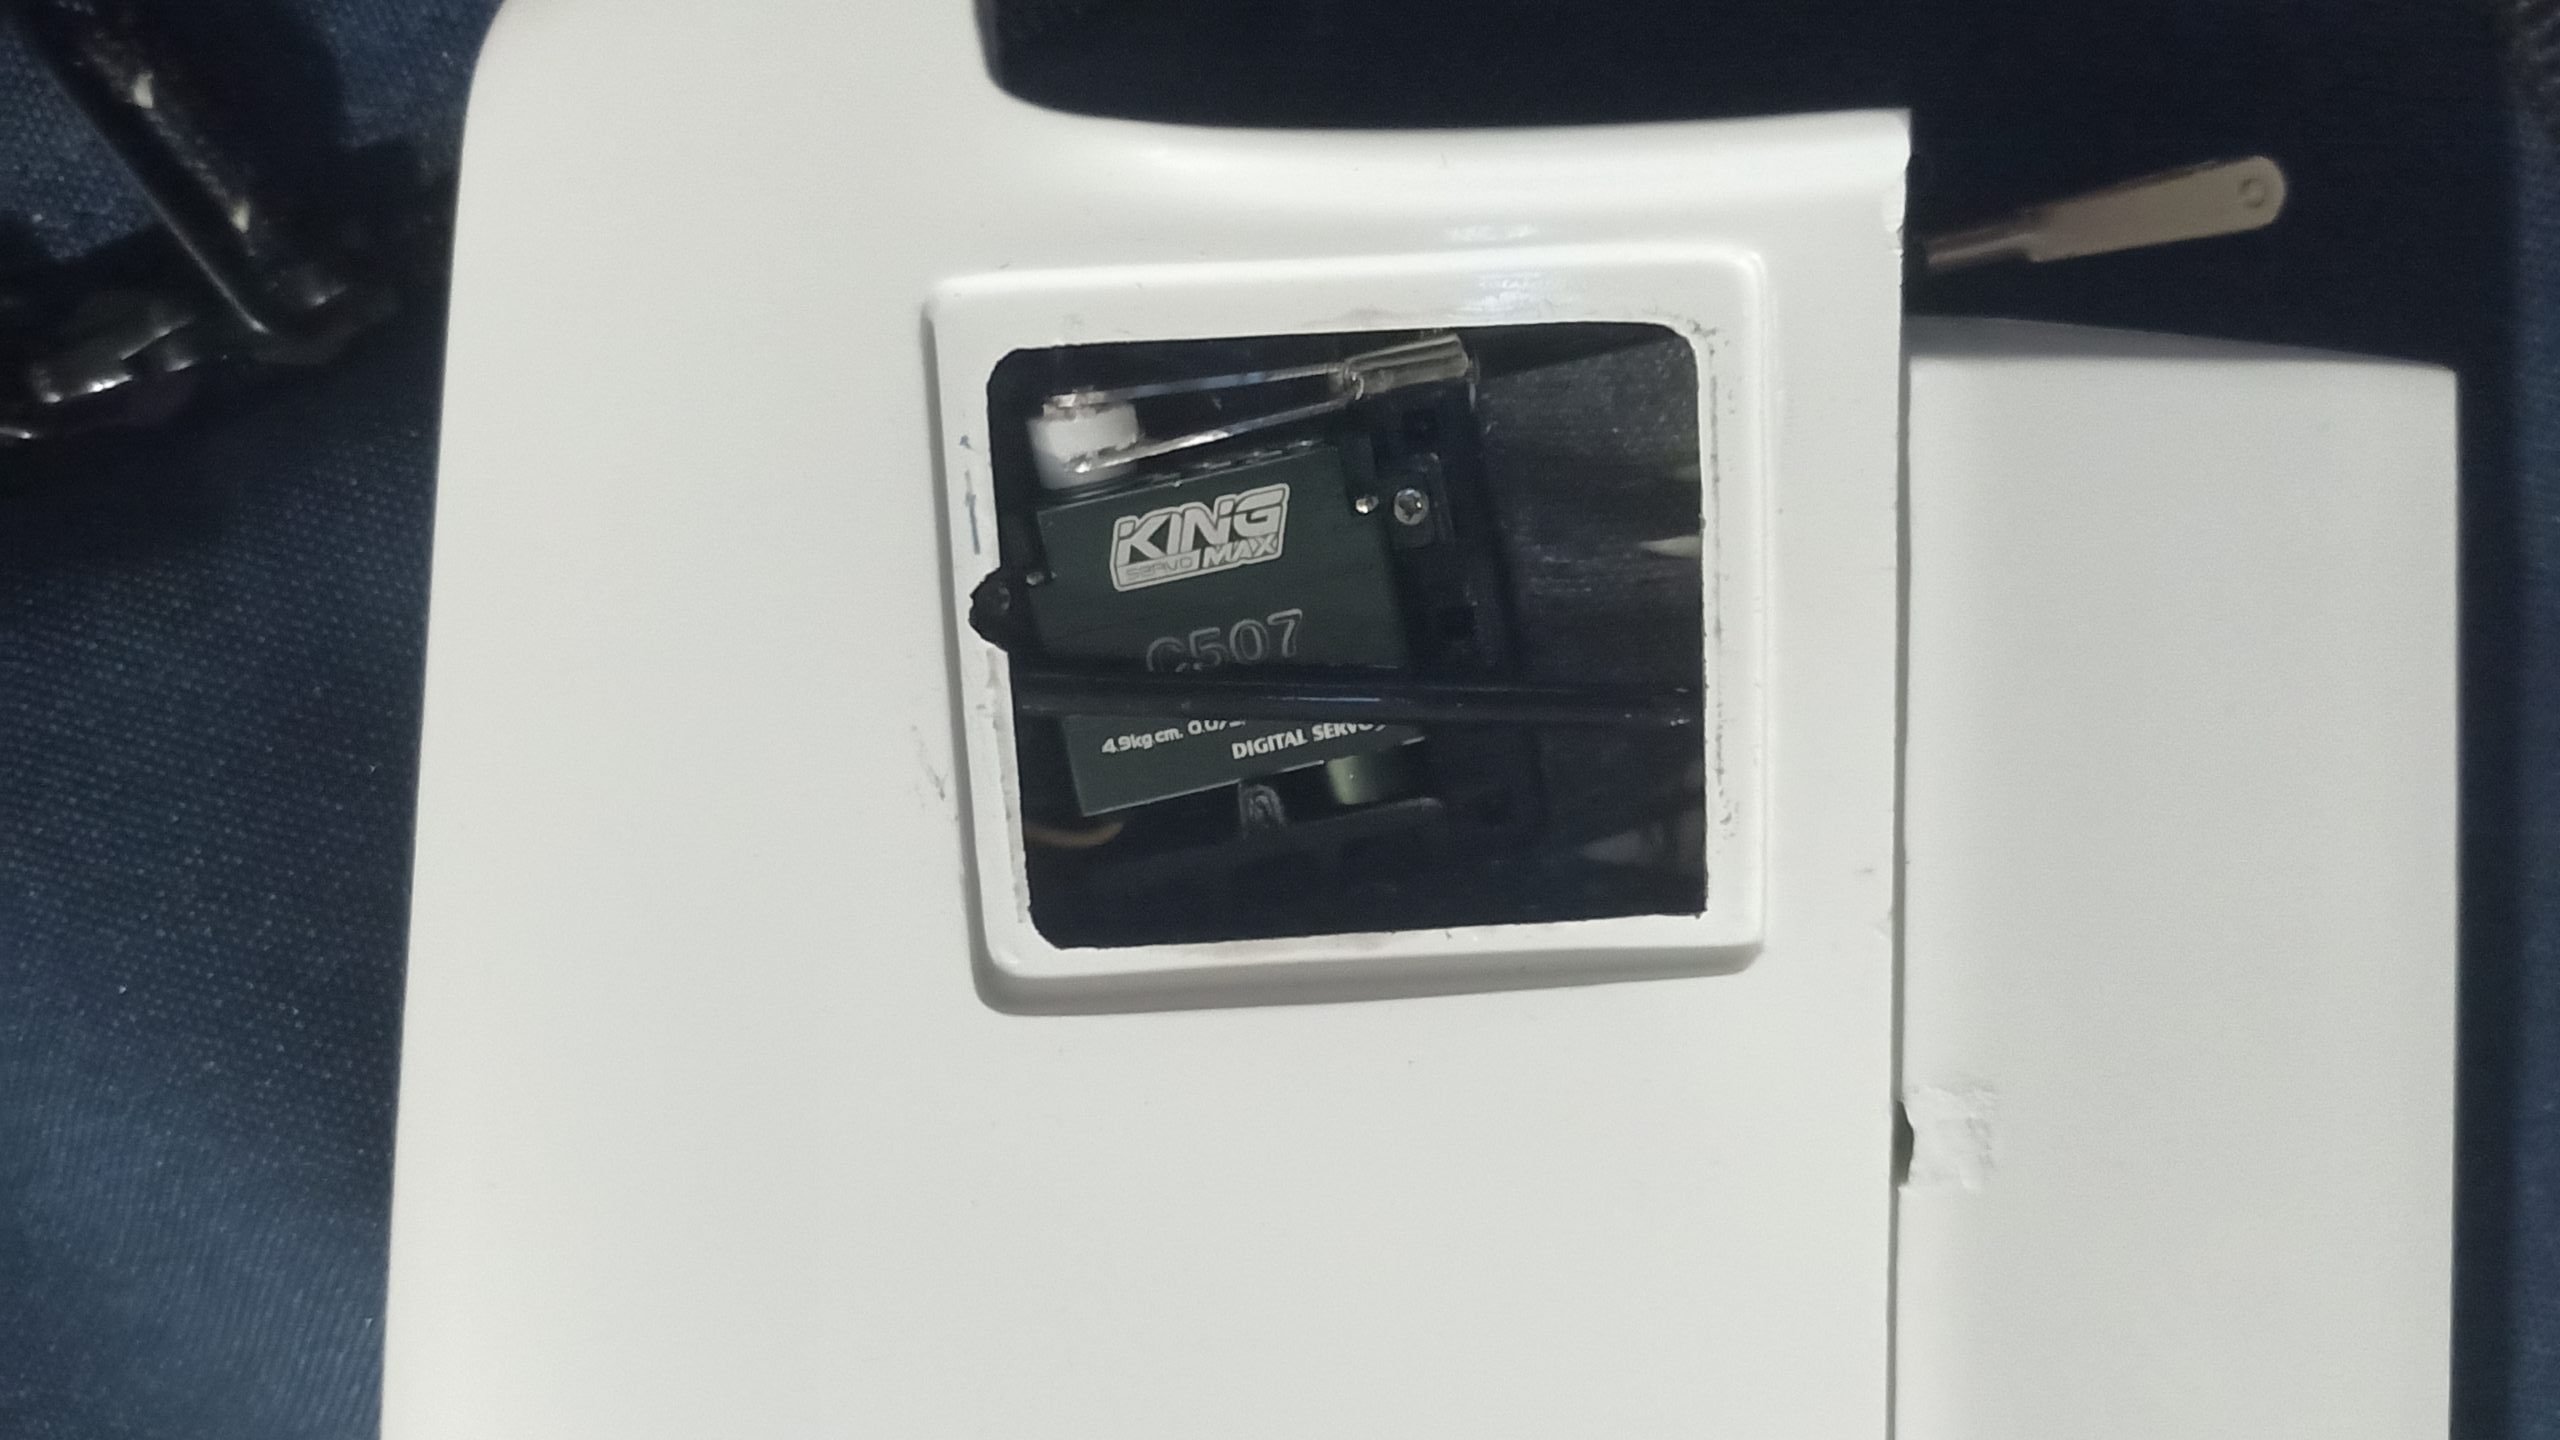
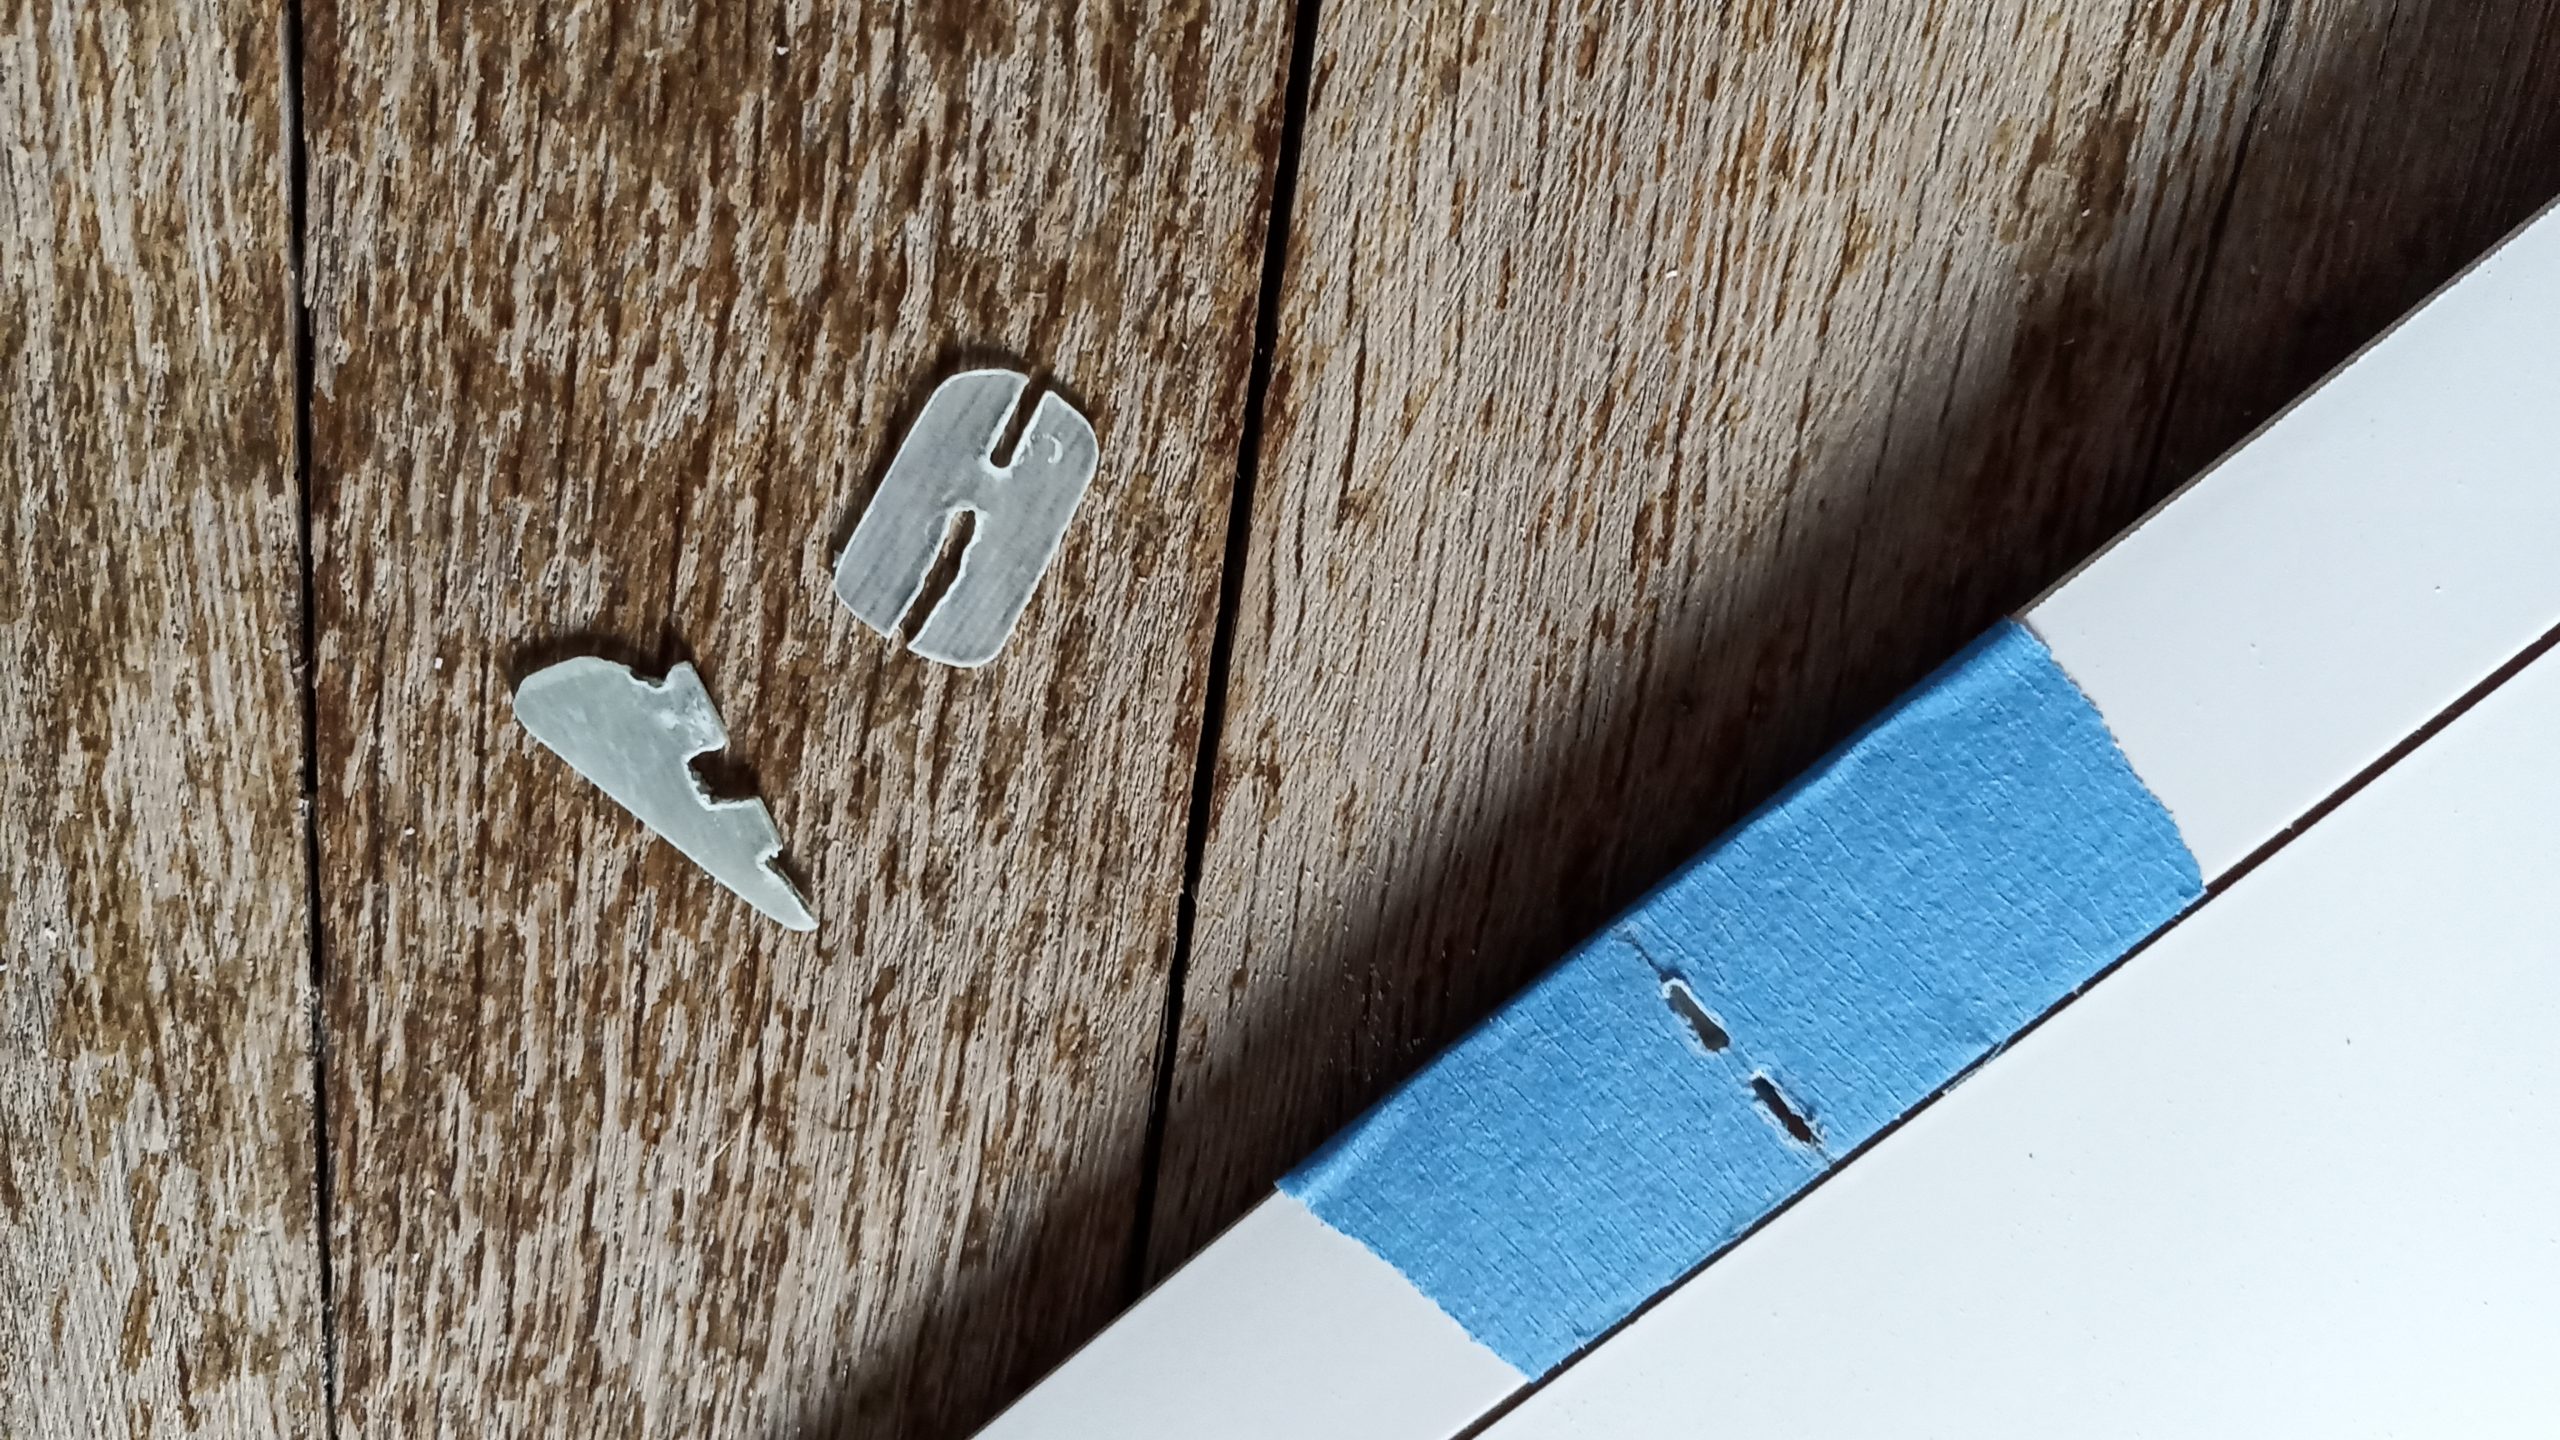
Linkage/clevis ready with carbon tube over the threaded rod.
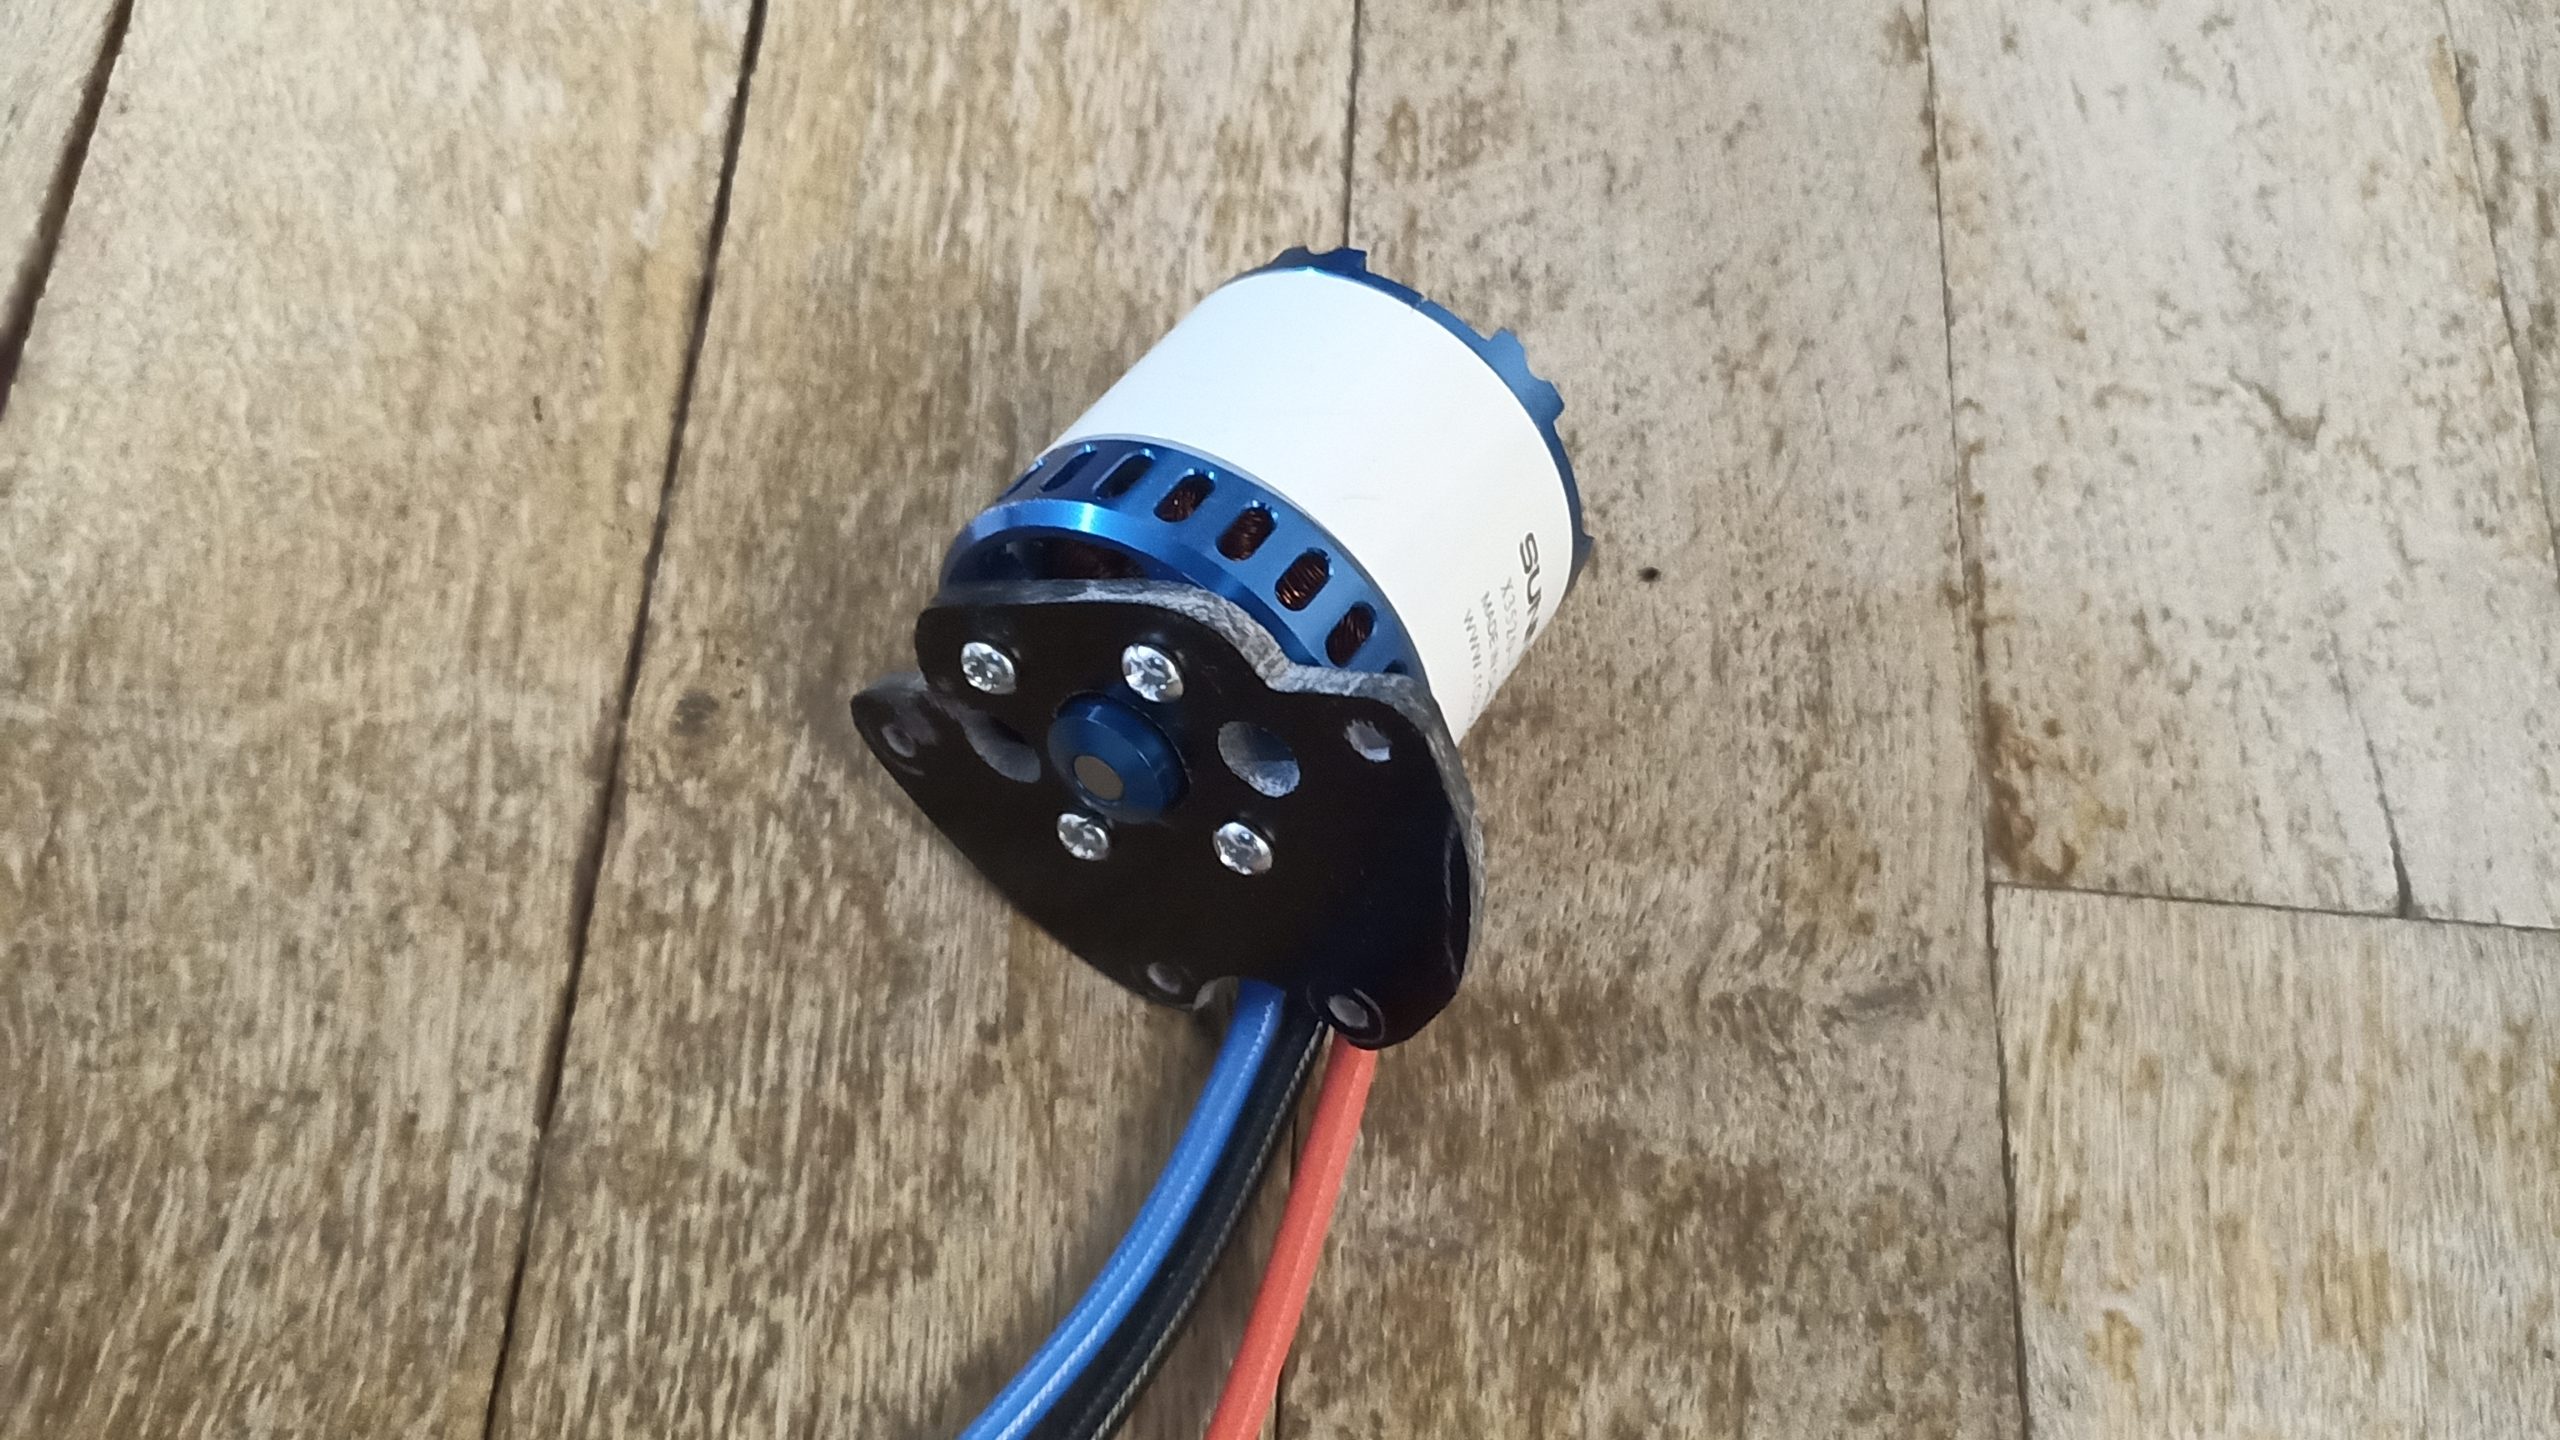
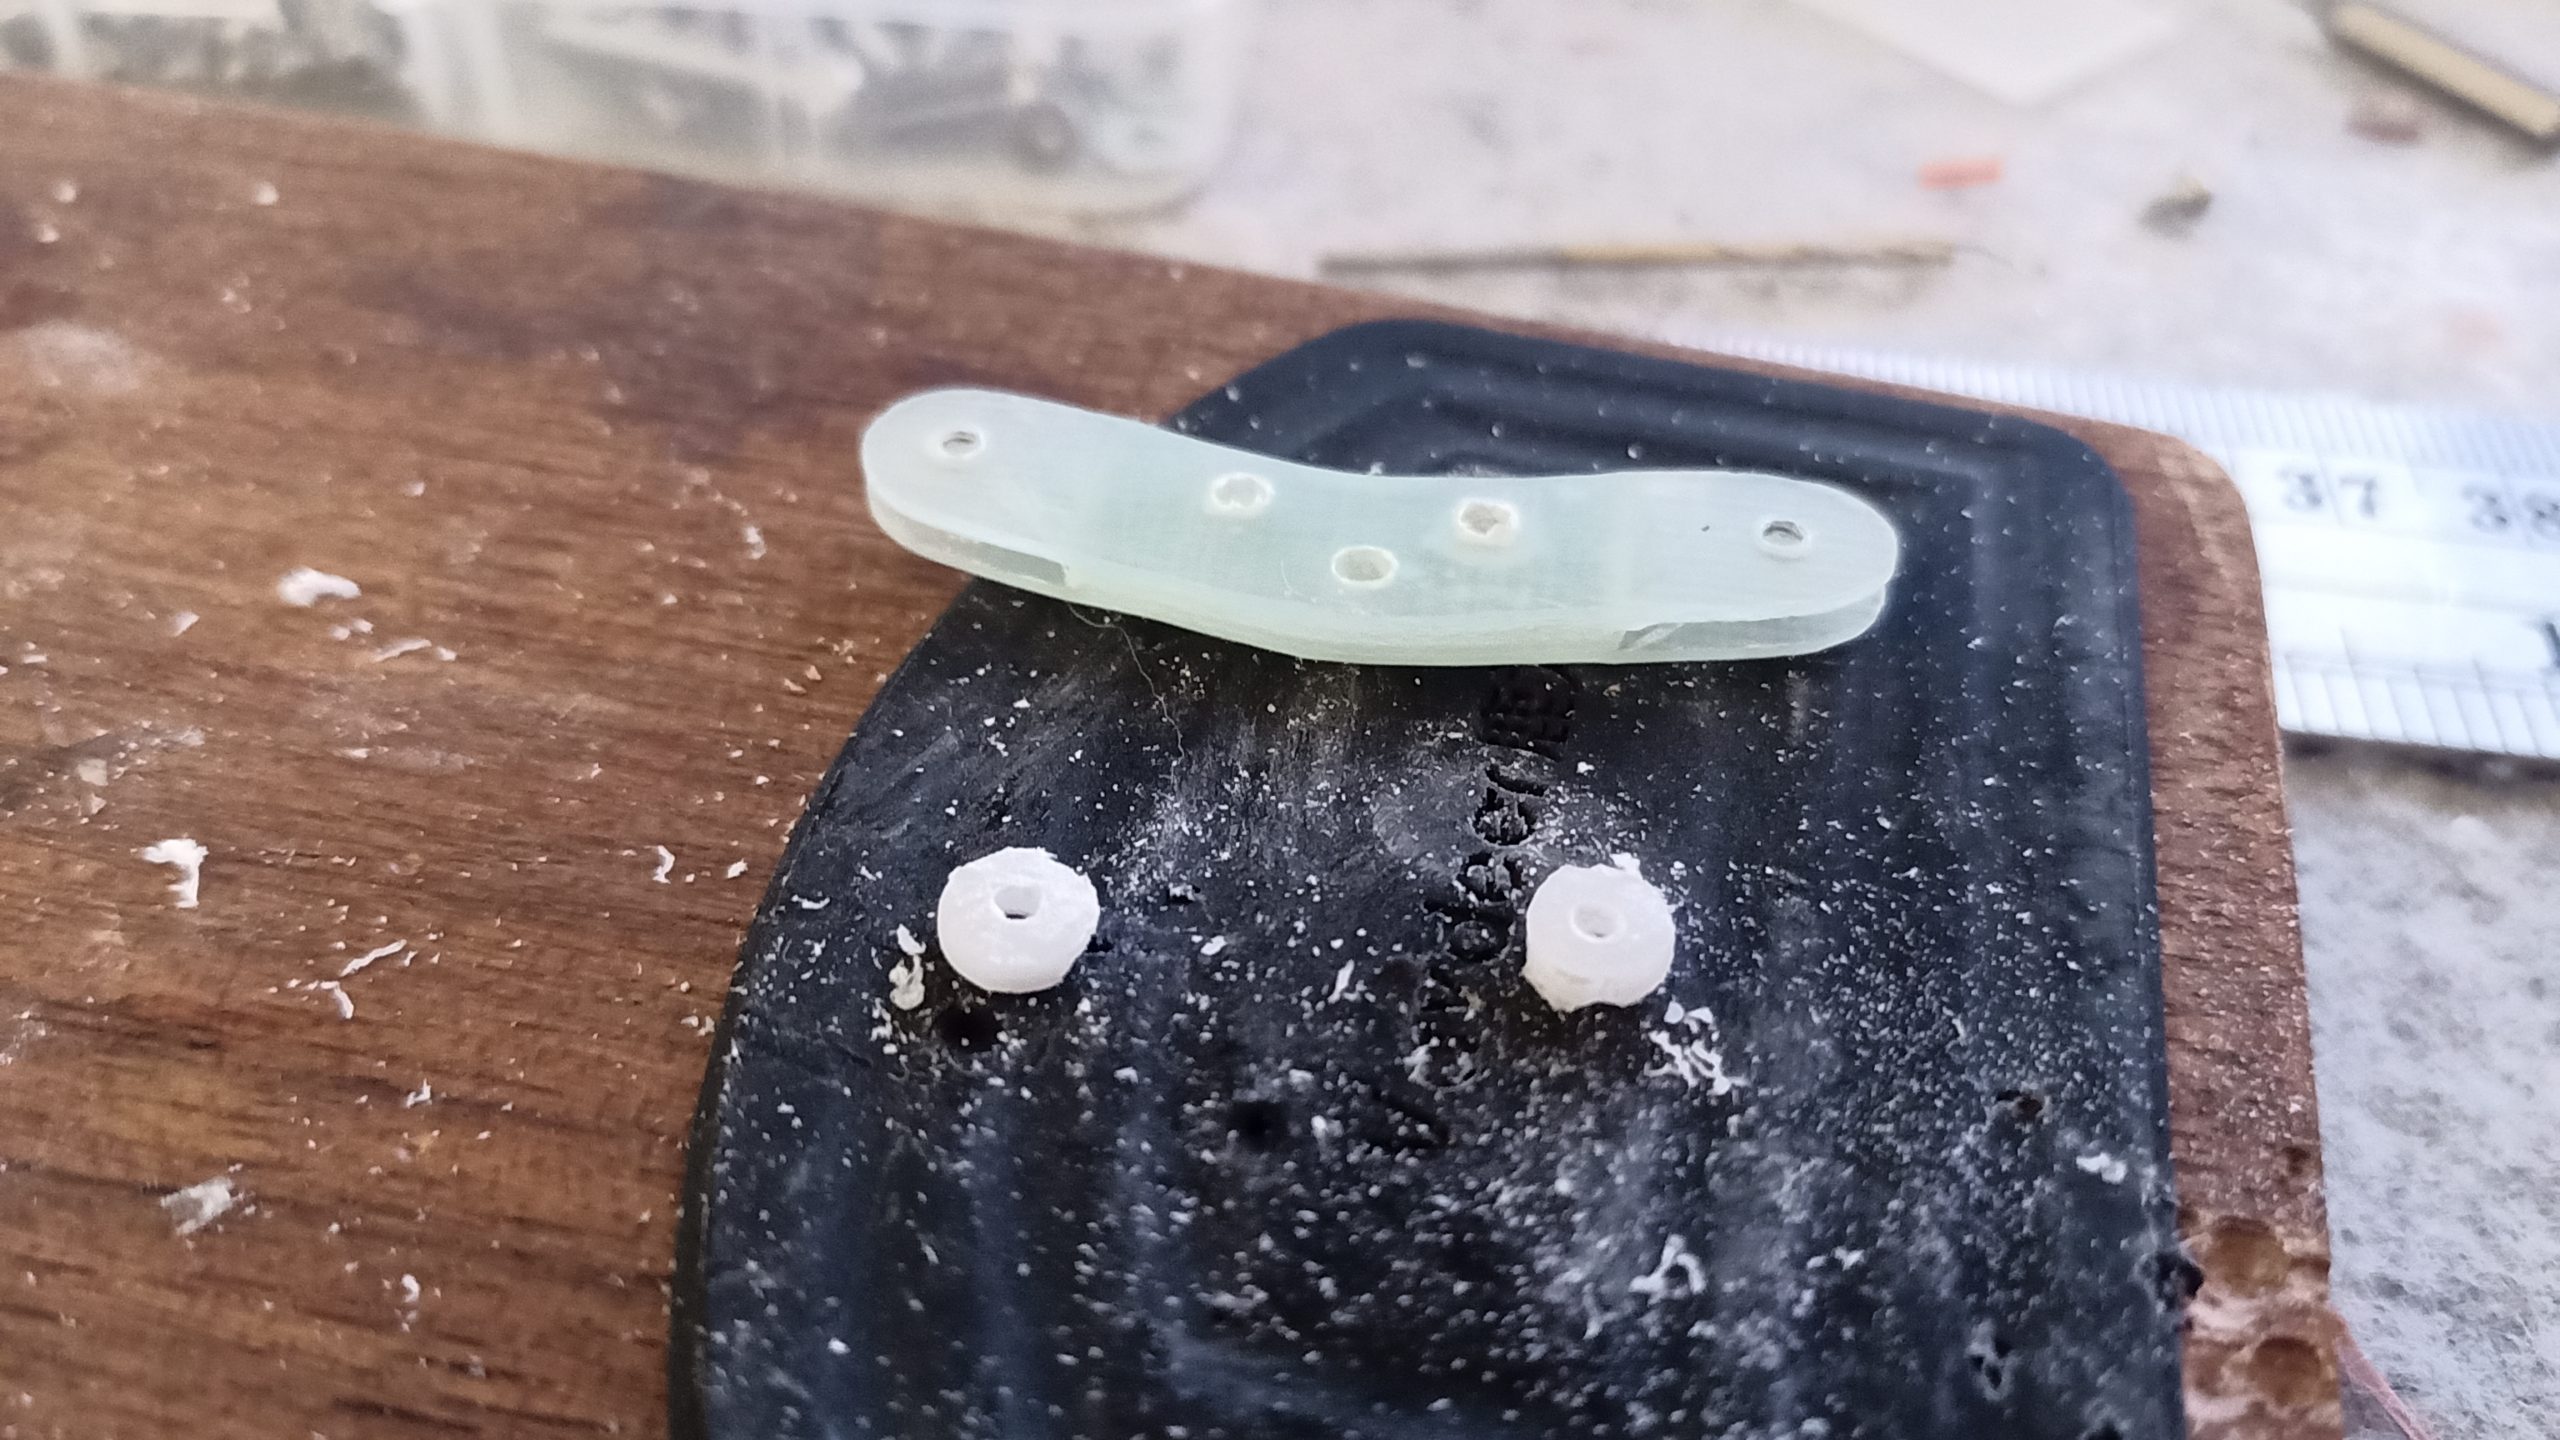
Axle reversed and back mounted on its removable plate. 4mm fiberglass.

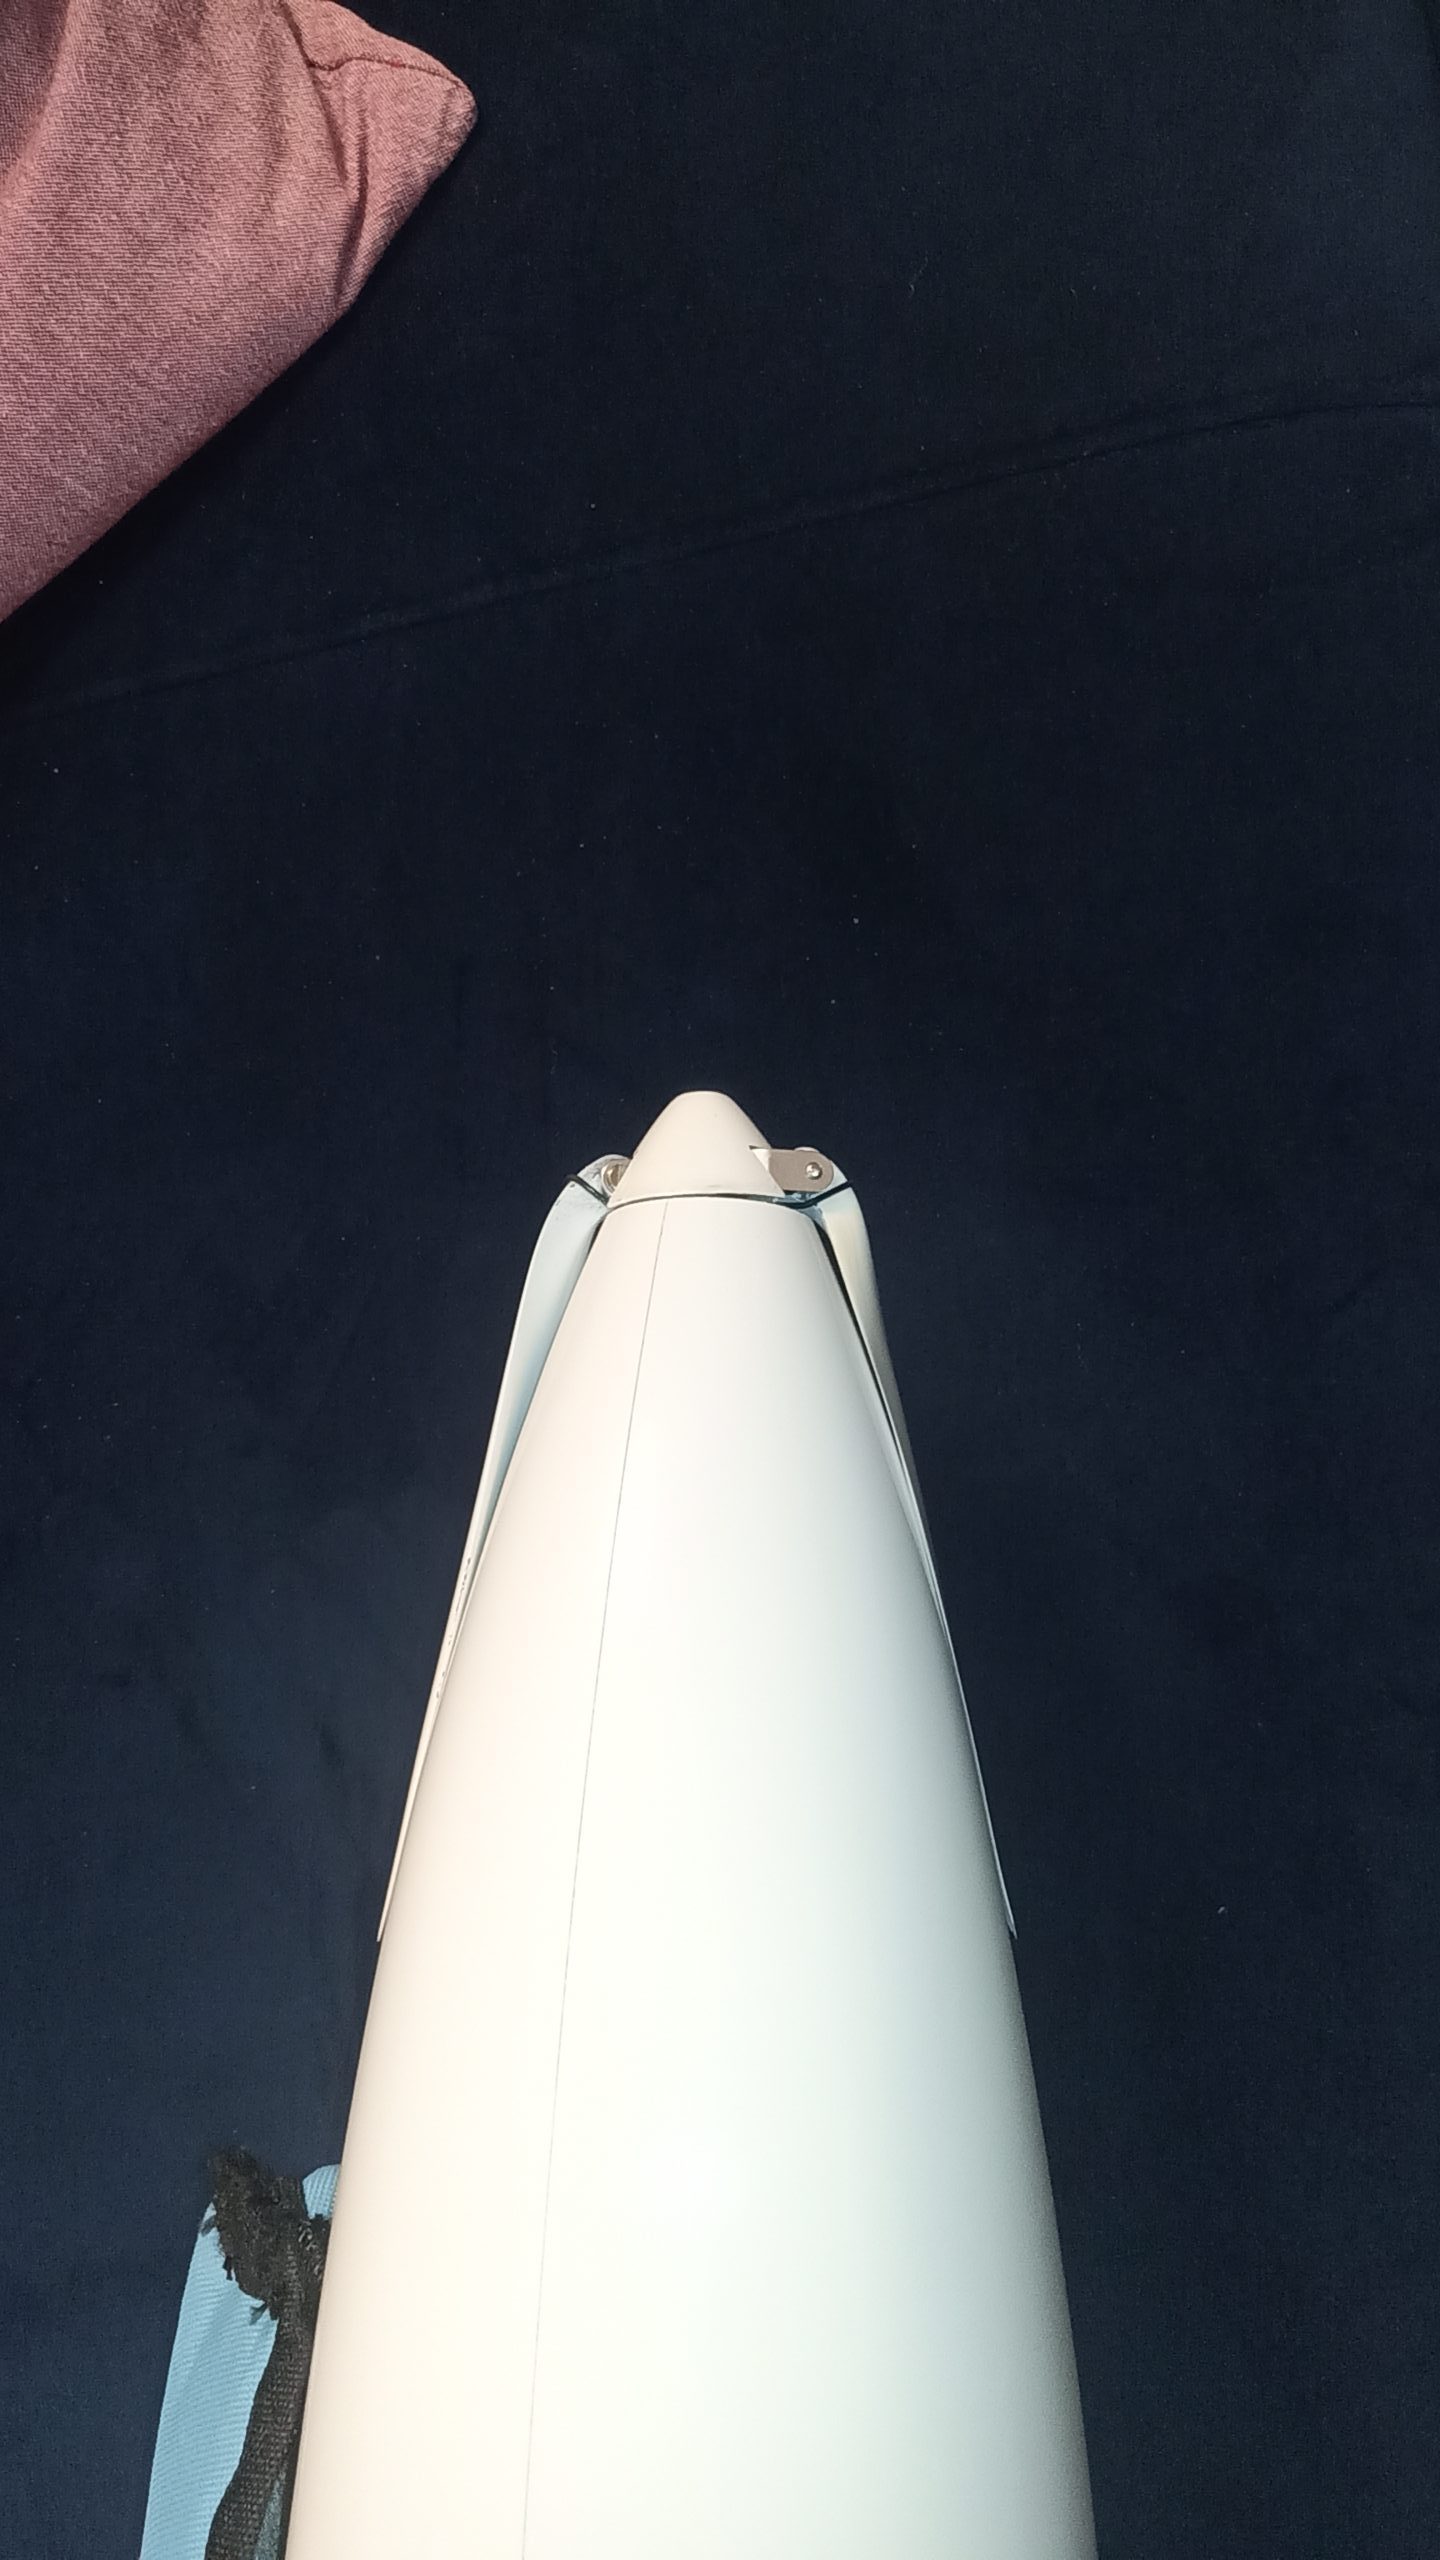
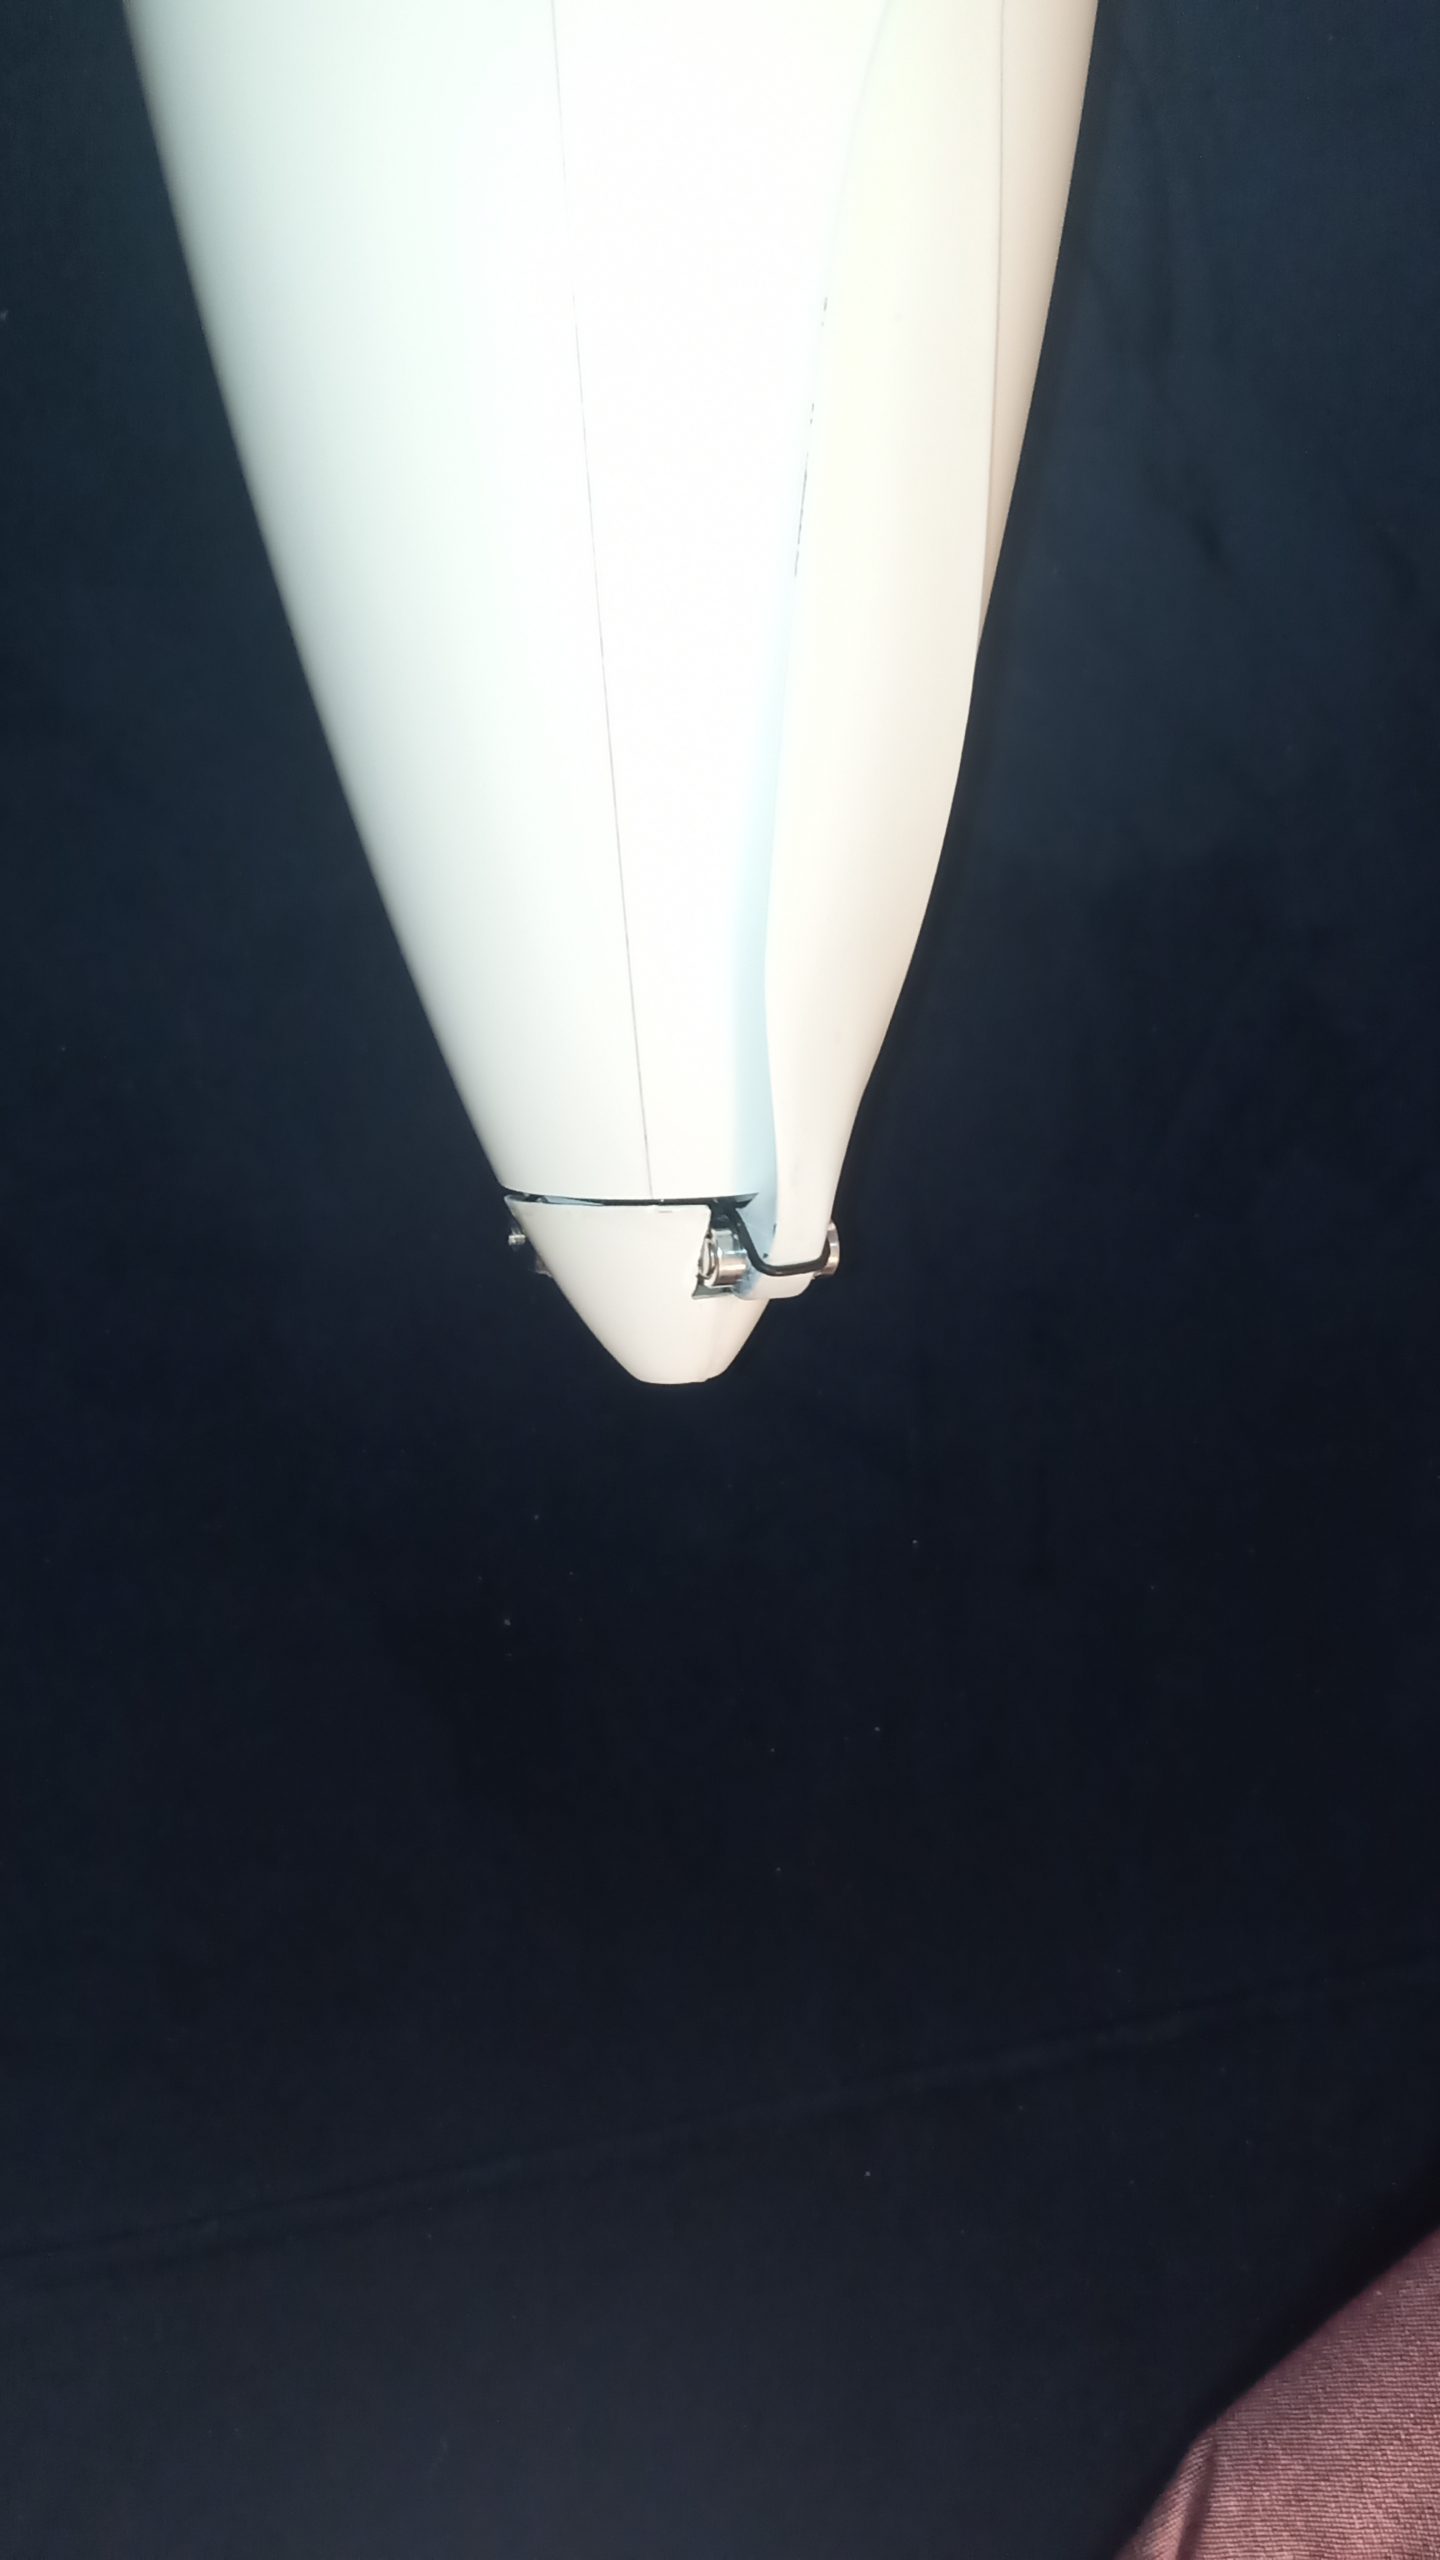
Aeronaut Z Cam-Carbon 13×6.5″ – white painted/varnished
Home made cone with the orginal nose cone cut !
Total cost: $50 😉
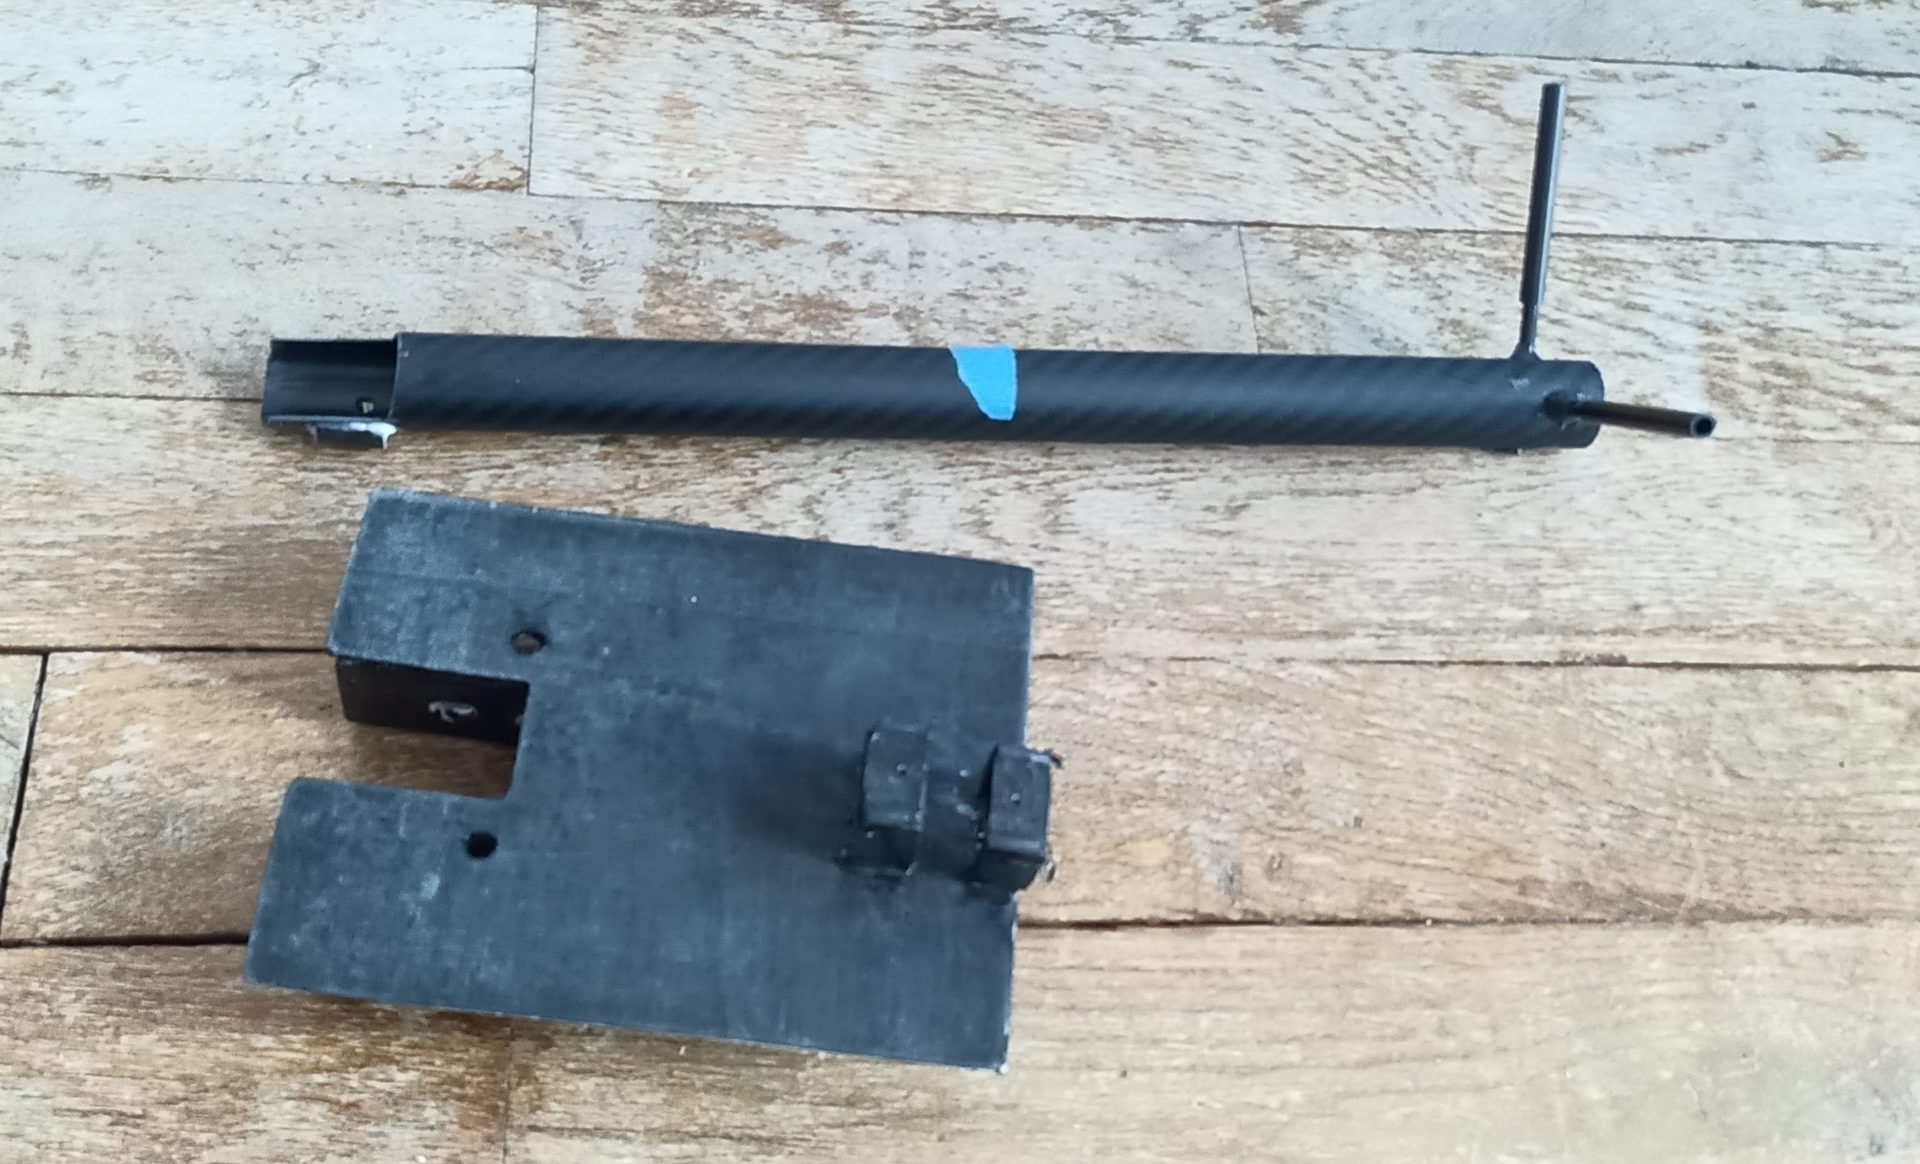
The radio plate also my sandwich fiberglass/plywood/fiberglass. Cheap, stiff and light.
The rudder servo bottom lands on the plate floor – Clearance for the ballast tube and friction free cable direct path to the rudder (pull-pull).

redundant power source – dual tattu lipo 3s,
variometer + lipo cells voltage sensor
Rudder servo: Kingmax CLS2035HHV
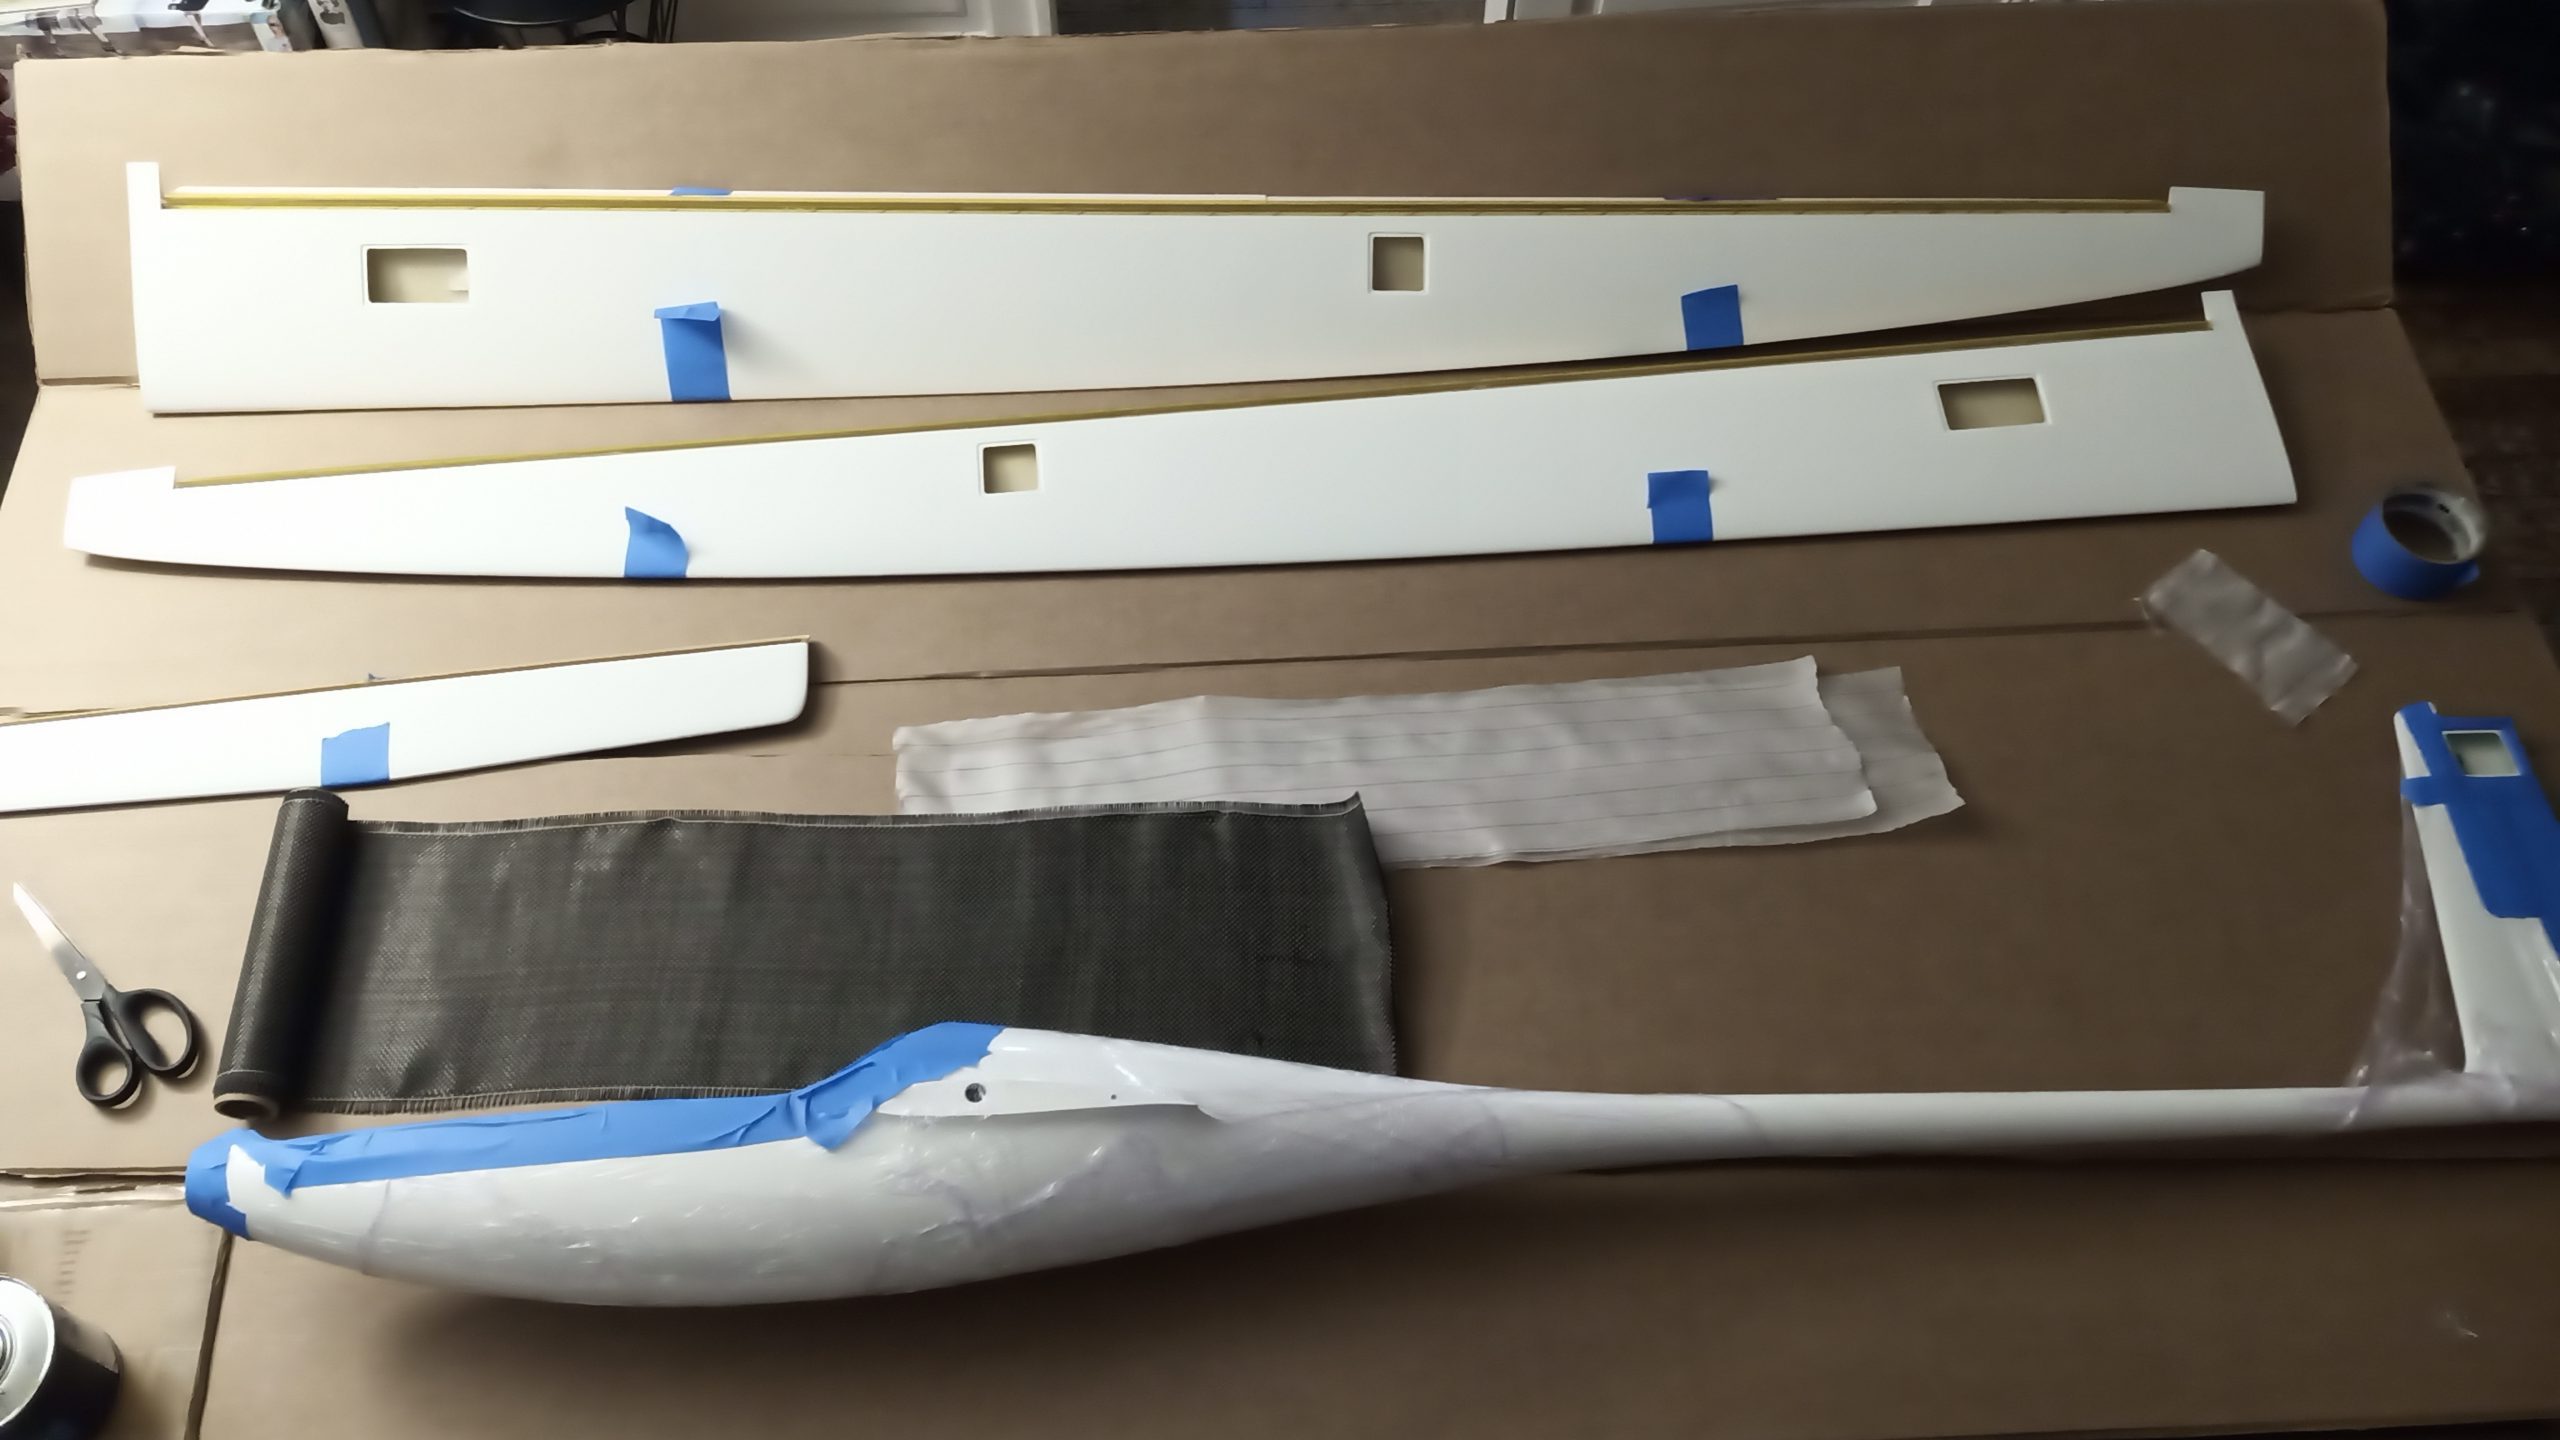
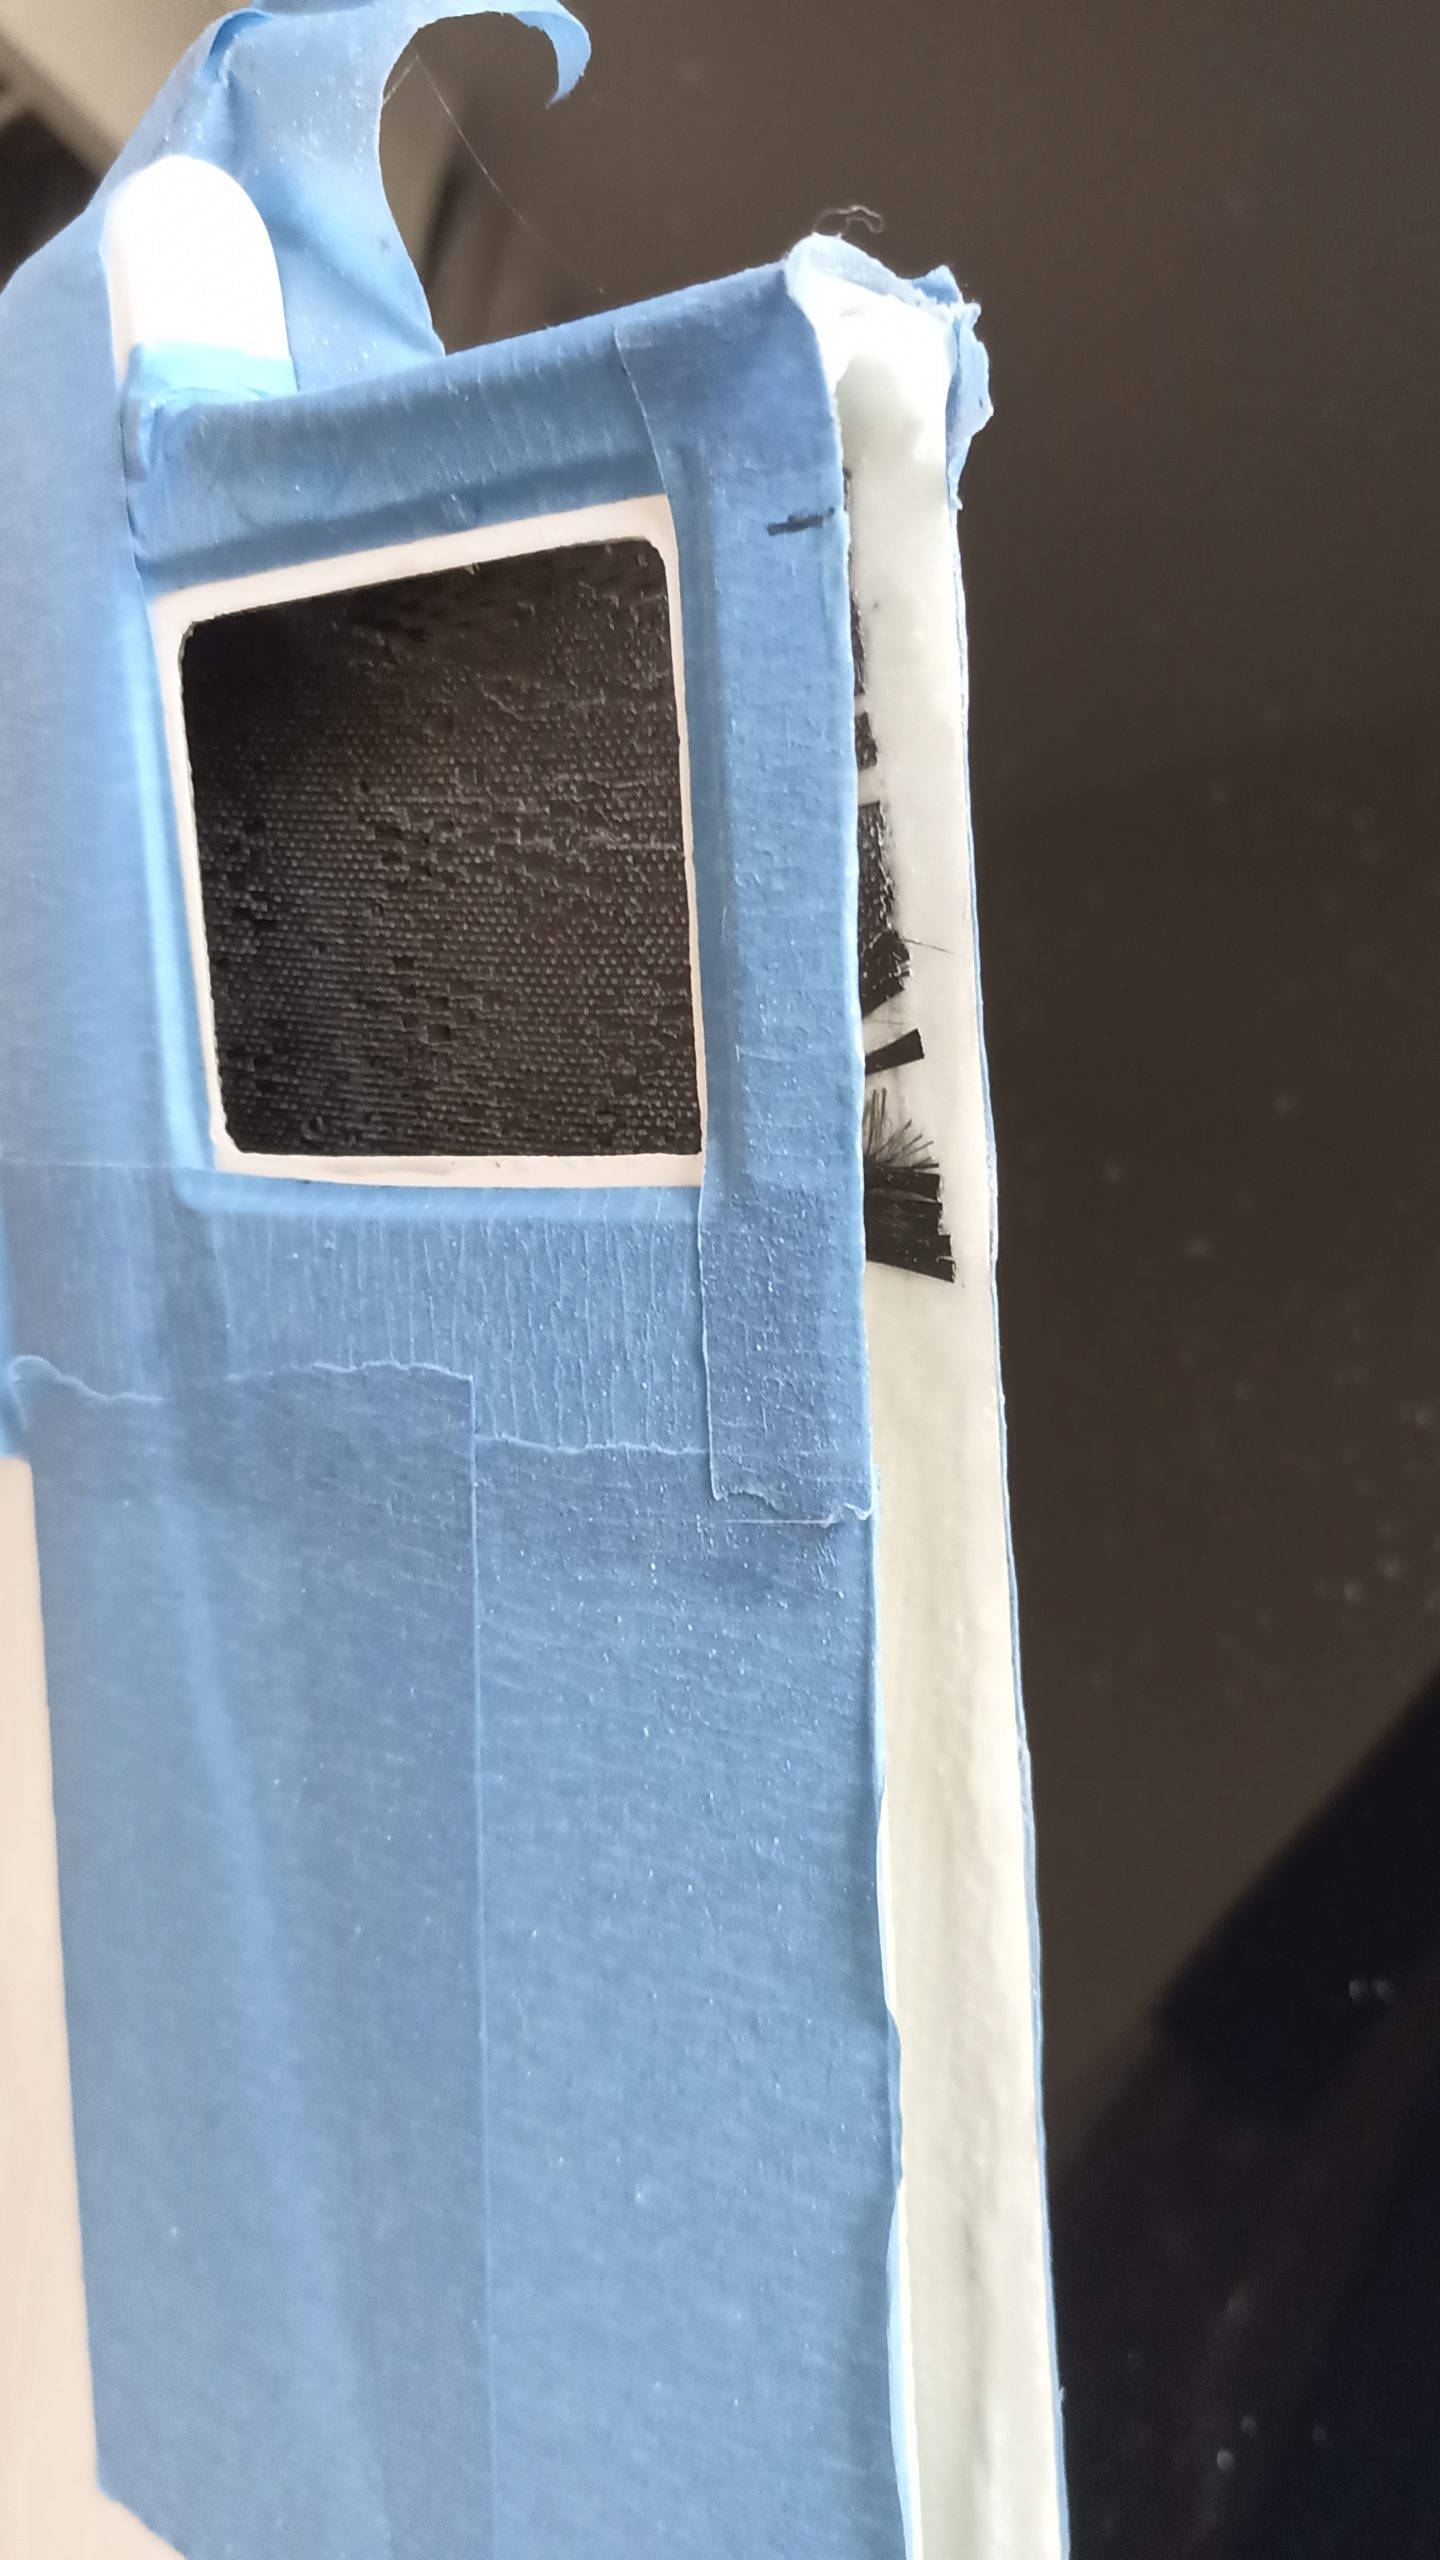
Wings:
we can see the hinge gap sealing
If you can, you should reinforce the wing surface with a carbon layer like I did in the tail.
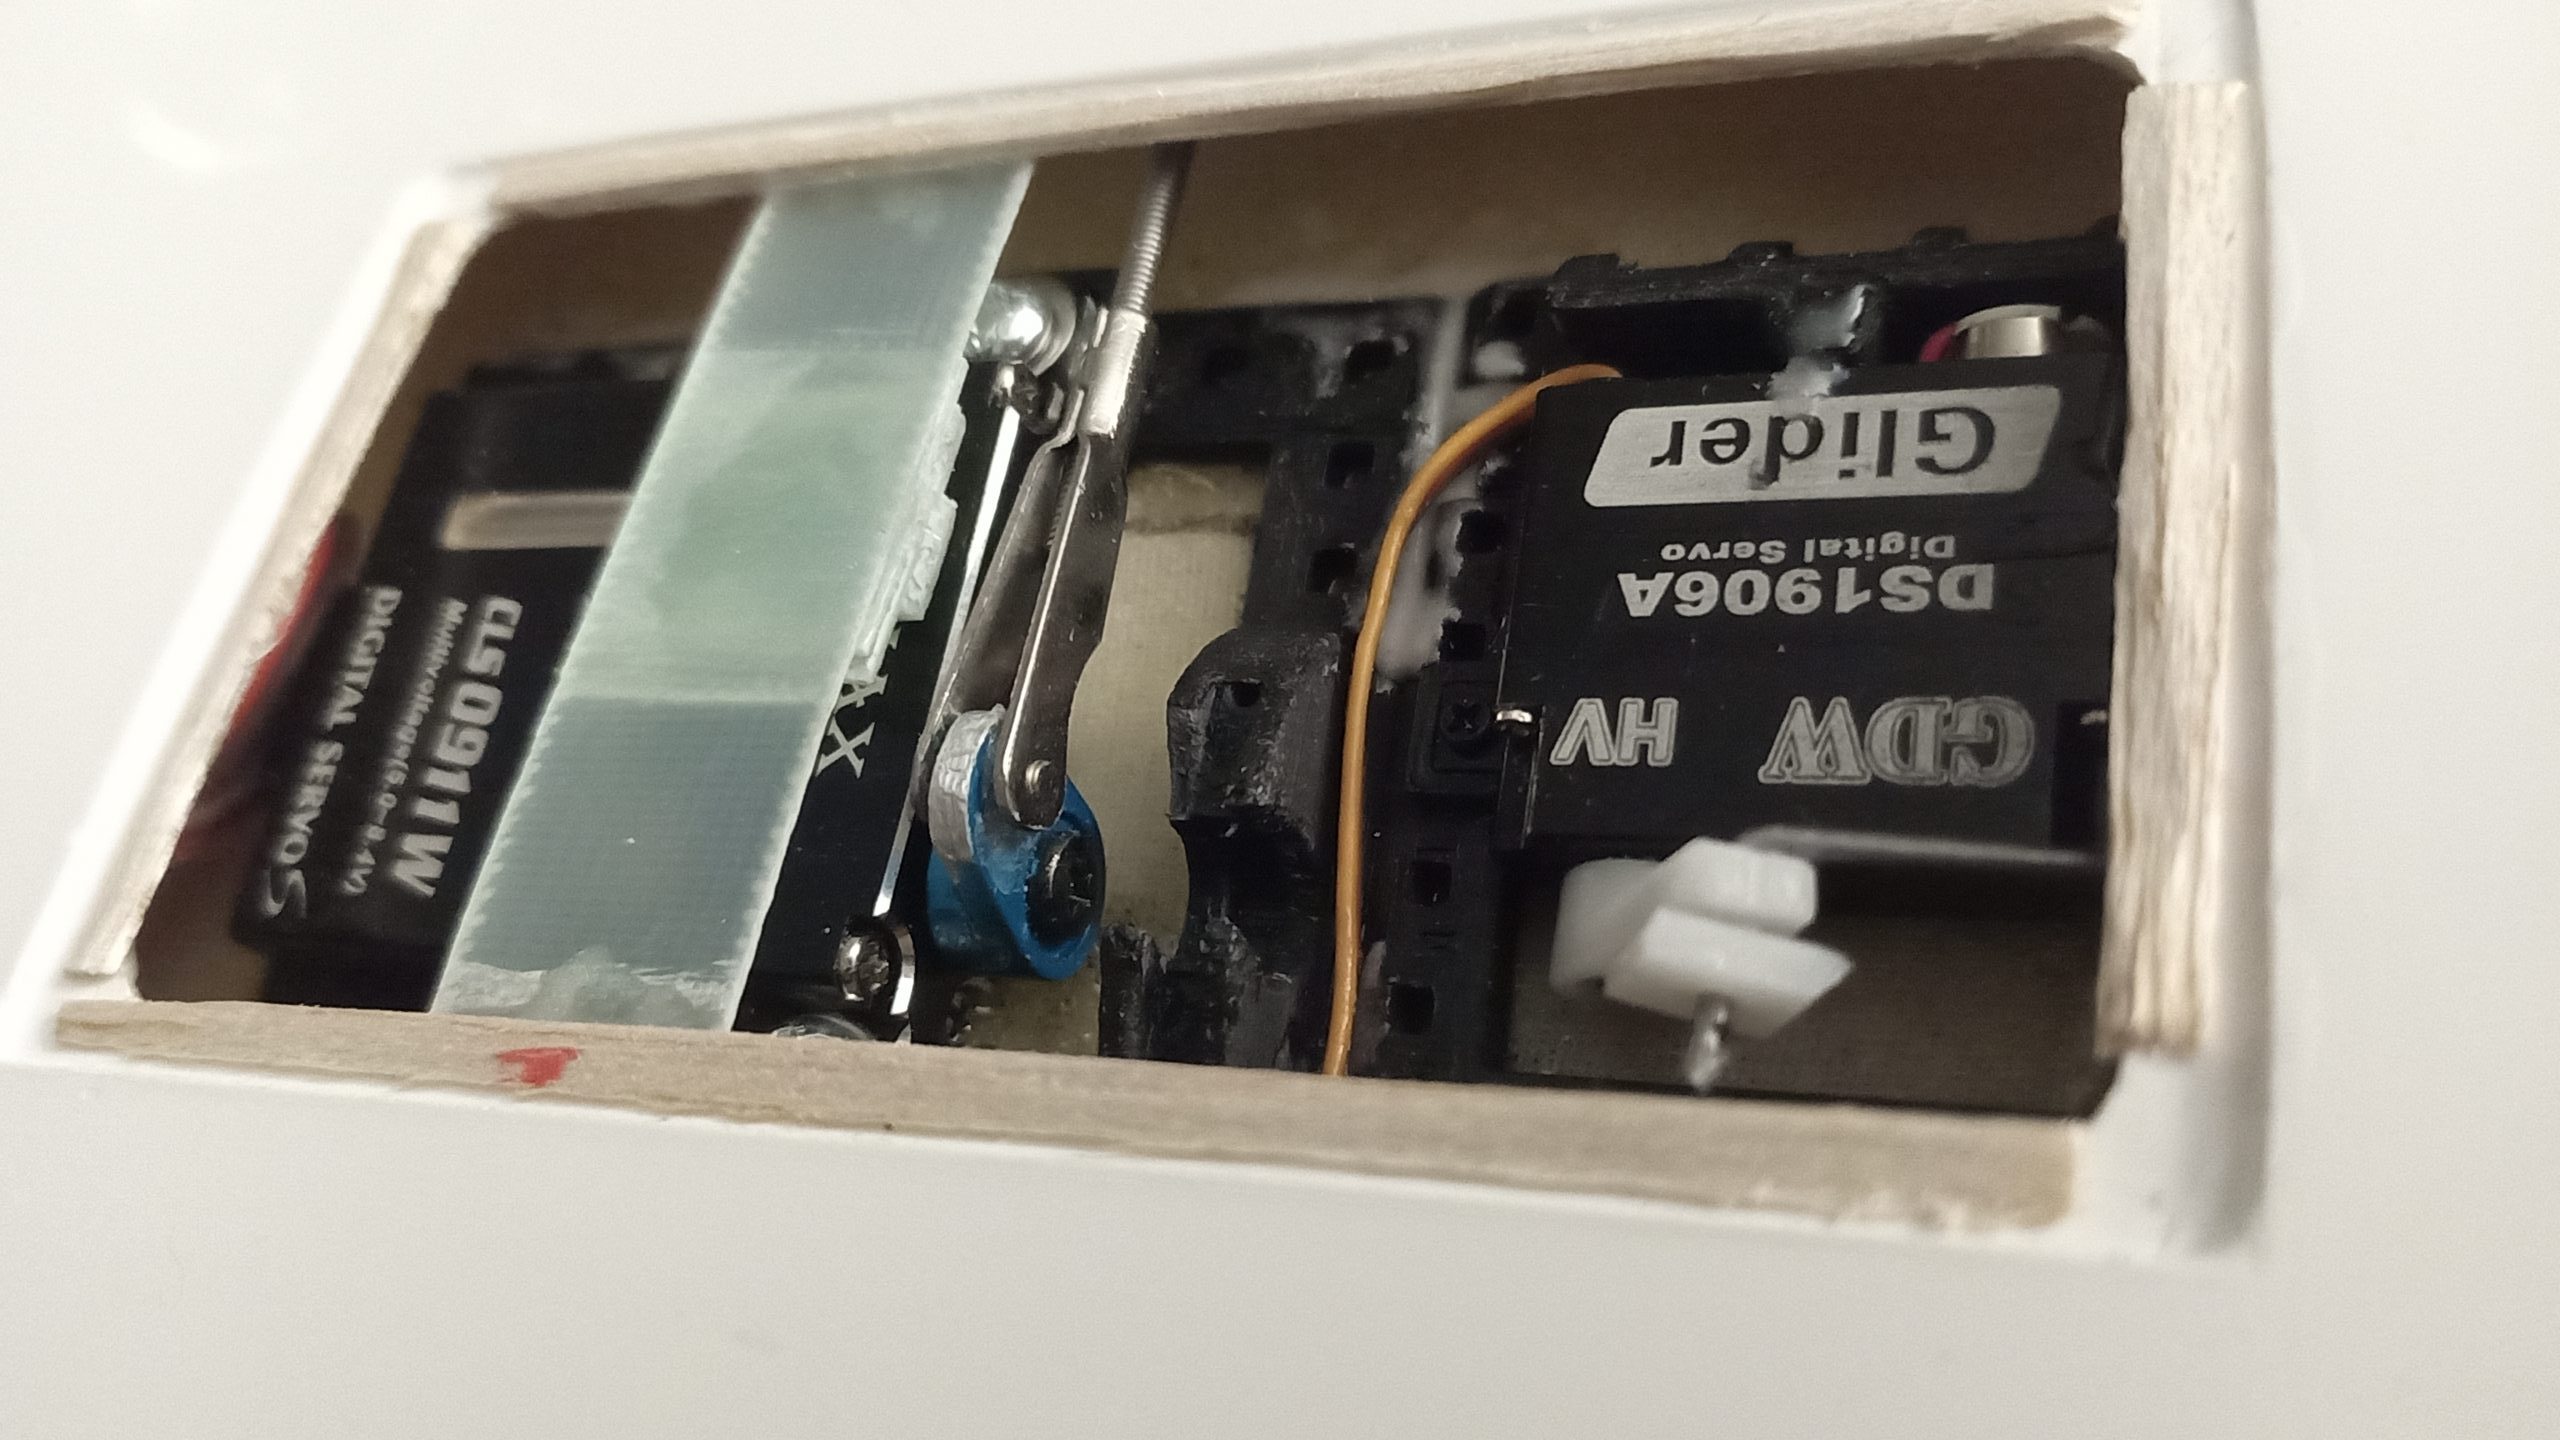
I did not put external bearings here. Just my raw 3d printed servo frames.
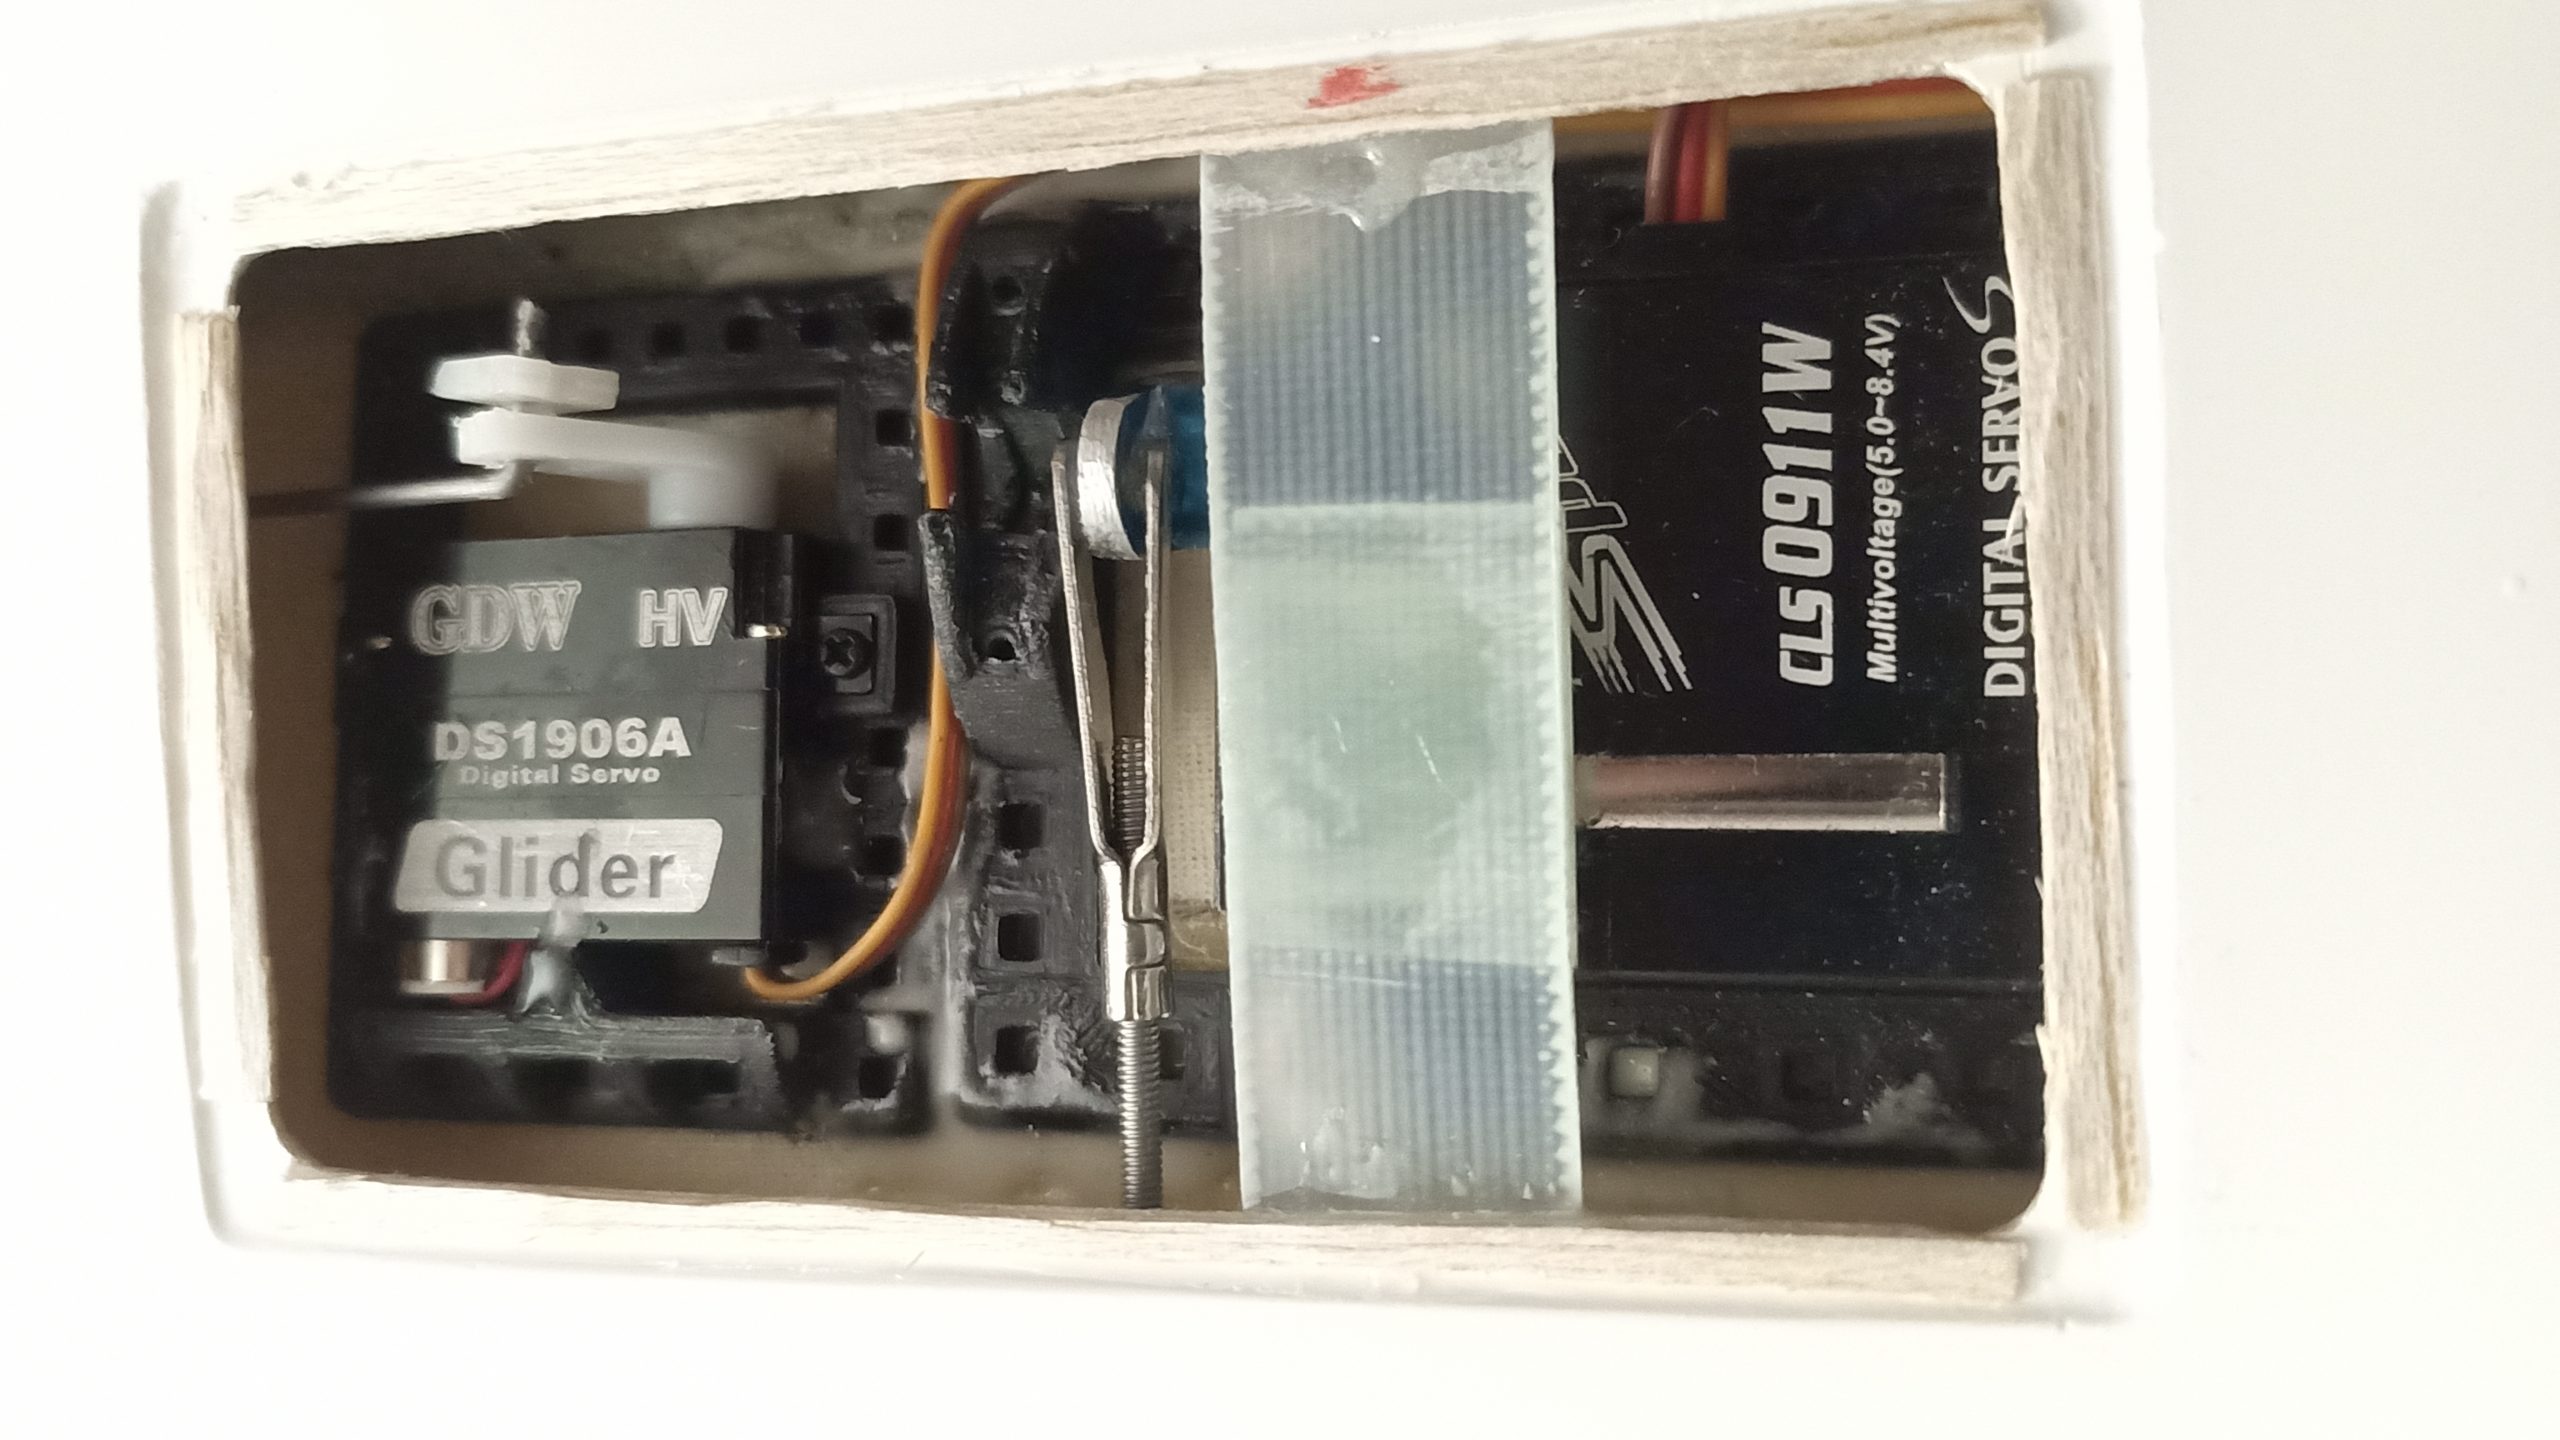
Kingmax CLS0911W on Aileron / Flaps and
a light GDW DS1906A for airbrakes
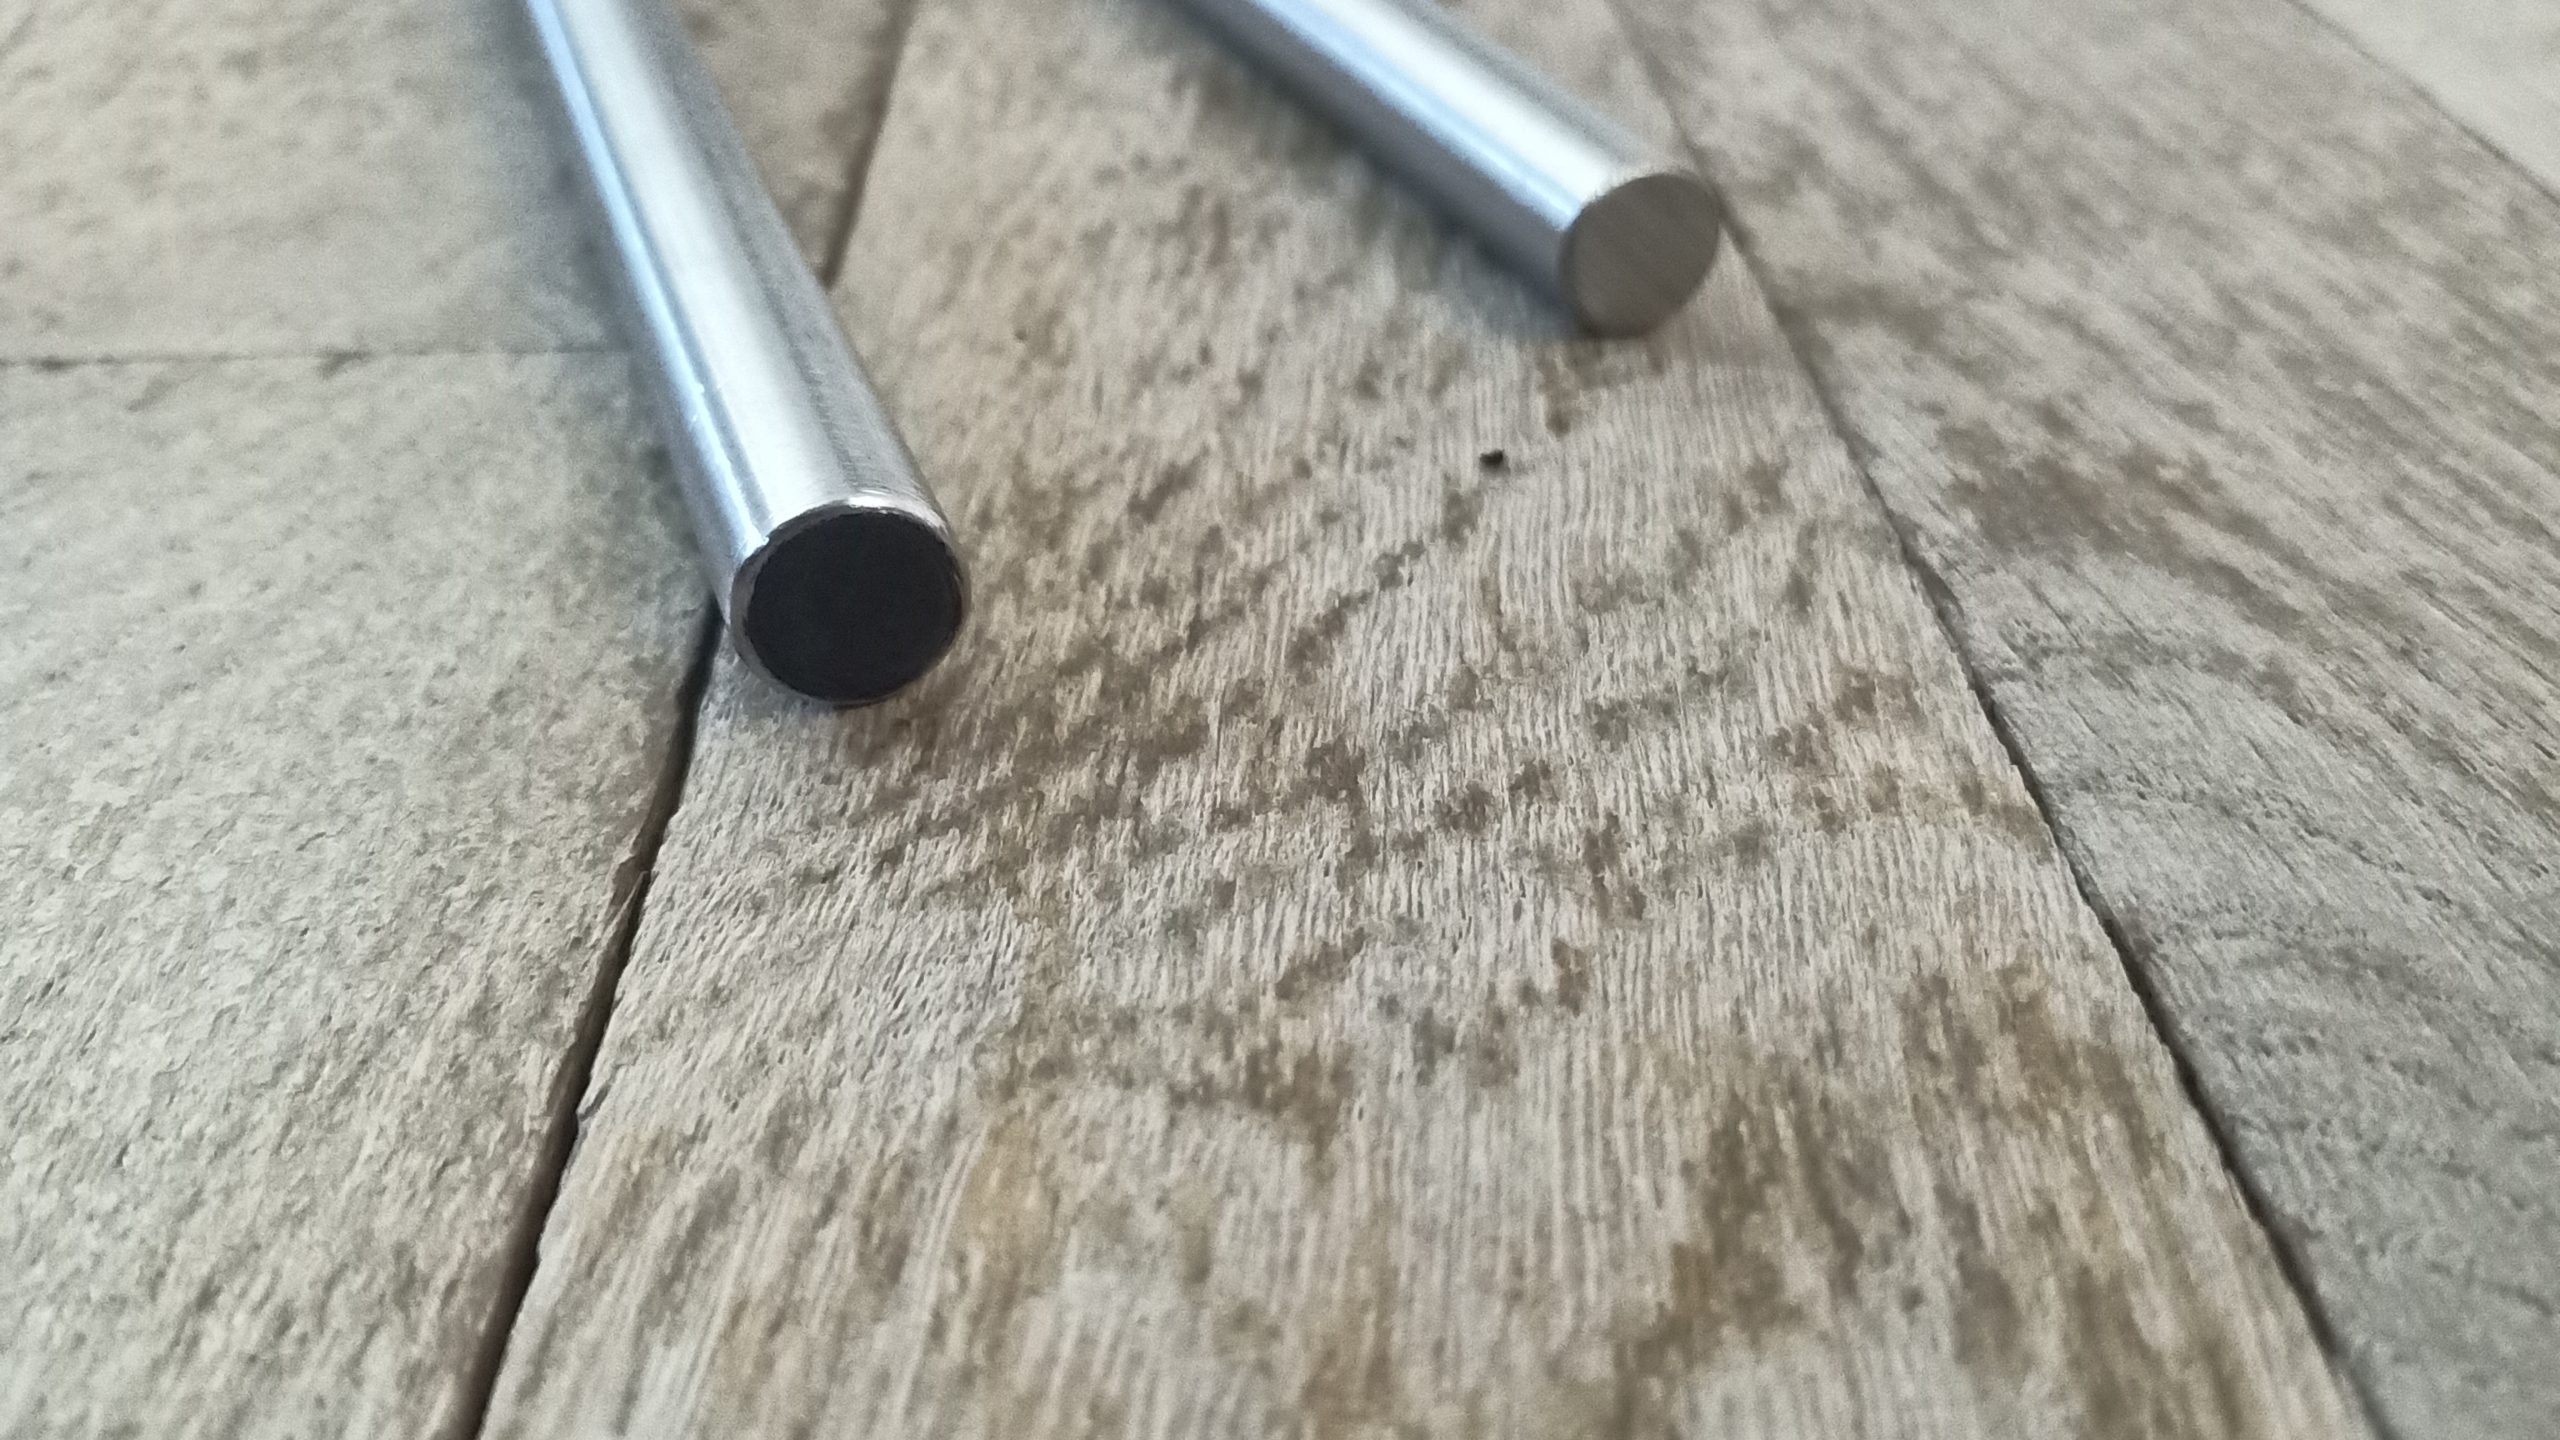
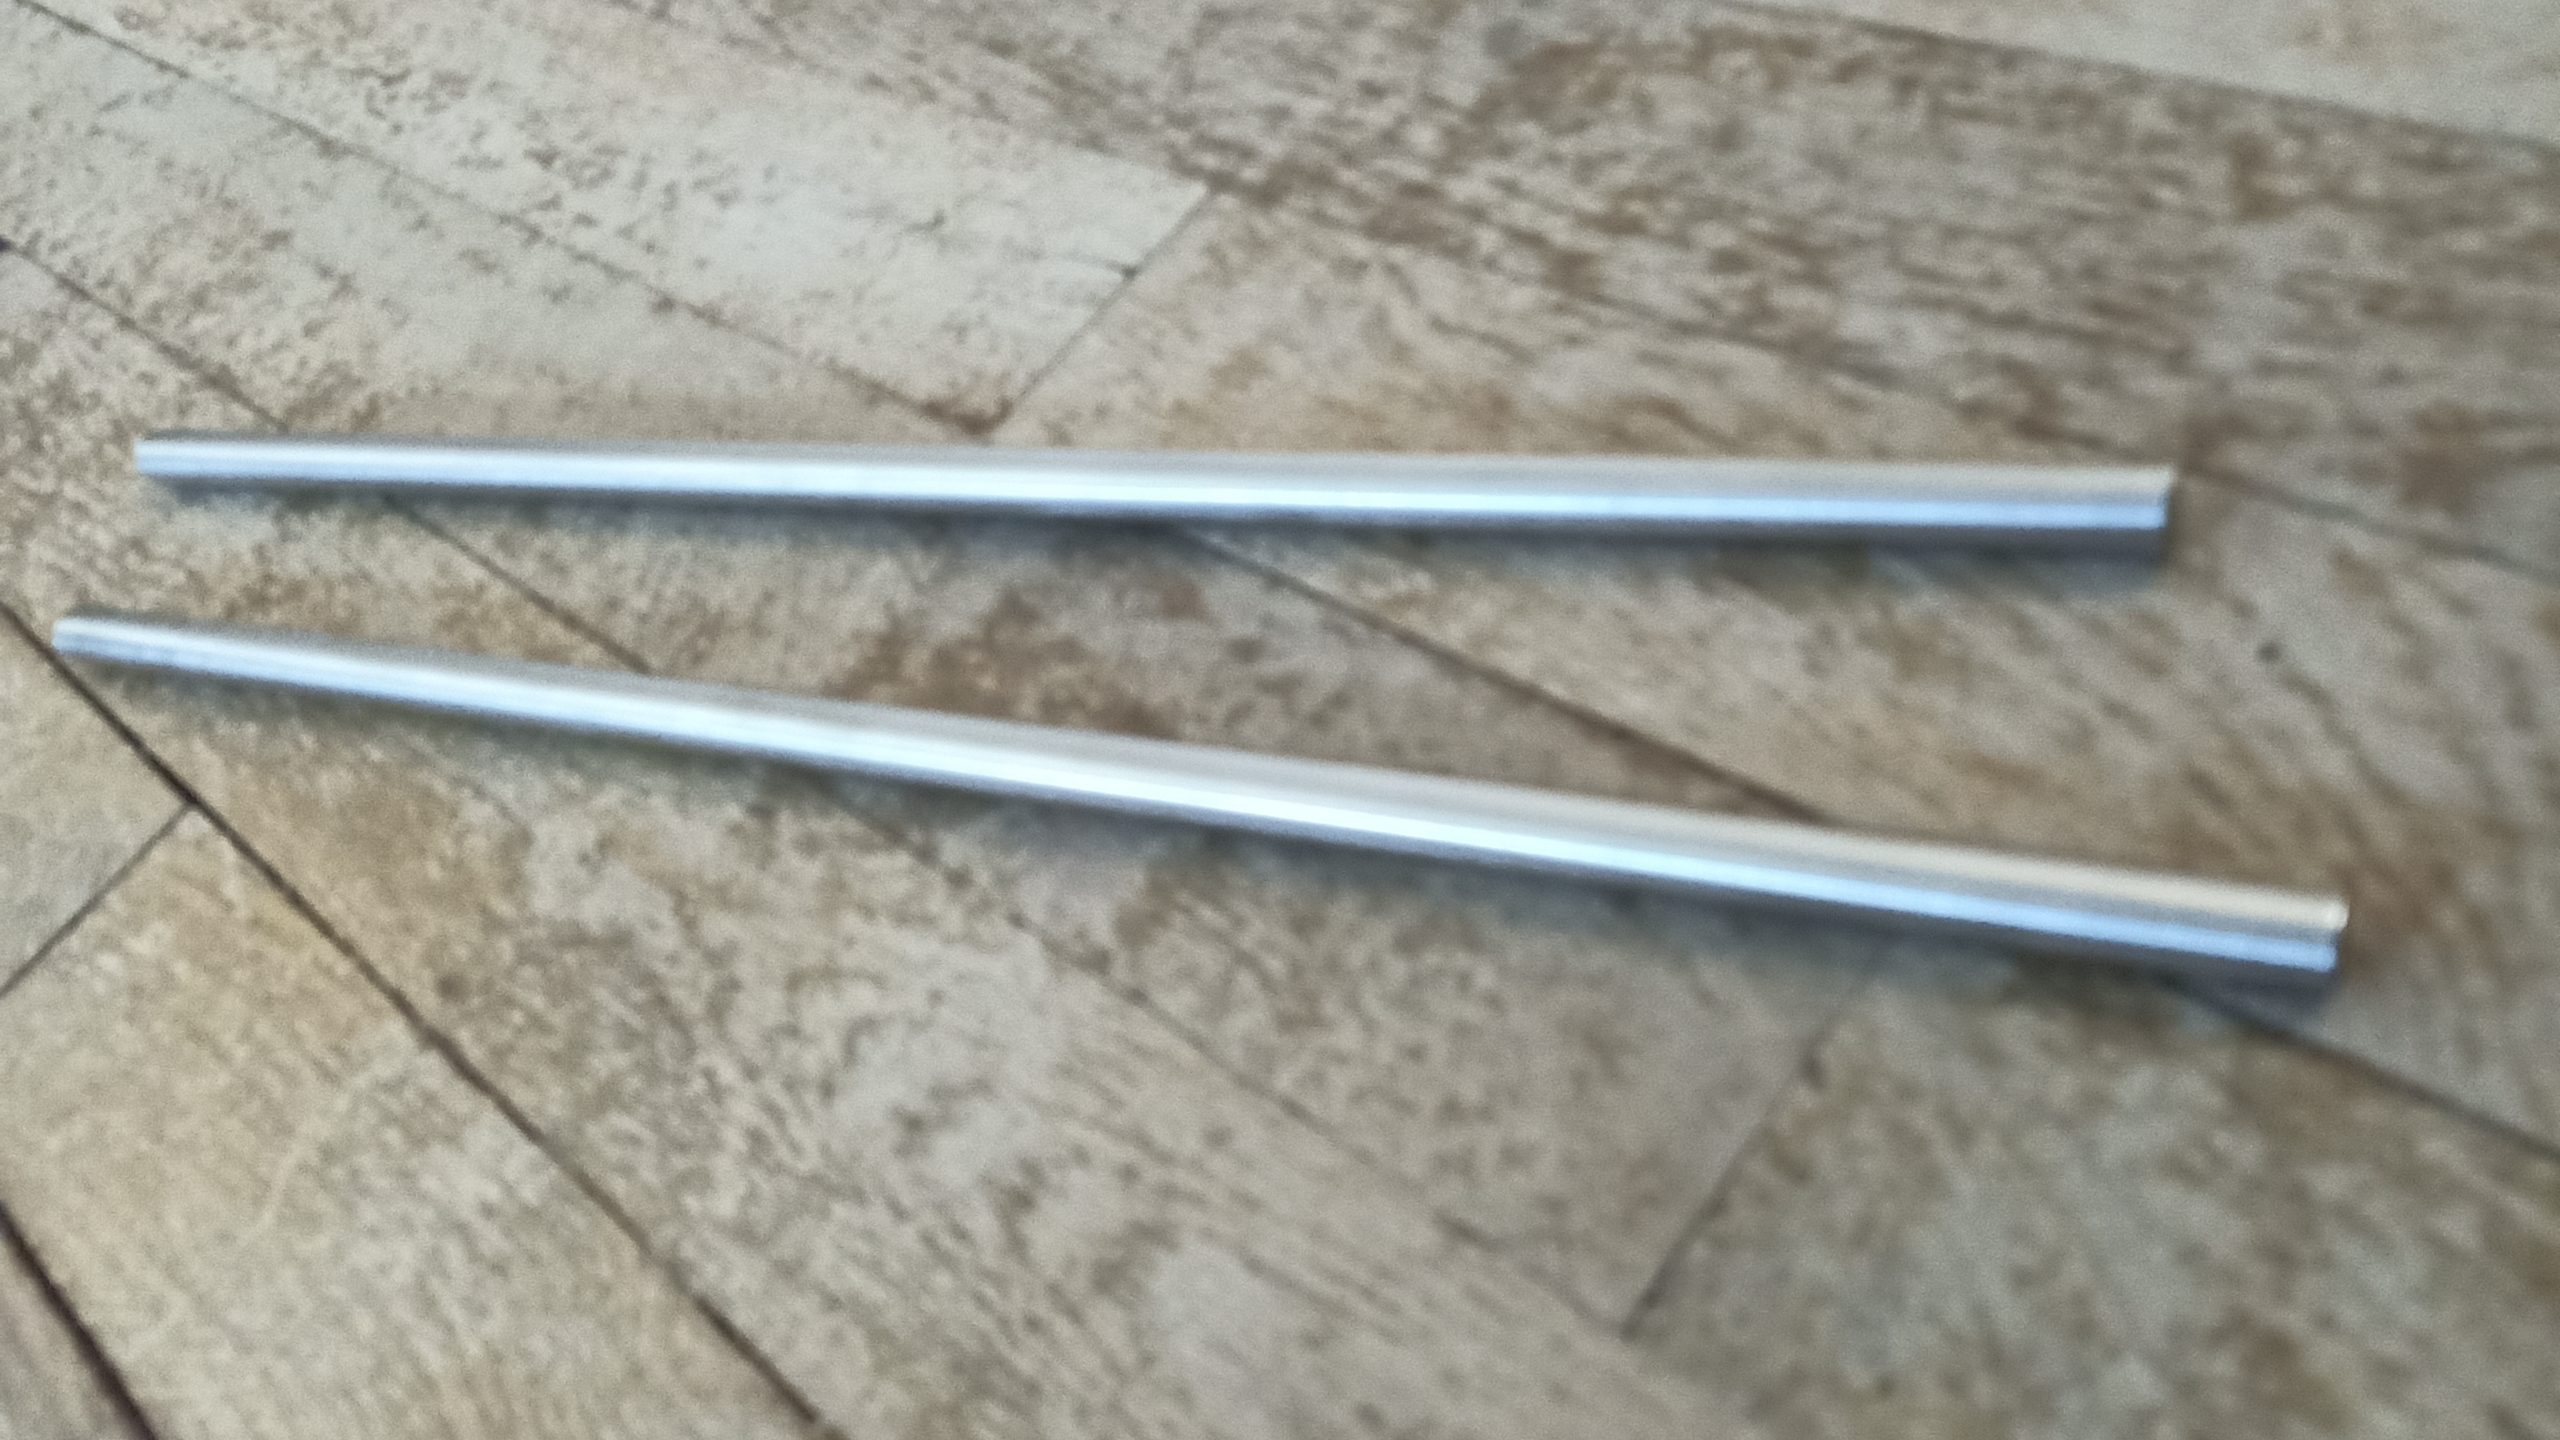

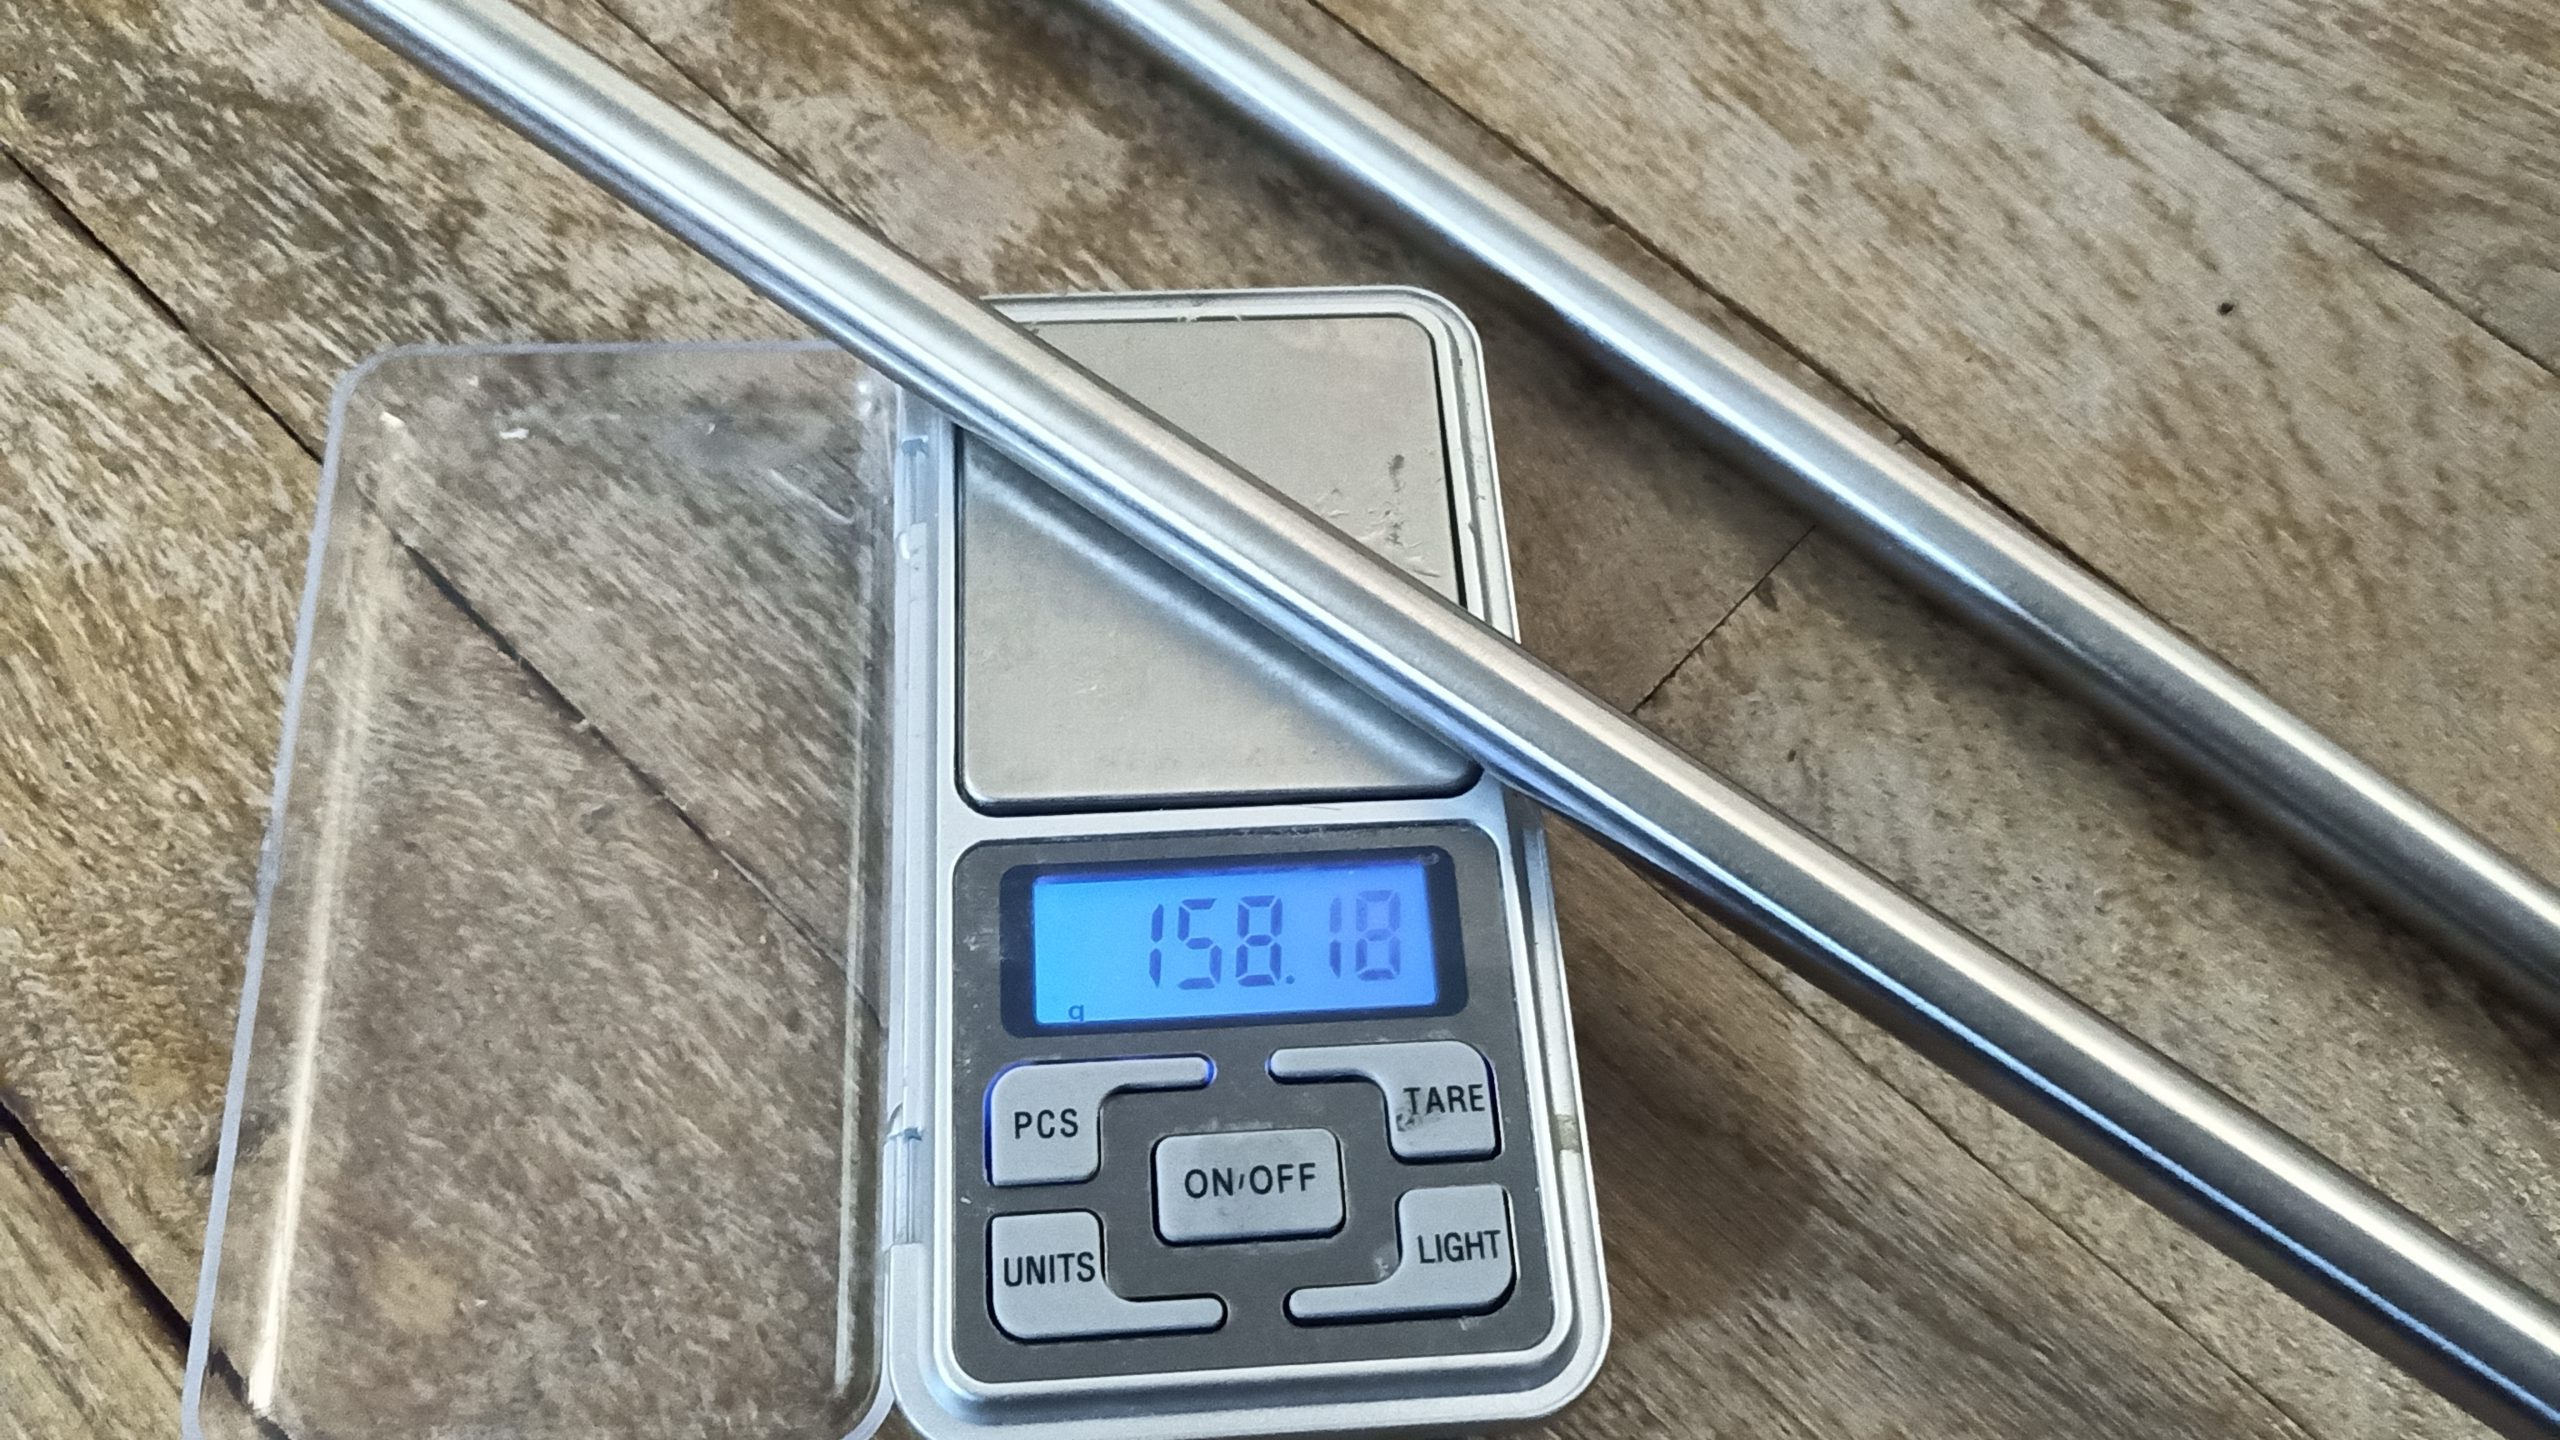
Tube 12x10mm 304 steel + Carbon rod 10mm – tightly fit and epoxy glued inside.
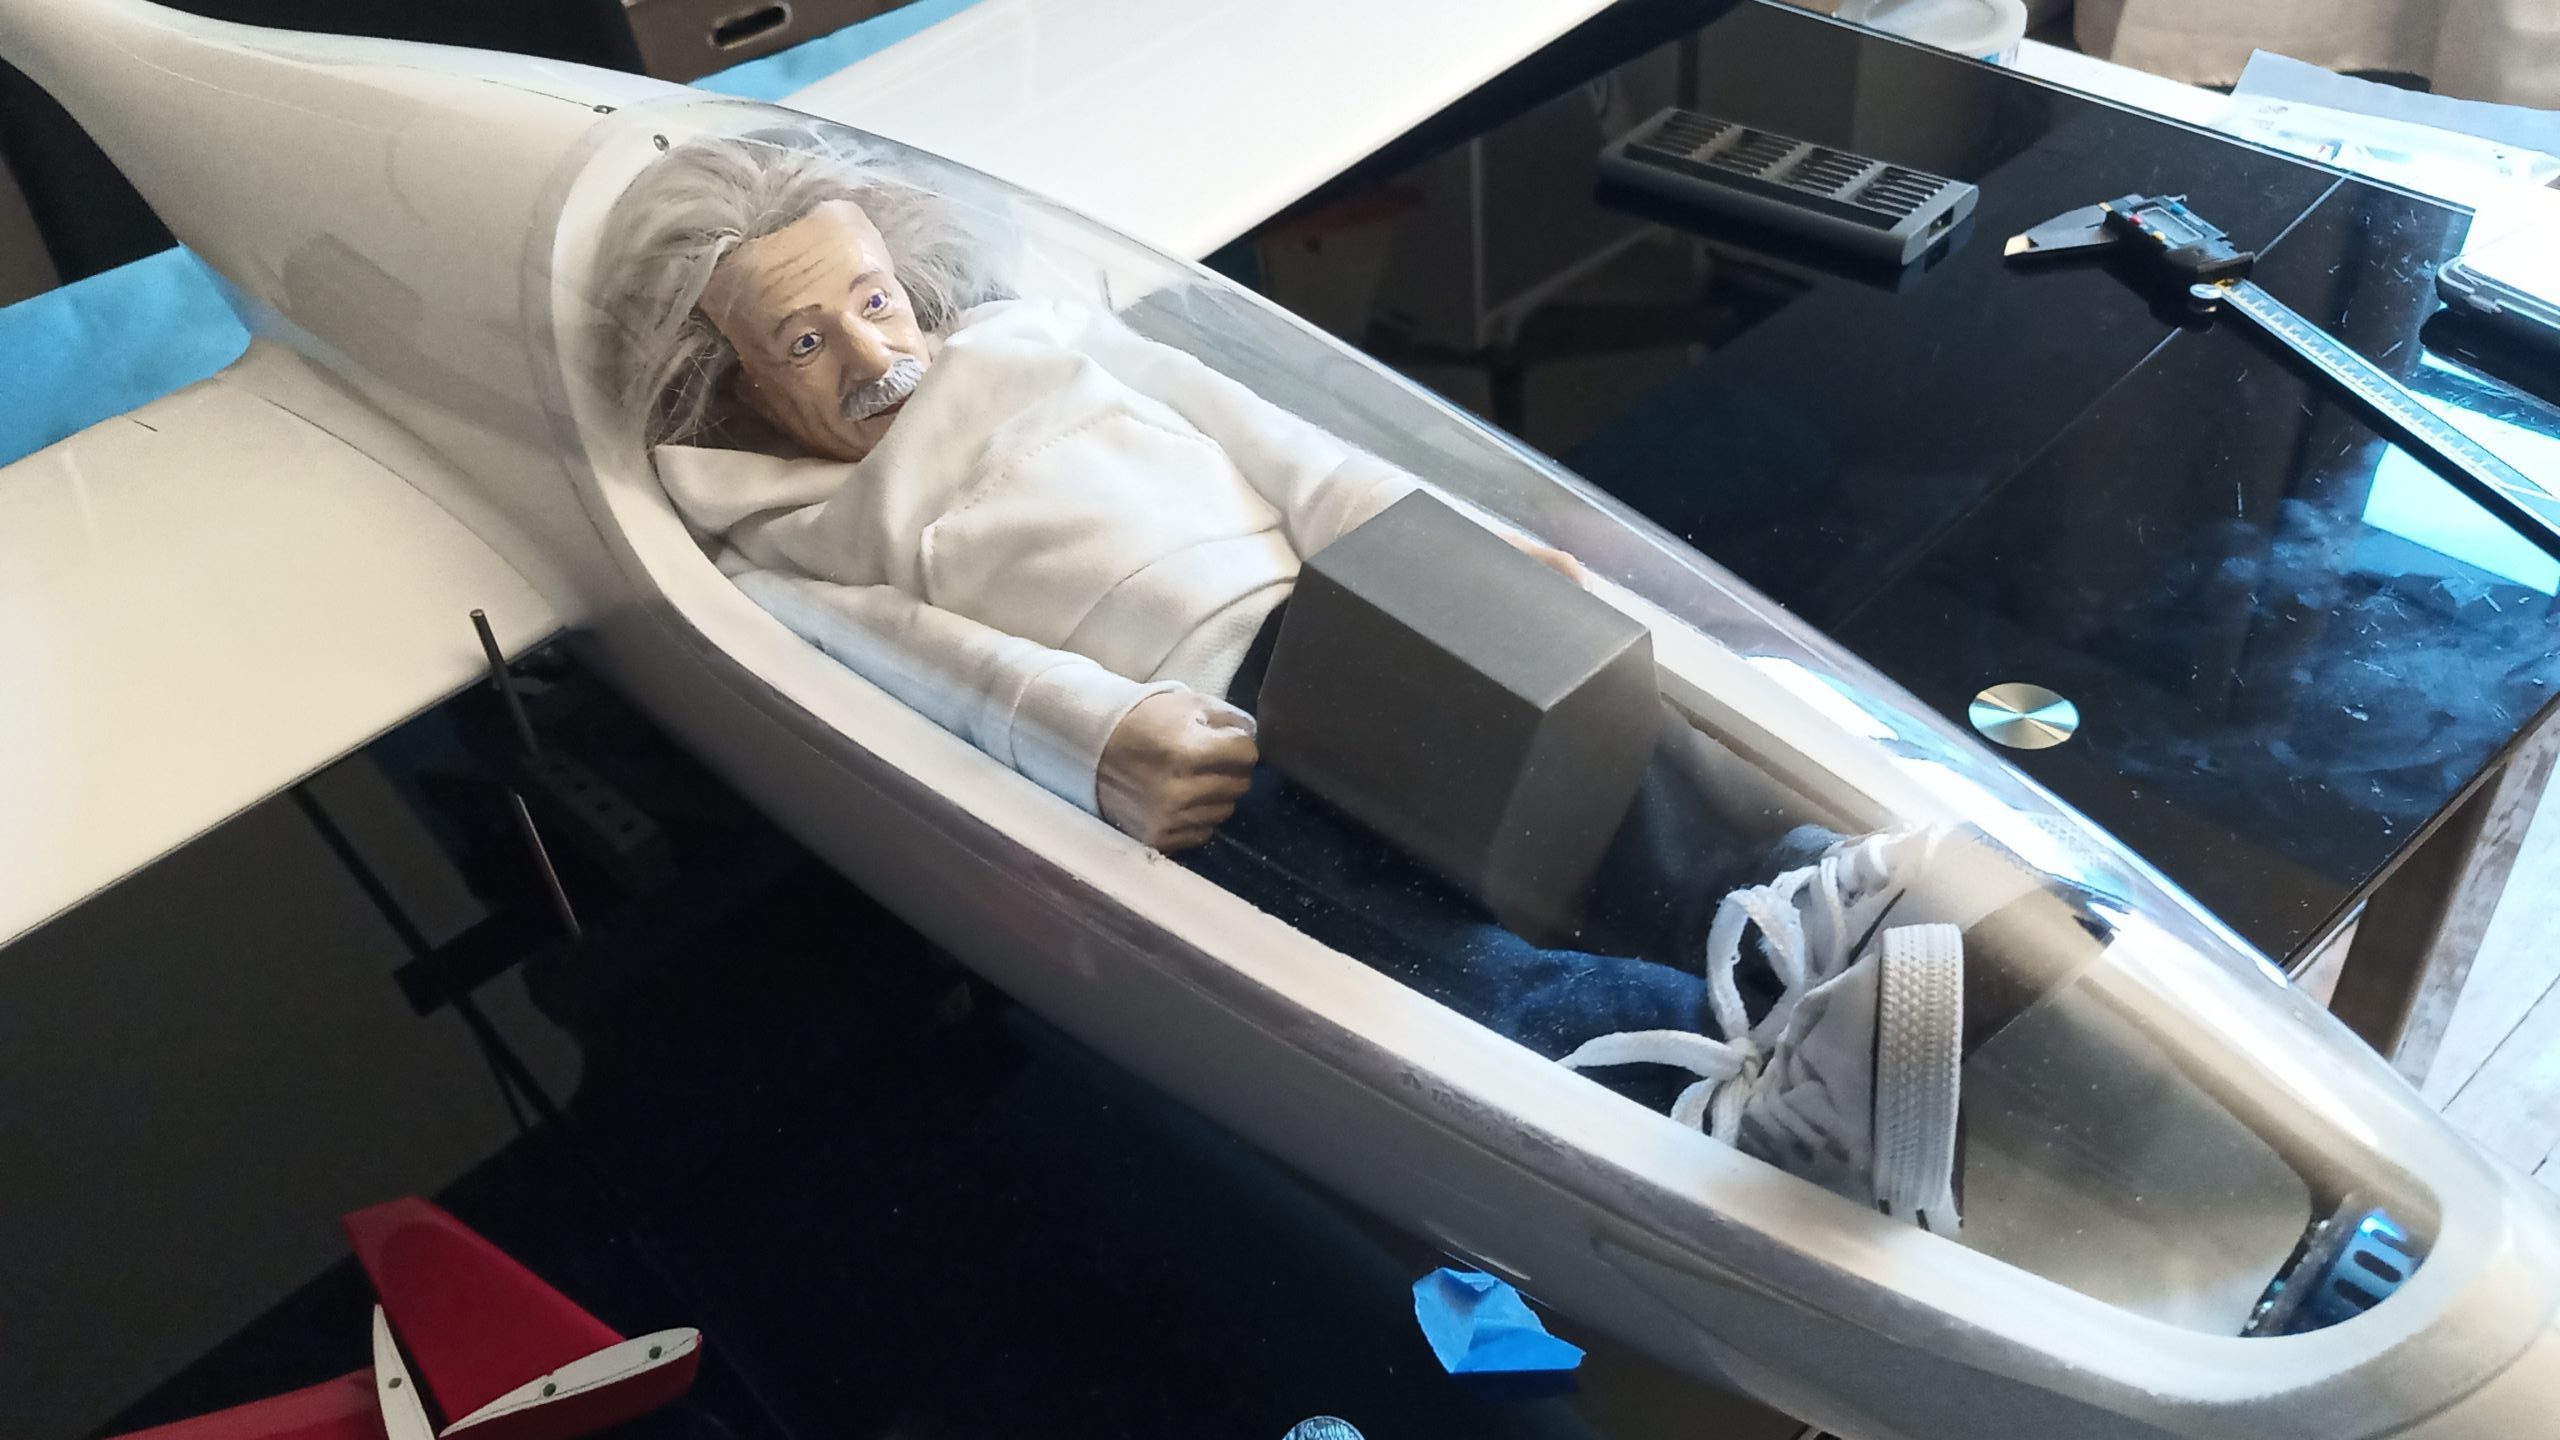
Cockpit !
diana2.scaddiana2.stl
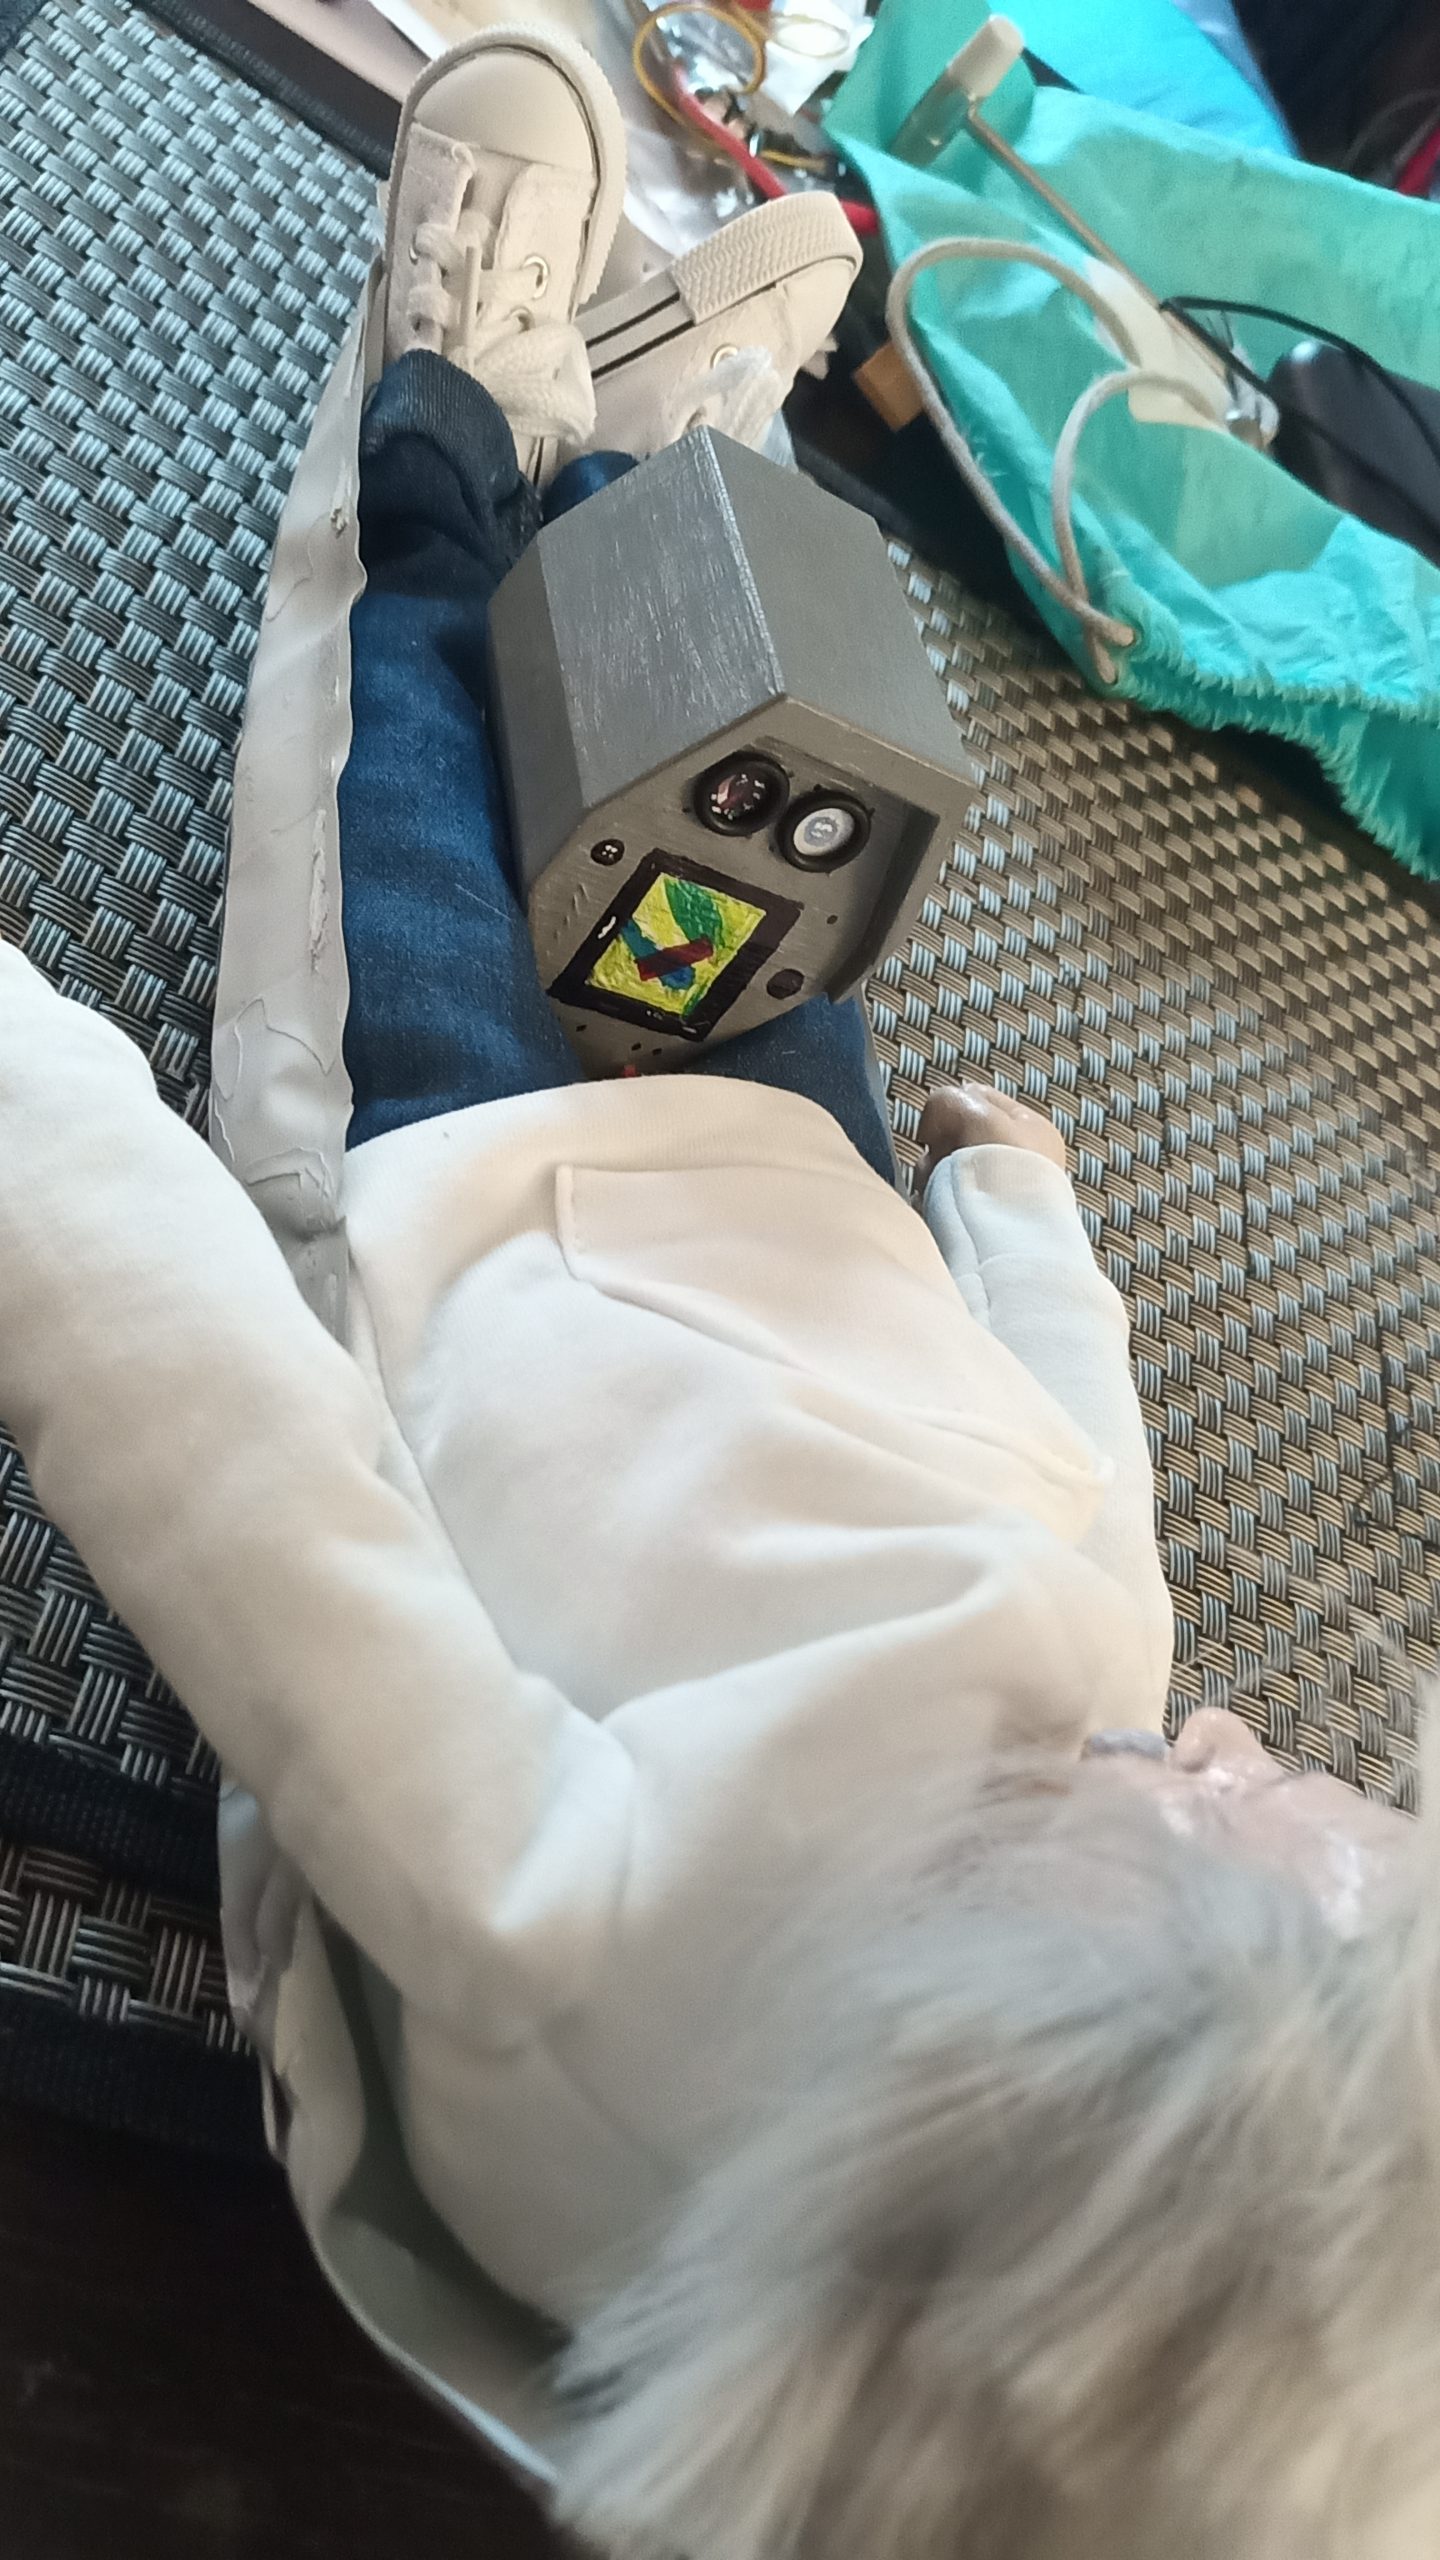
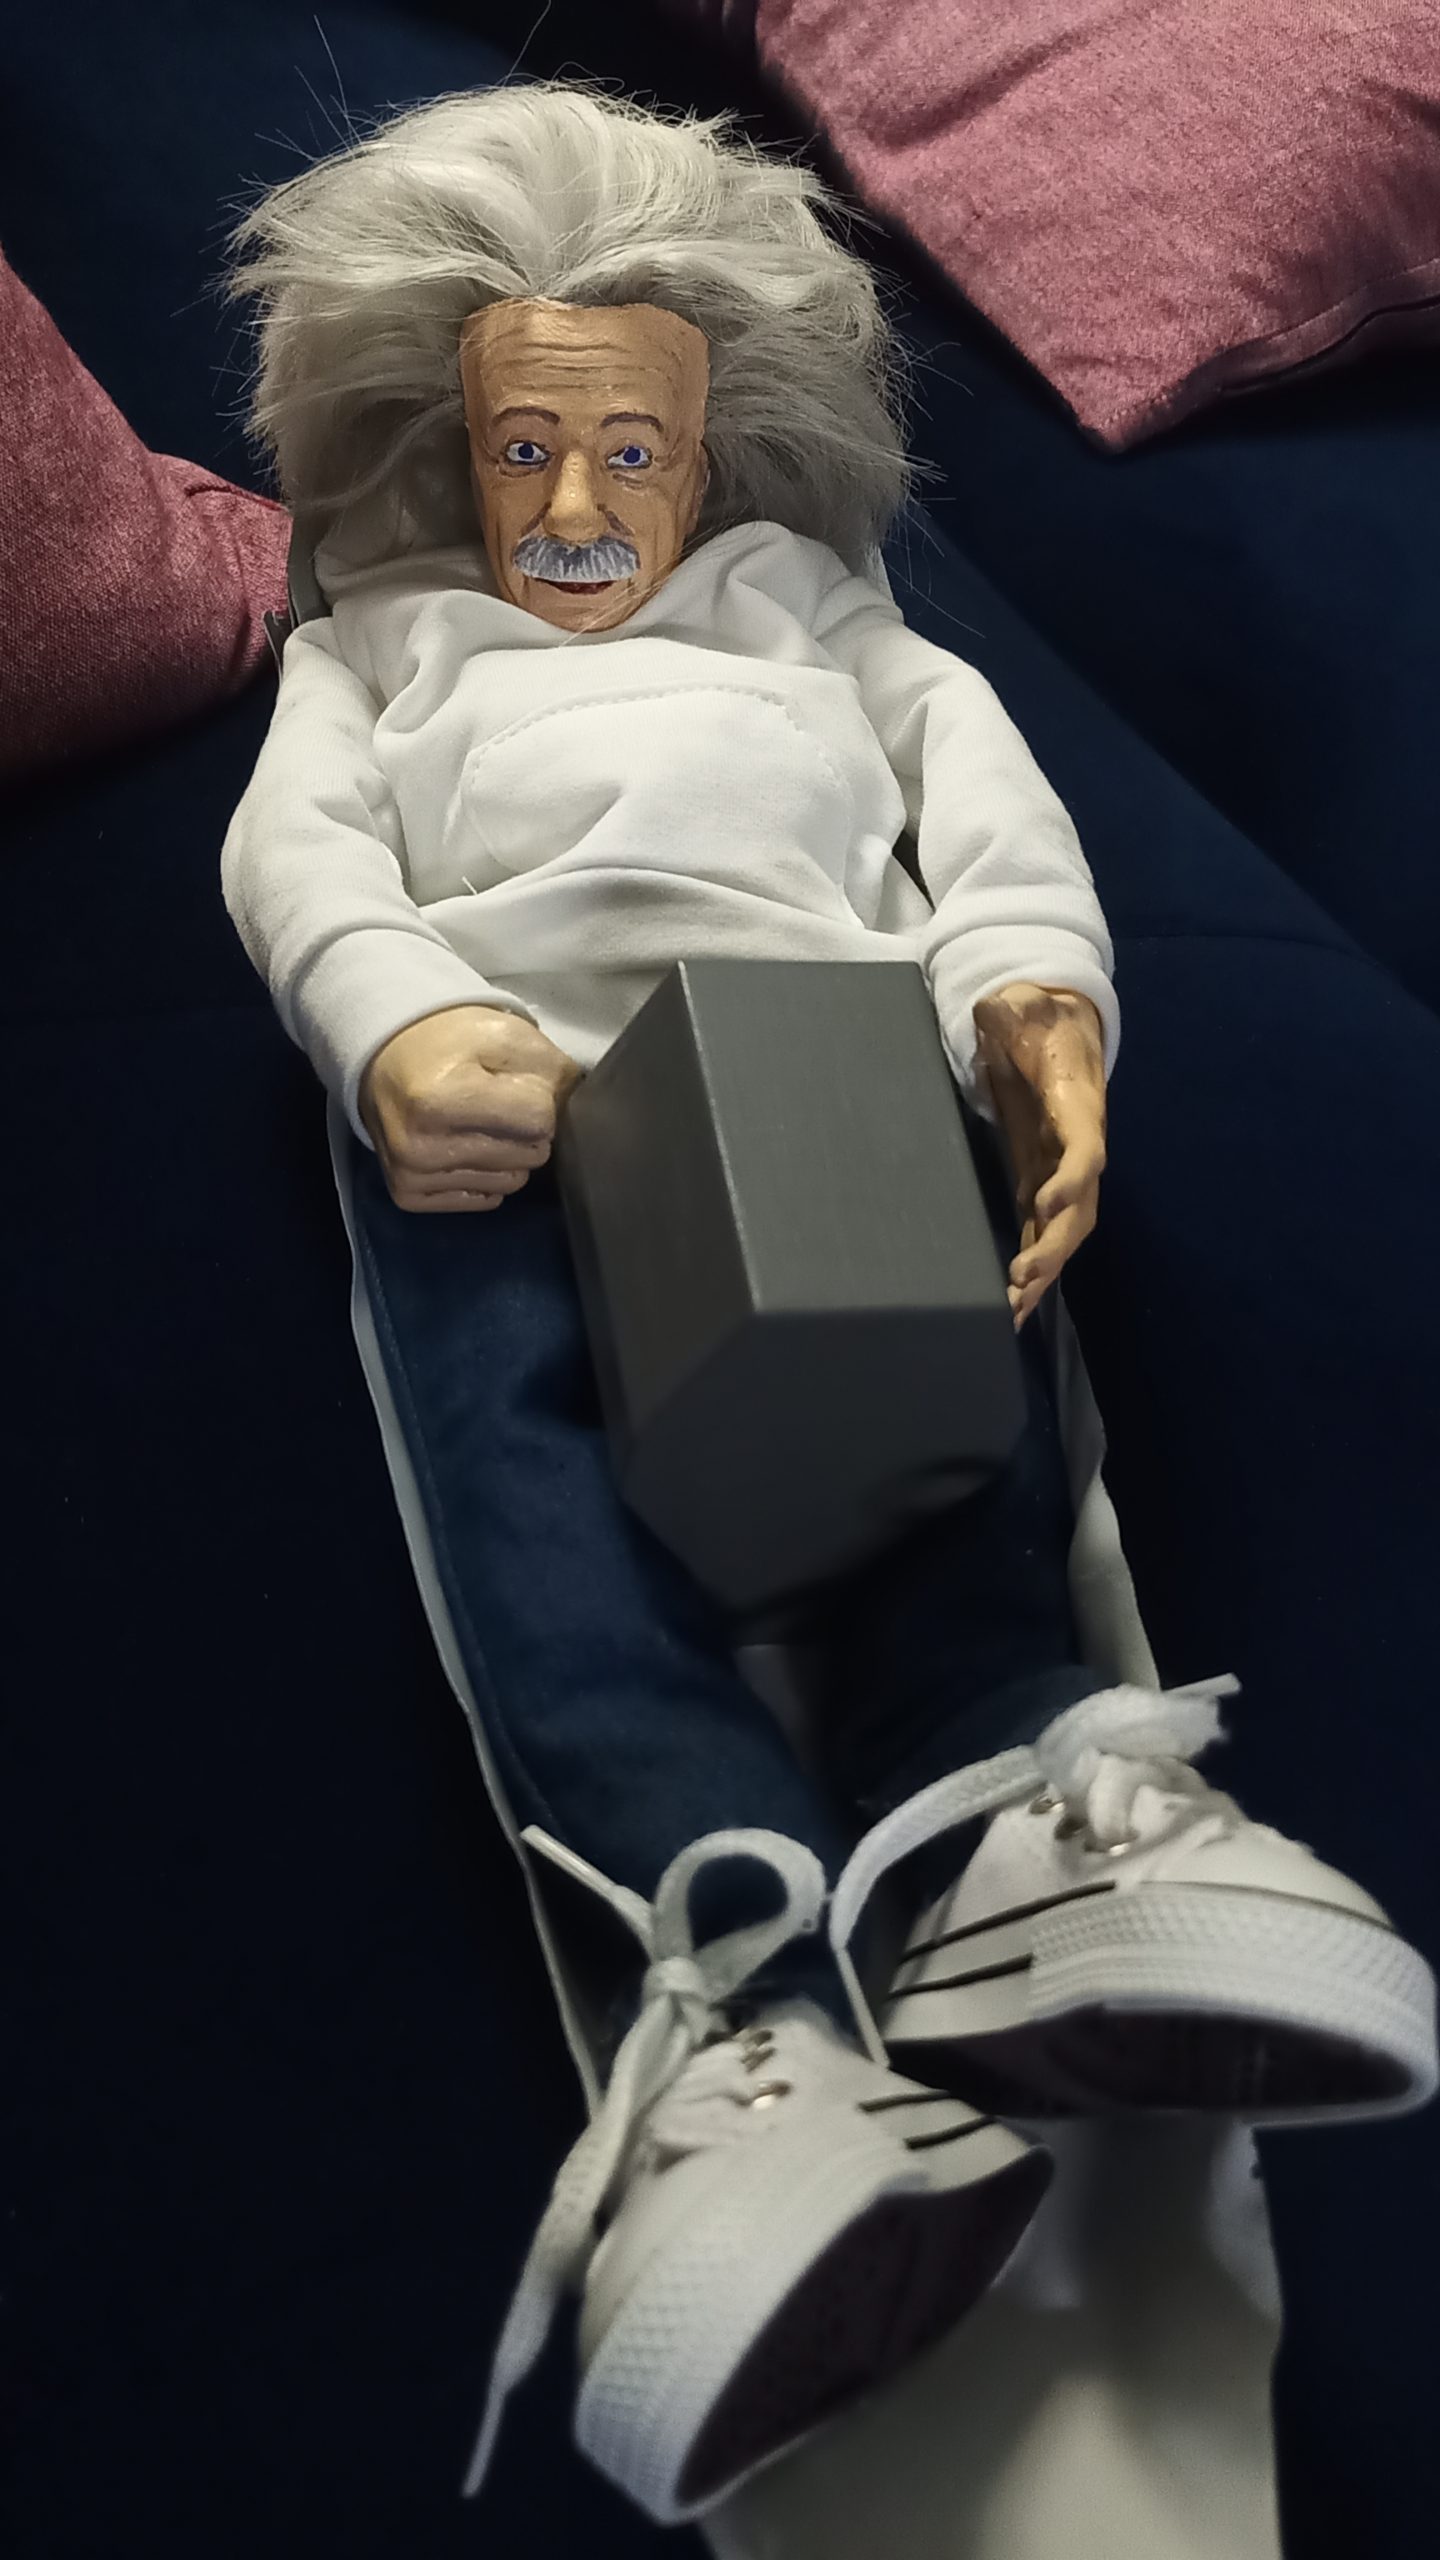
And a nice cockpit